> ## Documentation Index
> Fetch the complete documentation index at: https://docs.userplane.io/llms.txt
> Use this file to discover all available pages before exploring further.
# Developer Onboarding
> Install the Userplane SDK, configure metadata, set up domain verification, and control what gets captured
Userplane works without any code — but the SDK unlocks richer session data, custom metadata, and programmatic recording controls. This guide covers everything you need to integrate Userplane into your app.
## What you'll set up
* Script or npm package installation
* Domain verification (required for branded recording links)
* Custom metadata to attach user/account context to recordings
* Sensitive data redaction for compliance
* Framework-specific configuration
## Step 1: Install the SDK
You can load Userplane via CDN snippet or install it as an npm package.
### Embed script (quickest)
Add this to the `` of every page where you want recordings to work:
```html theme={null}
```
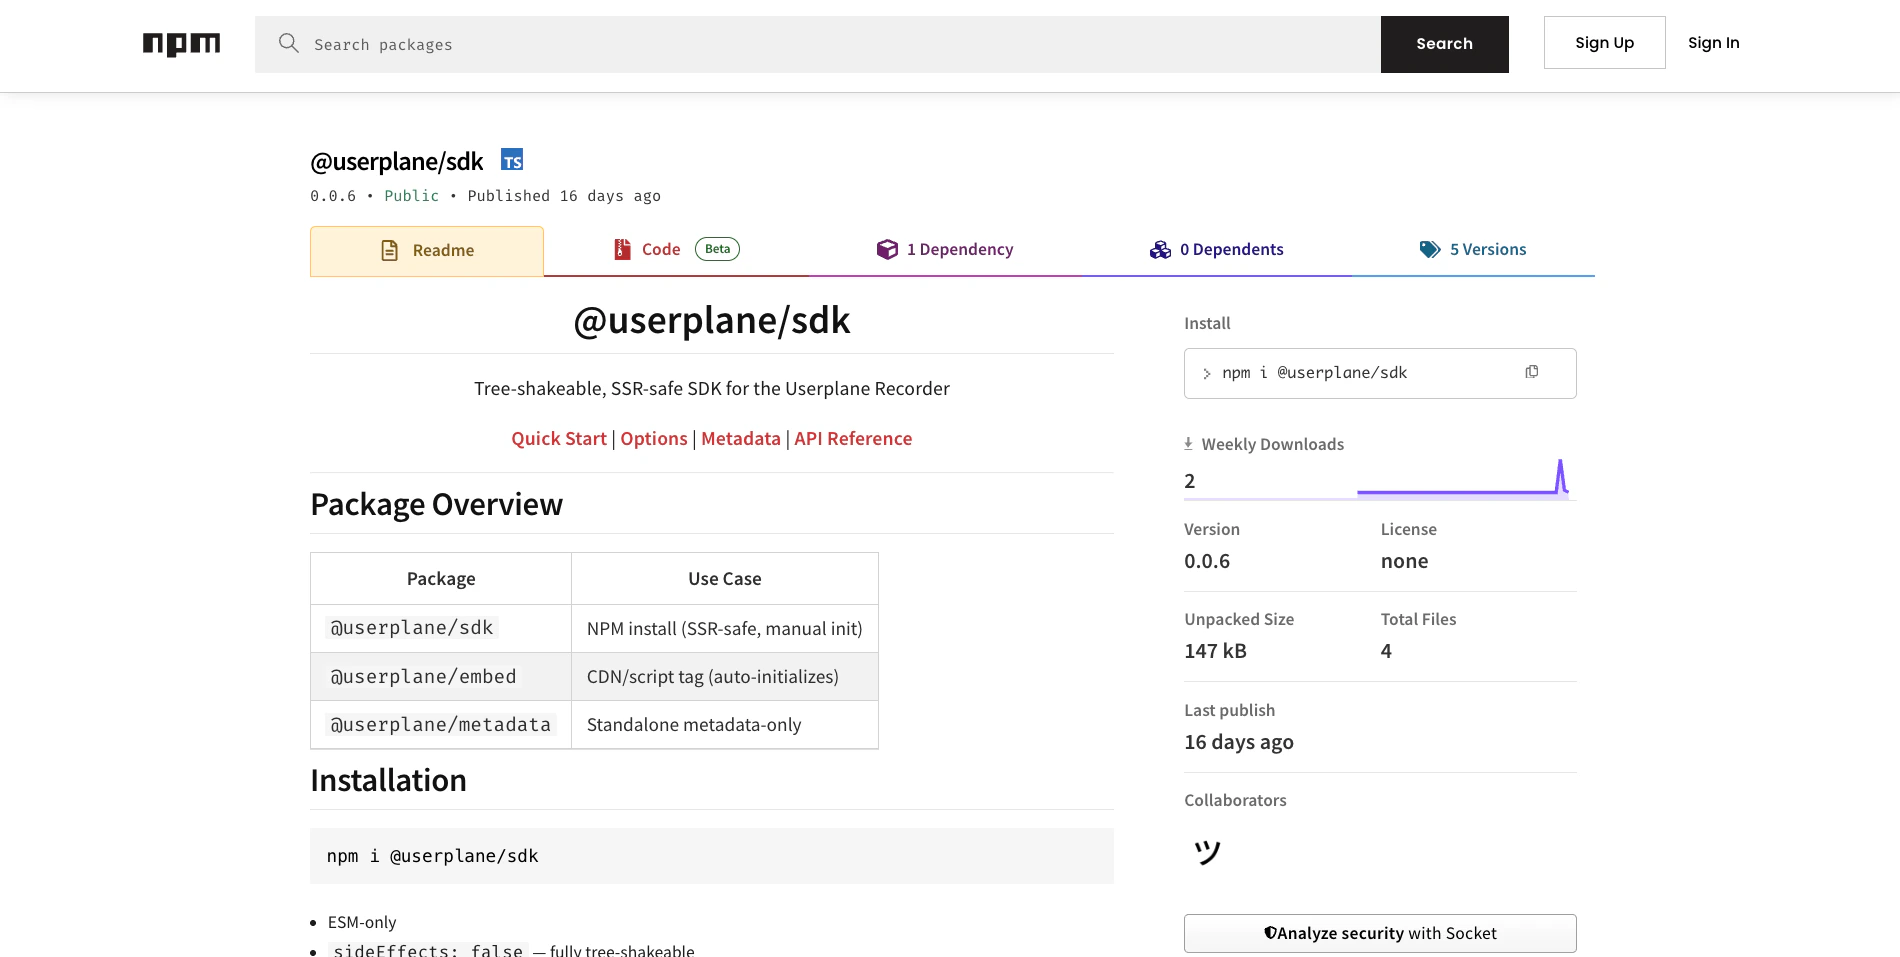
### npm
`bash npm install @userplane/sdk `
```ts theme={null}
import { initialize } from '@userplane/sdk';
initialize({ workspaceId: 'YOUR_WORKSPACE_ID' });
```
Your `workspaceId` is in [Workspace Settings > General](https://dash.userplane.io/_/settings).
See [Web SDK Reference](/developer/web-sdk) for the full API and [Installation Guide](/developer/installation) for platform-specific notes.
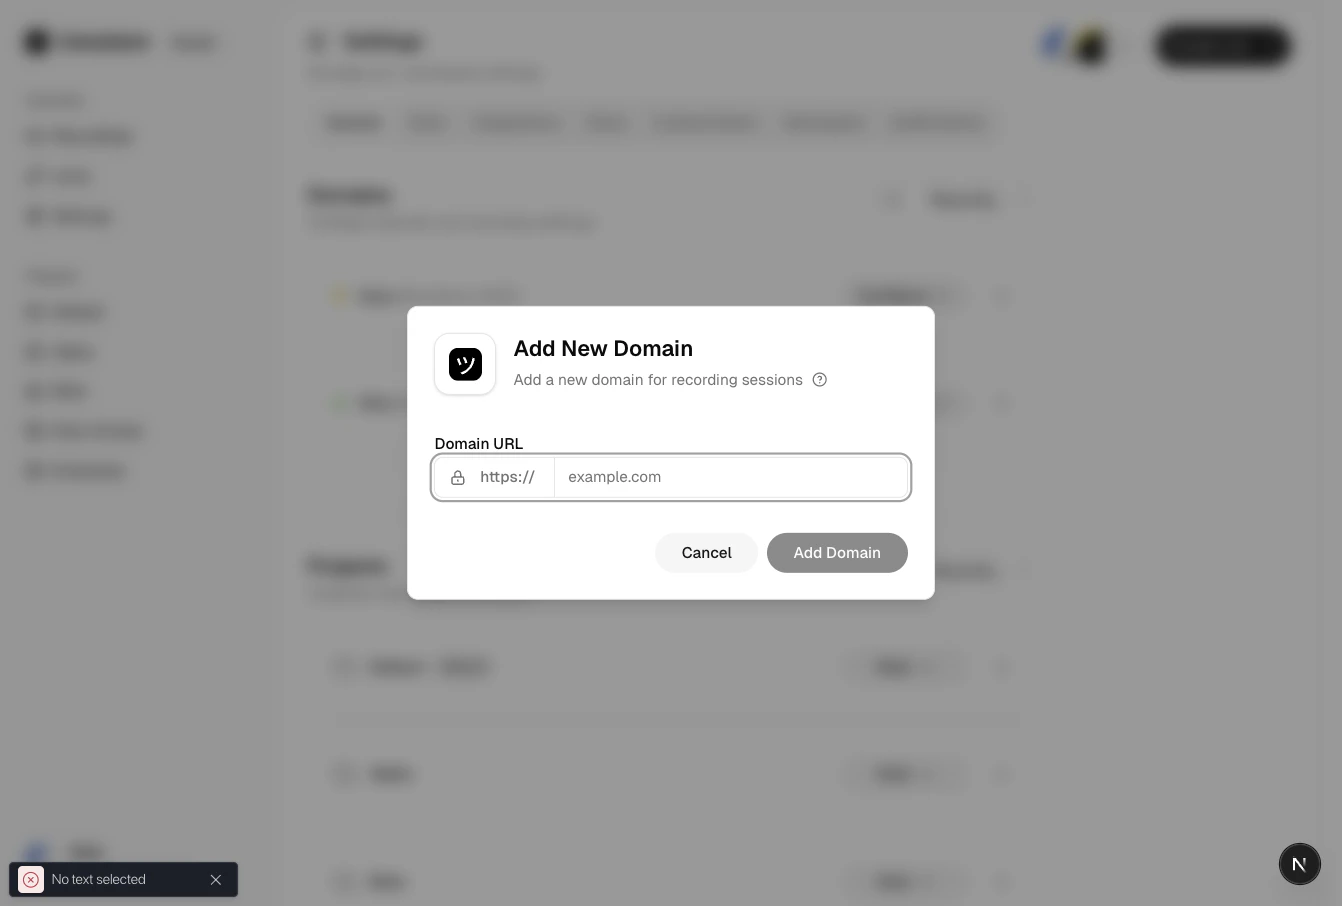
## Step 2: Verify your domain
Domain verification is required before your support team can create branded recording links on your domain. Userplane verifies ownership by checking that the embed script is present on your site.
Go to [Workspace Settings > Domains](https://dash.userplane.io/_/settings?tab=general) and click
**Add Domain**.
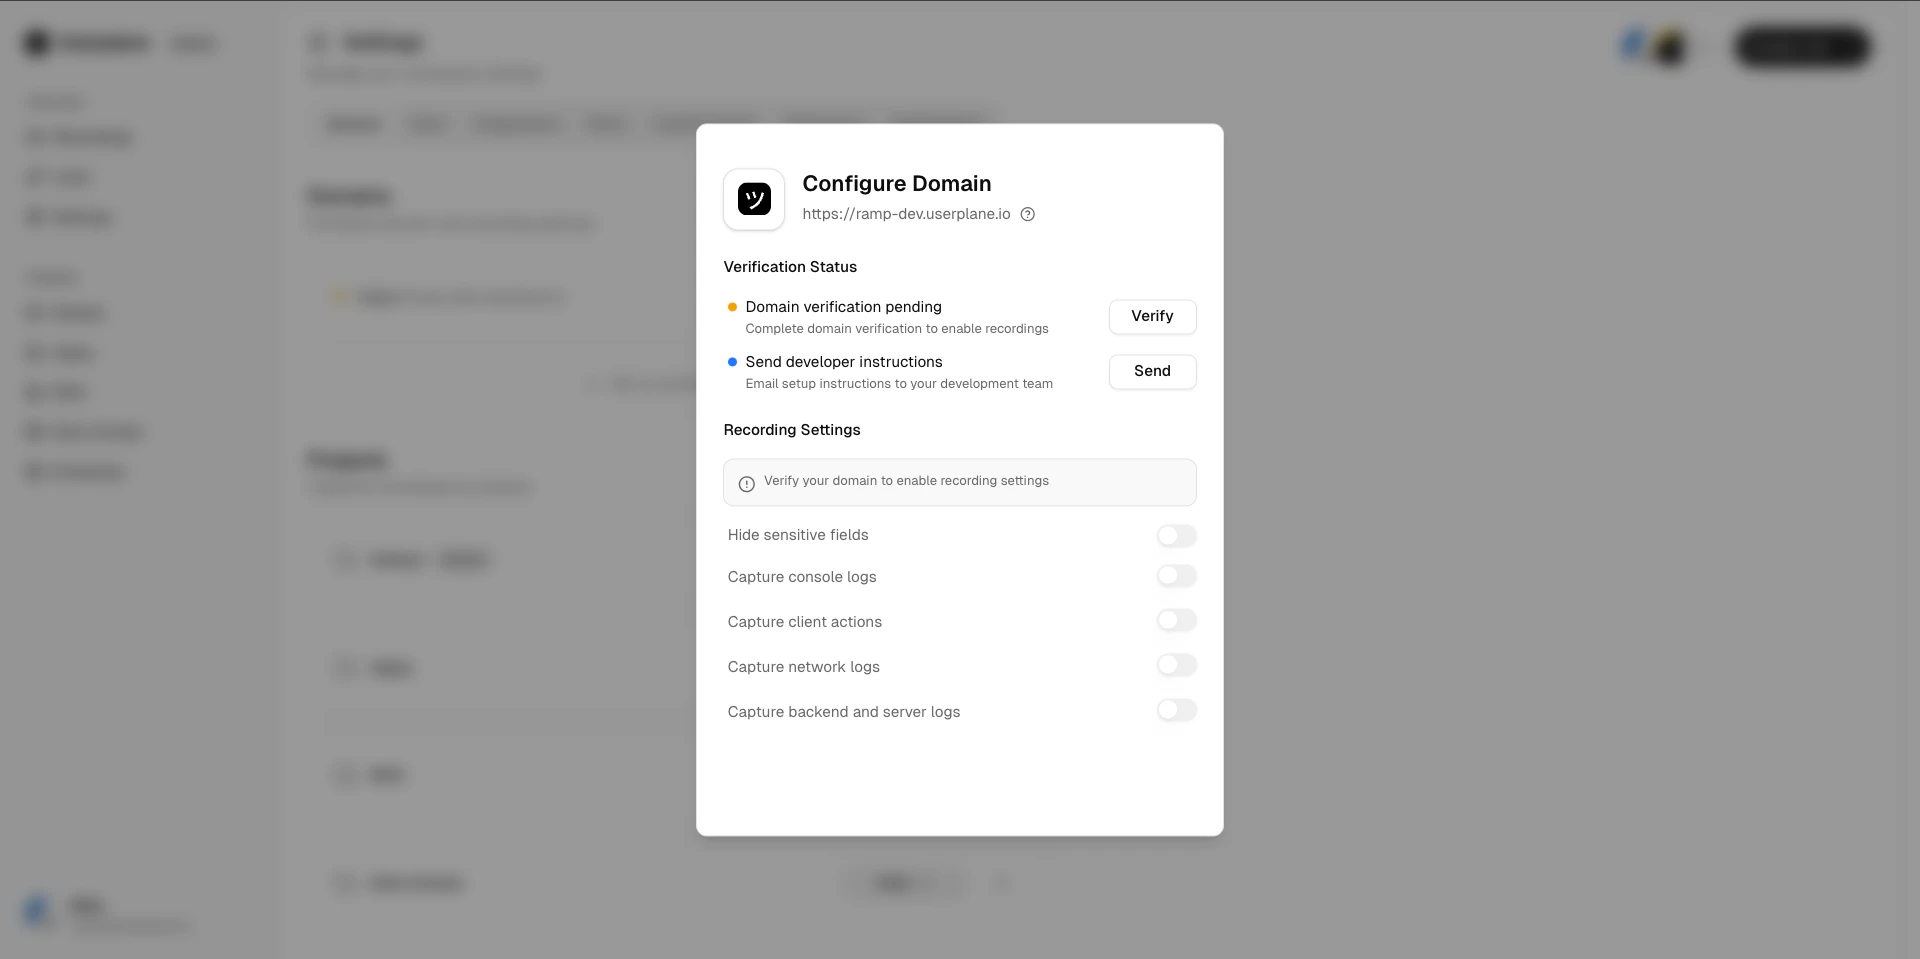
The embed script from Step 1 is what Userplane checks for during verification. Make sure it is
deployed to a publicly accessible page — verification will fail if the page is behind a login
wall or not yet deployed.
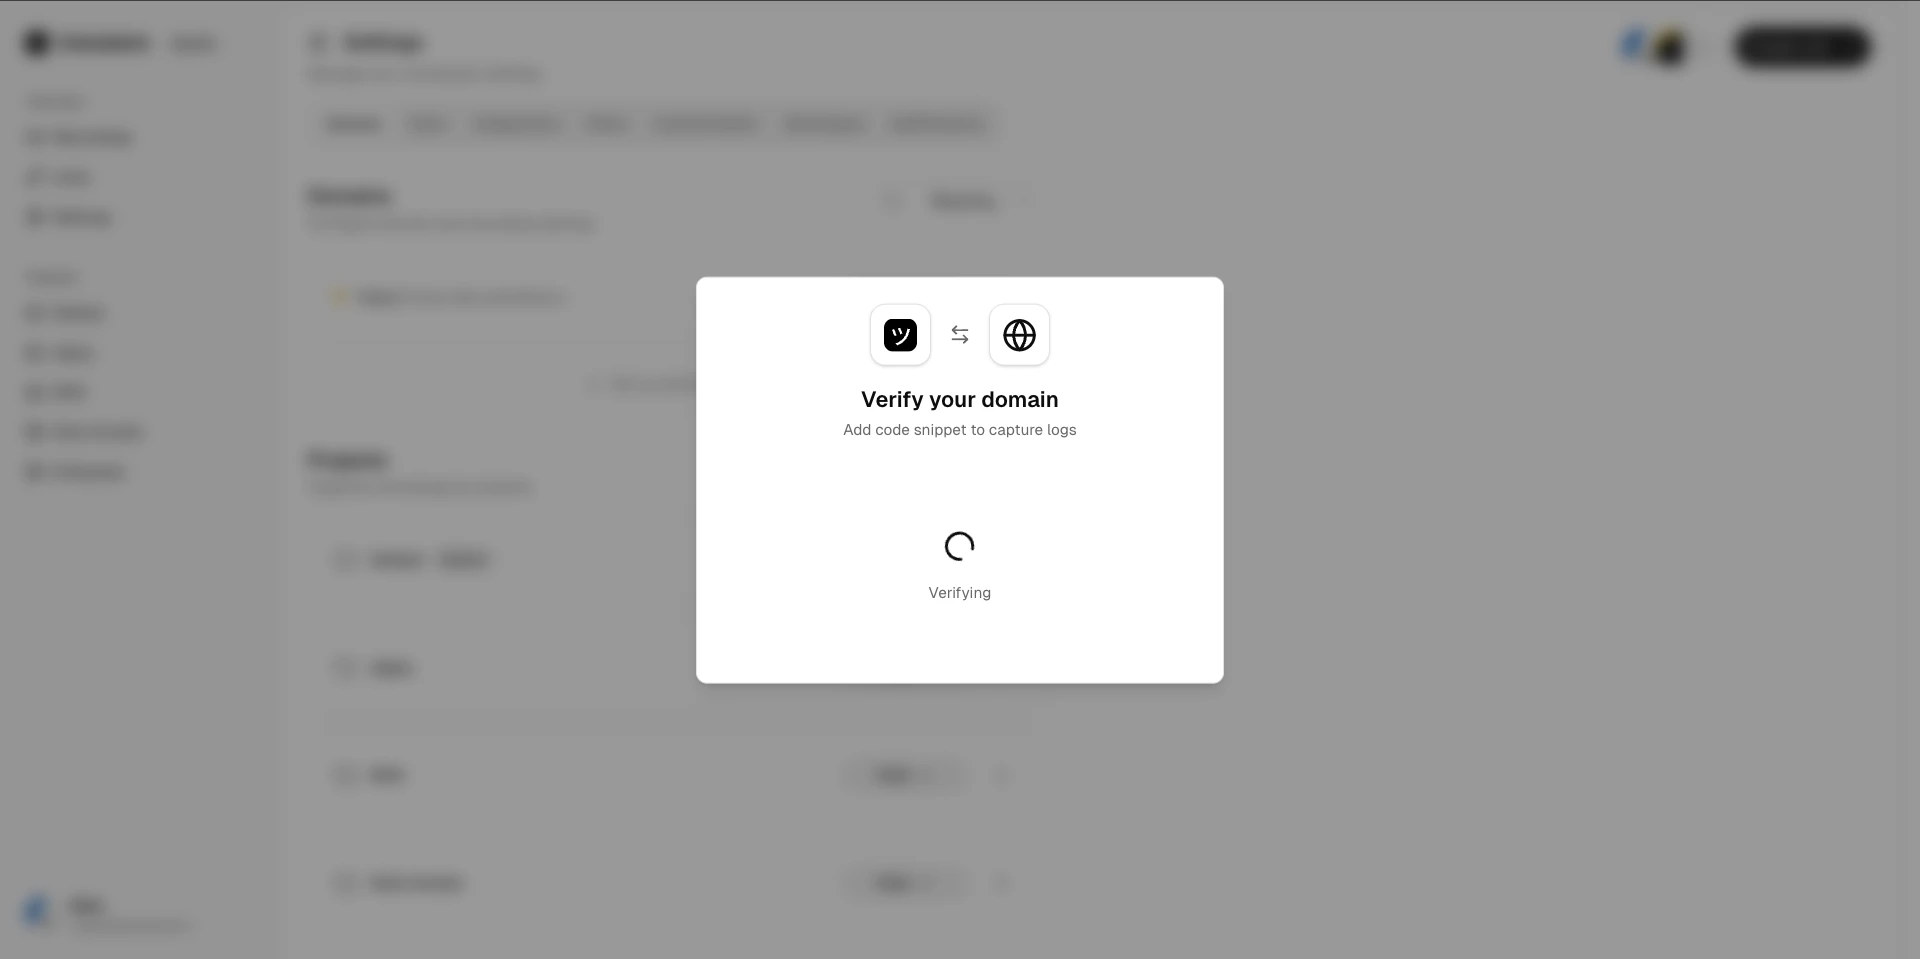
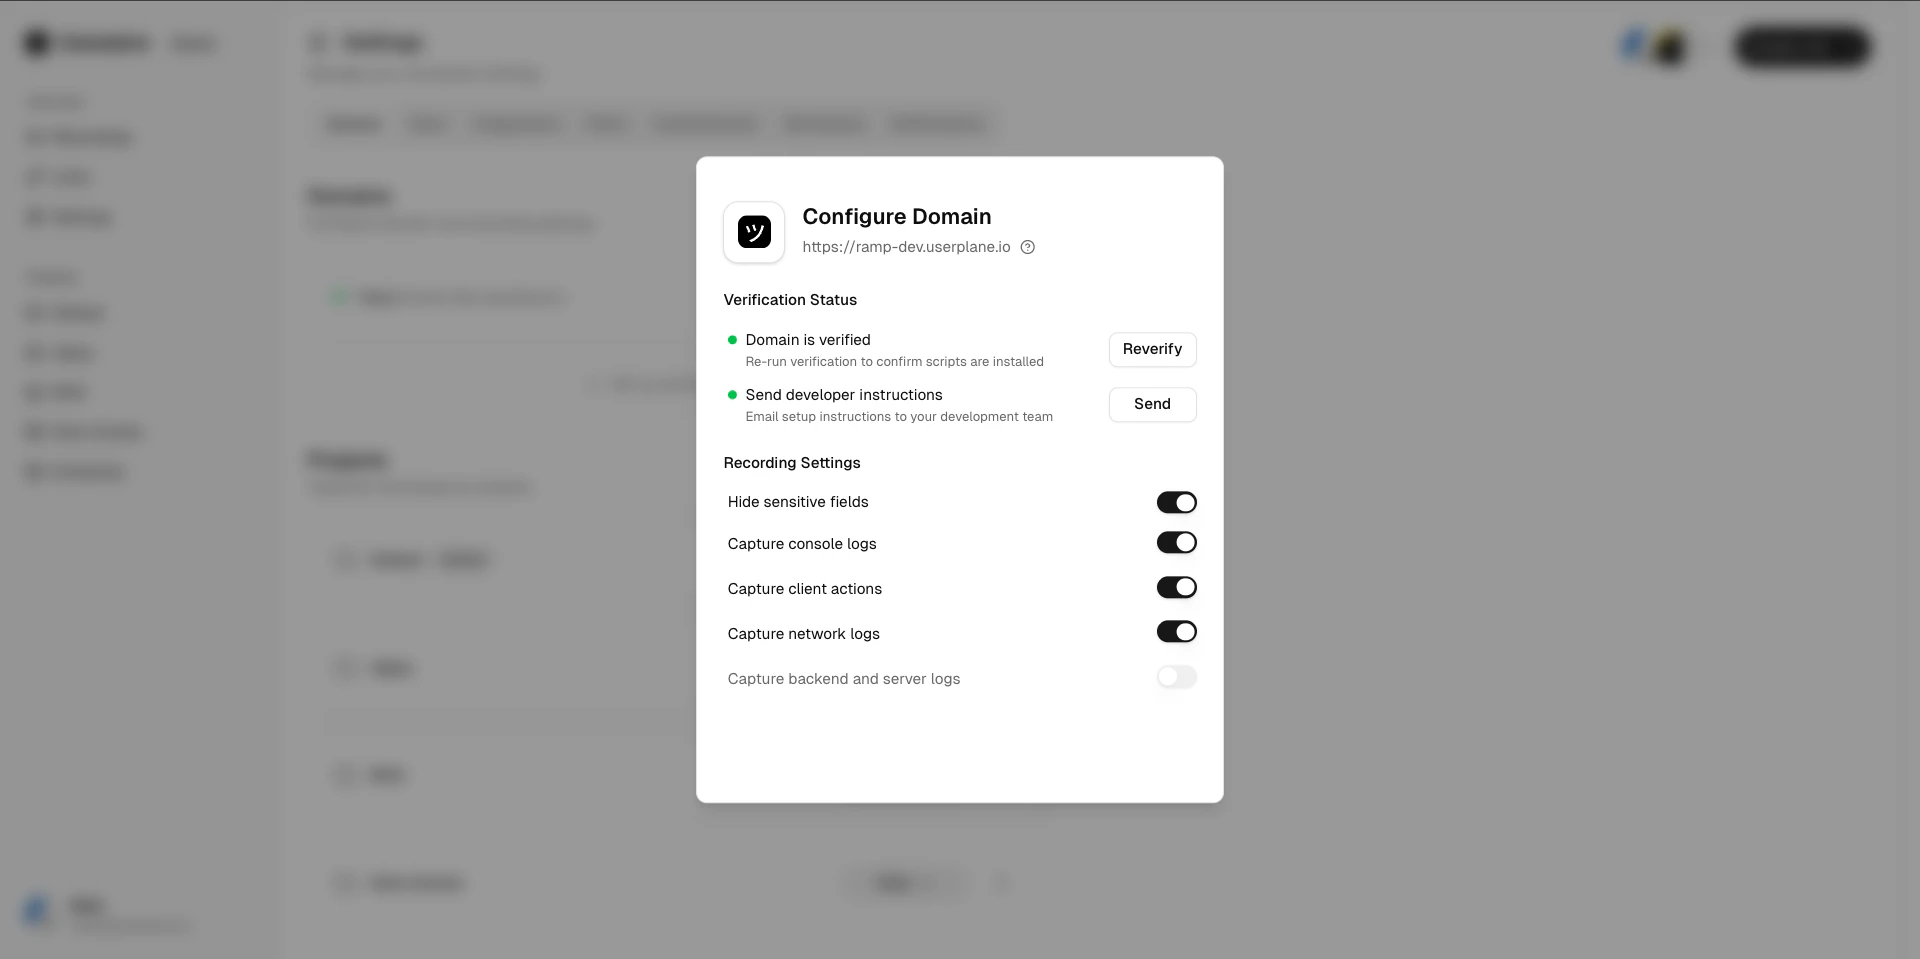
Click **Verify** in the dashboard (or ask your workspace admin to do it). Verification runs
immediately. The verification token expires after 5 minutes, so trigger it once the script is
live.
See [Domain Verification](/developer/domain-verification) for full details and troubleshooting.
## Step 3: Attach metadata to recordings
Metadata lets you attach user and account context to every recording so your support team sees who the customer is without having to ask.
```ts theme={null}
import { set } from '@userplane/sdk';
// Call after your user is authenticated
set('userId', user.id);
set('email', user.email);
set('name', user.name);
set('accountId', account.id);
set('plan', account.plan);
```
Metadata appears in the **Info** tab of every recording from that user. See [Metadata SDK](/developer/metadata-sdk) for the full reference.
### Dynamic metadata
Use `metadata()` to capture values at recording submission time — useful for SPAs where context changes without a page reload:
```ts theme={null}
import { set, metadata } from '@userplane/sdk';
// Static values set once at login
set('userId', user.id);
set('email', user.email);
// Dynamic values captured fresh when the recording is submitted
metadata(() => ({
accountId: getCurrentAccount().id,
plan: getCurrentAccount().plan,
page: window.location.pathname,
}));
```
## Step 4: Configure sensitive data redaction
Prevent sensitive data from appearing in recordings before you go to production.
### Blur DOM elements
Add `data-userplane-blur` to any element you want blurred in the recording:
```html theme={null}
4242 4242 4242 4242
```
See [Sensitive Data Redaction](/developer/sensitive-data-redaction) for the full list of privacy controls — including CSS class and meta tag approaches, and third-party selector compatibility.
### Exclude network requests
Prevent specific URLs from being captured in network logs by passing `excludeCaptureEndpoints` to `initialize()`:
```ts theme={null}
initialize({
workspaceId: 'YOUR_WORKSPACE_ID',
excludeCaptureEndpoints: ['/api/auth', '/api/payment', 'stripe.com'],
});
```
These are merged with Userplane's internal excluded endpoints.
## Step 5: Choose your framework
Userplane works with any JavaScript framework. Check the guide for yours:
## Programmatic recording controls
Once the SDK is installed, you can control recording sessions programmatically:
```ts theme={null}
import { open, unmount, getRecordingState } from '@userplane/sdk';
// Open the recording flow
open();
// Close the recorder
unmount();
// Check current state
const state = getRecordingState(); // 'inactive' | 'active' | 'retained'
```
See [Recorder Control API](/developer/web-sdk#recorder-control) for full details.
## Checklist before going live
* [ ] Embed script installed on every page (or `initialize()` called via the npm package)
* [ ] `workspaceId` is set correctly (not hardcoded in the repo — use env vars)
* [ ] Domain verified in the dashboard
* [ ] `set()` called after user authentication to attach metadata
* [ ] Sensitive fields marked with `data-userplane-blur`
* [ ] `excludeCaptureEndpoints` set in `initialize()` to exclude auth/payment URLs from network logs
* [ ] Tested a recording end-to-end in a staging environment
## Next steps
Full API reference for initialization, controls, and events
Attach user and account context to every recording
Full privacy controls — masking, exclusions, and redaction
What data is collected and how it's stored
 `bash npm install @userplane/sdk `
```ts theme={null}
import { initialize } from '@userplane/sdk';
initialize({ workspaceId: 'YOUR_WORKSPACE_ID' });
```
Your `workspaceId` is in [Workspace Settings > General](https://dash.userplane.io/_/settings).
See [Web SDK Reference](/developer/web-sdk) for the full API and [Installation Guide](/developer/installation) for platform-specific notes.
## Step 2: Verify your domain
Domain verification is required before your support team can create branded recording links on your domain. Userplane verifies ownership by checking that the embed script is present on your site.
`bash npm install @userplane/sdk `
```ts theme={null}
import { initialize } from '@userplane/sdk';
initialize({ workspaceId: 'YOUR_WORKSPACE_ID' });
```
Your `workspaceId` is in [Workspace Settings > General](https://dash.userplane.io/_/settings).
See [Web SDK Reference](/developer/web-sdk) for the full API and [Installation Guide](/developer/installation) for platform-specific notes.
## Step 2: Verify your domain
Domain verification is required before your support team can create branded recording links on your domain. Userplane verifies ownership by checking that the embed script is present on your site.
 See [Sensitive Data Redaction](/developer/sensitive-data-redaction) for the full list of privacy controls — including CSS class and meta tag approaches, and third-party selector compatibility.
### Exclude network requests
Prevent specific URLs from being captured in network logs by passing `excludeCaptureEndpoints` to `initialize()`:
```ts theme={null}
initialize({
workspaceId: 'YOUR_WORKSPACE_ID',
excludeCaptureEndpoints: ['/api/auth', '/api/payment', 'stripe.com'],
});
```
These are merged with Userplane's internal excluded endpoints.
## Step 5: Choose your framework
Userplane works with any JavaScript framework. Check the guide for yours:
See [Sensitive Data Redaction](/developer/sensitive-data-redaction) for the full list of privacy controls — including CSS class and meta tag approaches, and third-party selector compatibility.
### Exclude network requests
Prevent specific URLs from being captured in network logs by passing `excludeCaptureEndpoints` to `initialize()`:
```ts theme={null}
initialize({
workspaceId: 'YOUR_WORKSPACE_ID',
excludeCaptureEndpoints: ['/api/auth', '/api/payment', 'stripe.com'],
});
```
These are merged with Userplane's internal excluded endpoints.
## Step 5: Choose your framework
Userplane works with any JavaScript framework. Check the guide for yours: