> ## Documentation Index
> Fetch the complete documentation index at: https://docs.userplane.io/llms.txt
> Use this file to discover all available pages before exploring further.
# Support Engineer Onboarding
> Configure your workspace, set up domains, manage recording link settings, and keep sensitive data secure
You're the one who gets things set up so the rest of the support team can work effectively. This guide covers workspace configuration, domain setup, recording link management, and sensitive data controls.
## What you'll own
* Workspace and team configuration
* Domain verification and branding
* Recording link defaults and limits
* Sensitive data redaction rules
## Step 1: Create and configure your workspace
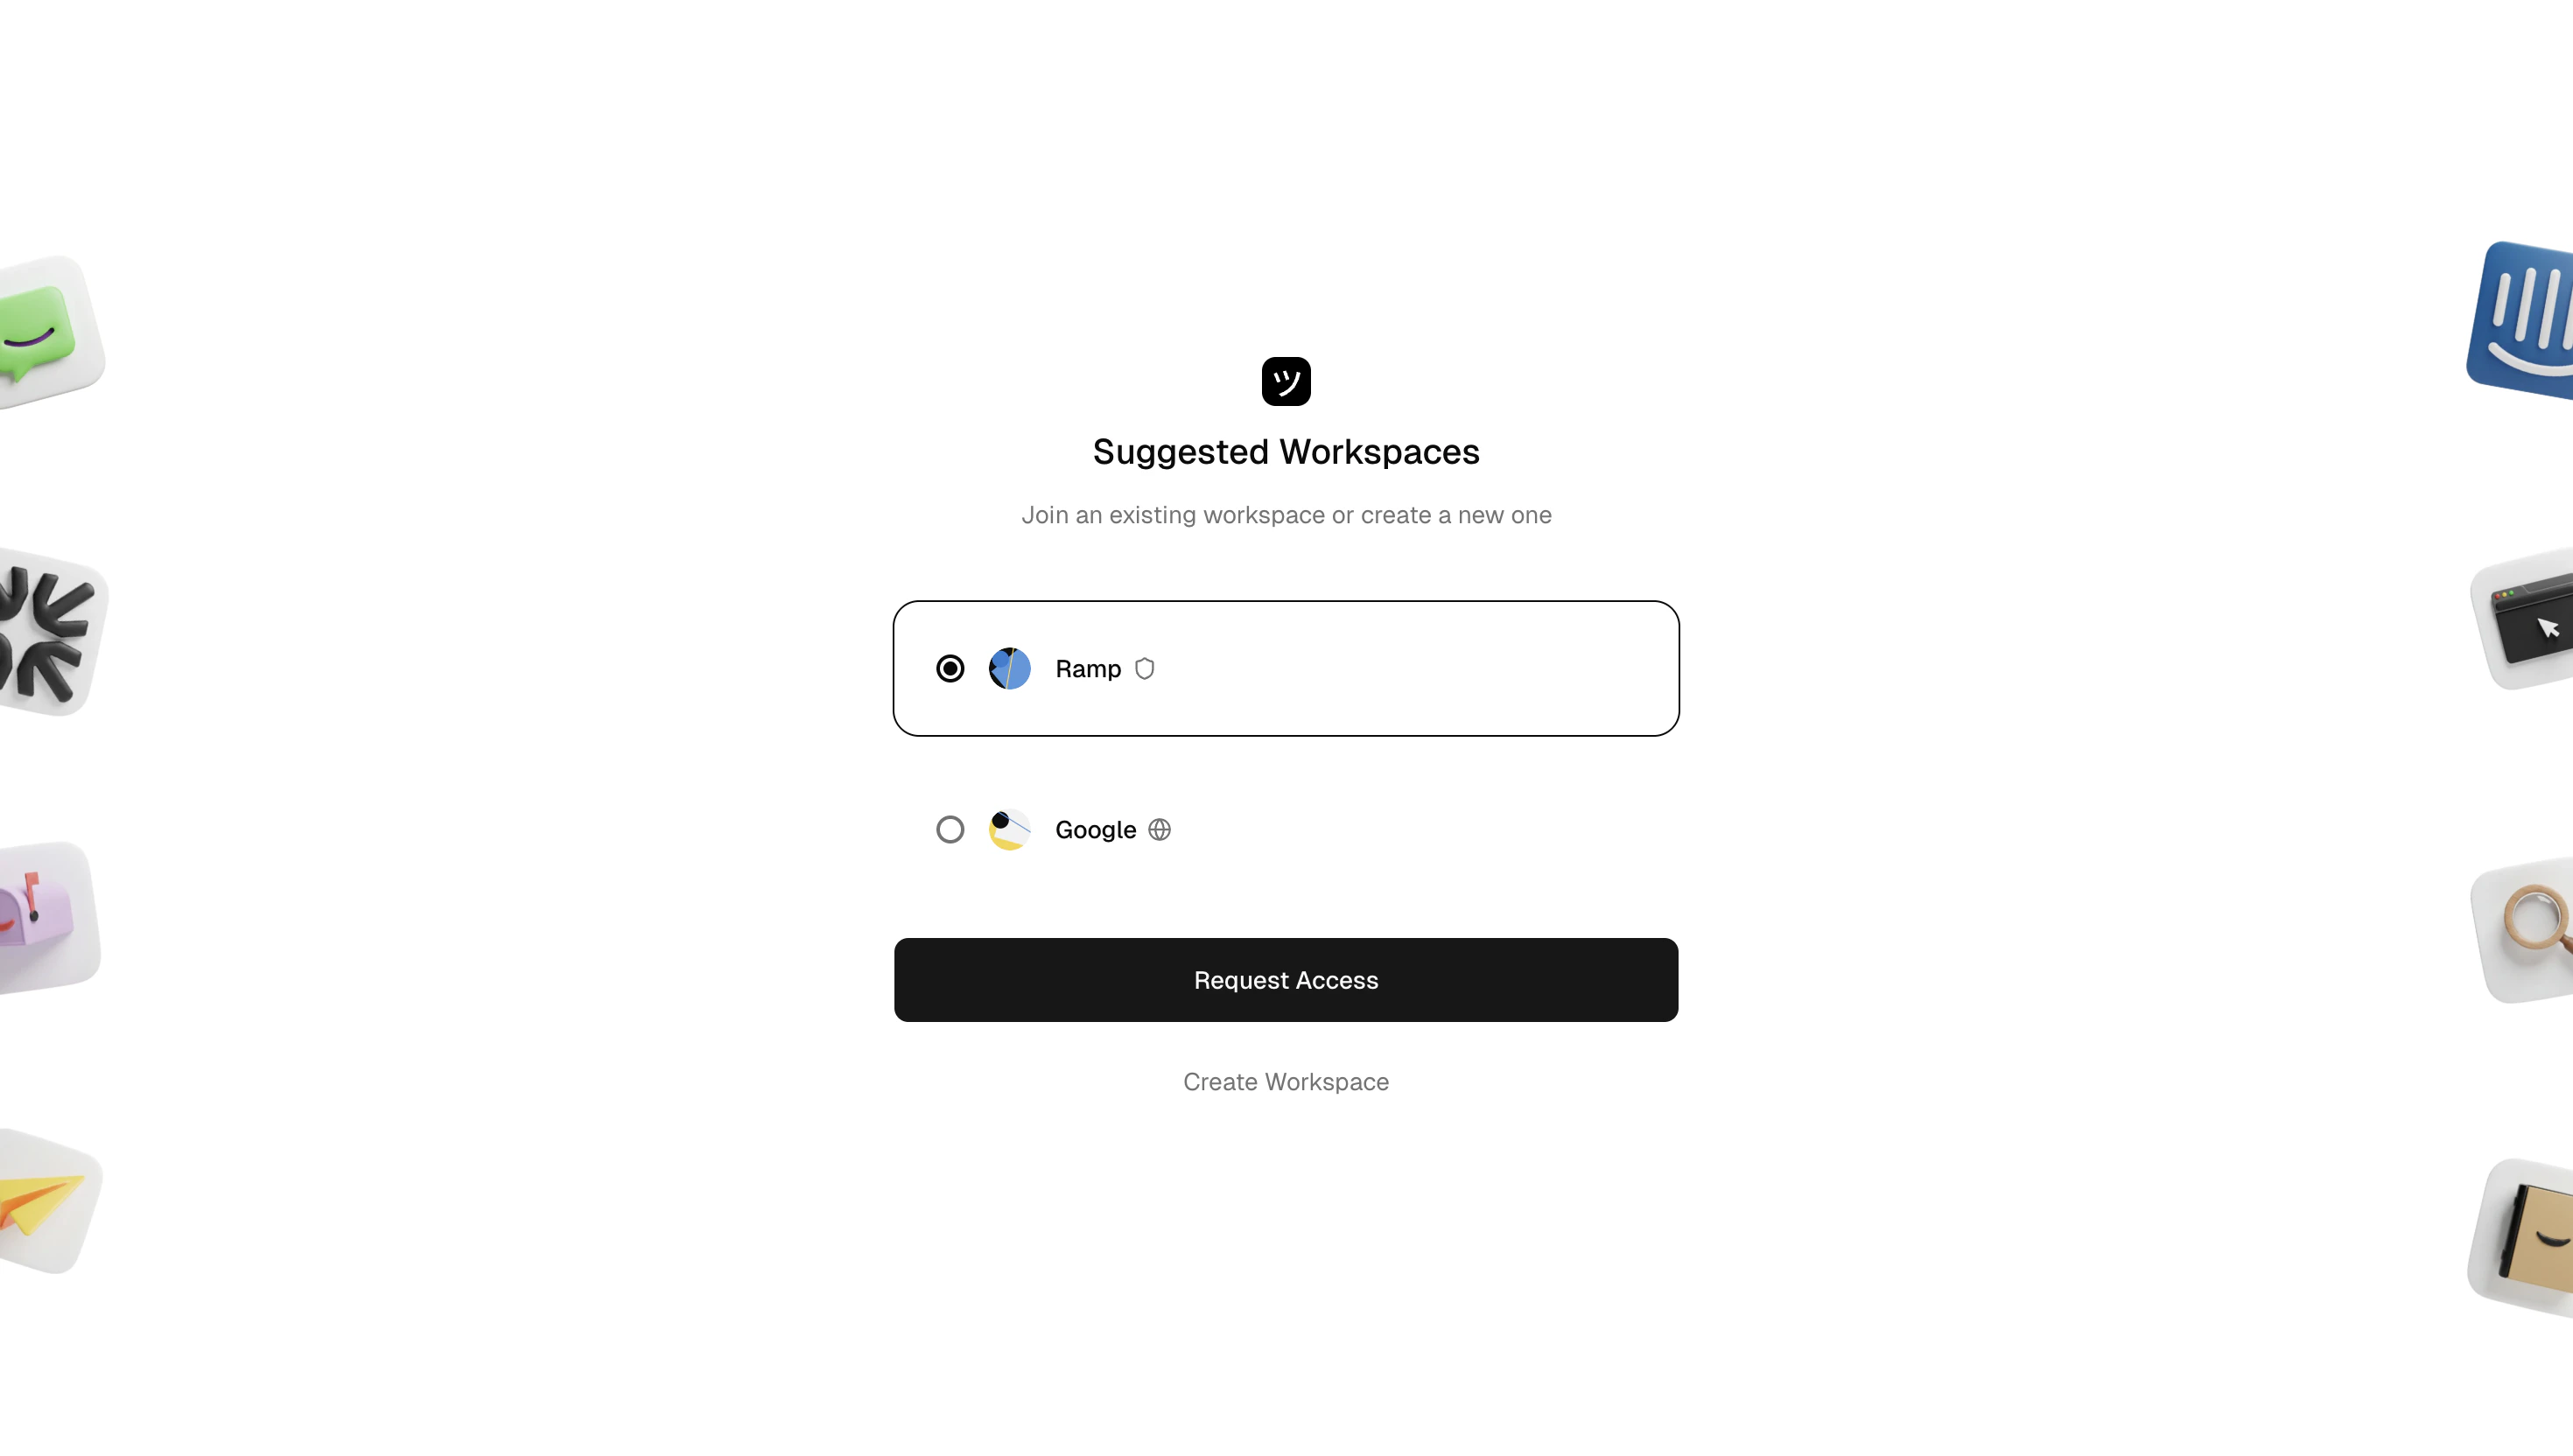
Sign in and click [Create Workspace](https://dash.userplane.io/workspace/create). Enter your company URL to get started.
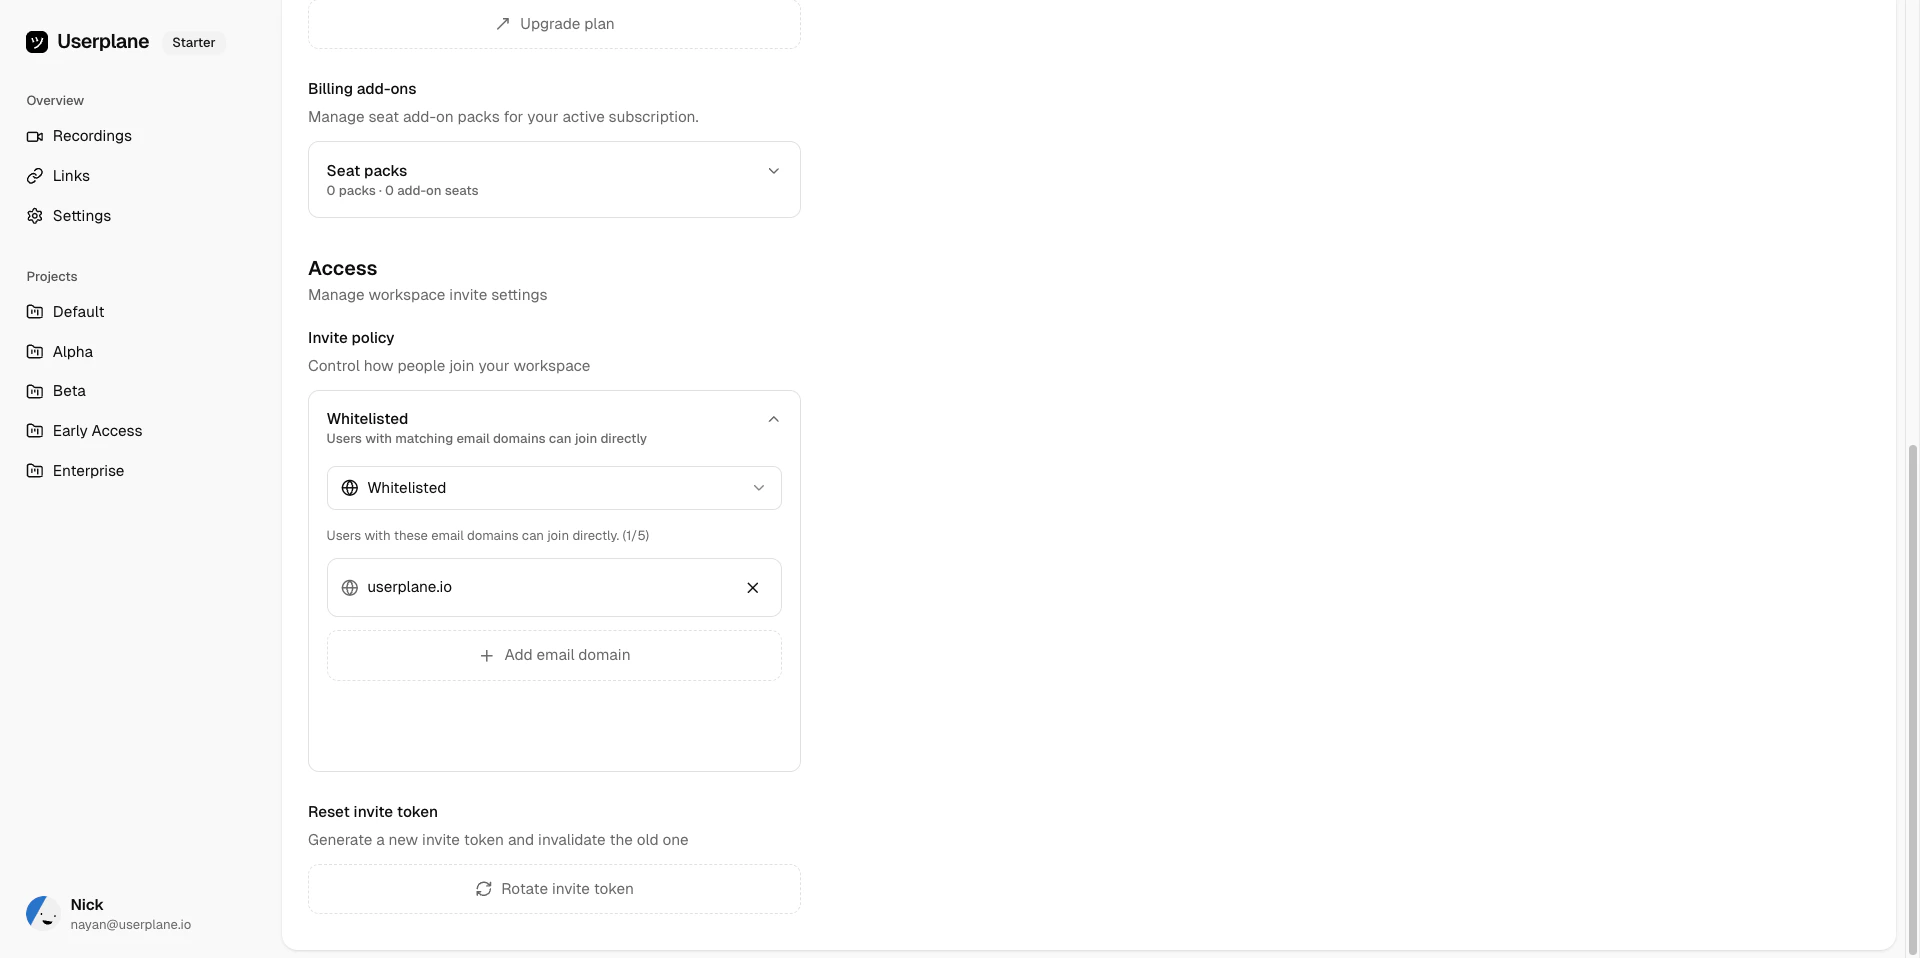
 Go to [Workspace Settings > Invite Policy](https://dash.userplane.io/_/settings?tab=workspace). Choose the right policy for your org:
| Policy | Behavior |
| --------------- | ------------------------------------------------------- |
| **Private** | Only explicitly invited users can join |
| **Whitelisted** | Anyone with a matching email domain joins automatically |
| **Protected** | Matching domain users can request access, you approve |
Go to [Workspace Settings > Invite Policy](https://dash.userplane.io/_/settings?tab=workspace). Choose the right policy for your org:
| Policy | Behavior |
| --------------- | ------------------------------------------------------- |
| **Private** | Only explicitly invited users can join |
| **Whitelisted** | Anyone with a matching email domain joins automatically |
| **Protected** | Matching domain users can request access, you approve |
 Whitelist your company email domain so teammates can join without individual invites.
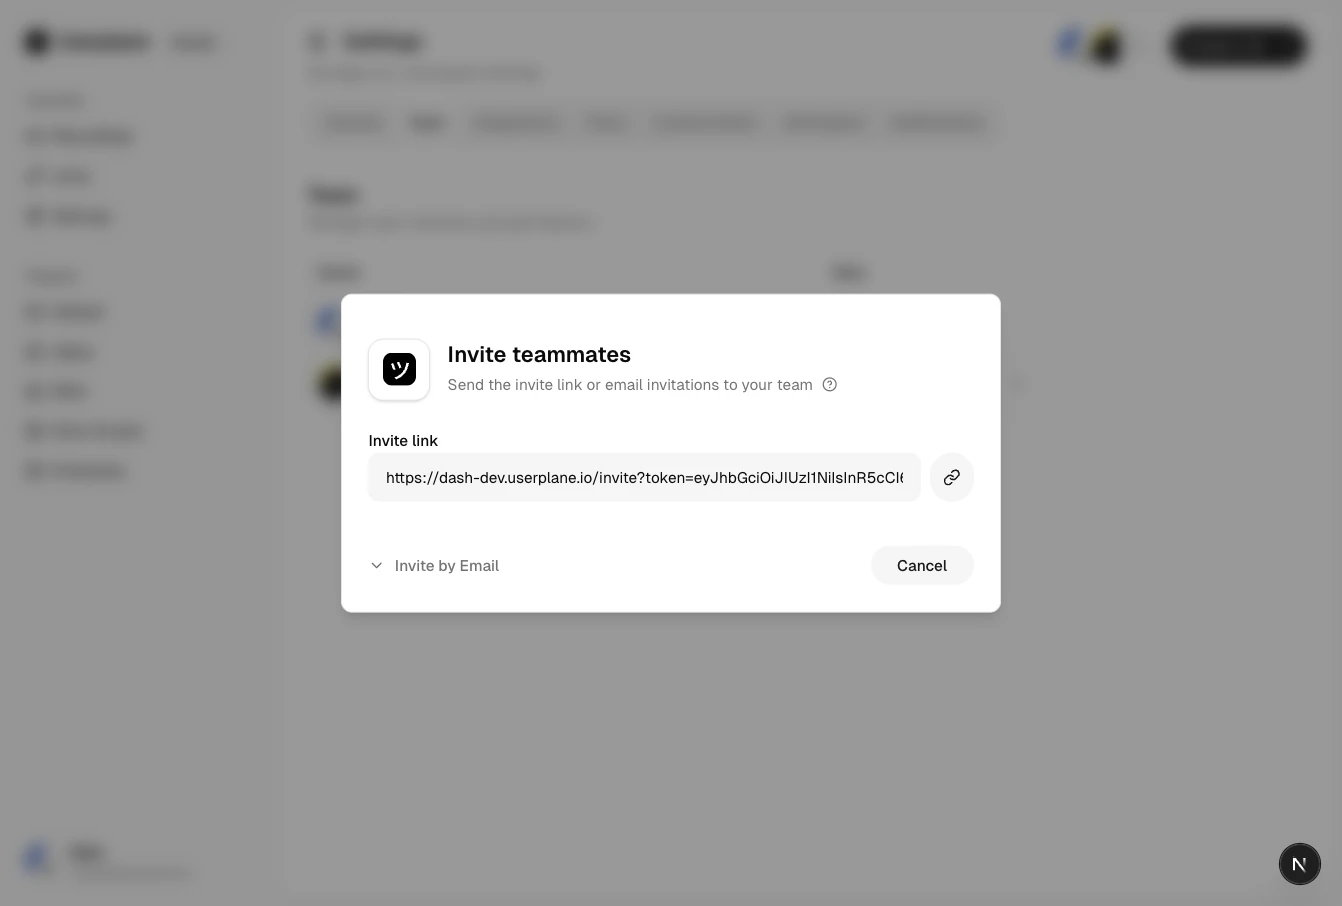
 Go to [Team Settings](https://dash.userplane.io/_/settings?tab=team) and invite teammates. Later, you can assign roles based on what each person needs to do.
 See [Roles & Permissions](/workspace/roles-permissions) for a full breakdown of what each role can access.
## Step 2: Set up roles and projects
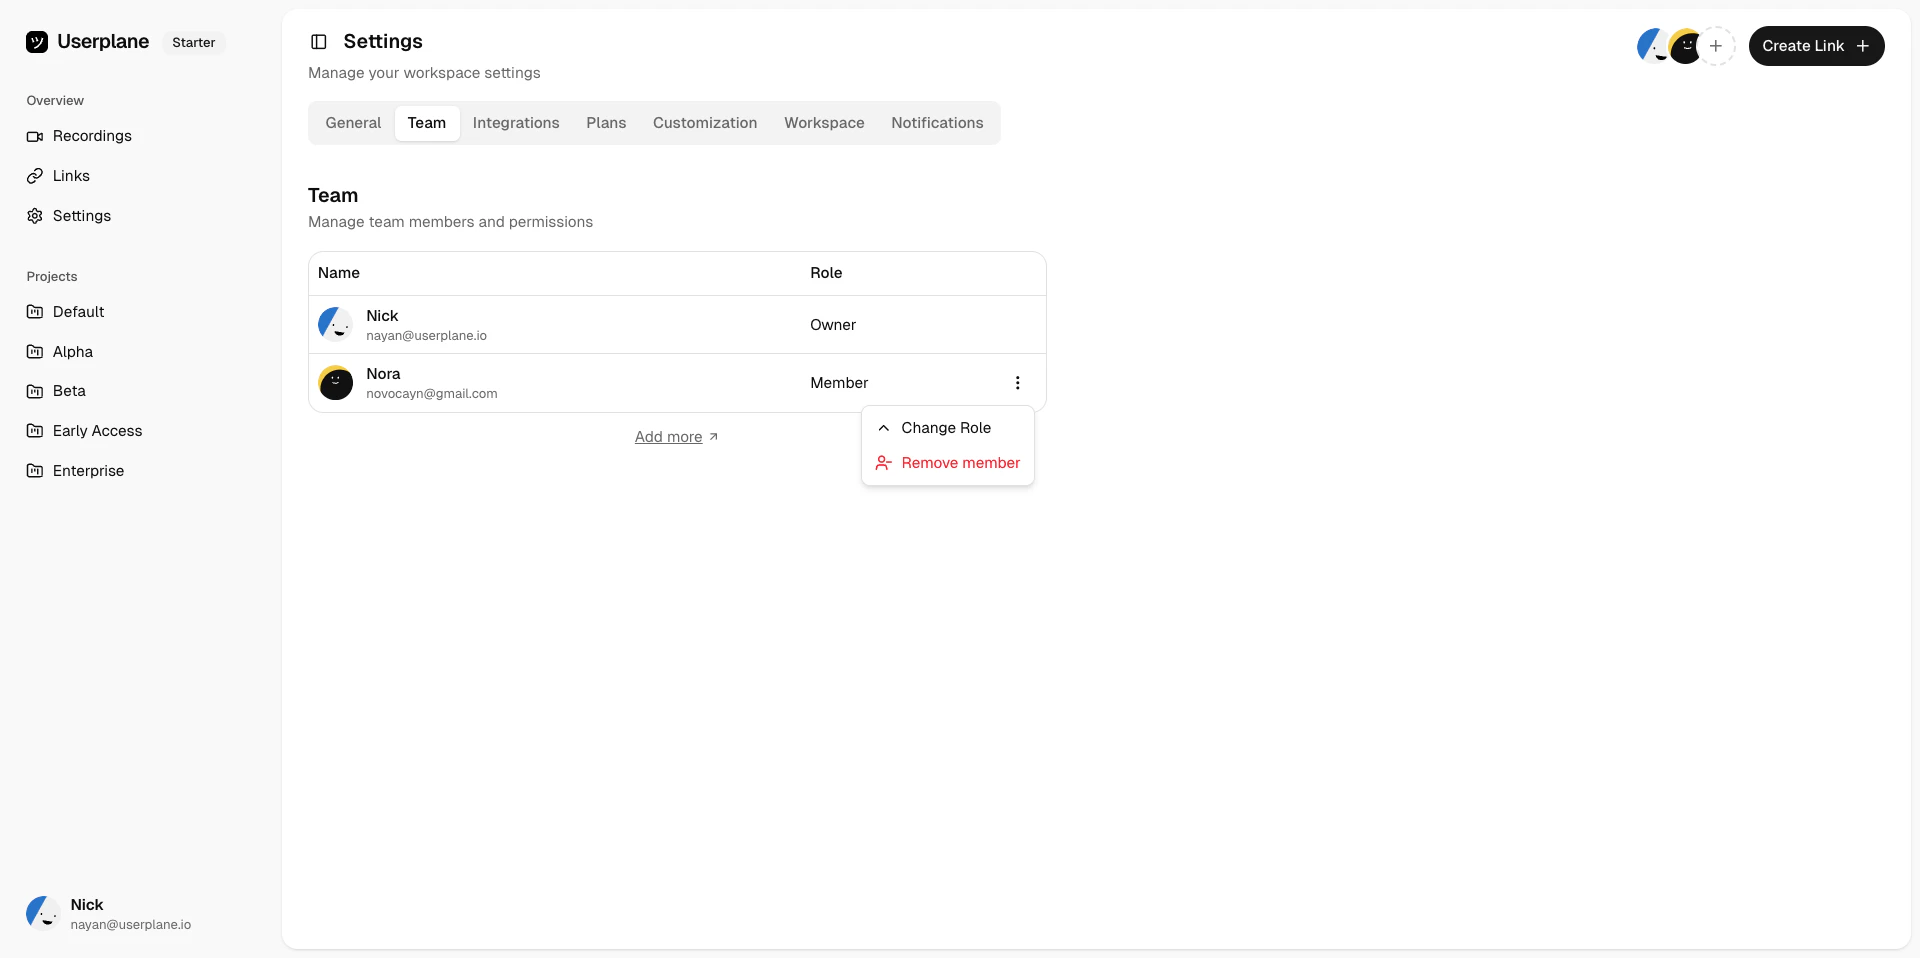
Review the default roles (**Owner**, **Admin**, **Member**, **Viewer**) and assign them to
teammates. Admins can manage integrations and settings; Members can create links and review
recordings.
See [Roles & Permissions](/workspace/roles-permissions) for a full breakdown of what each role can access.
## Step 2: Set up roles and projects
Review the default roles (**Owner**, **Admin**, **Member**, **Viewer**) and assign them to
teammates. Admins can manage integrations and settings; Members can create links and review
recordings.
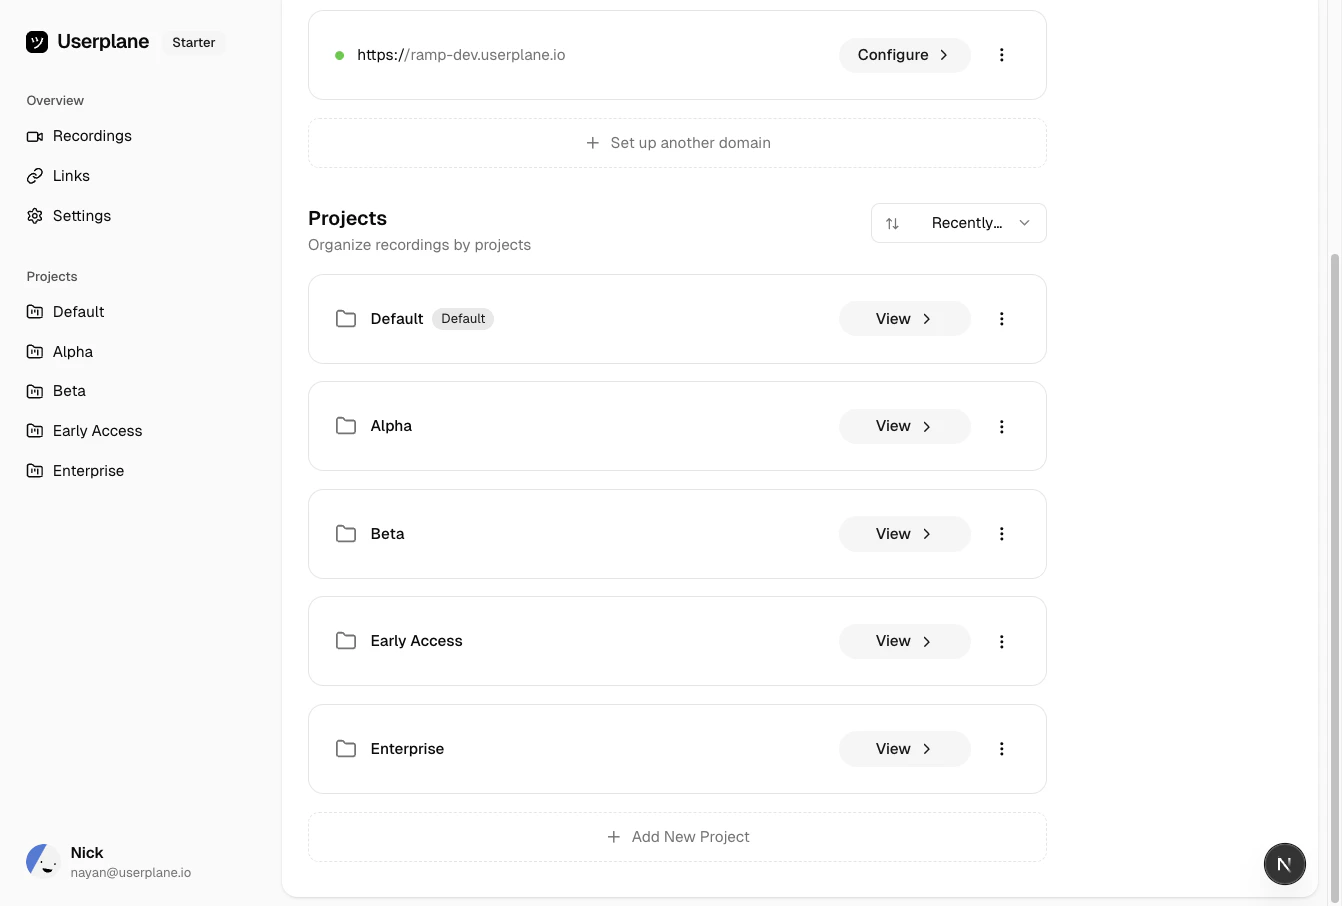
 Go to [Projects](https://dash.userplane.io/_/projects) and create projects for each product
area, customer segment, or team. Projects keep recordings organized and make filtering easy.
Go to [Projects](https://dash.userplane.io/_/projects) and create projects for each product
area, customer segment, or team. Projects keep recordings organized and make filtering easy.
 ## Step 3: Verify your domain
Domain verification enables first-party branded recording links — customers see your domain, not Userplane's. Userplane verifies ownership by checking that its embed script is present on your site.
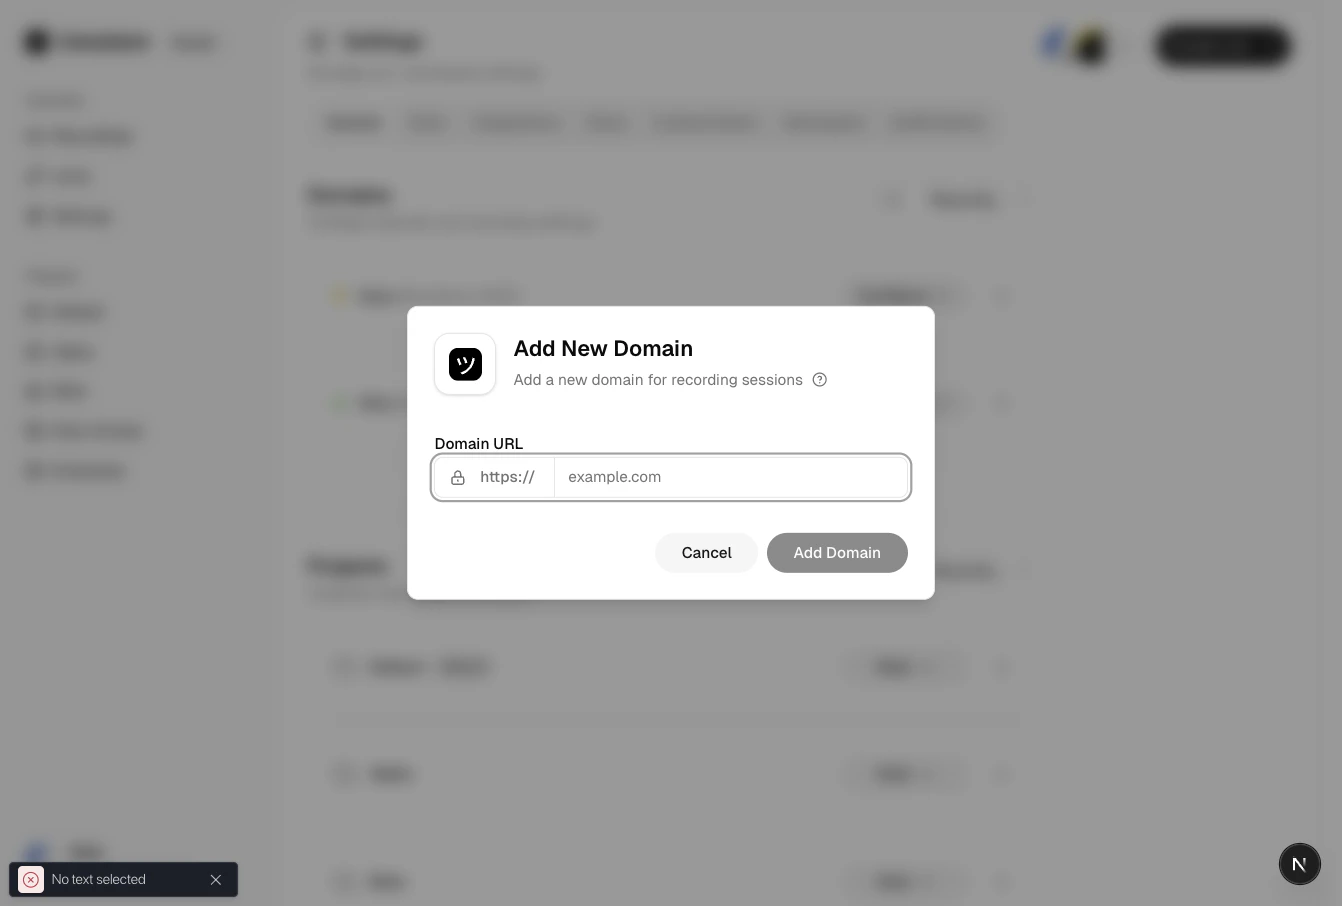
Go to [Workspace Settings > Domains](https://dash.userplane.io/_/settings?tab=general) and click
**Add Domain**.
## Step 3: Verify your domain
Domain verification enables first-party branded recording links — customers see your domain, not Userplane's. Userplane verifies ownership by checking that its embed script is present on your site.
Go to [Workspace Settings > Domains](https://dash.userplane.io/_/settings?tab=general) and click
**Add Domain**.
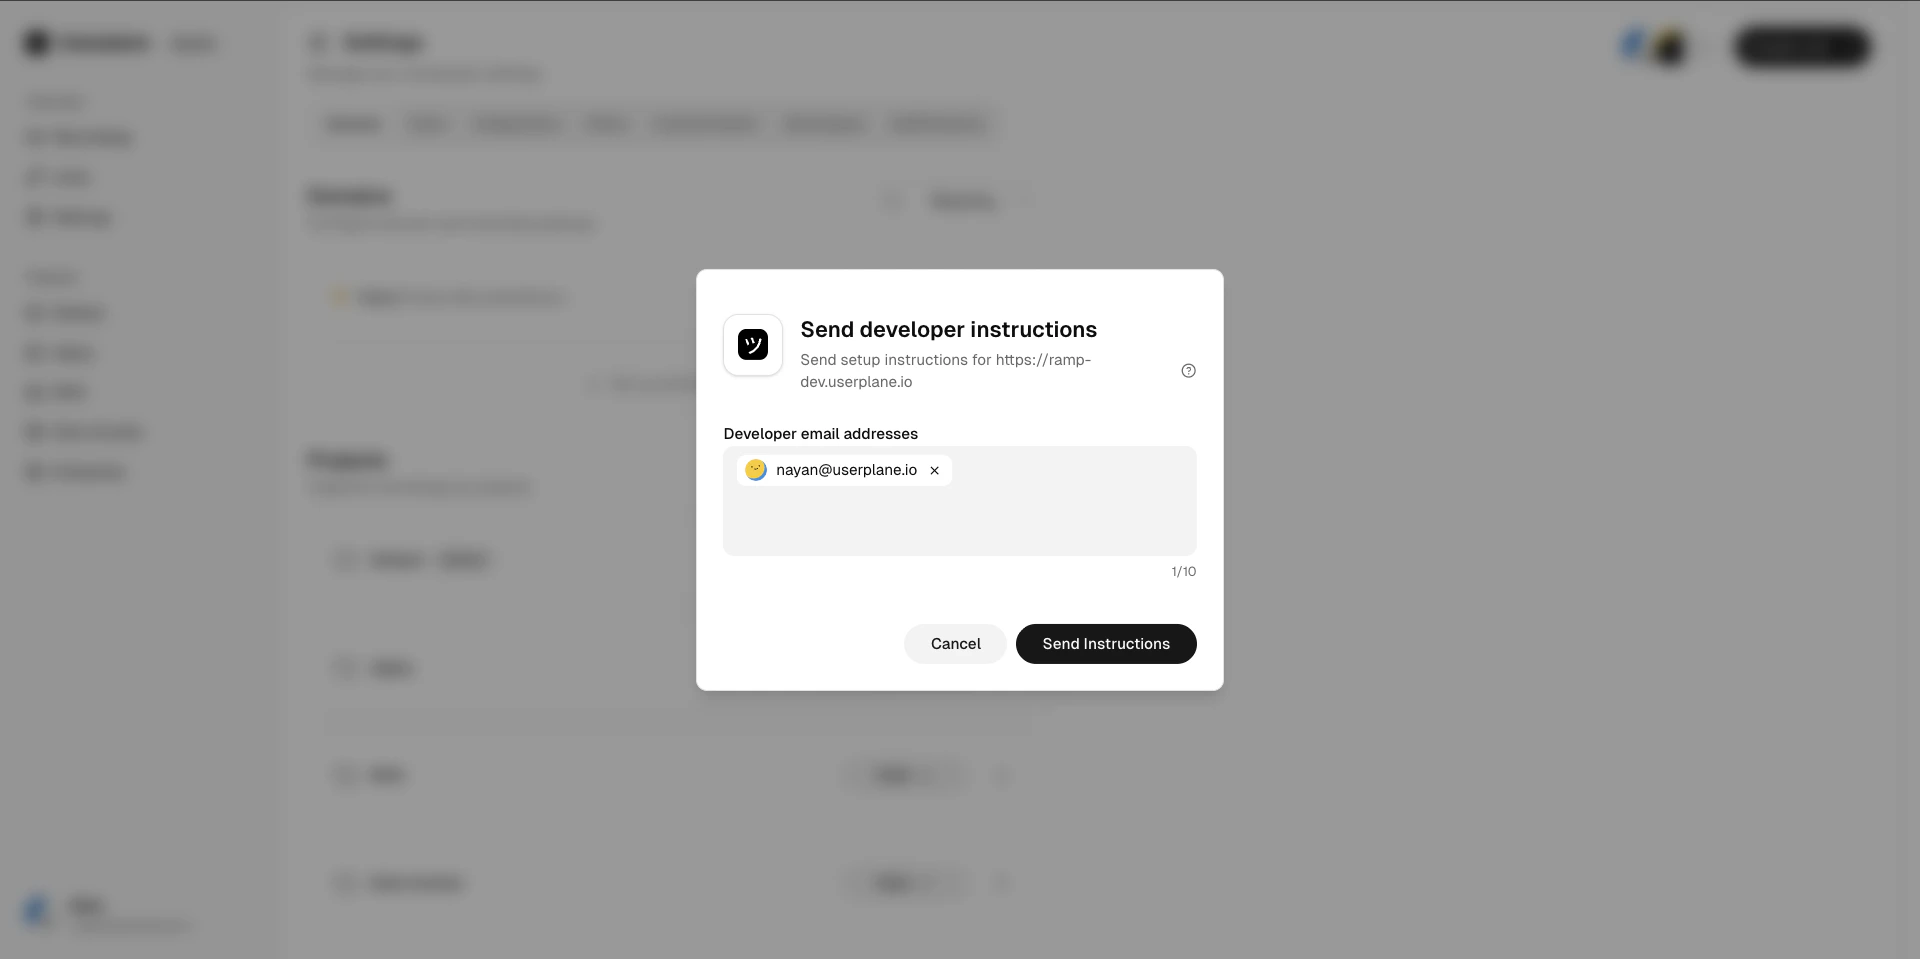
 Click **Send to Developer** to email the script install instructions to your engineering team.
They need to add the Userplane embed script to a publicly accessible page on the domain.
Click **Send to Developer** to email the script install instructions to your engineering team.
They need to add the Userplane embed script to a publicly accessible page on the domain.
 Once your developer confirms the script is deployed, click **Verify** in the dashboard.
Verification runs immediately. The verification token expires after 5 minutes, so coordinate
with your developer before clicking Verify.
Once your developer confirms the script is deployed, click **Verify** in the dashboard.
Verification runs immediately. The verification token expires after 5 minutes, so coordinate
with your developer before clicking Verify.
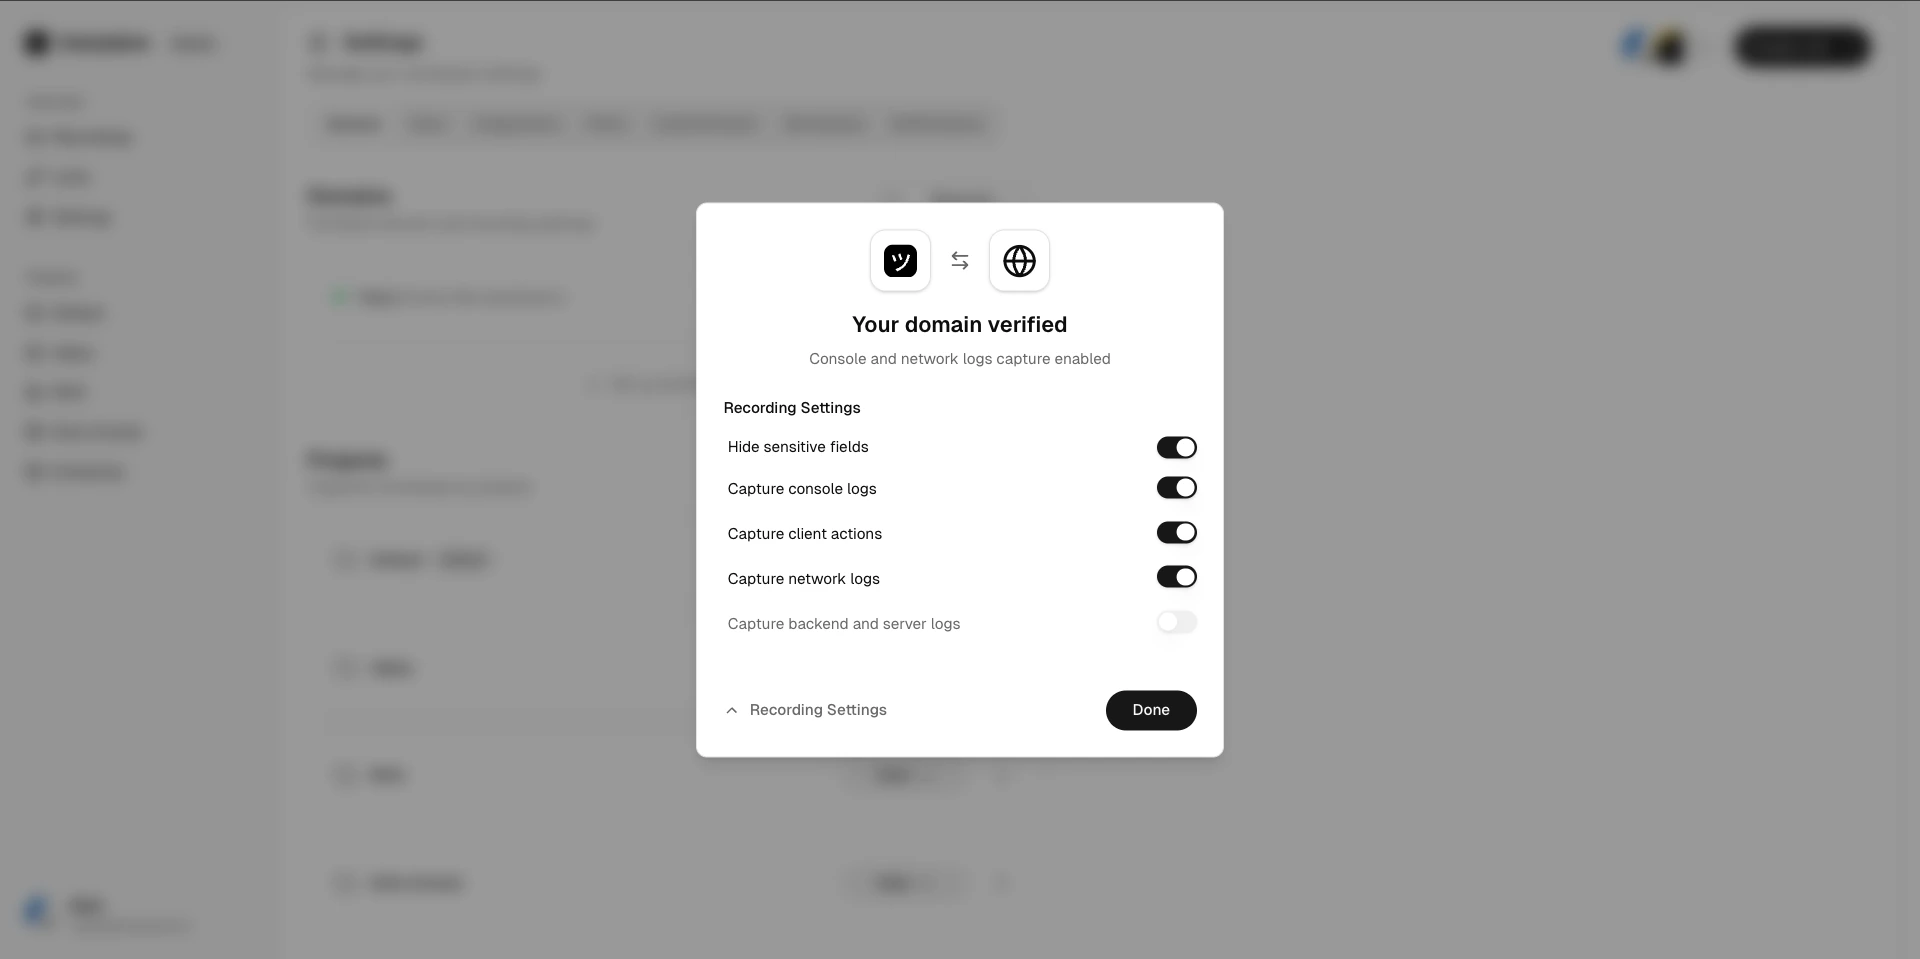
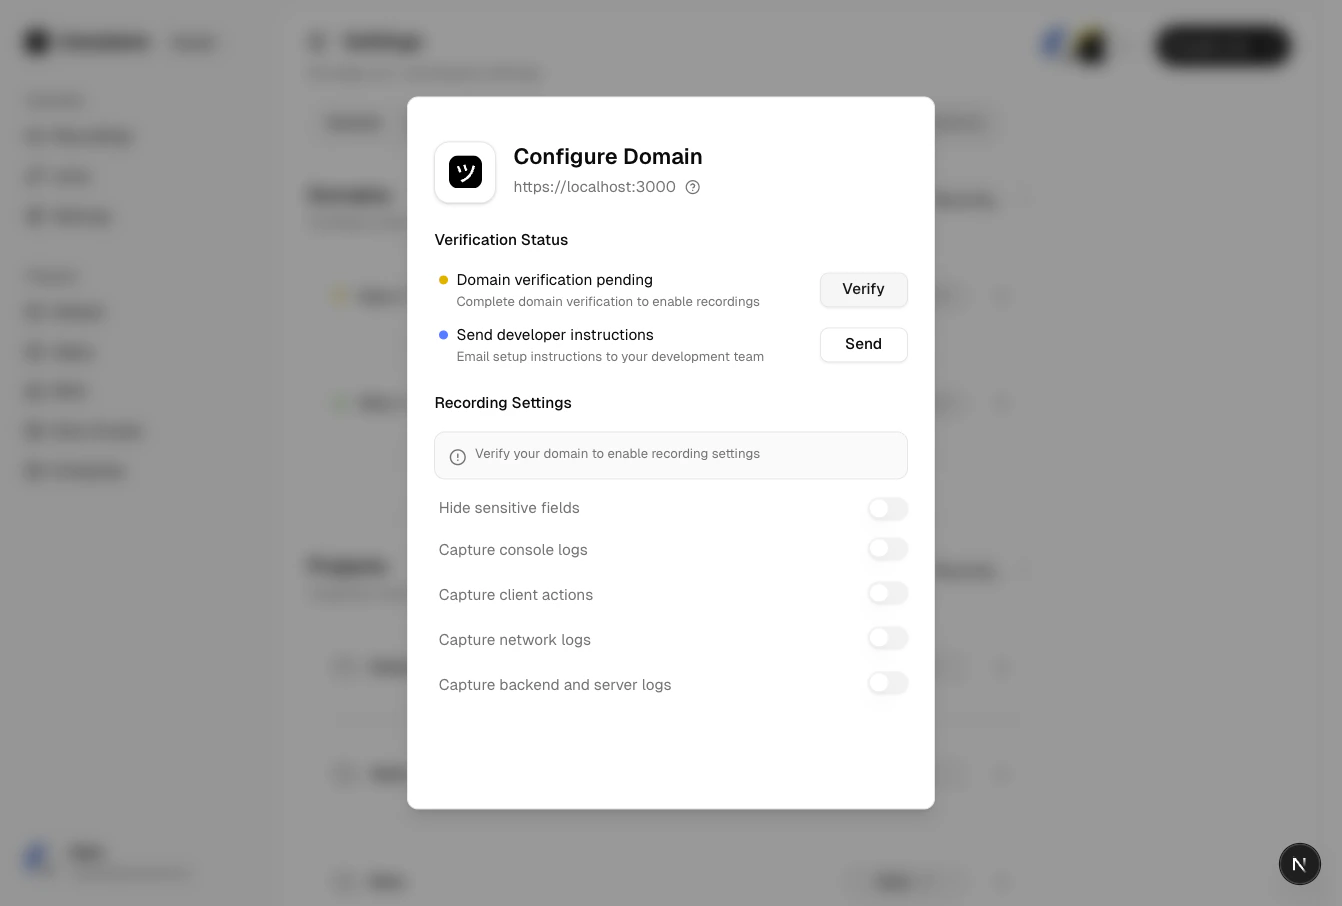 Once verified, set per-domain defaults: which data to capture (console, network, audio), link
expiry, and branding.
Once verified, set per-domain defaults: which data to capture (console, network, audio), link
expiry, and branding.
 See [Domain Management](/workspace/domain-management) and [Recording Link Domain Preferences](/recording-links/domain-preferences).
## Step 4: Configure sensitive data redaction
Before going live, make sure sensitive customer data doesn't appear in recordings.
Once enabled, recordings include screen video, console logs, and network requests.
Go to [Recording Link Settings](/recording-links/sensitive-data-redaction) and configure: -
**URL patterns** to exclude from network capture - **Request header redaction** for auth tokens
* **CSS selector masking** to blur sensitive DOM elements in the video
For deeper redaction (e.g., redacting specific fields in API responses), your engineering team
can use the SDK's privacy controls. Point them to the [Developer
guide](/getting-started/for-developers).
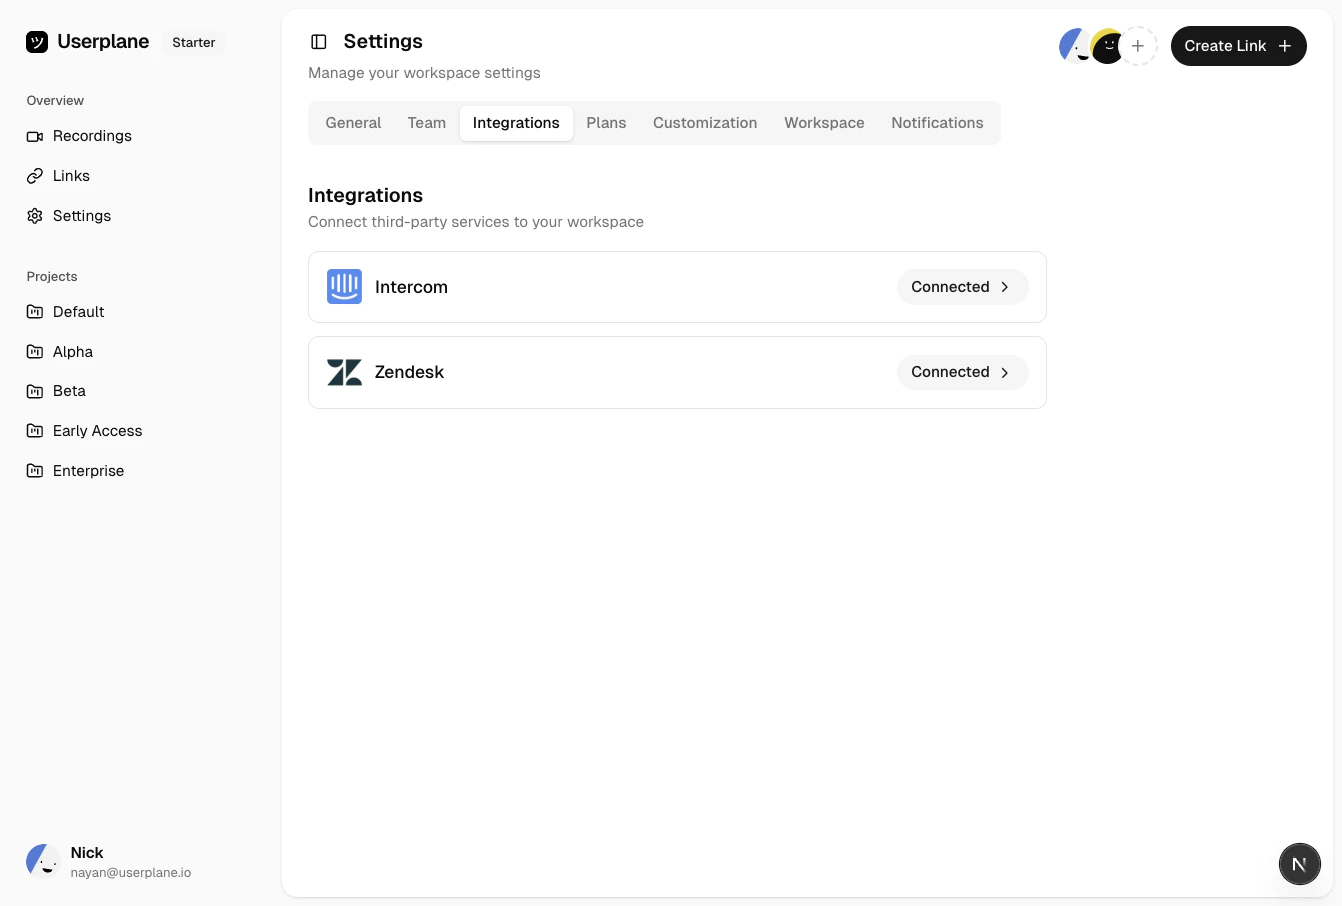
## Step 5: Connect your help desk
Go to [Workspace Settings >
Integrations](https://dash.userplane.io/_/settings?tab=integrations) and click **Connect
Intercom**.
See [Domain Management](/workspace/domain-management) and [Recording Link Domain Preferences](/recording-links/domain-preferences).
## Step 4: Configure sensitive data redaction
Before going live, make sure sensitive customer data doesn't appear in recordings.
Once enabled, recordings include screen video, console logs, and network requests.
Go to [Recording Link Settings](/recording-links/sensitive-data-redaction) and configure: -
**URL patterns** to exclude from network capture - **Request header redaction** for auth tokens
* **CSS selector masking** to blur sensitive DOM elements in the video
For deeper redaction (e.g., redacting specific fields in API responses), your engineering team
can use the SDK's privacy controls. Point them to the [Developer
guide](/getting-started/for-developers).
## Step 5: Connect your help desk
Go to [Workspace Settings >
Integrations](https://dash.userplane.io/_/settings?tab=integrations) and click **Connect
Intercom**.
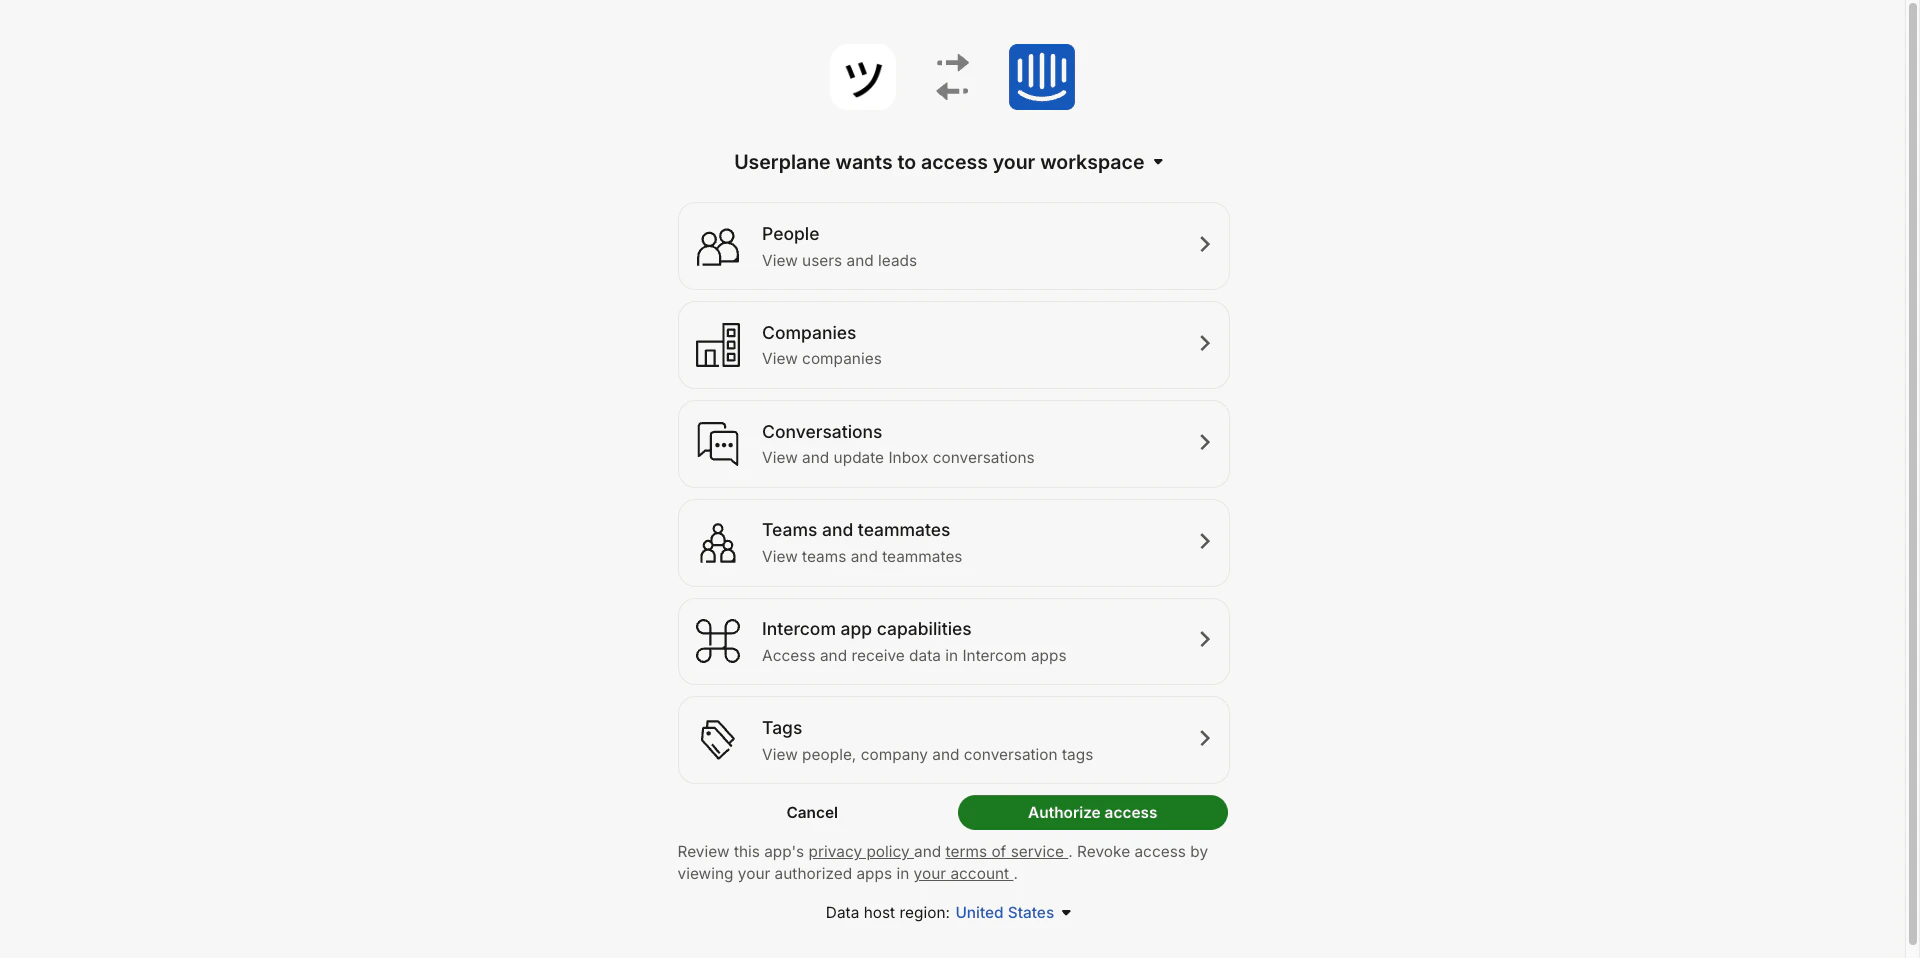
 Complete the OAuth flow. Userplane will appear in your team's Intercom inbox as a sidebar
app.
Complete the OAuth flow. Userplane will appear in your team's Intercom inbox as a sidebar
app.
 After connecting, invite your Intercom teammates to the workspace so they can use Userplane
inside Intercom.
After connecting, invite your Intercom teammates to the workspace so they can use Userplane
inside Intercom.
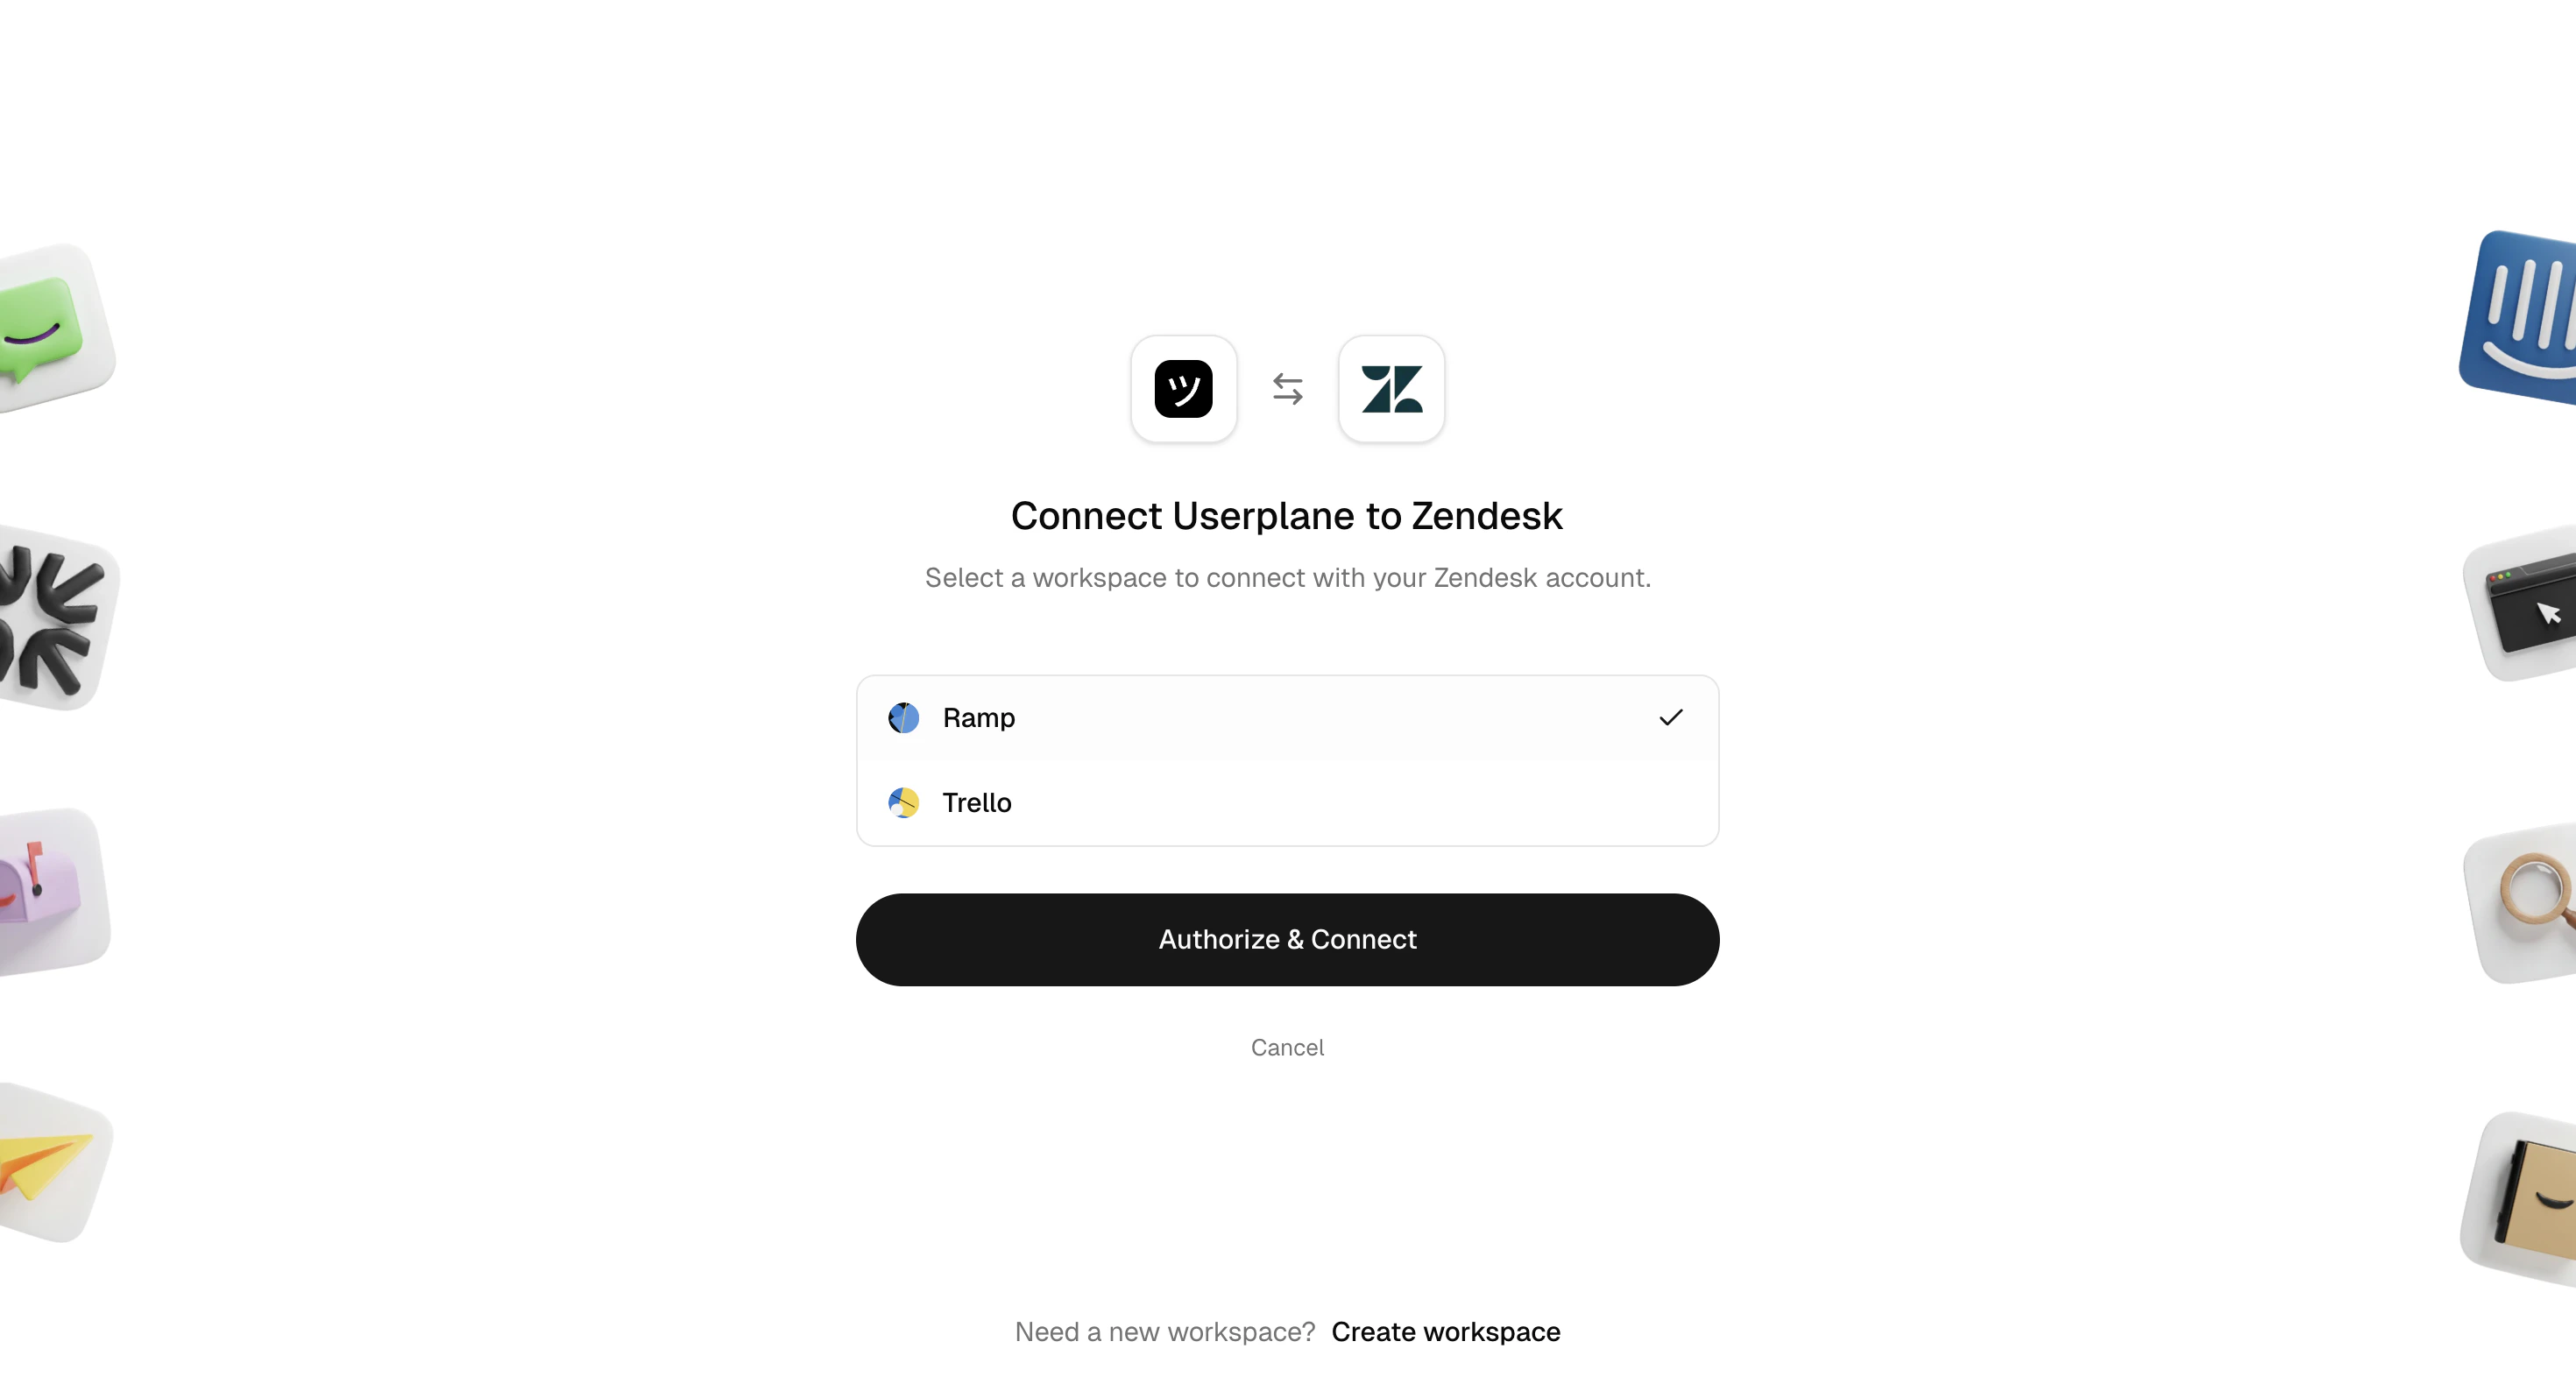
 Find Userplane in the [Zendesk Marketplace](https://www.zendesk.com/marketplace/apps/support/1229987/screen-recording-by-userplane/) and install it to your Zendesk account.
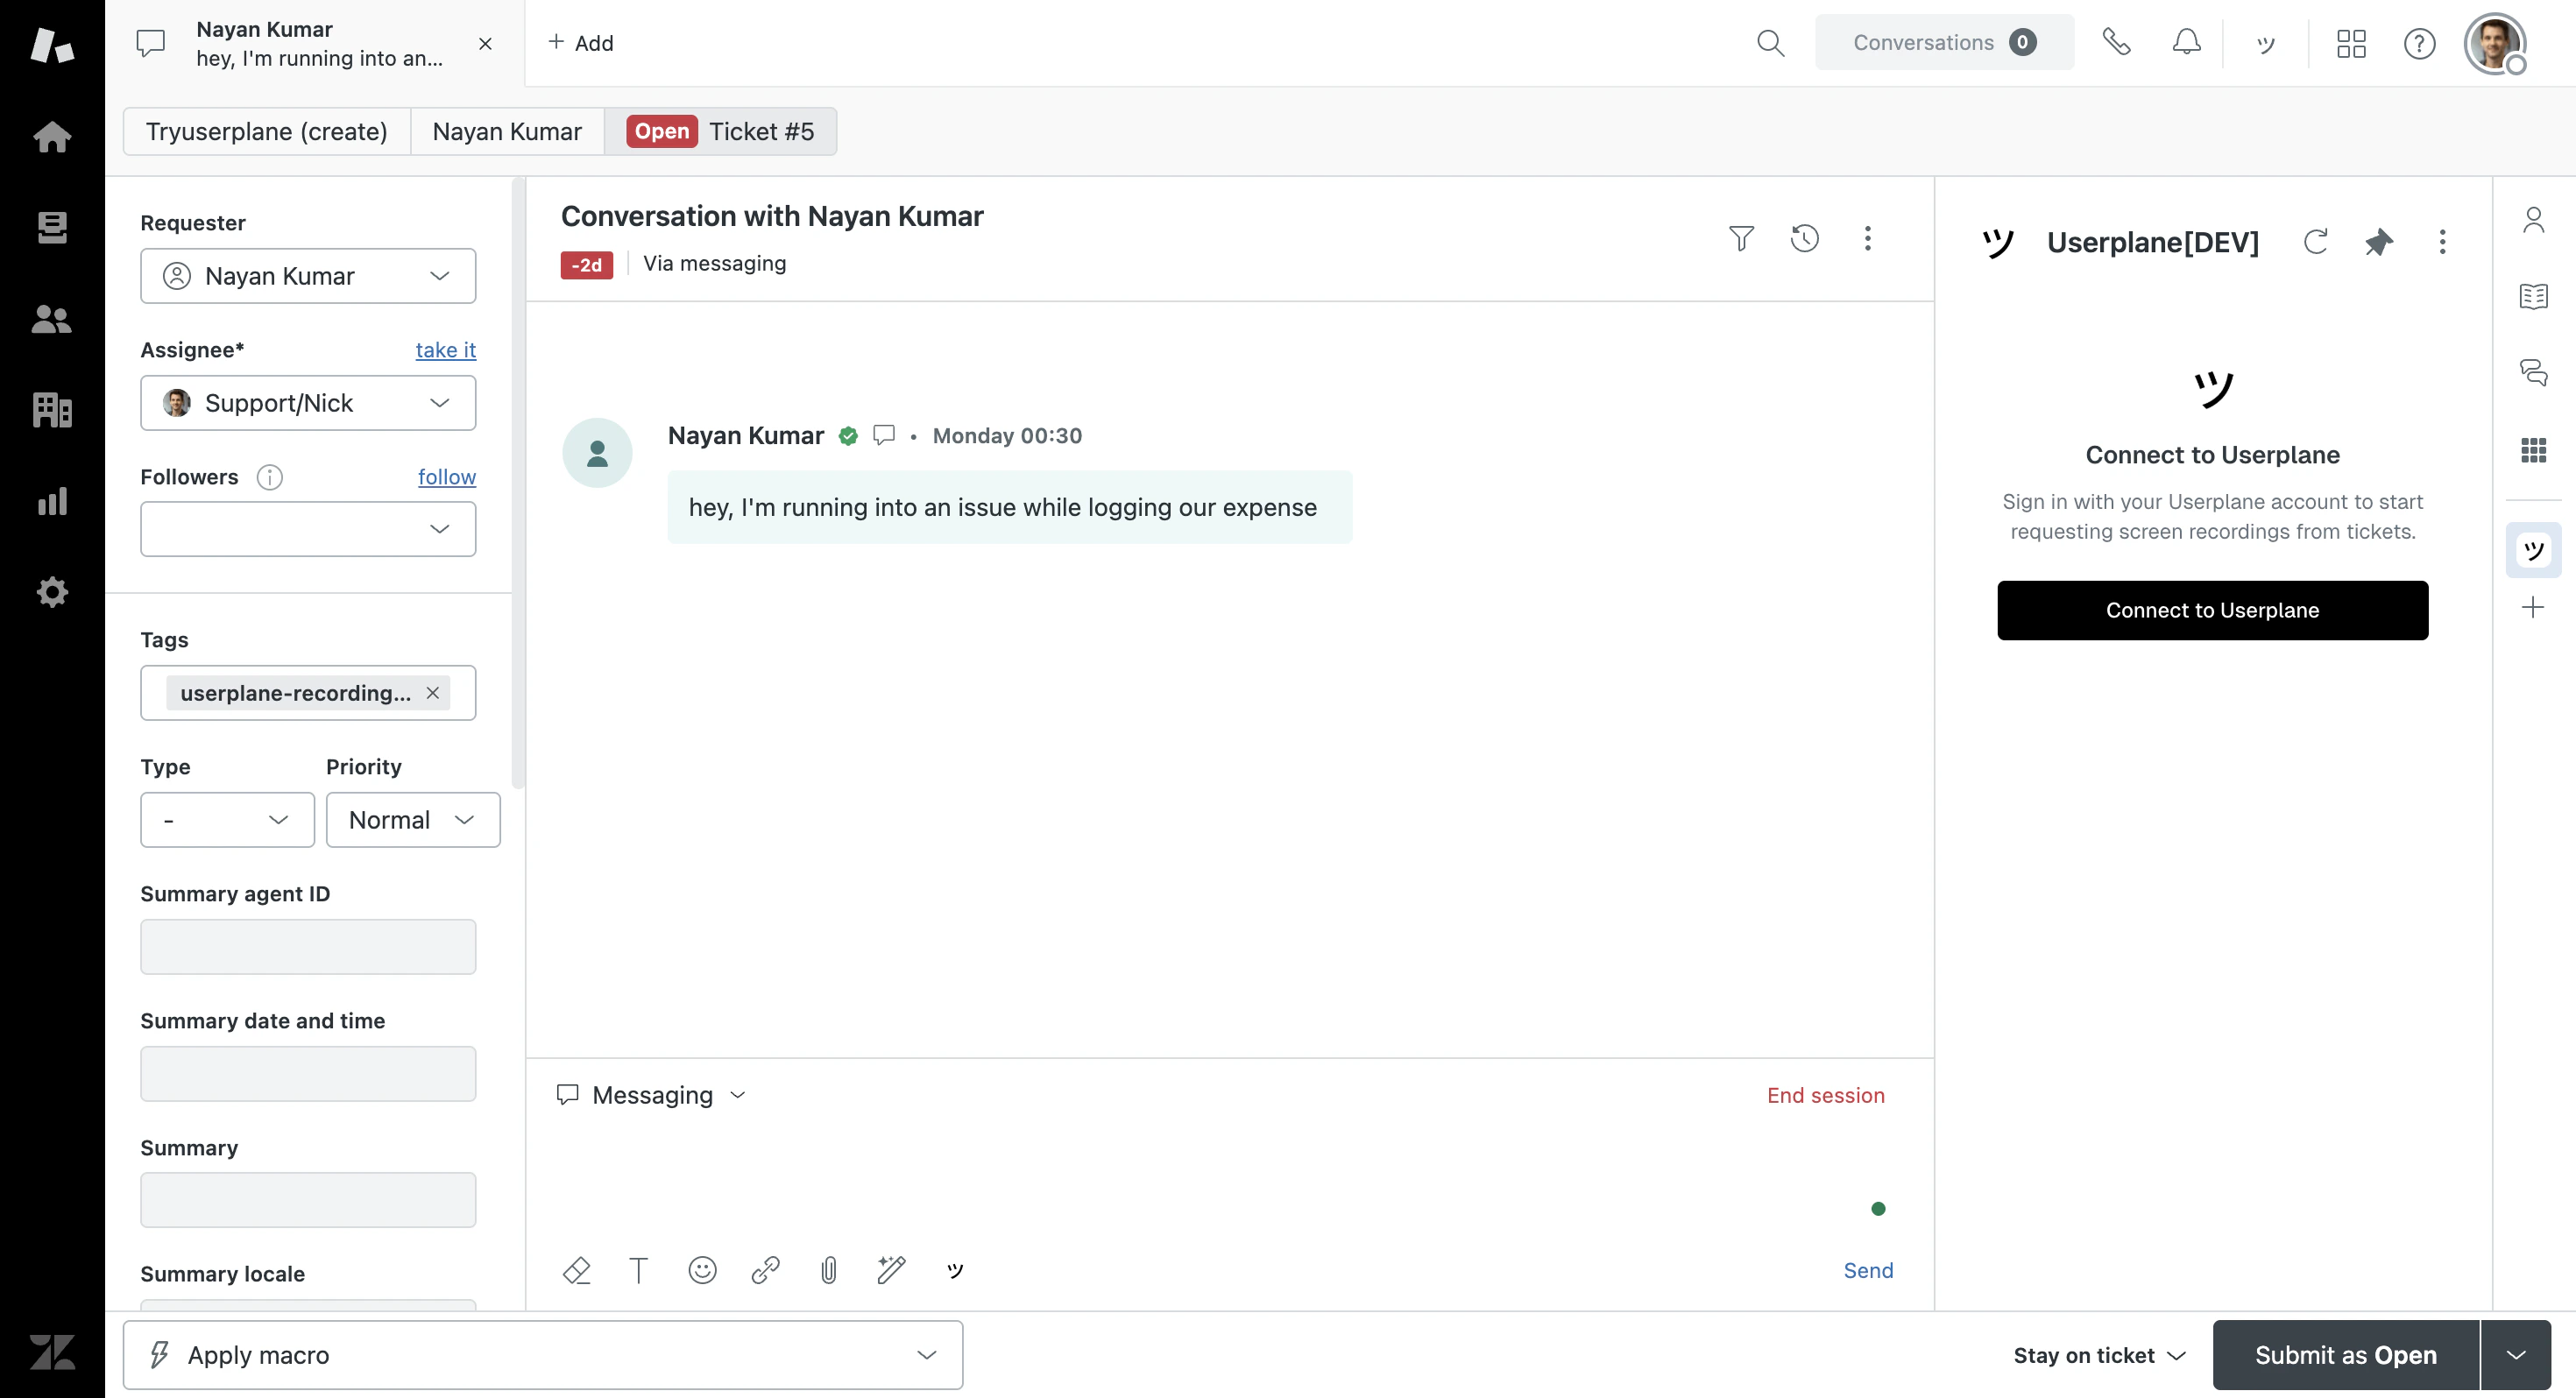
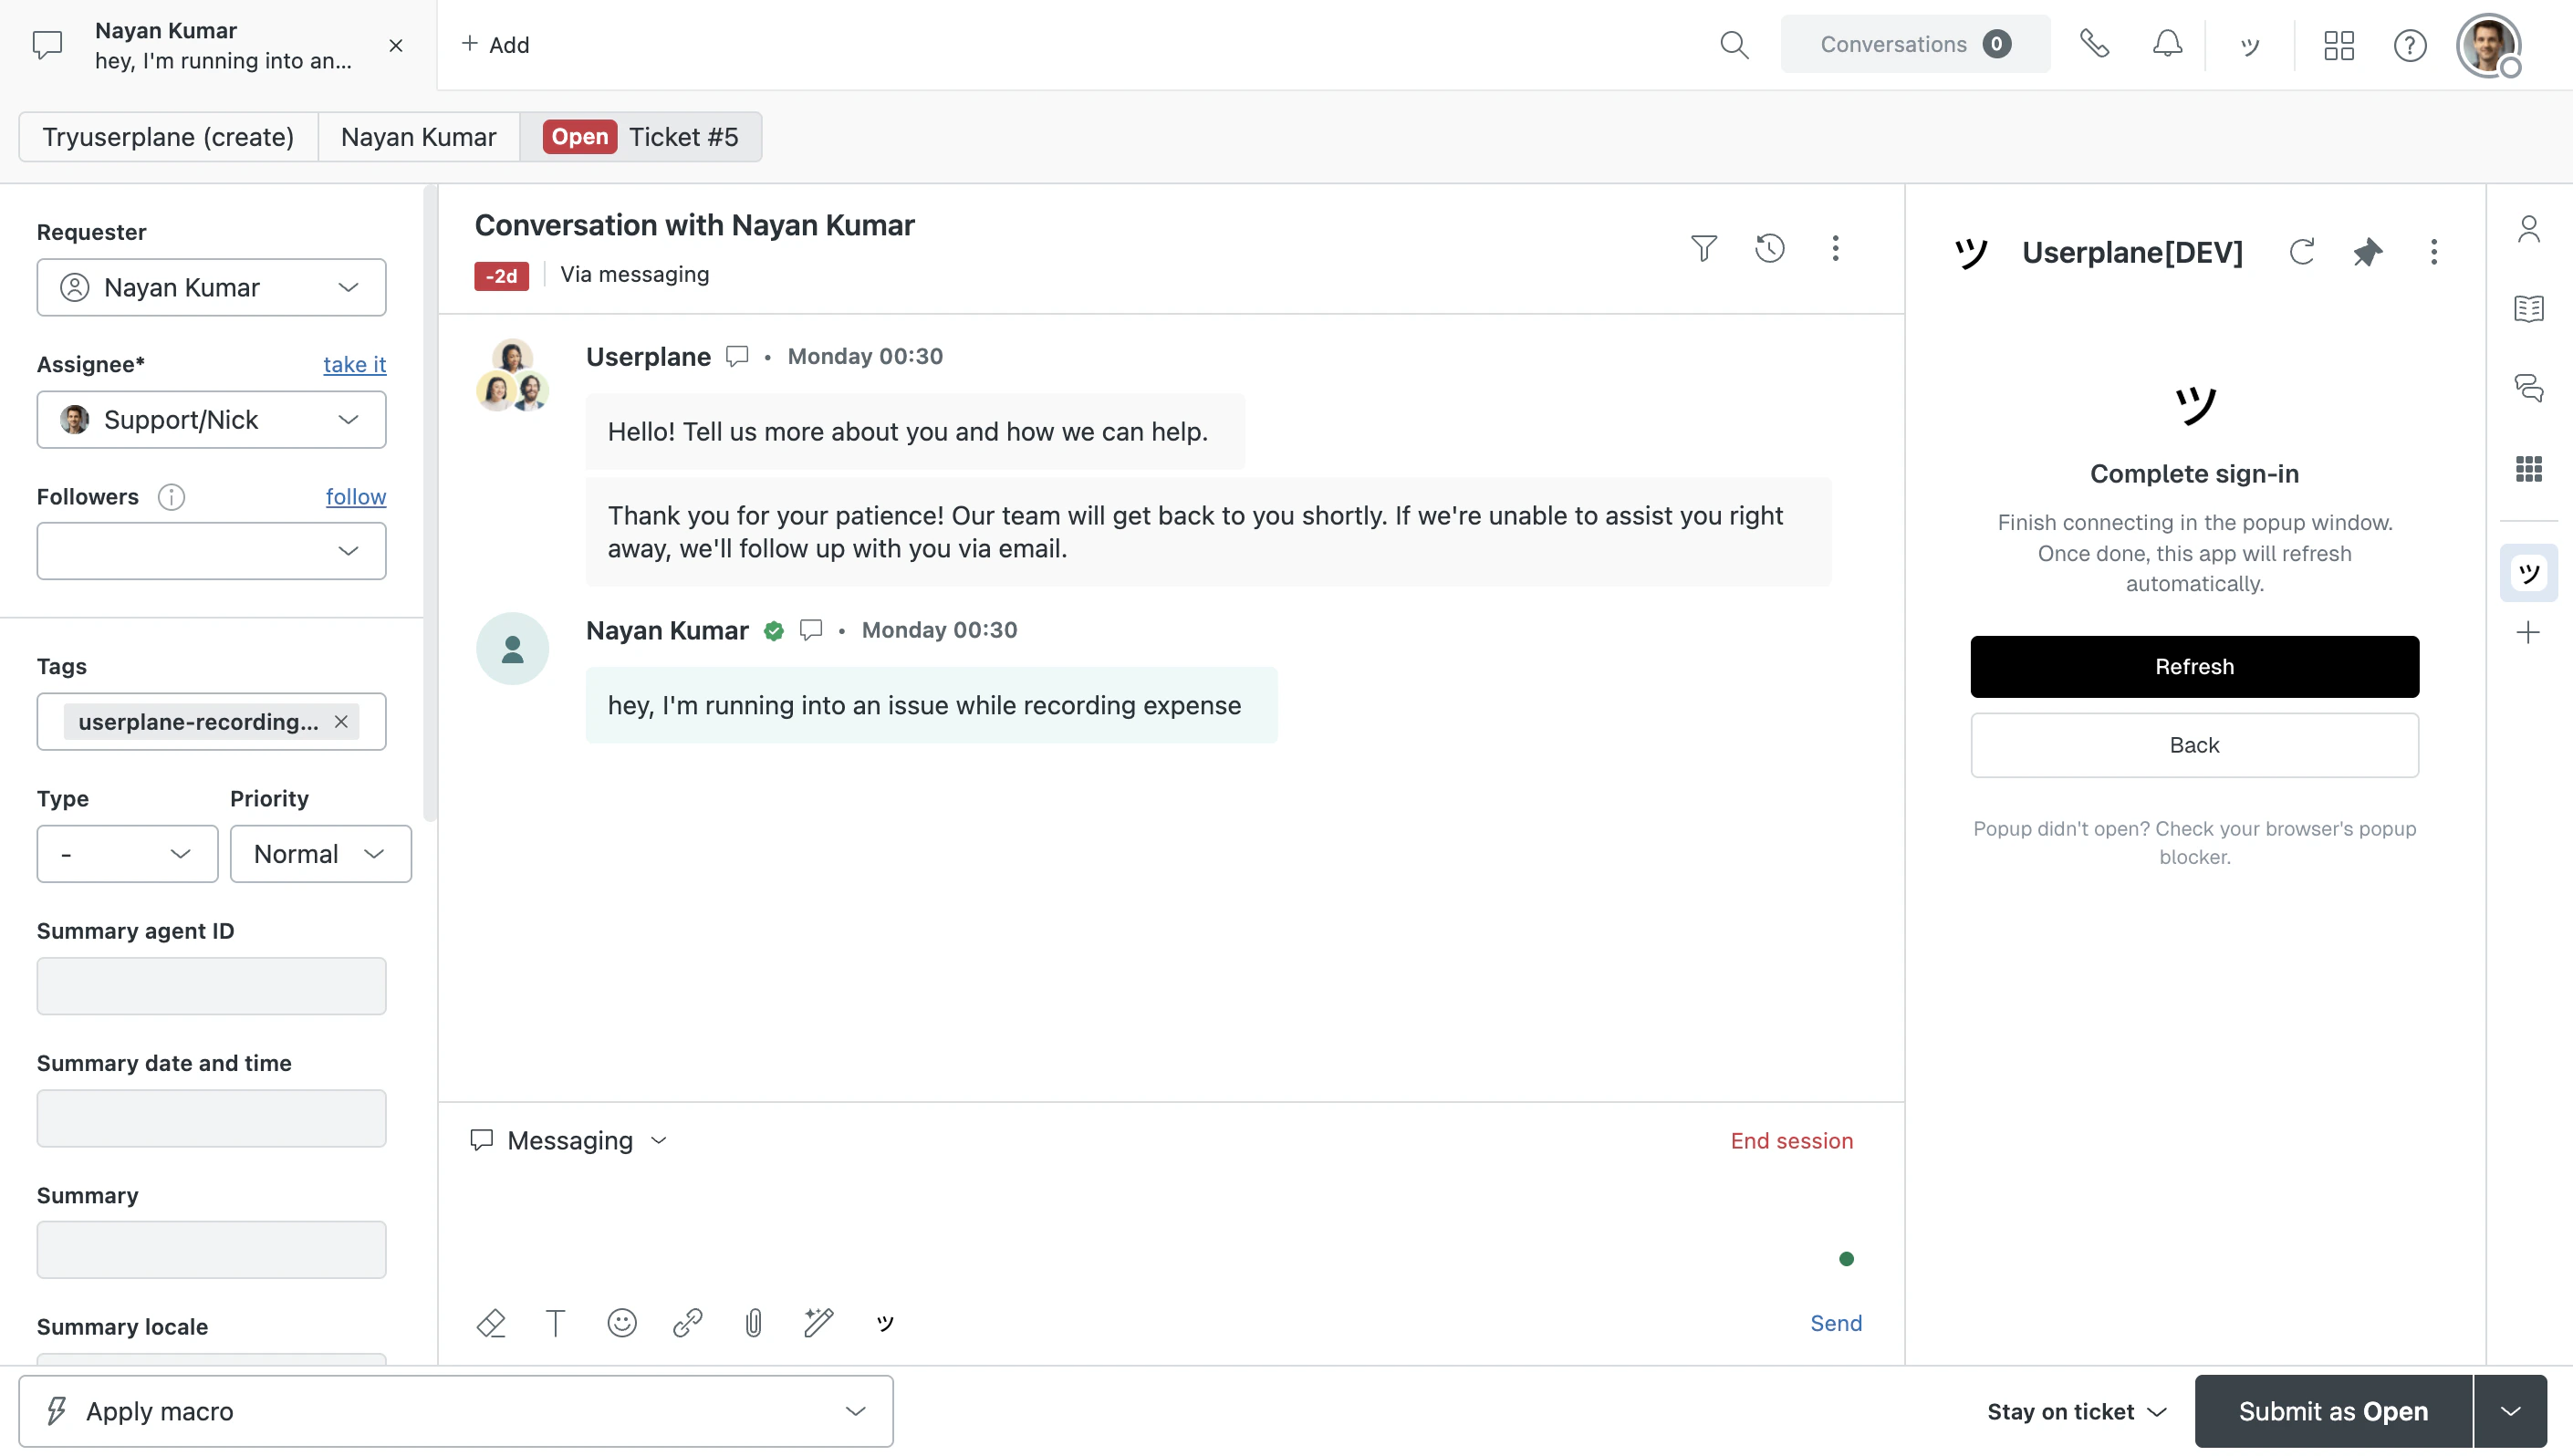
Open any ticket in Zendesk and click the Userplane app in the ticket sidebar. Click **Connect to Userplane** to start the authorization flow.
Find Userplane in the [Zendesk Marketplace](https://www.zendesk.com/marketplace/apps/support/1229987/screen-recording-by-userplane/) and install it to your Zendesk account.
Open any ticket in Zendesk and click the Userplane app in the ticket sidebar. Click **Connect to Userplane** to start the authorization flow.
 Complete the sign-in in the popup window and select your workspace.
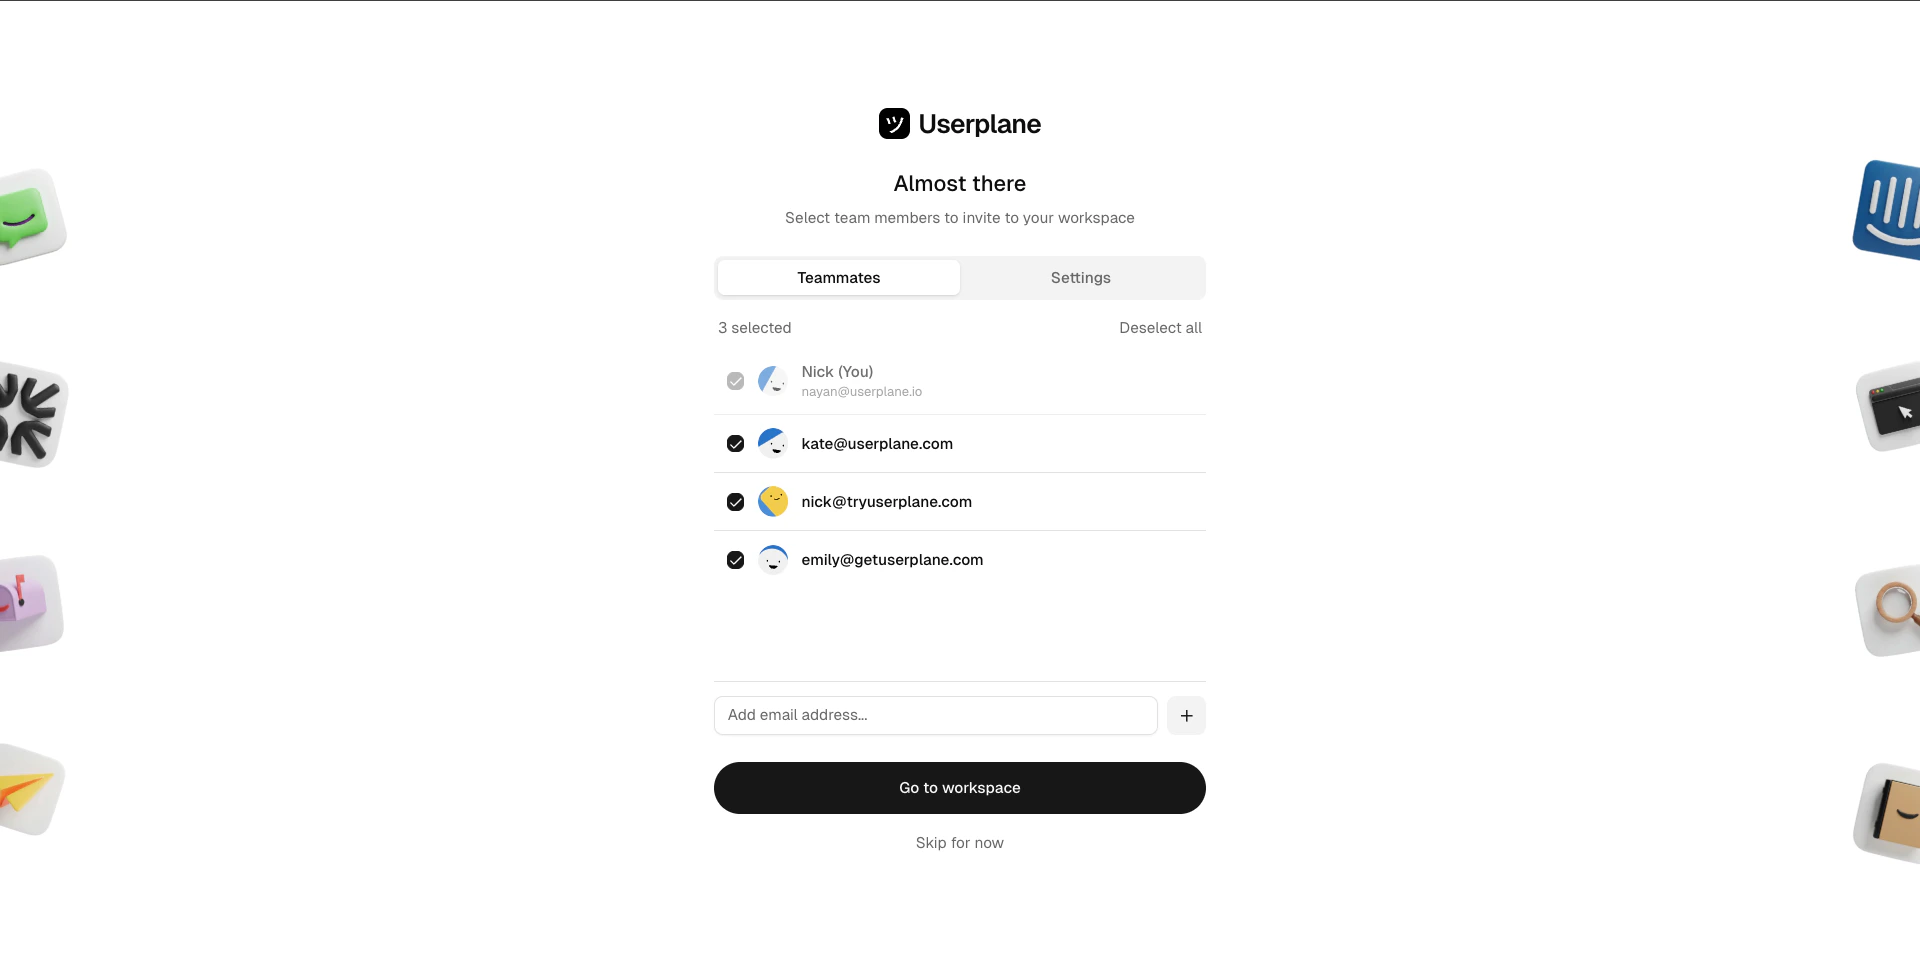
 After connecting, invite your Zendesk agents to the workspace so they can use Userplane
inside Zendesk.
After connecting, invite your Zendesk agents to the workspace so they can use Userplane
inside Zendesk.
 Go back to the Zendesk app and click **Refresh** to pick up the newly connected workspace.
 Go to [Workspace Settings > Integrations](https://dash.userplane.io/_/settings?tab=integrations) and click **Connect Slack**.
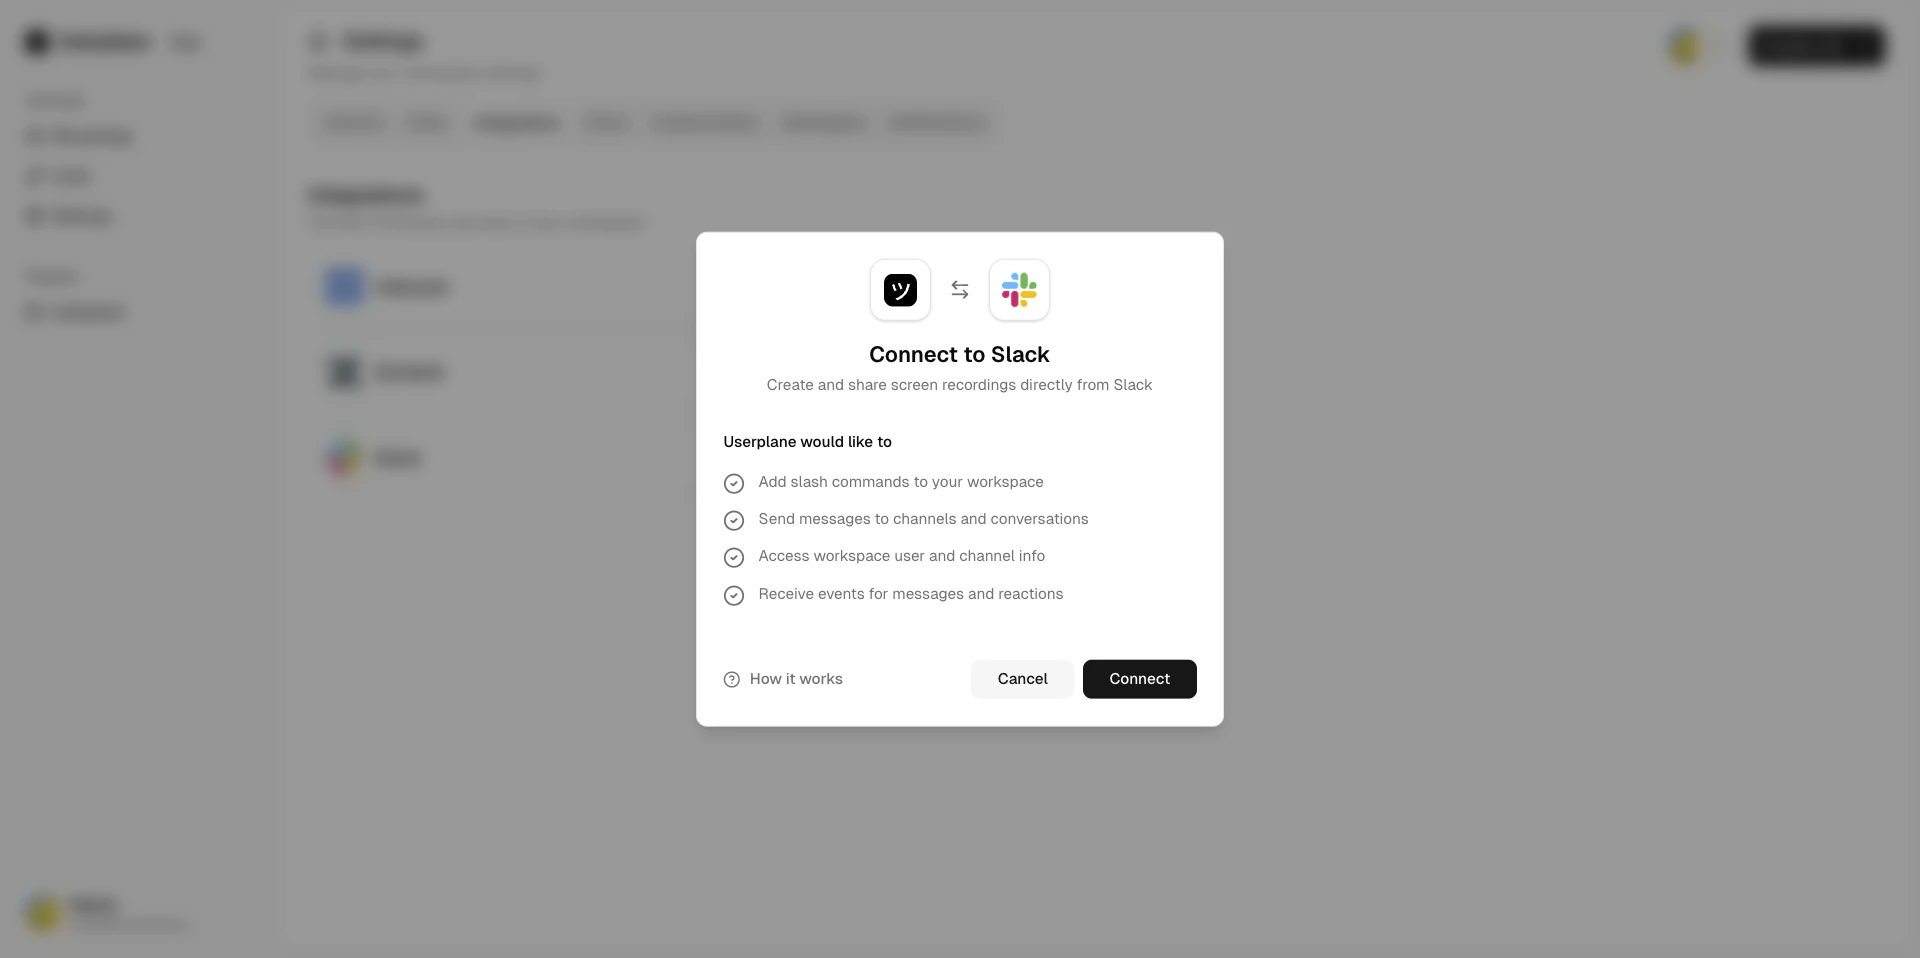 Complete the OAuth flow. The `/userplane` command, message shortcuts, and App Home become available in your Slack workspace.
 Slack users are matched to Userplane workspace members by email. Invite any agents who need access from [Workspace Settings > Team](https://dash.userplane.io/_/settings?tab=team).
Install **Userplane** from the [Chrome Web Store](https://chromewebstore.google.com/detail/request-screen-recording/bgmbeifpcfepegcjhjdbocjbecpfmakm). Share the install link with your support team so each agent can install it.
Each agent opens the side panel, clicks **Sign in to continue**, and authenticates via the Userplane dashboard.
Slack users are matched to Userplane workspace members by email. Invite any agents who need access from [Workspace Settings > Team](https://dash.userplane.io/_/settings?tab=team).
Install **Userplane** from the [Chrome Web Store](https://chromewebstore.google.com/detail/request-screen-recording/bgmbeifpcfepegcjhjdbocjbecpfmakm). Share the install link with your support team so each agent can install it.
Each agent opens the side panel, clicks **Sign in to continue**, and authenticates via the Userplane dashboard.
 After signing in, agents select your workspace from the workspace list. They can then create recording links and view recordings from the side panel.
 No OAuth or marketplace setup is required. The Chrome extension authenticates via the Userplane
dashboard session.
See [Help Desk Setup](/getting-started/helpdesk-setup) for full details, including the [Chrome extension](/integrations/chrome-extension) option.
## Ongoing management
* **Monitor usage** — track recording volume and storage against your plan limits. See [Monitoring Usage](/billing/monitoring-usage).
* **Manage recording link limits** — set per-link expiry and usage caps. See [Recording Link Limits](/recording-links/limits).
* **Domain health** — re-verify if the Userplane script is removed or the verification page becomes inaccessible. See [Domains](/workspace/domains).
* **Workspace lifecycle** — archive or transfer ownership when team structures change. See [Workspace Lifecycle](/workspace/workspace-lifecycle).
## Next steps
Full breakdown of what each role can do
Manage, verify, and configure multiple domains
Configure what data gets masked or excluded
Monitor recording volume and plan limits
No OAuth or marketplace setup is required. The Chrome extension authenticates via the Userplane
dashboard session.
See [Help Desk Setup](/getting-started/helpdesk-setup) for full details, including the [Chrome extension](/integrations/chrome-extension) option.
## Ongoing management
* **Monitor usage** — track recording volume and storage against your plan limits. See [Monitoring Usage](/billing/monitoring-usage).
* **Manage recording link limits** — set per-link expiry and usage caps. See [Recording Link Limits](/recording-links/limits).
* **Domain health** — re-verify if the Userplane script is removed or the verification page becomes inaccessible. See [Domains](/workspace/domains).
* **Workspace lifecycle** — archive or transfer ownership when team structures change. See [Workspace Lifecycle](/workspace/workspace-lifecycle).
## Next steps
Full breakdown of what each role can do
Manage, verify, and configure multiple domains
Configure what data gets masked or excluded
Monitor recording volume and plan limits