> ## Documentation Index
> Fetch the complete documentation index at: https://docs.userplane.io/llms.txt
> Use this file to discover all available pages before exploring further.
# Workspace Setup
> Create a workspace, invite your team, and configure basic settings
A workspace is where your team manages recording links, reviews recordings, and configures settings. Every Userplane account can create up to 3 workspaces.
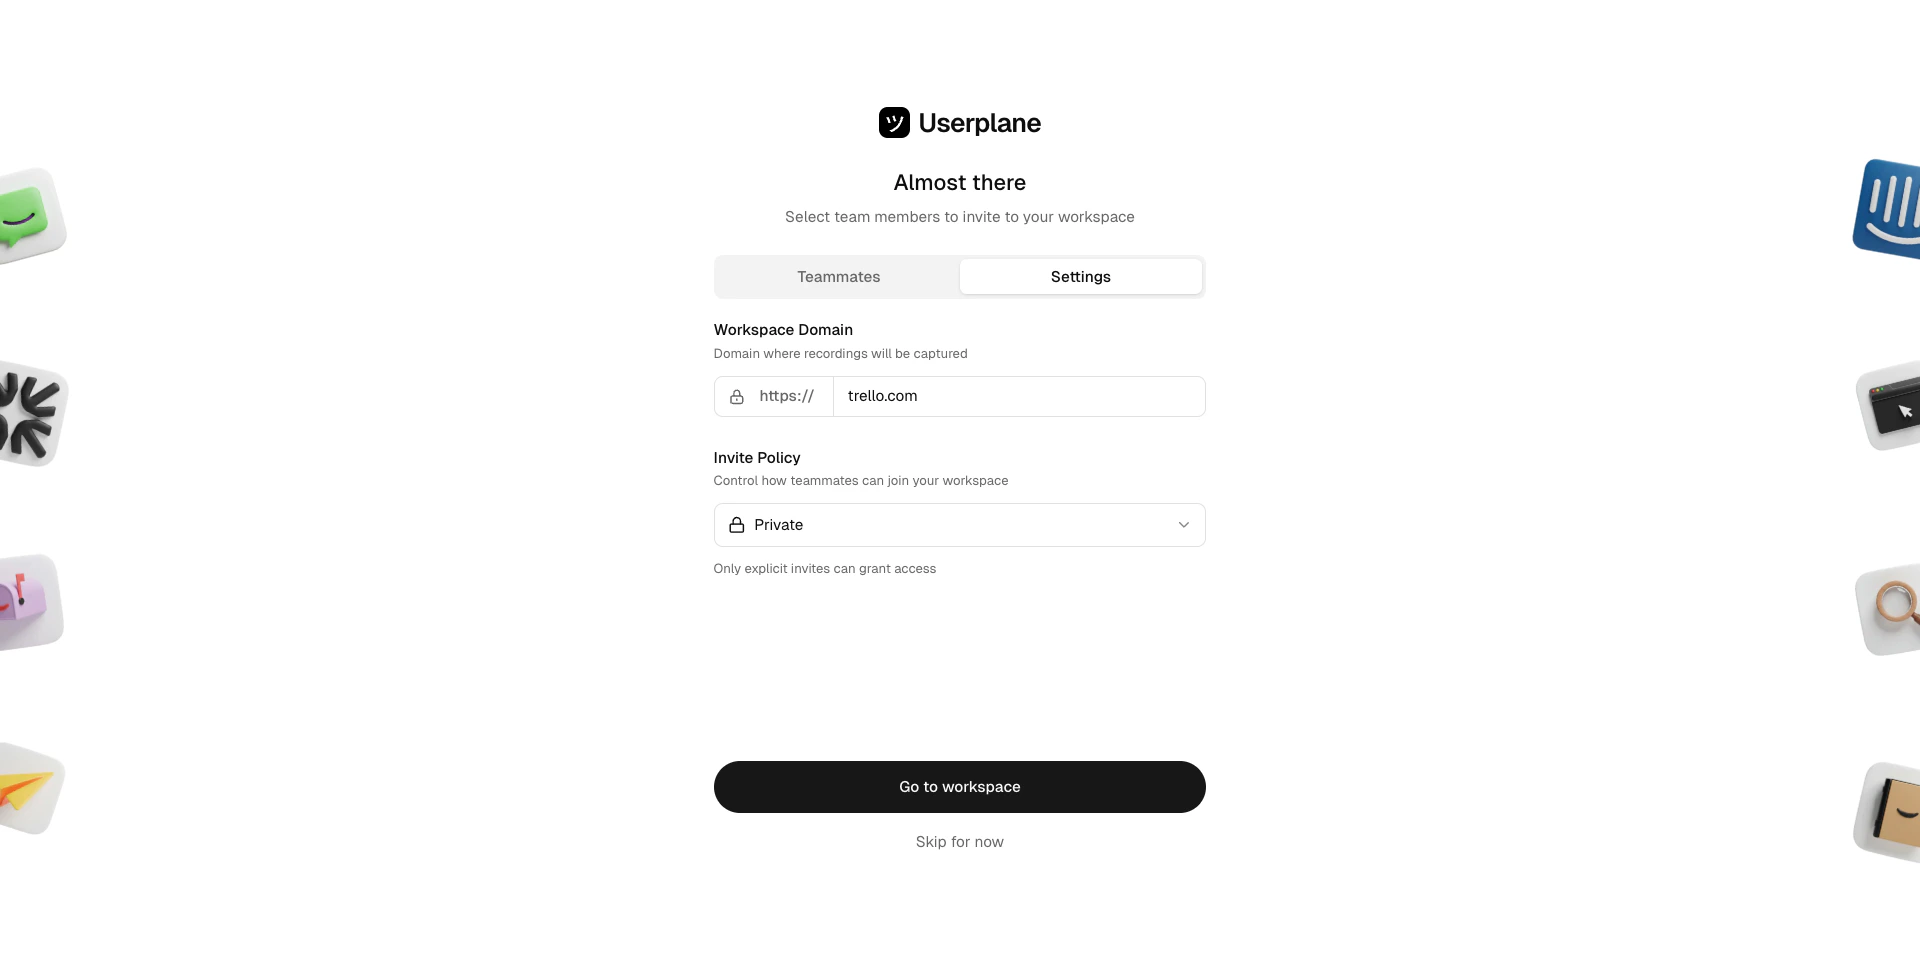
## Create a workspace
After signing in, click [Create Workspace](https://dash.userplane.io/workspace/create).
 You'll be prompted to enter your **Company URL**.
Once created, you become the **owner** of the workspace and can manage all settings. You can now
invite teammates and connect integrations like Intercom, Zendesk, or Slack.
You'll be prompted to enter your **Company URL**.
Once created, you become the **owner** of the workspace and can manage all settings. You can now
invite teammates and connect integrations like Intercom, Zendesk, or Slack.
 ## Invite teammates
Go to [Workspace Settings > Team](https://dash.userplane.io/_/settings?tab=team).
## Invite teammates
Go to [Workspace Settings > Team](https://dash.userplane.io/_/settings?tab=team).
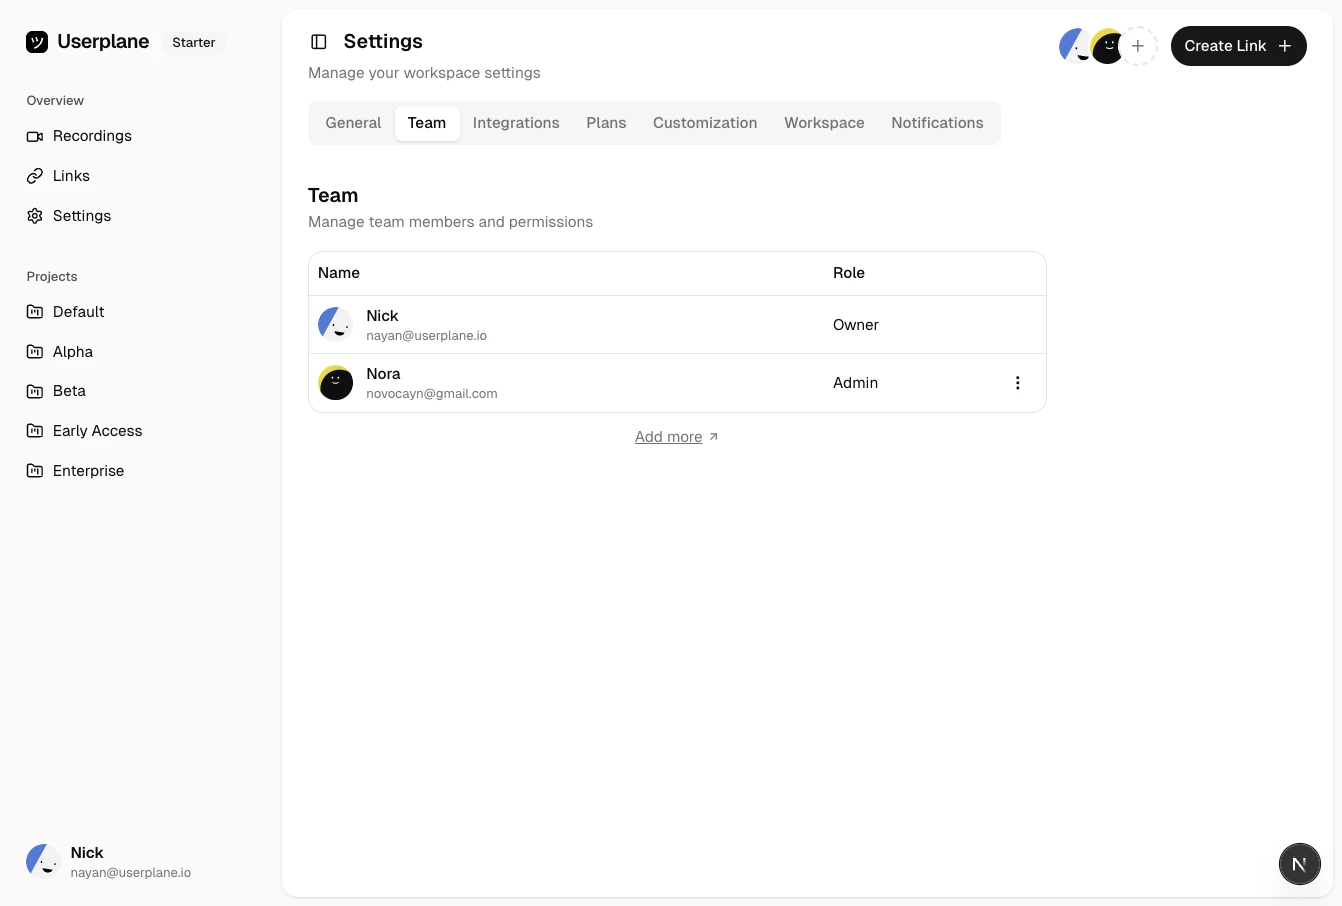 Click **Invite Member**, enter the email address of the person you want to invite, then click **Send Invite**.
If you've connected Intercom, you'll see recommendations from your Intercom workspace.
Click **Invite Member**, enter the email address of the person you want to invite, then click **Send Invite**.
If you've connected Intercom, you'll see recommendations from your Intercom workspace.
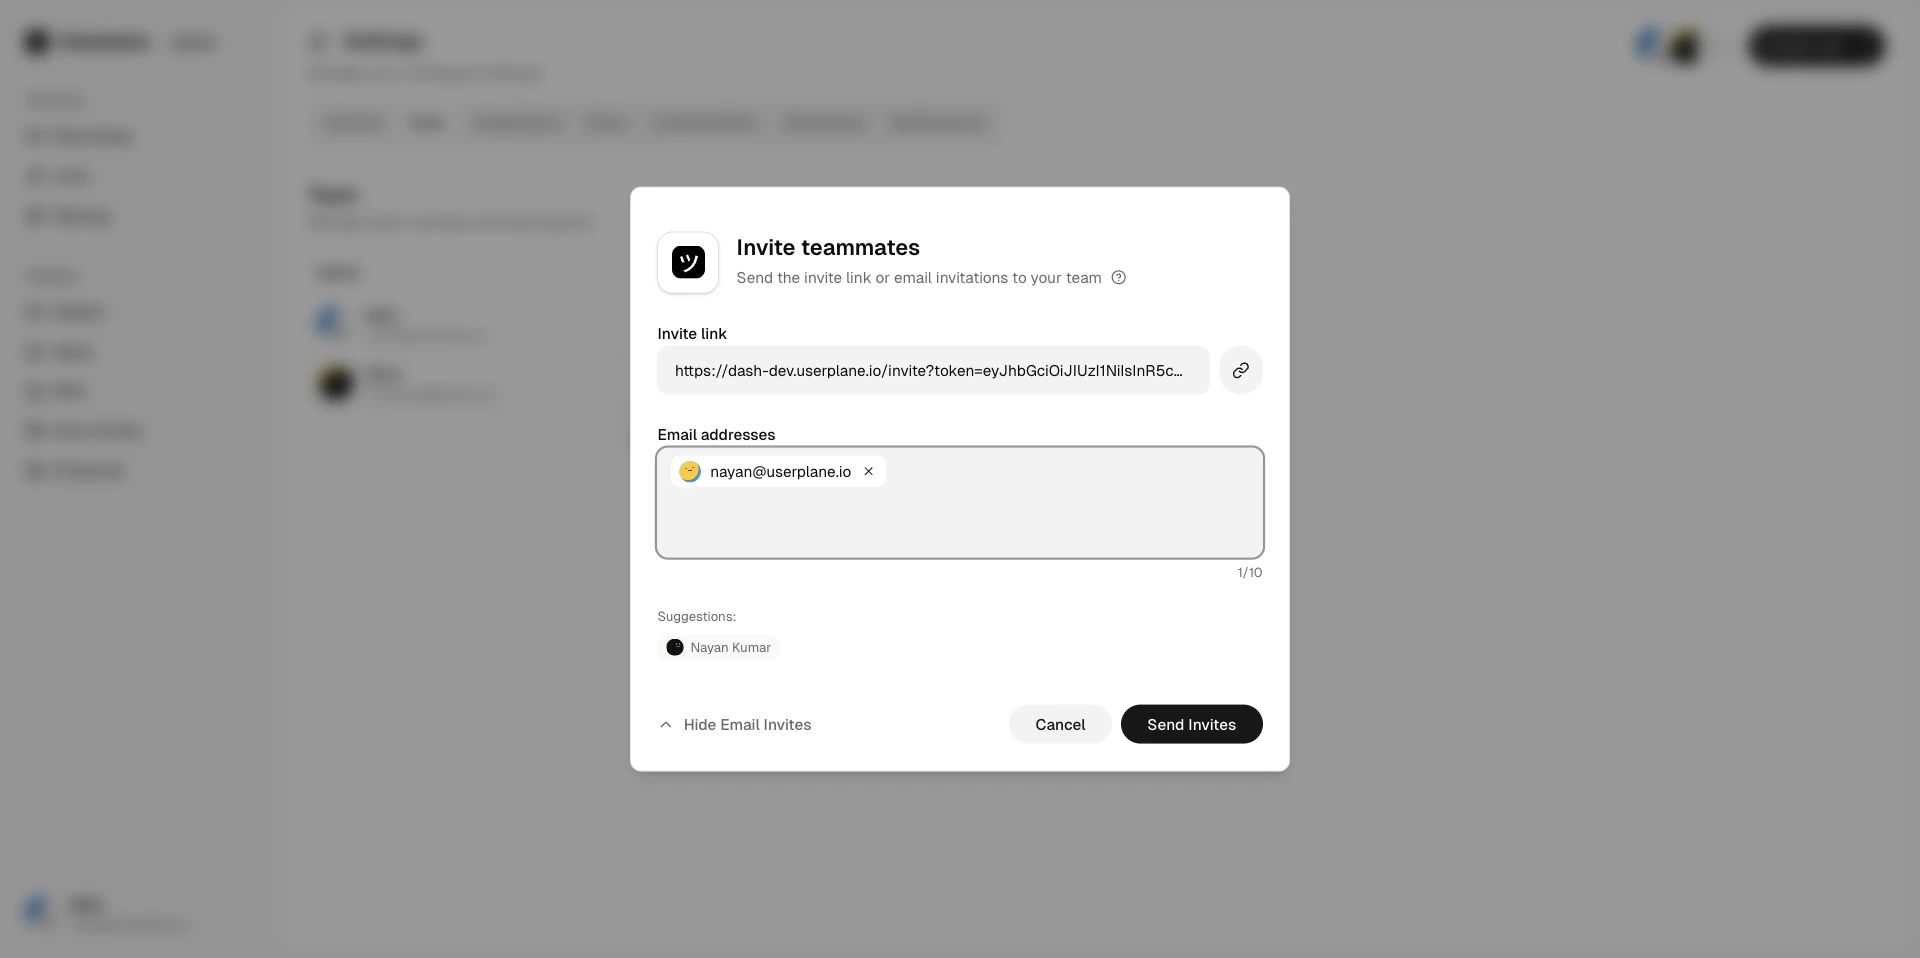
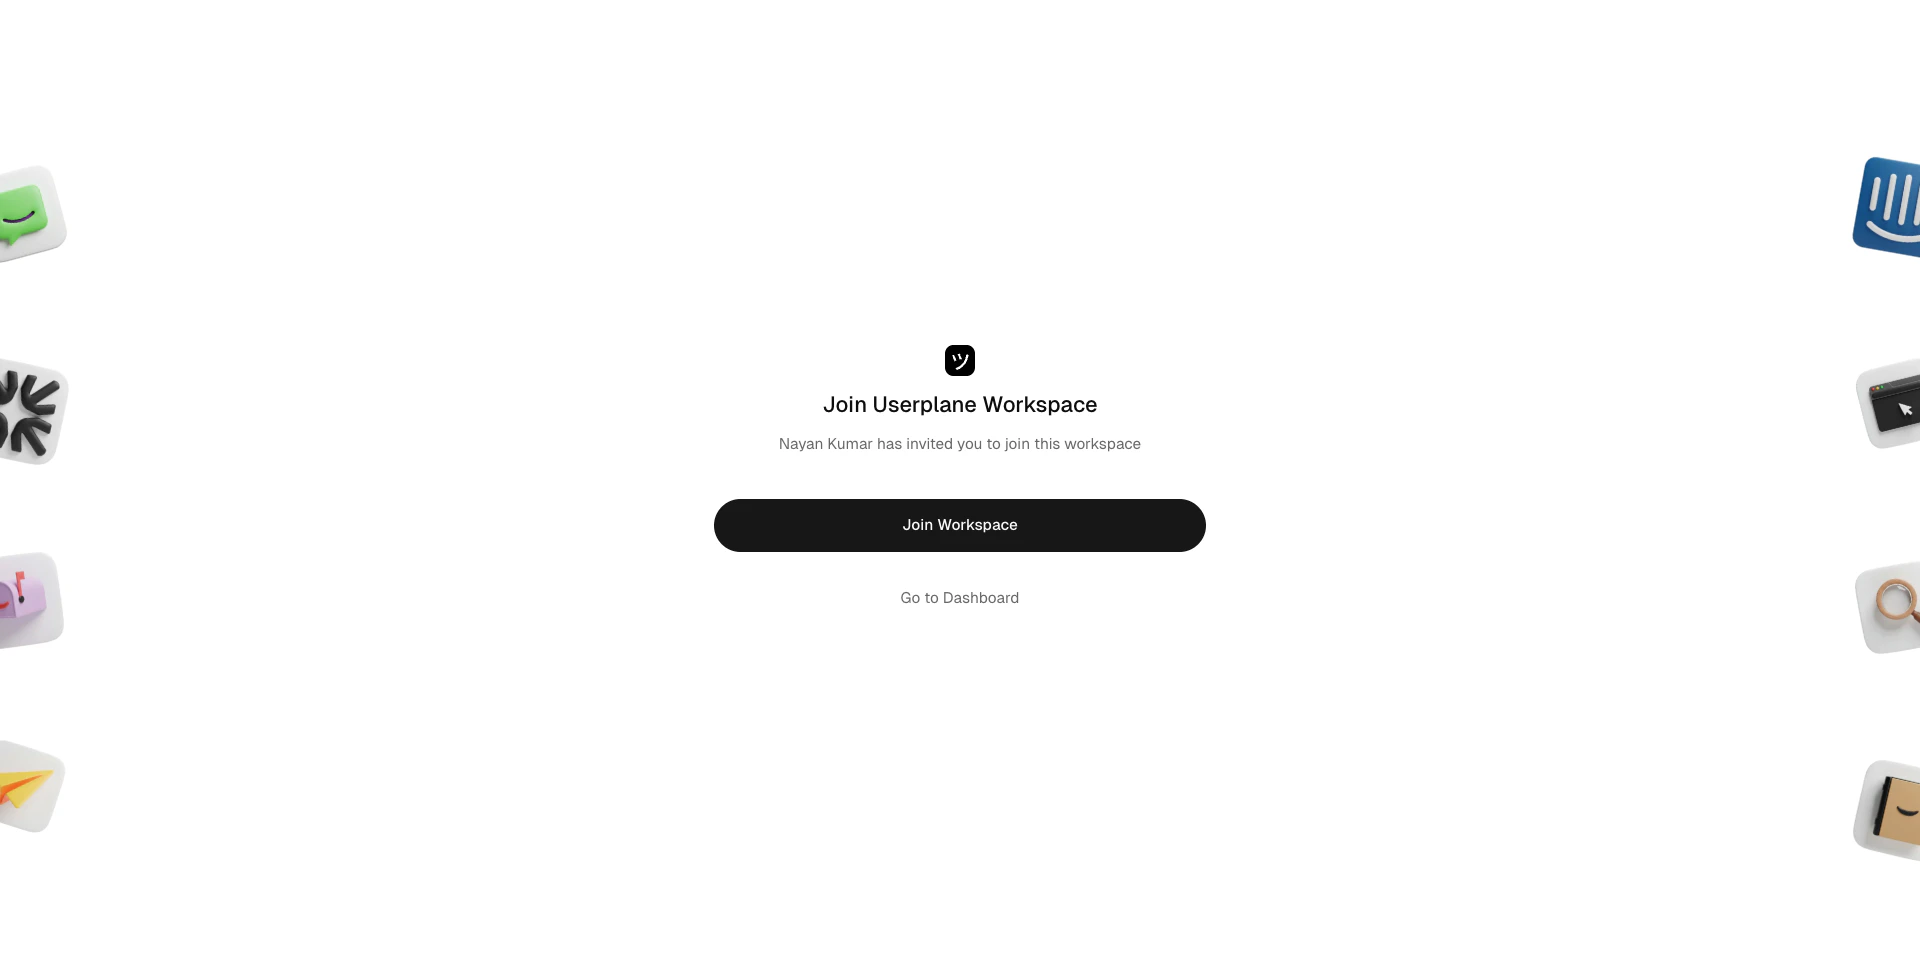 Invited users will receive an email with a link to join. See [Team Management](/workspace/team-management) for more on managing members.
## Connect your help desk
Userplane integrates with Intercom, Zendesk, and Slack so your support agents can create recording links and view recordings directly from conversations and tickets.
Go to [Workspace Settings >
Integrations](https://dash.userplane.io/_/settings?tab=integrations).
Invited users will receive an email with a link to join. See [Team Management](/workspace/team-management) for more on managing members.
## Connect your help desk
Userplane integrates with Intercom, Zendesk, and Slack so your support agents can create recording links and view recordings directly from conversations and tickets.
Go to [Workspace Settings >
Integrations](https://dash.userplane.io/_/settings?tab=integrations).
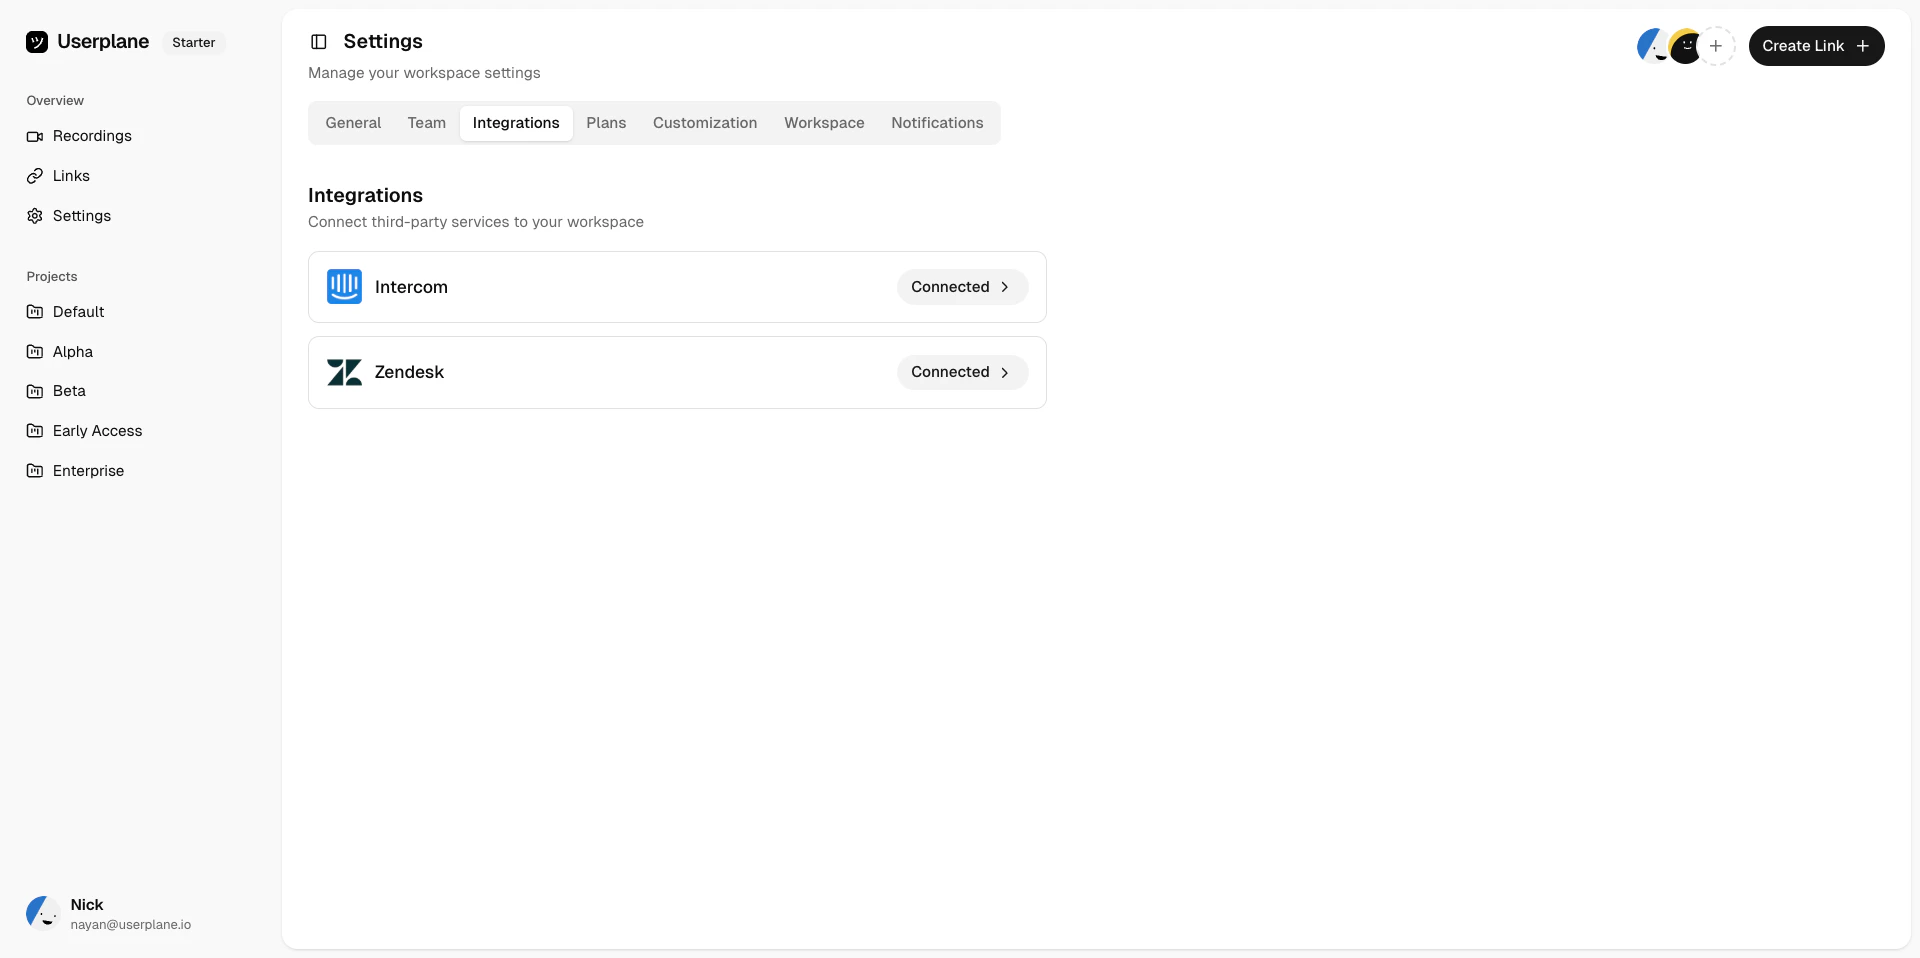
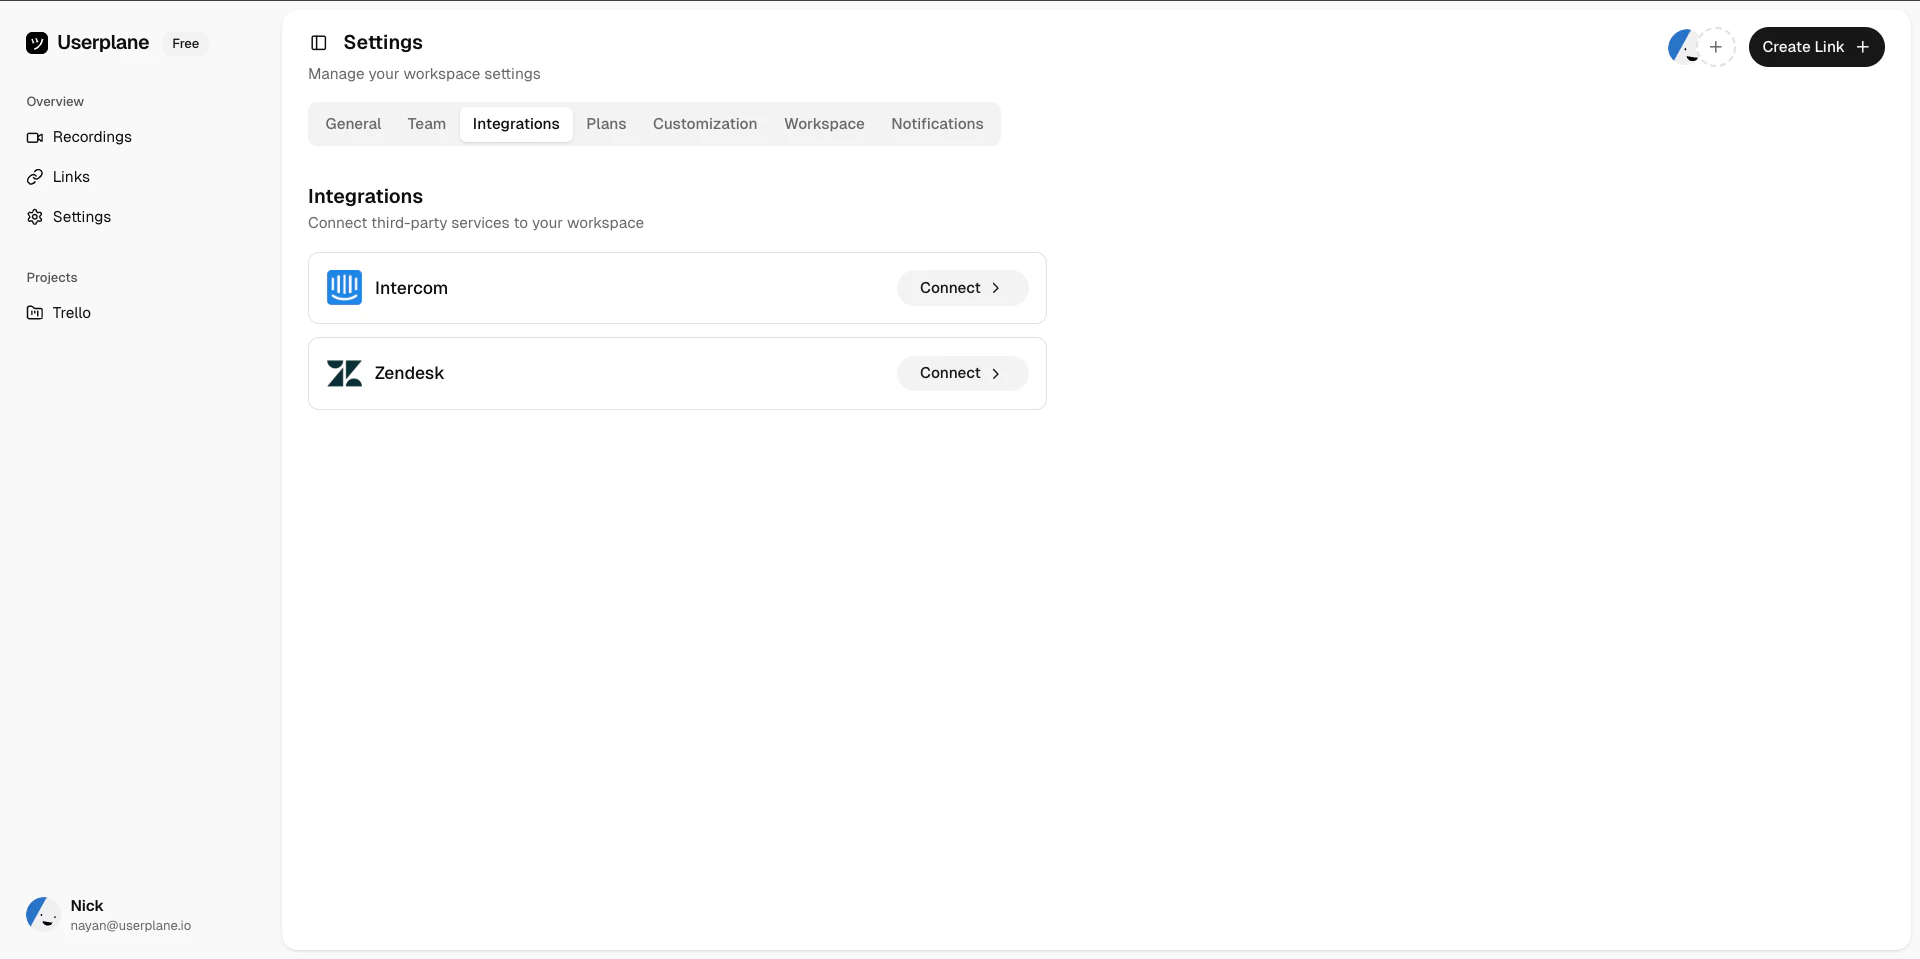 Click **Connect Intercom**, **Connect Slack**, or install Userplane from the **[Zendesk Marketplace](https://www.zendesk.com/marketplace/apps/support/1229987/screen-recording-by-userplane/)**. Follow the authorization prompts to complete the connection.
After authorizing, the Userplane app is installed in your help desk and ready to use.
Click **Connect Intercom**, **Connect Slack**, or install Userplane from the **[Zendesk Marketplace](https://www.zendesk.com/marketplace/apps/support/1229987/screen-recording-by-userplane/)**. Follow the authorization prompts to complete the connection.
After authorizing, the Userplane app is installed in your help desk and ready to use.
 You can also connect Zendesk directly from within the Zendesk app. See [Zendesk
Integration](/integrations/zendesk) for details.
See [Help Desk Setup](/getting-started/helpdesk-setup) for full setup instructions for both providers.
## Configure your invite policy
Your workspace invite policy controls how new people can join:
* **Private** — only explicit invitations work. Your workspace isn't discoverable.
* **Whitelisted** — people with matching email domains can join directly.
* **Protected** — people with matching email domains can request access, which you'll need to approve.
You can whitelist up to **5 email domains**. See [Invite Policies](/workspace/invite-policies) for more details.
## Next steps
* [Add a project](/workspace/projects) — organize your recordings and links by project.
* [Verify a domain](/workspace/domains) — enable first-party branded recording links.
* [Set up roles and permissions](/workspace/roles-permissions) — learn what each role can do.
You can also connect Zendesk directly from within the Zendesk app. See [Zendesk
Integration](/integrations/zendesk) for details.
See [Help Desk Setup](/getting-started/helpdesk-setup) for full setup instructions for both providers.
## Configure your invite policy
Your workspace invite policy controls how new people can join:
* **Private** — only explicit invitations work. Your workspace isn't discoverable.
* **Whitelisted** — people with matching email domains can join directly.
* **Protected** — people with matching email domains can request access, which you'll need to approve.
You can whitelist up to **5 email domains**. See [Invite Policies](/workspace/invite-policies) for more details.
## Next steps
* [Add a project](/workspace/projects) — organize your recordings and links by project.
* [Verify a domain](/workspace/domains) — enable first-party branded recording links.
* [Set up roles and permissions](/workspace/roles-permissions) — learn what each role can do.