How it works
Click the Userplane button
In the reply editor toolbar, click the Userplane button. A compact popover opens inline.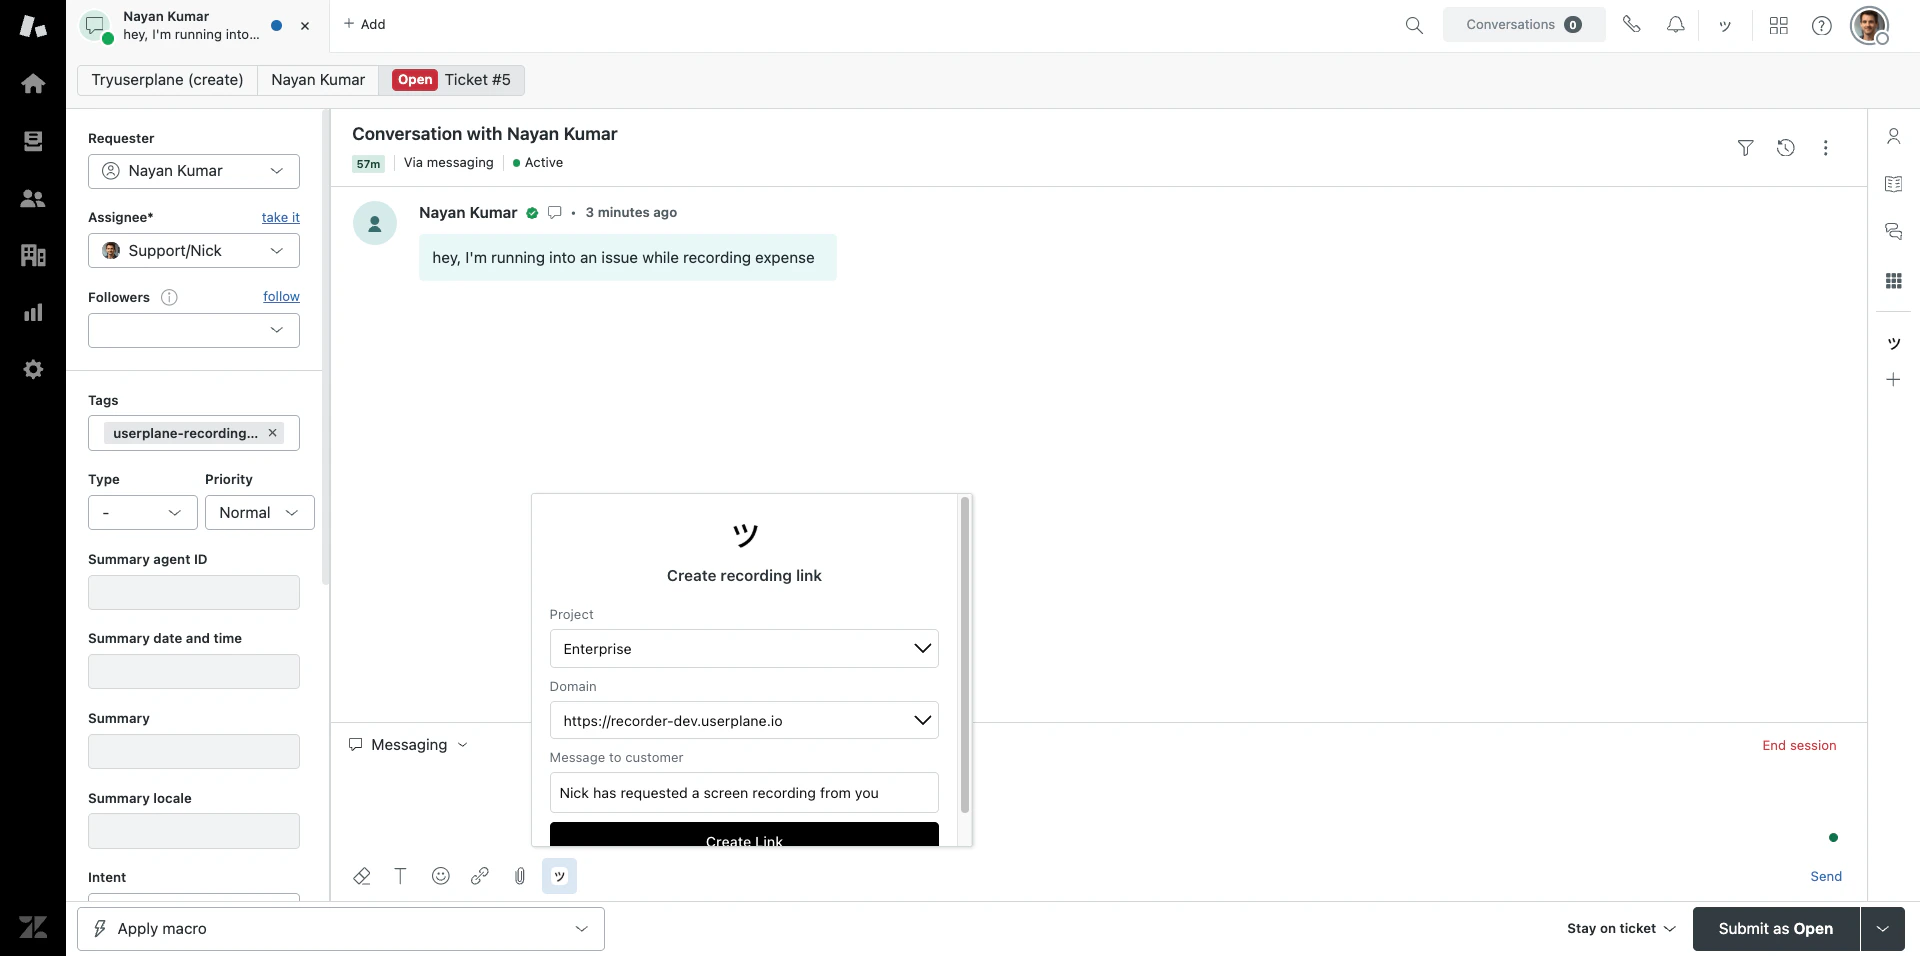
Create the link
Select a project and domain, optionally customize the message, then click Create
Link.
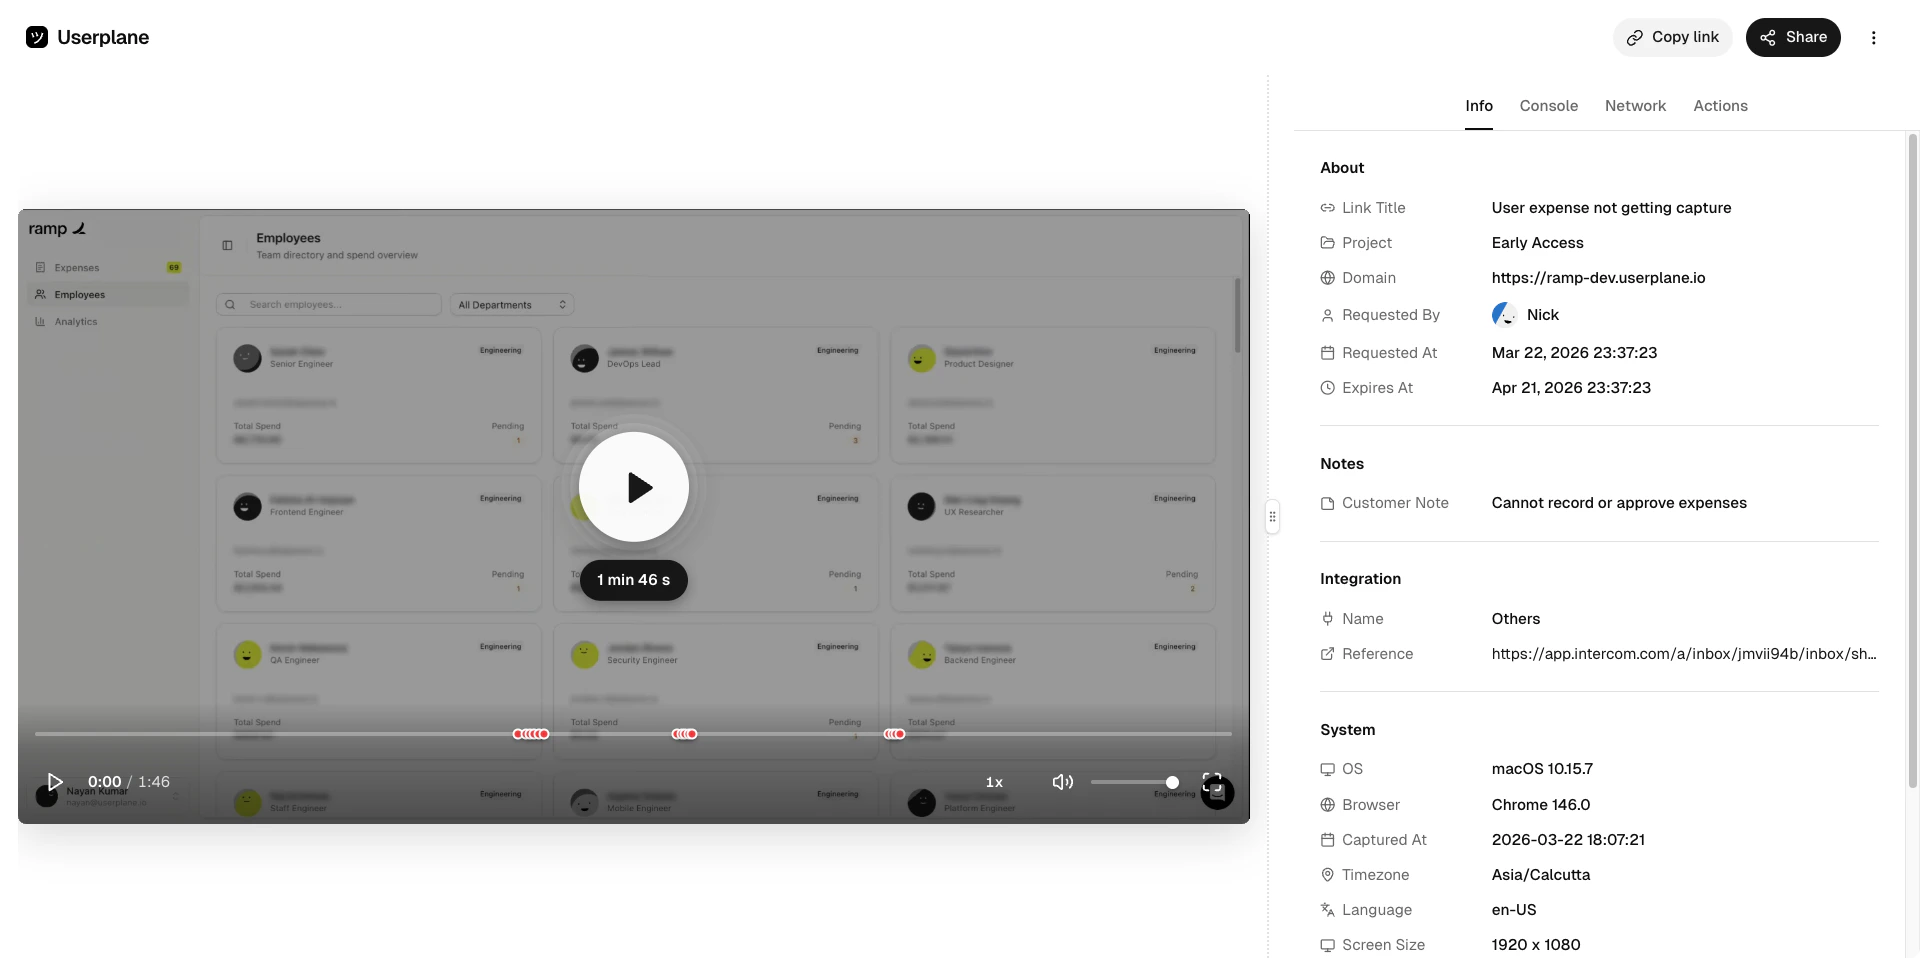
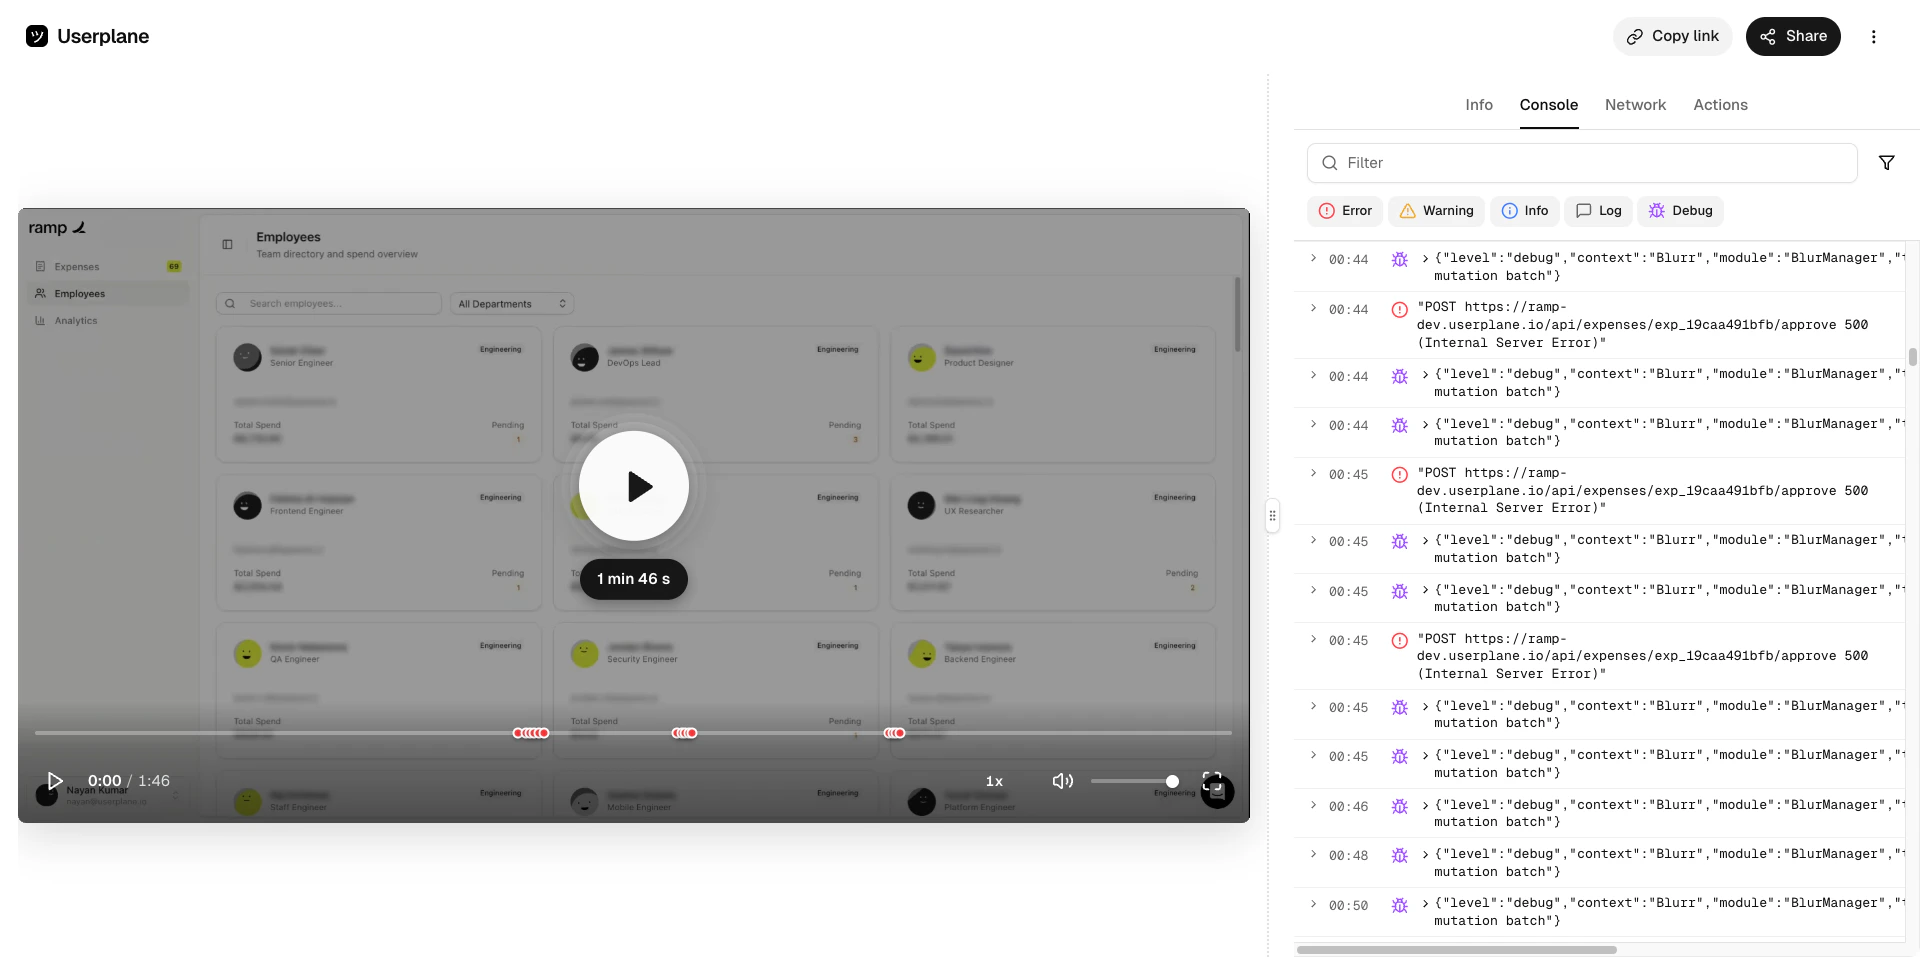
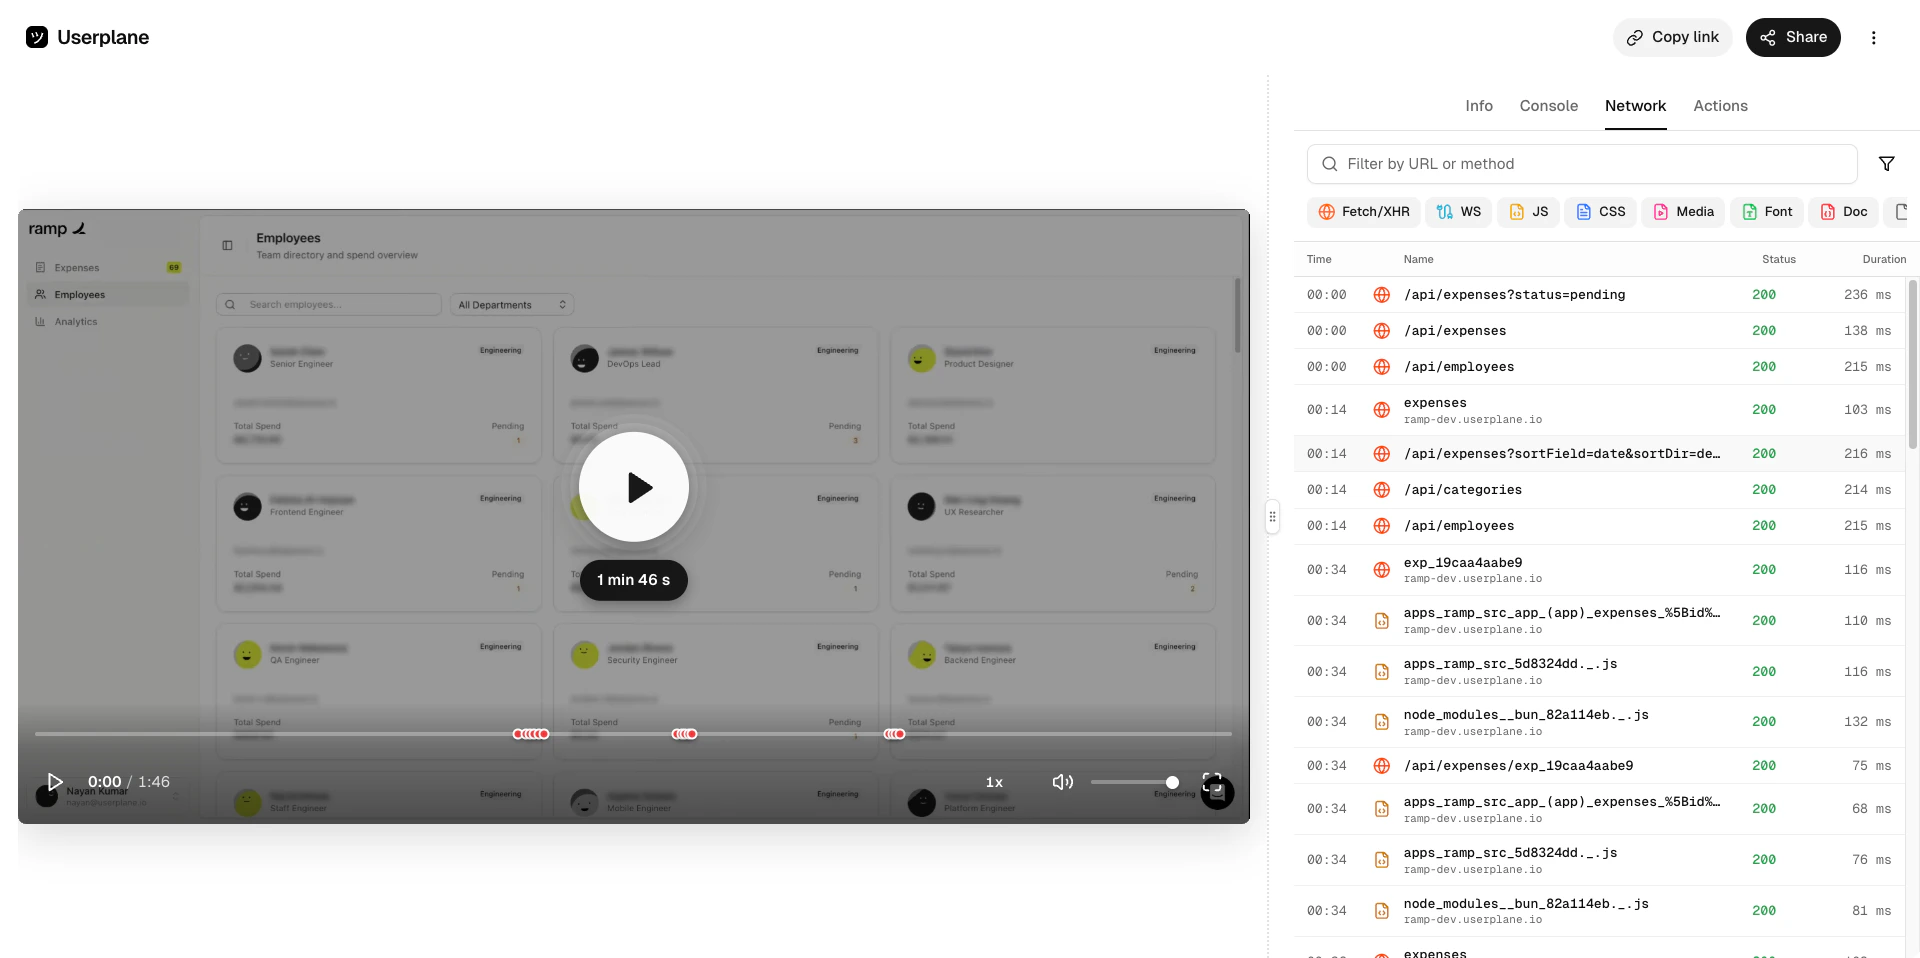
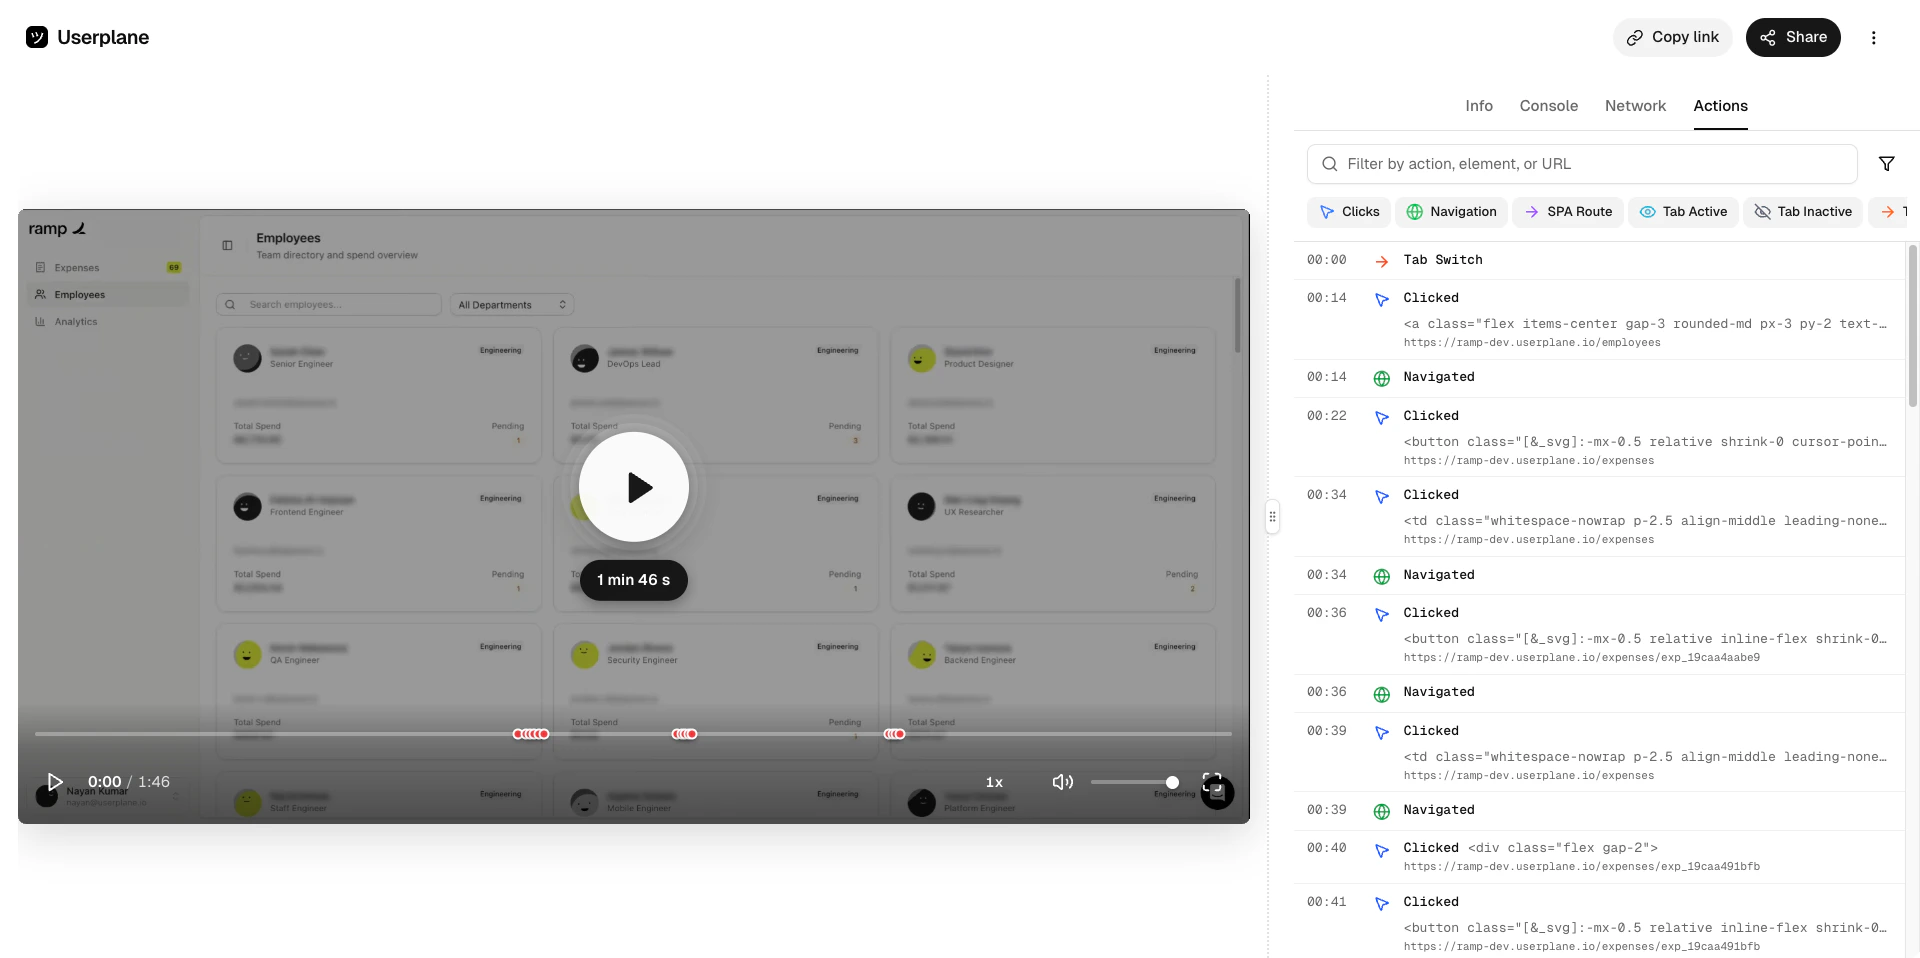
Reviewing recordings
Once a customer completes a recording, there are two ways to access it:Find the recording
- Via ticket notification
- Via Userplane dashboard
When the recording is received, Userplane posts an internal note on the ticket — visible only to agents — with a direct link to the recording playback. Click the link to jump straight to the recording. See Zendesk Notifications for details.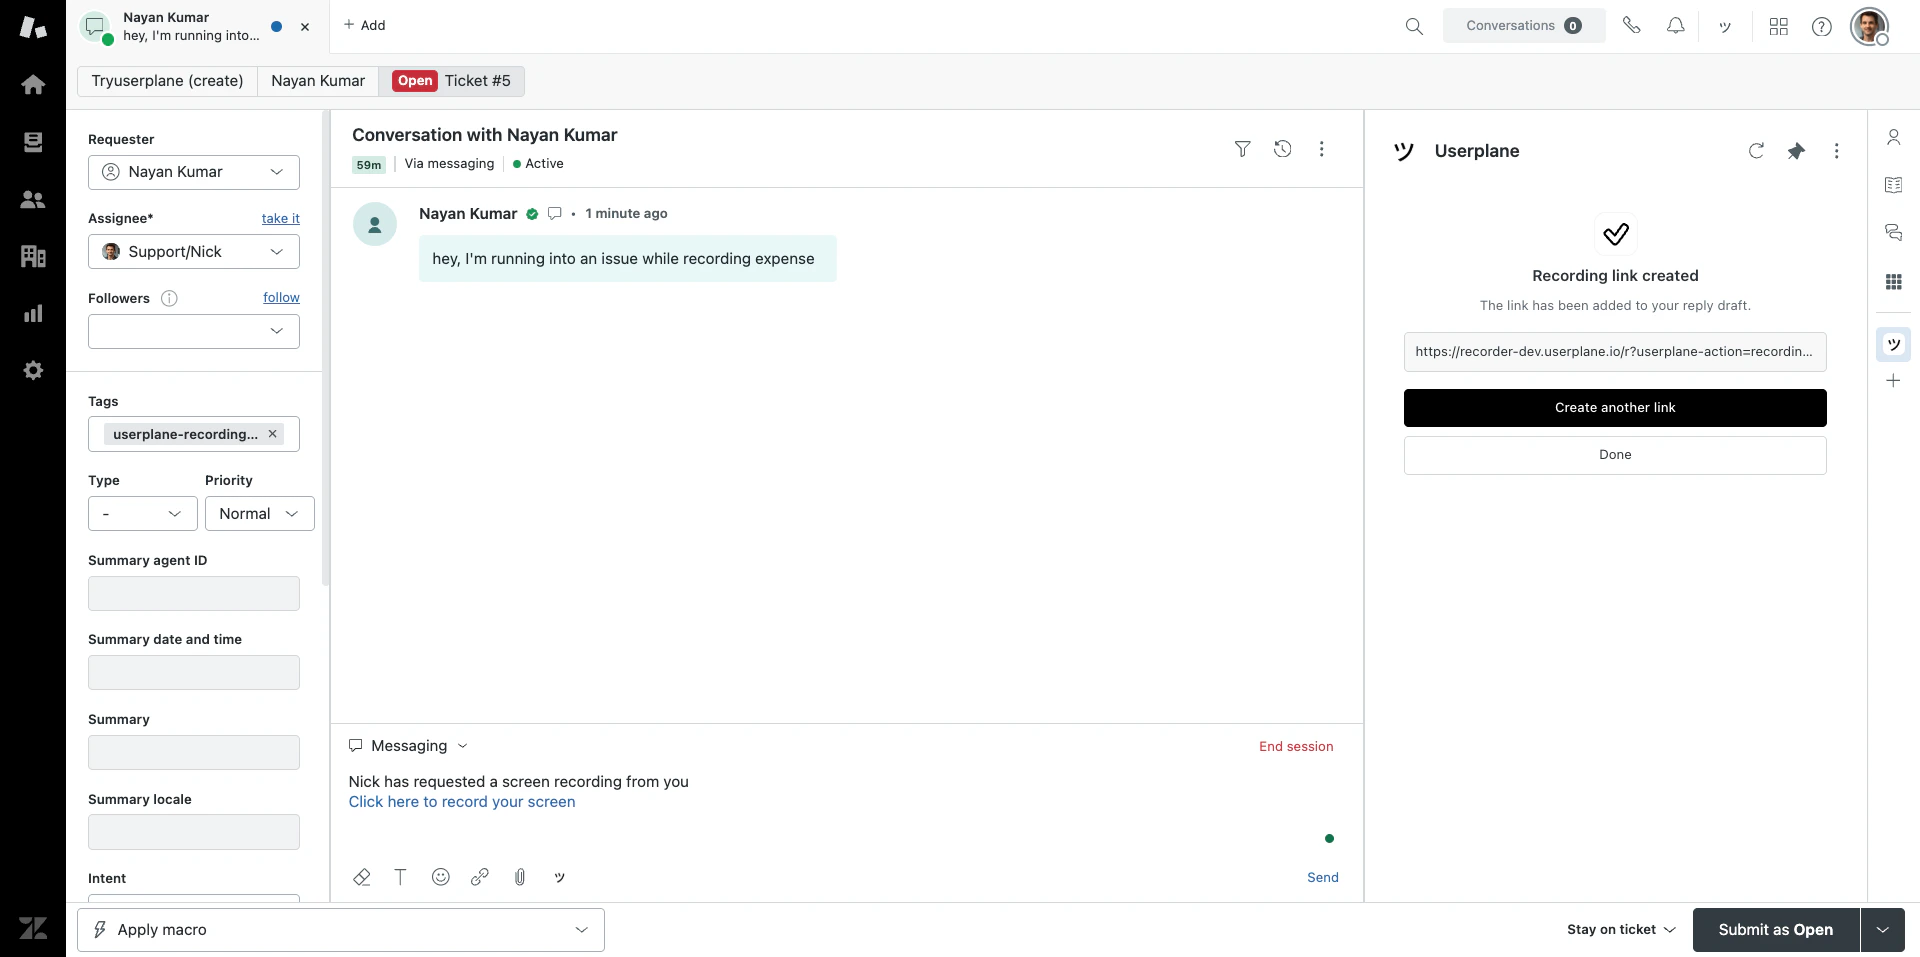
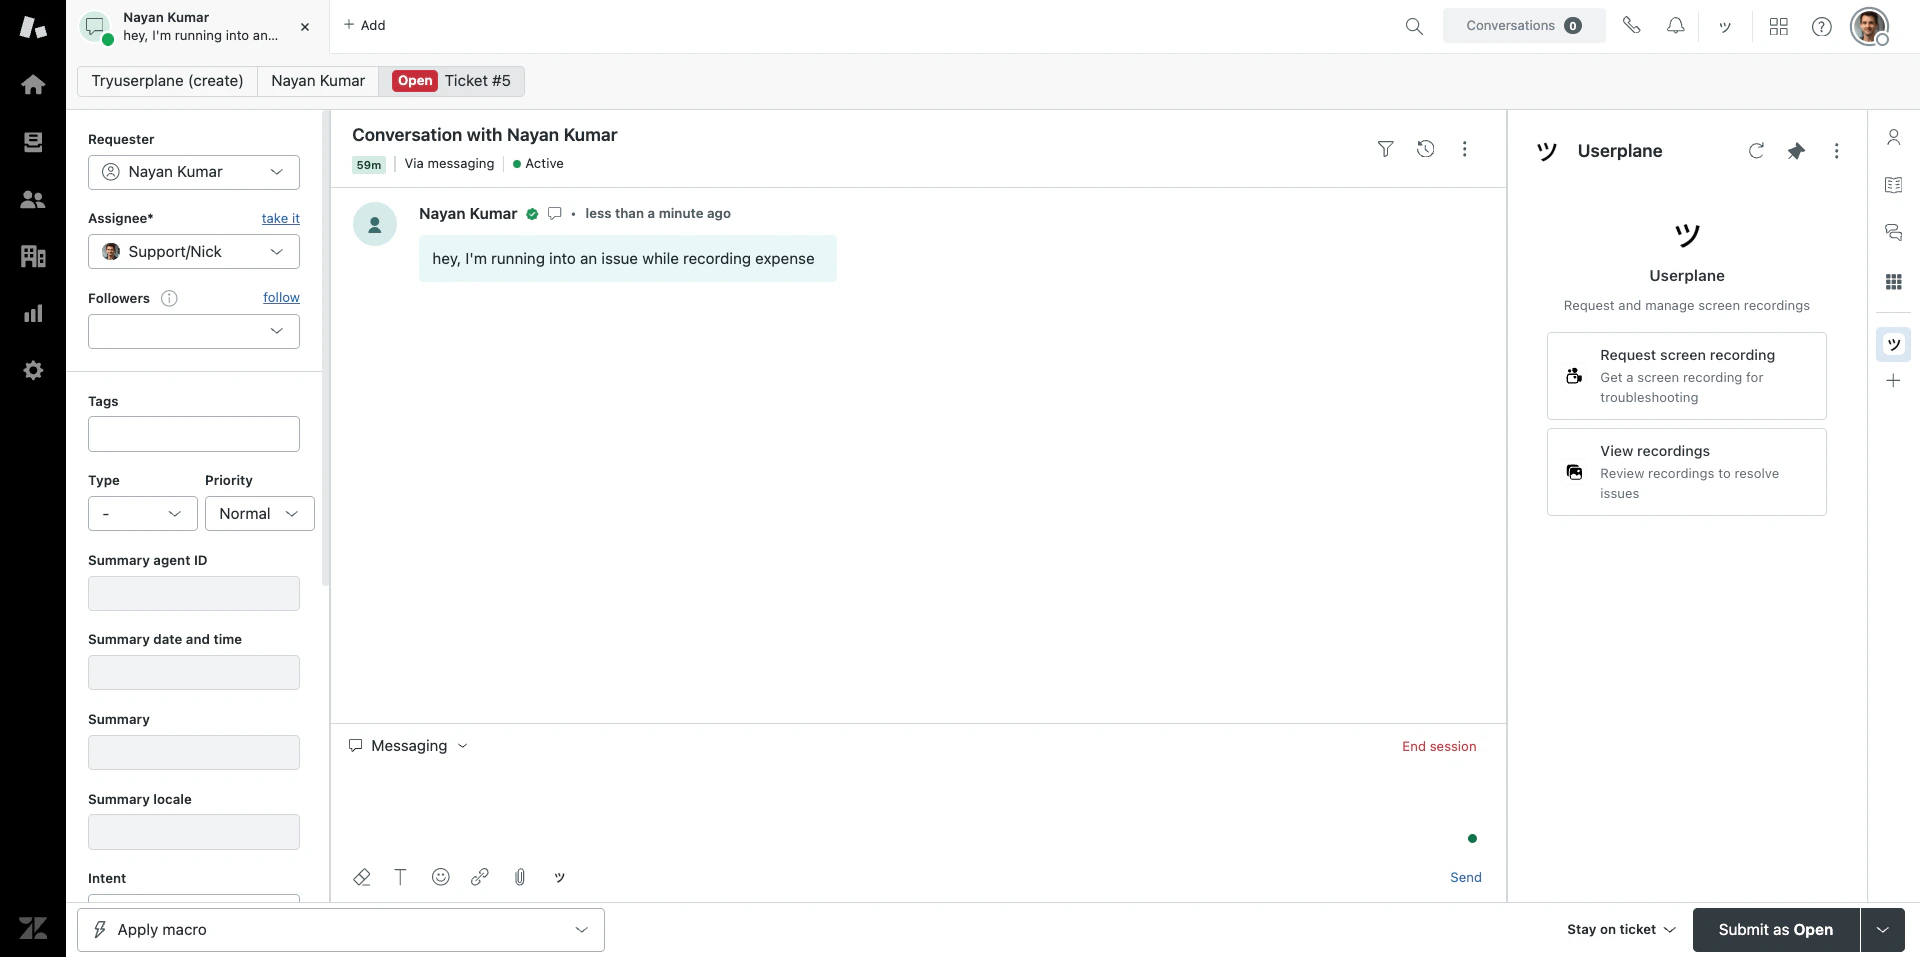
When to use the editor vs. the sidebar
| Editor button | Sidebar app | |
|---|---|---|
| Access | Click in the reply editor toolbar | Click Userplane in the ticket sidebar |
| Best for | Quickly inserting a link into a reply | Browsing recordings and creating links |
| Speed | Fastest — inline, auto-closes after use | Slightly more steps to open |
| Context | Compact form | Full opener view with “View Recordings” option |
Requirements
- The Zendesk integration must be connected.
- The agent must be a member of the Userplane workspace.
- Domains must be verified to appear in the domain dropdown.
Related articles
- Zendesk Ticket Sidebar — the full sidebar app experience.
- Zendesk Integration — overview and connection guide.
- Requesting a Recording — creating links from the Userplane dashboard.