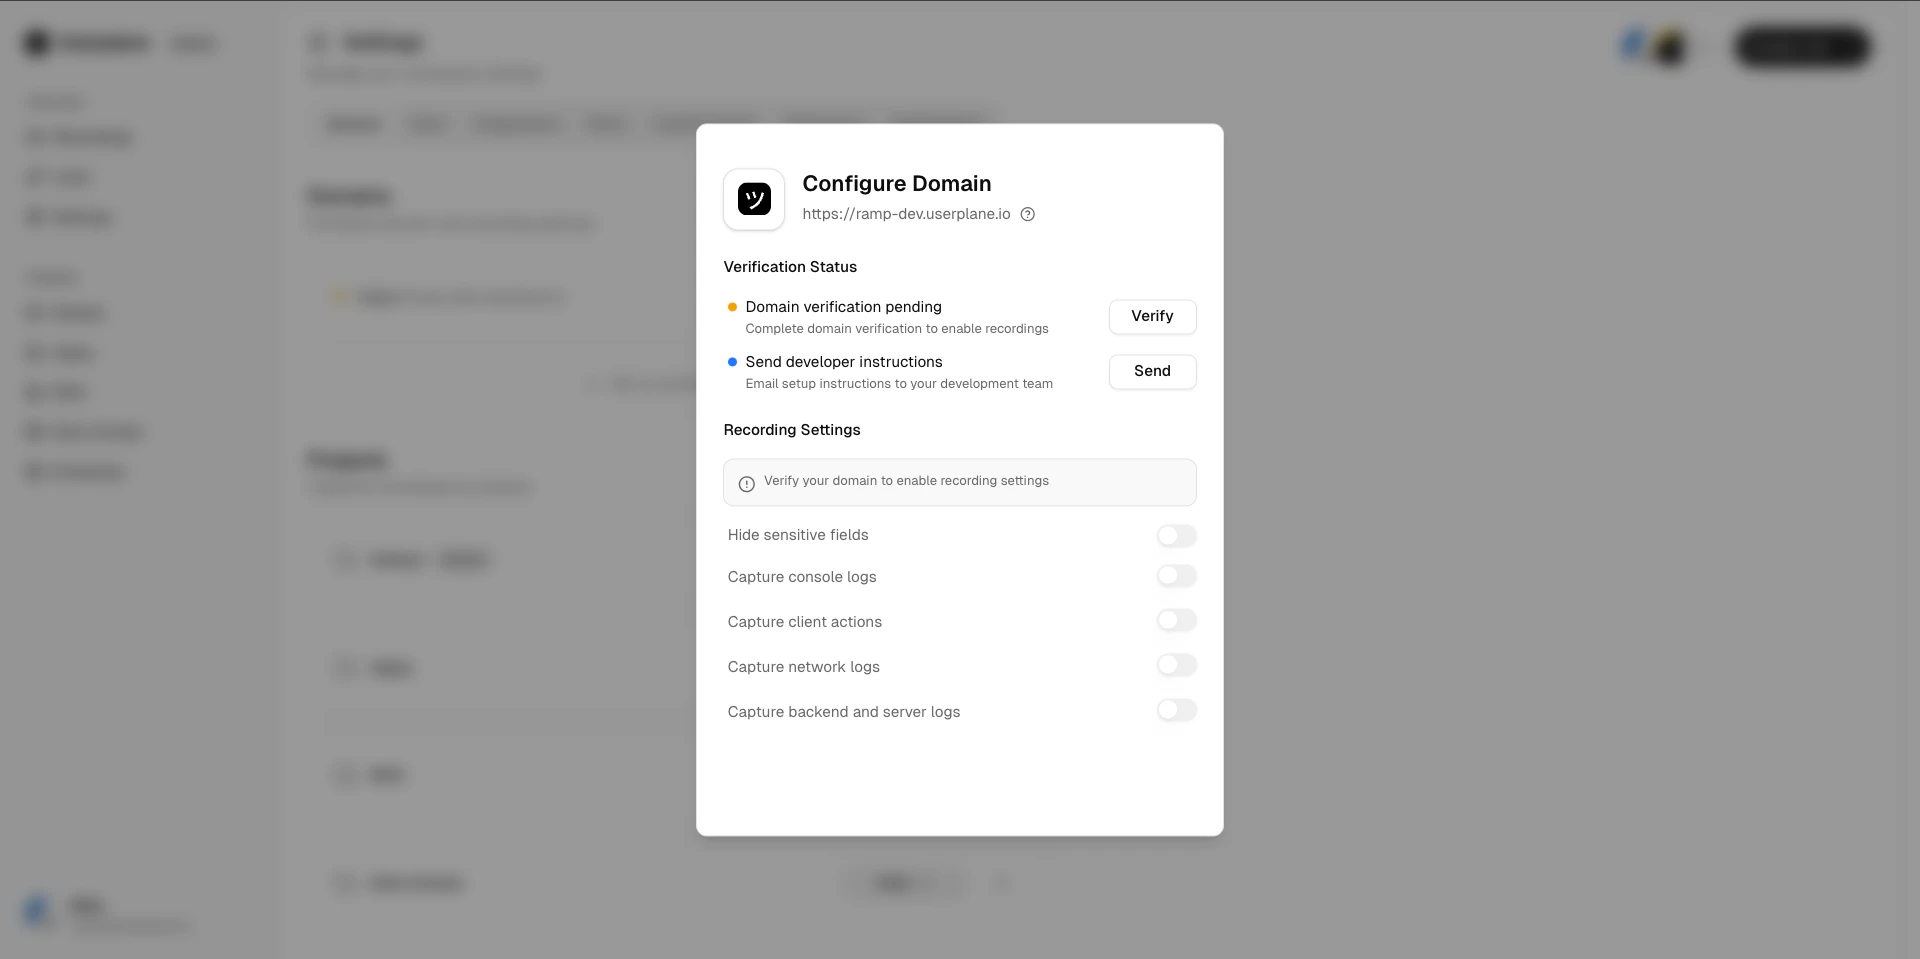
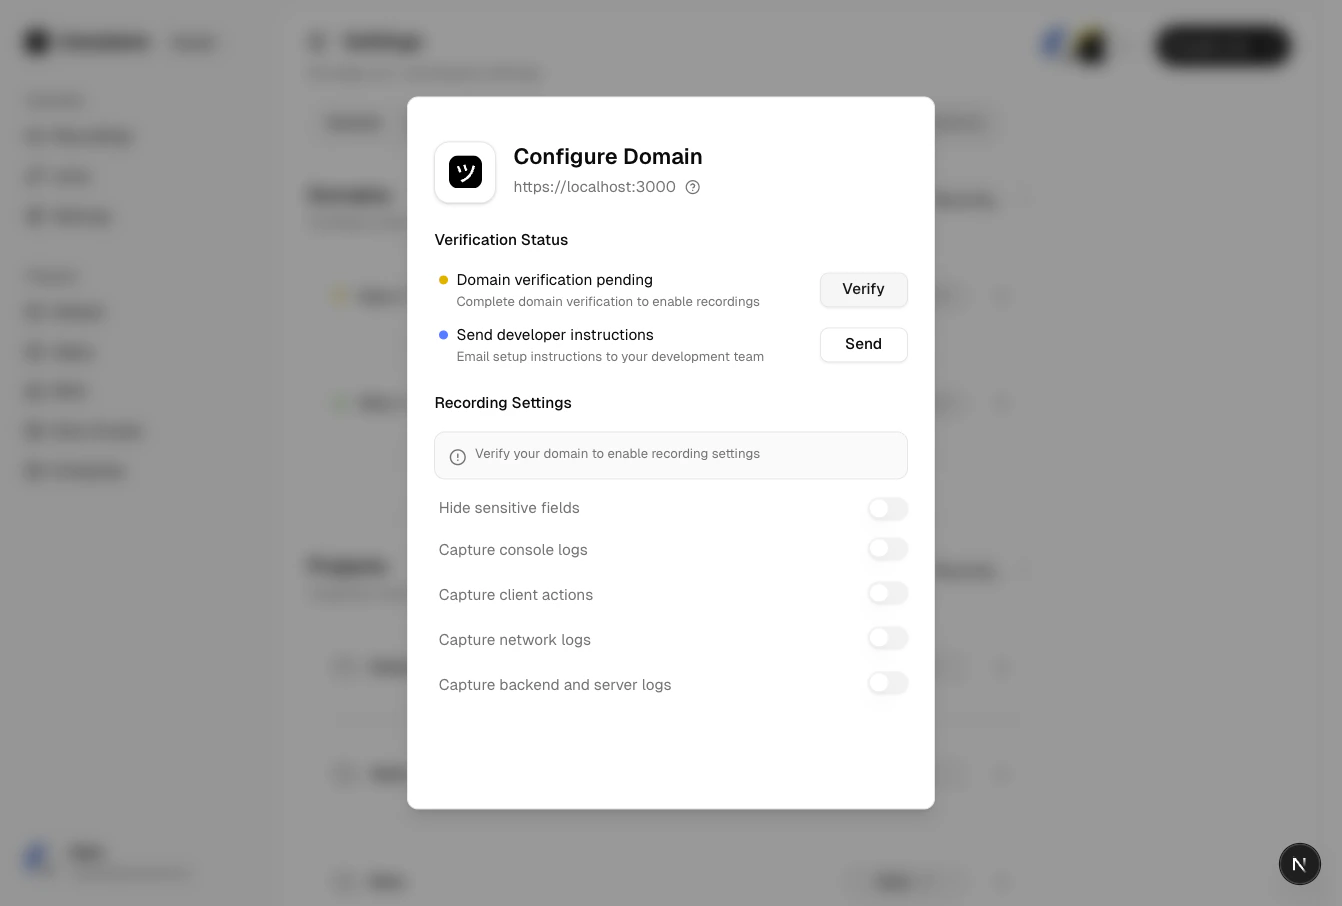
Click Verify to start the verification process. Userplane generates a unique verification token (JWT) for your domain.
Verification code
Verification code
3
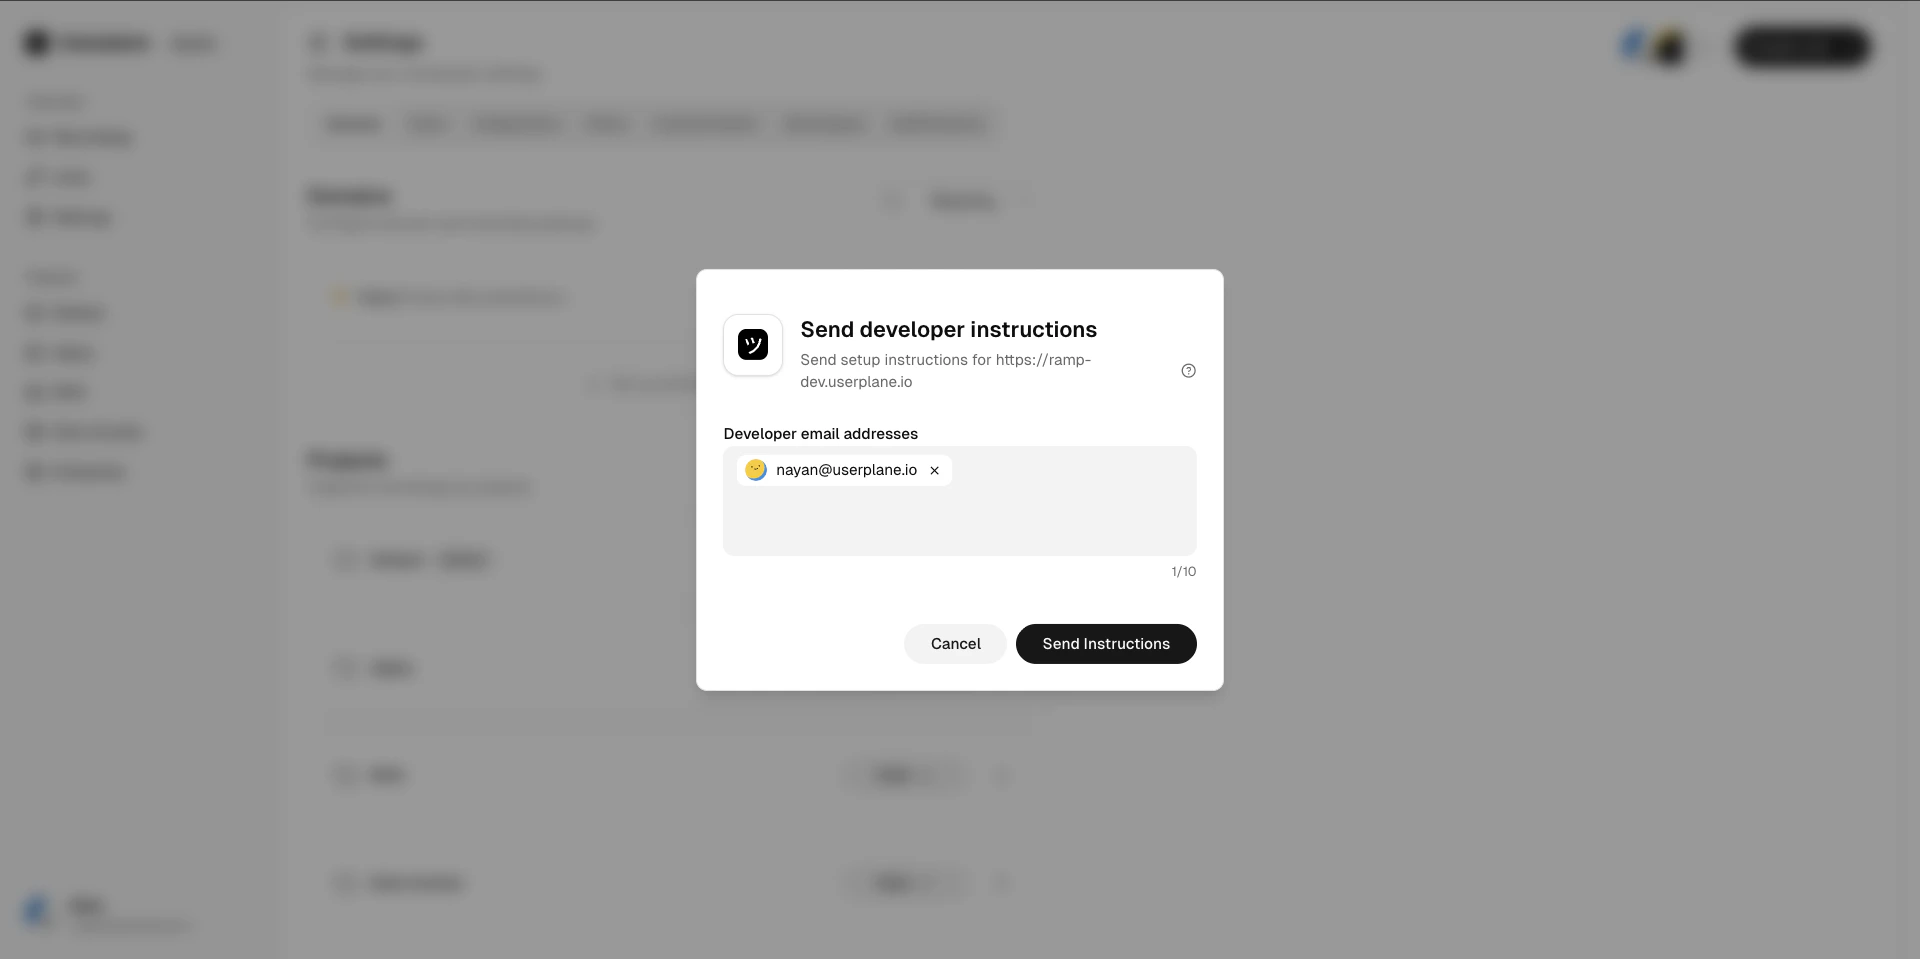
Send instructions to a developer (optional)
If someone else manages your website, click Send to Developer to email them the verification instructions directly.
Send verification instructions
4
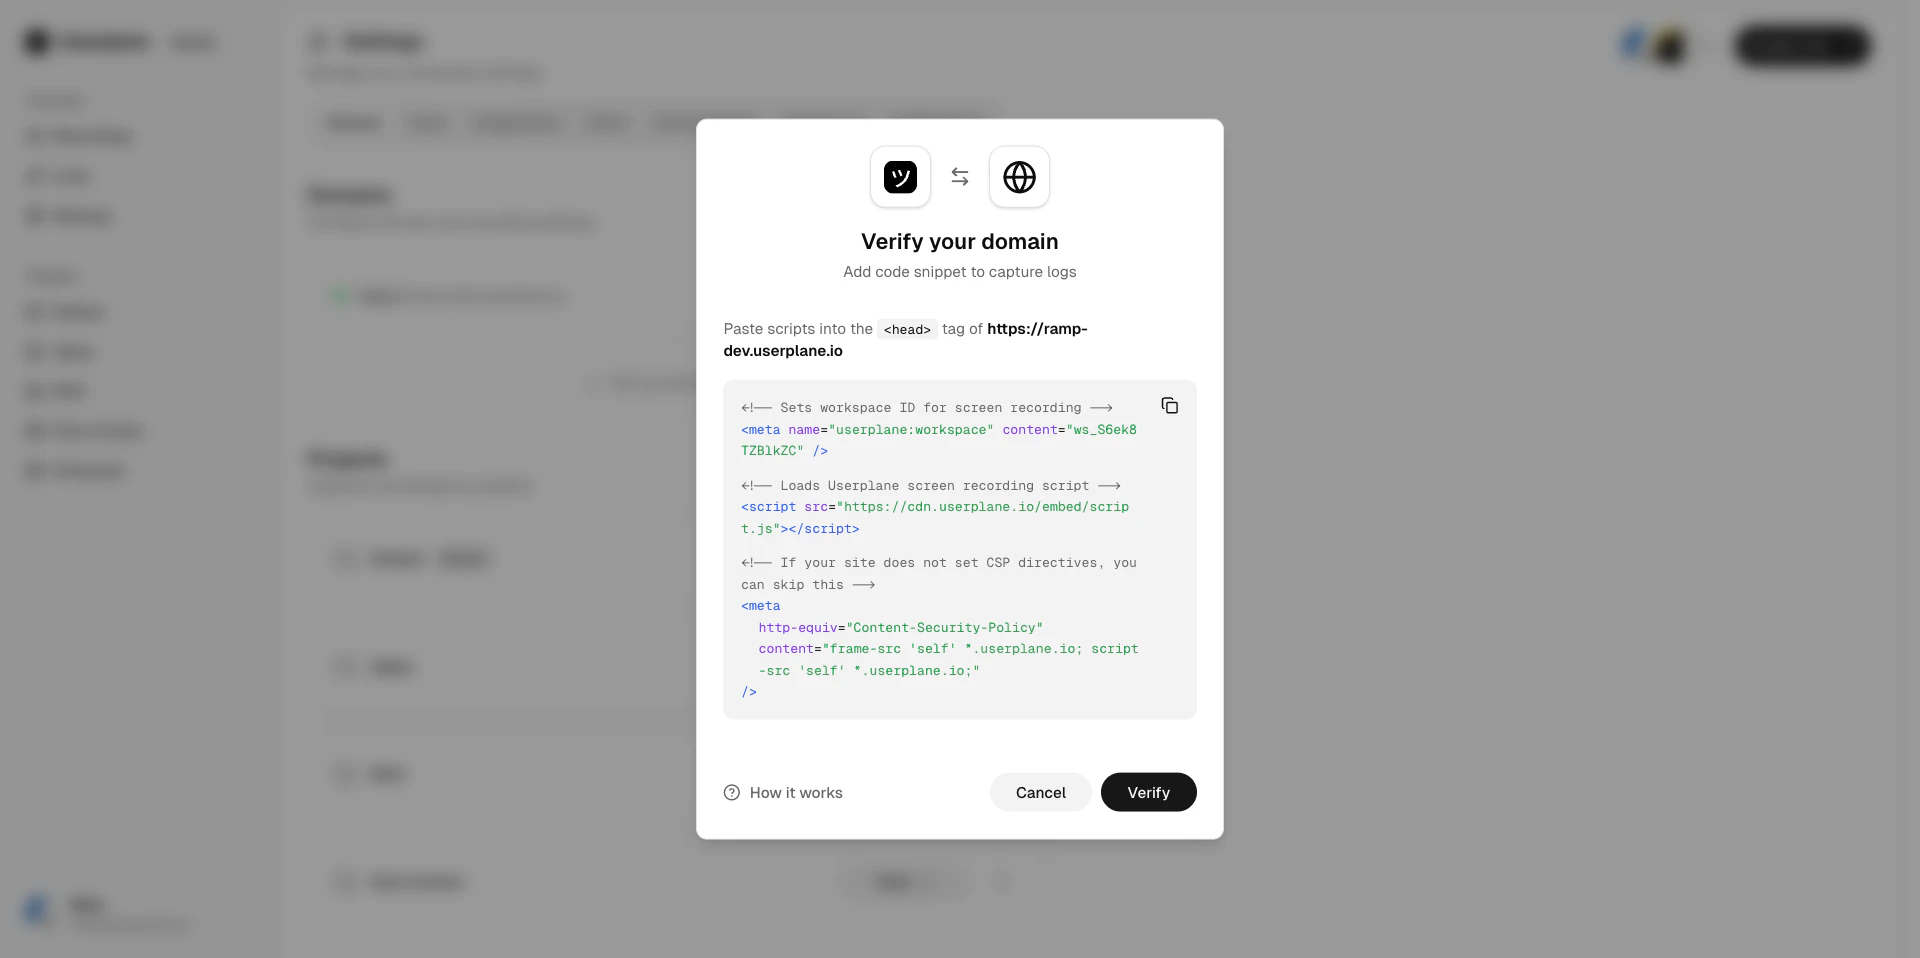
Add the script to your site
Copy the provided script tag and add it to your website’s HTML. Your domain must allow CORS requests from Userplane for the check to succeed. See the Domain Verification Guide for technical details.
5
Trigger the check
Once the script is deployed, click Verify in Userplane to trigger the check.
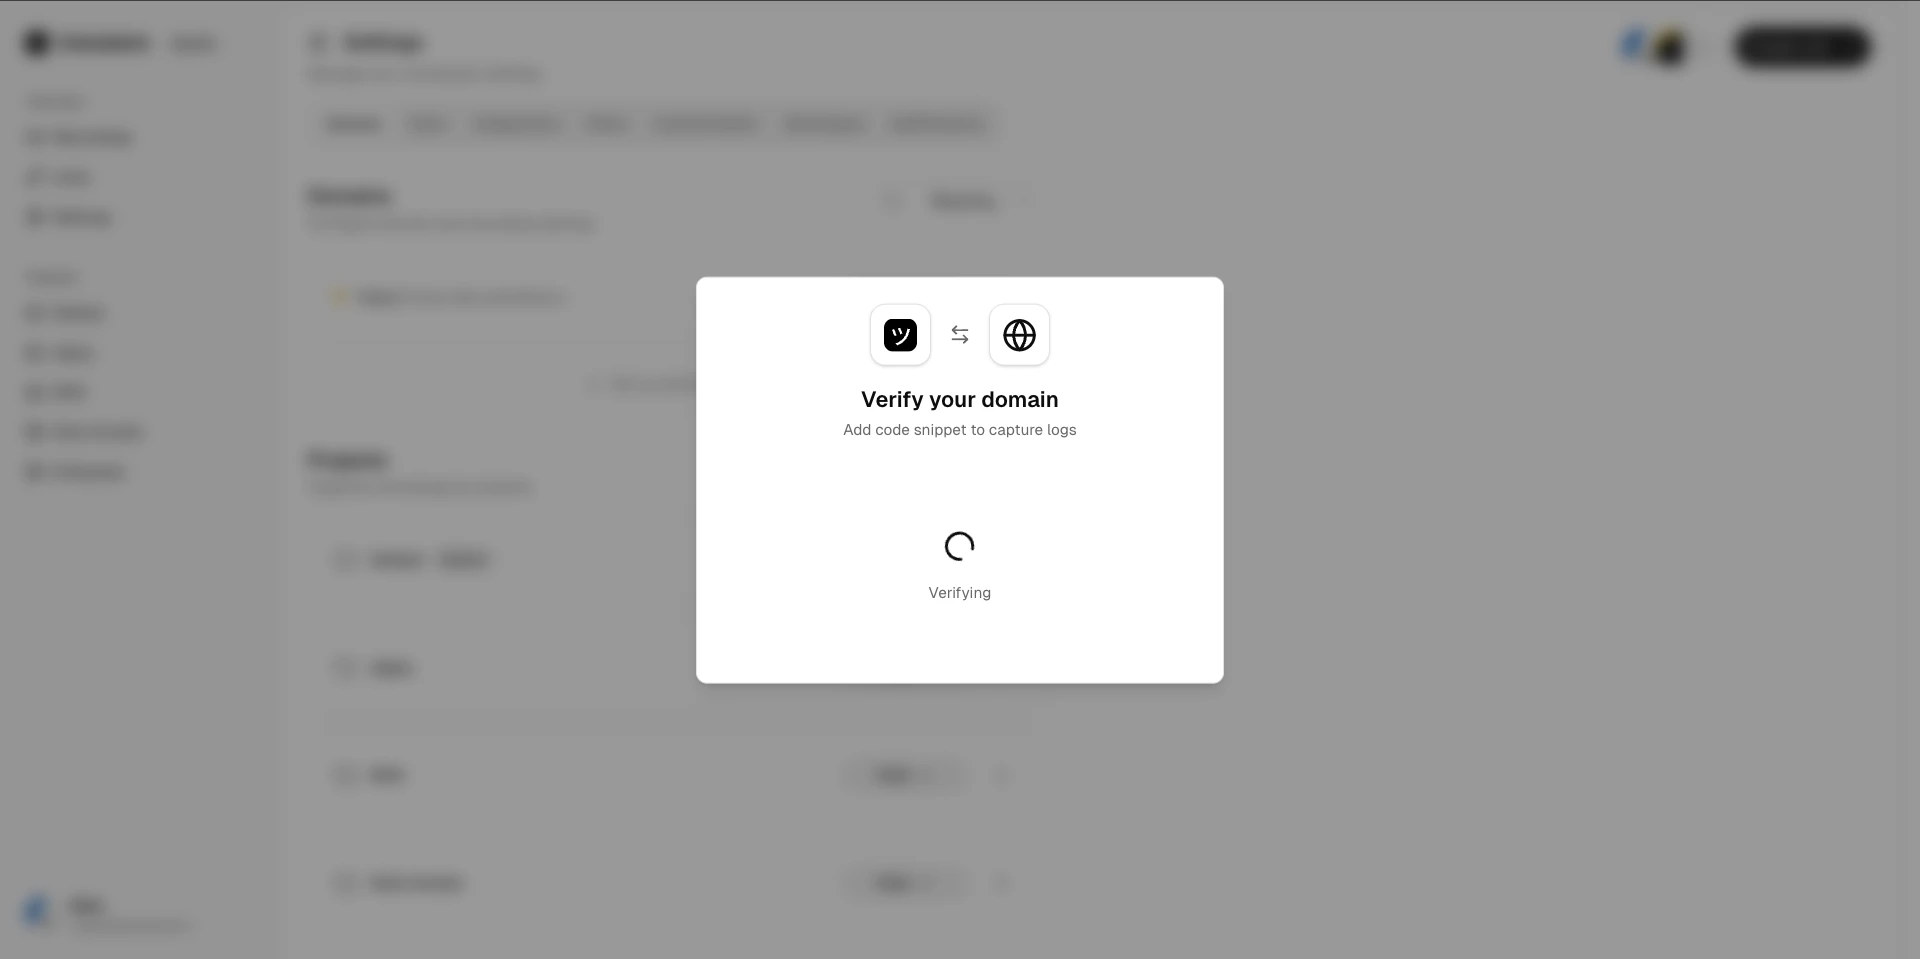
Verification in progress
The verification token expires after 5 minutes. If it expires before verification
completes, generate a new one and try again.
6
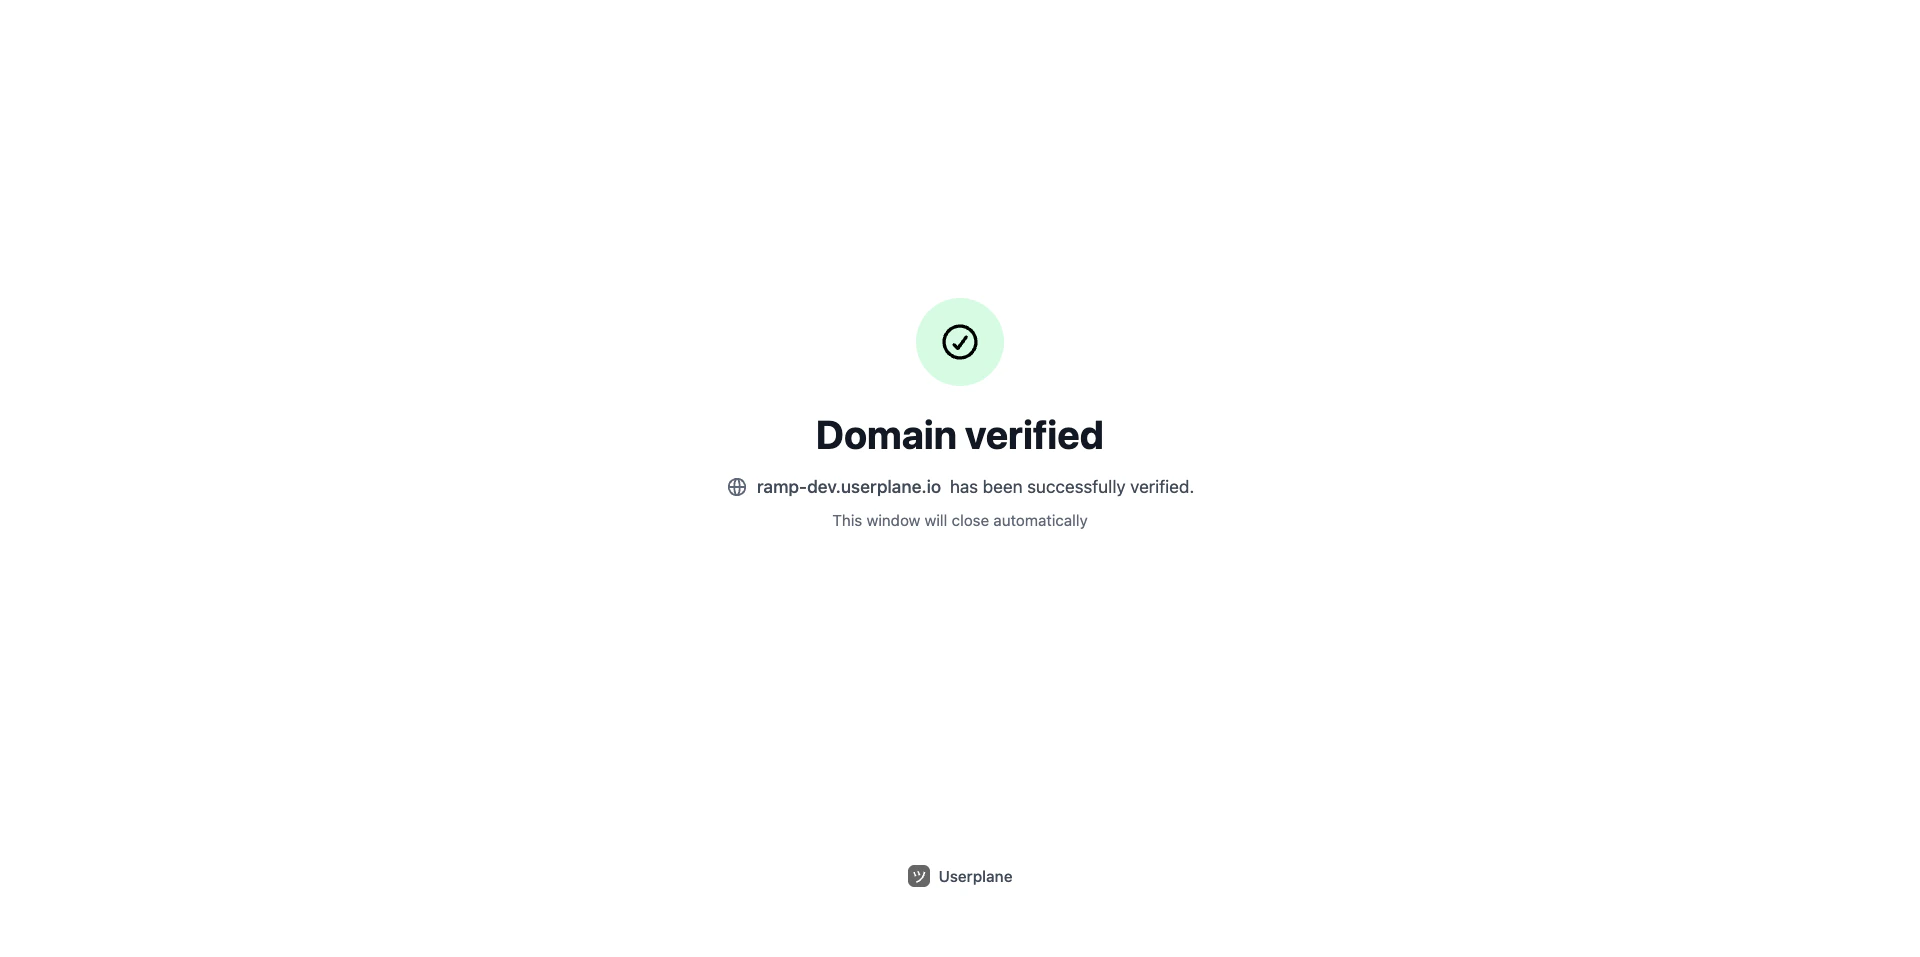
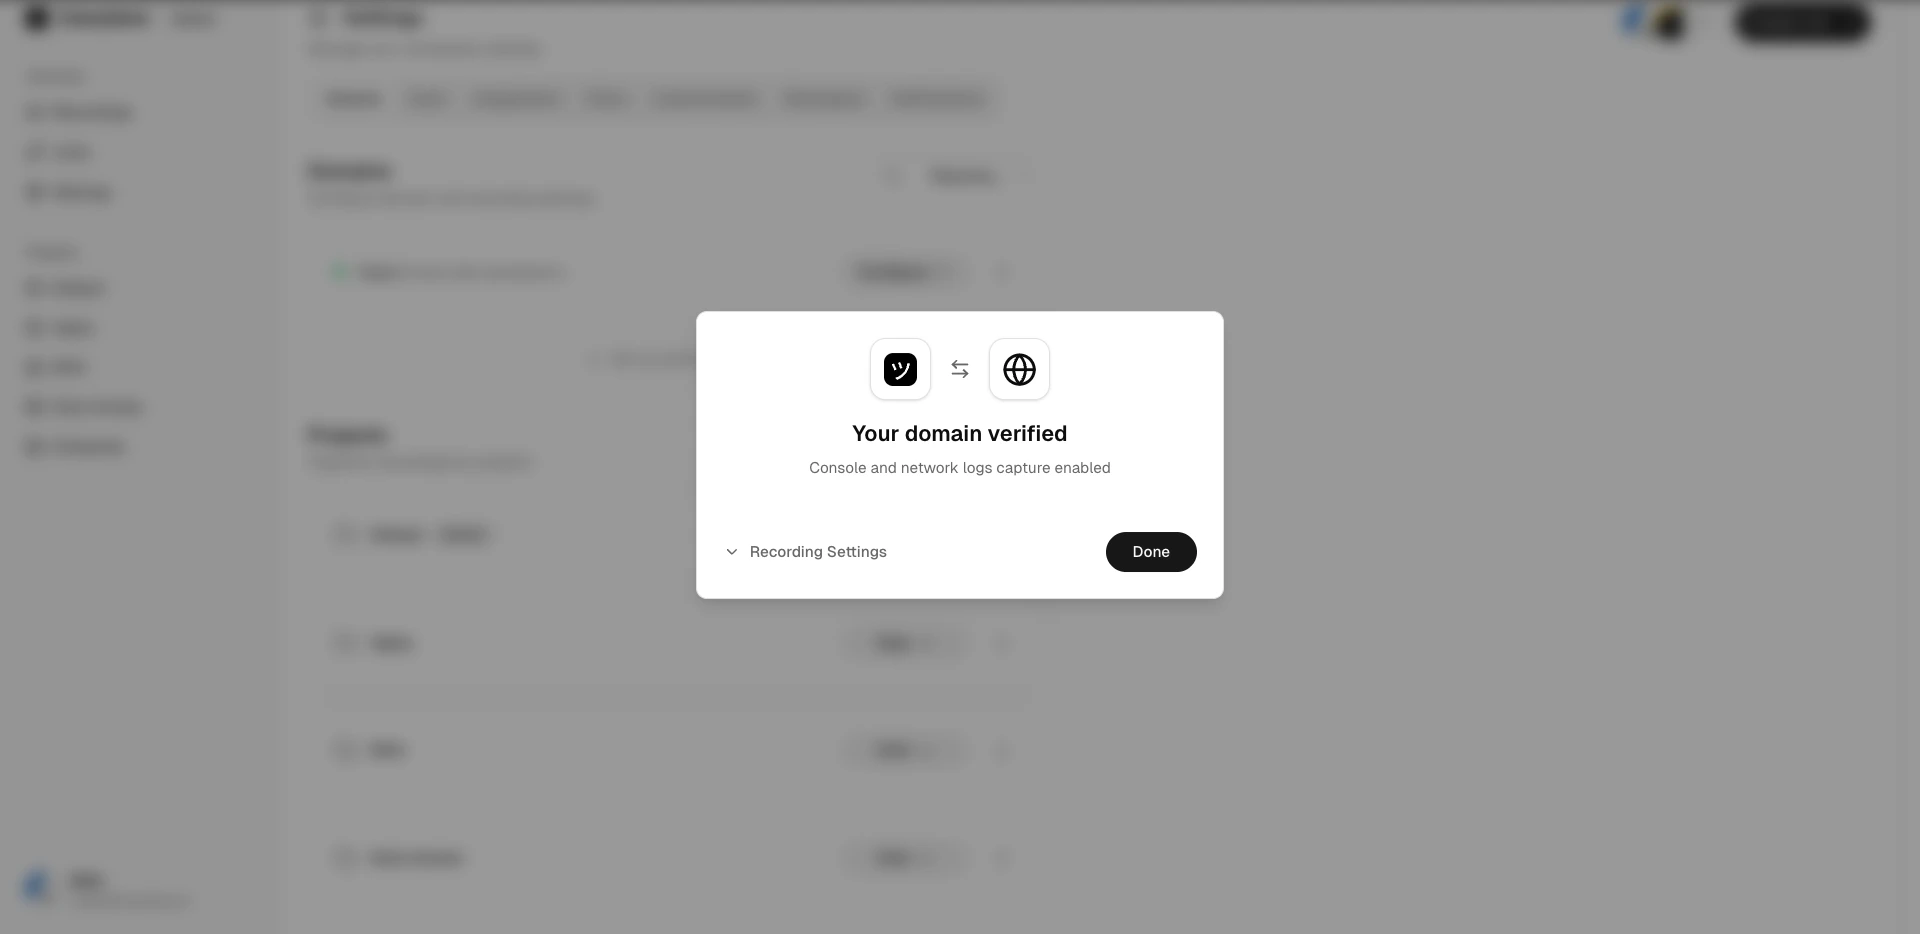
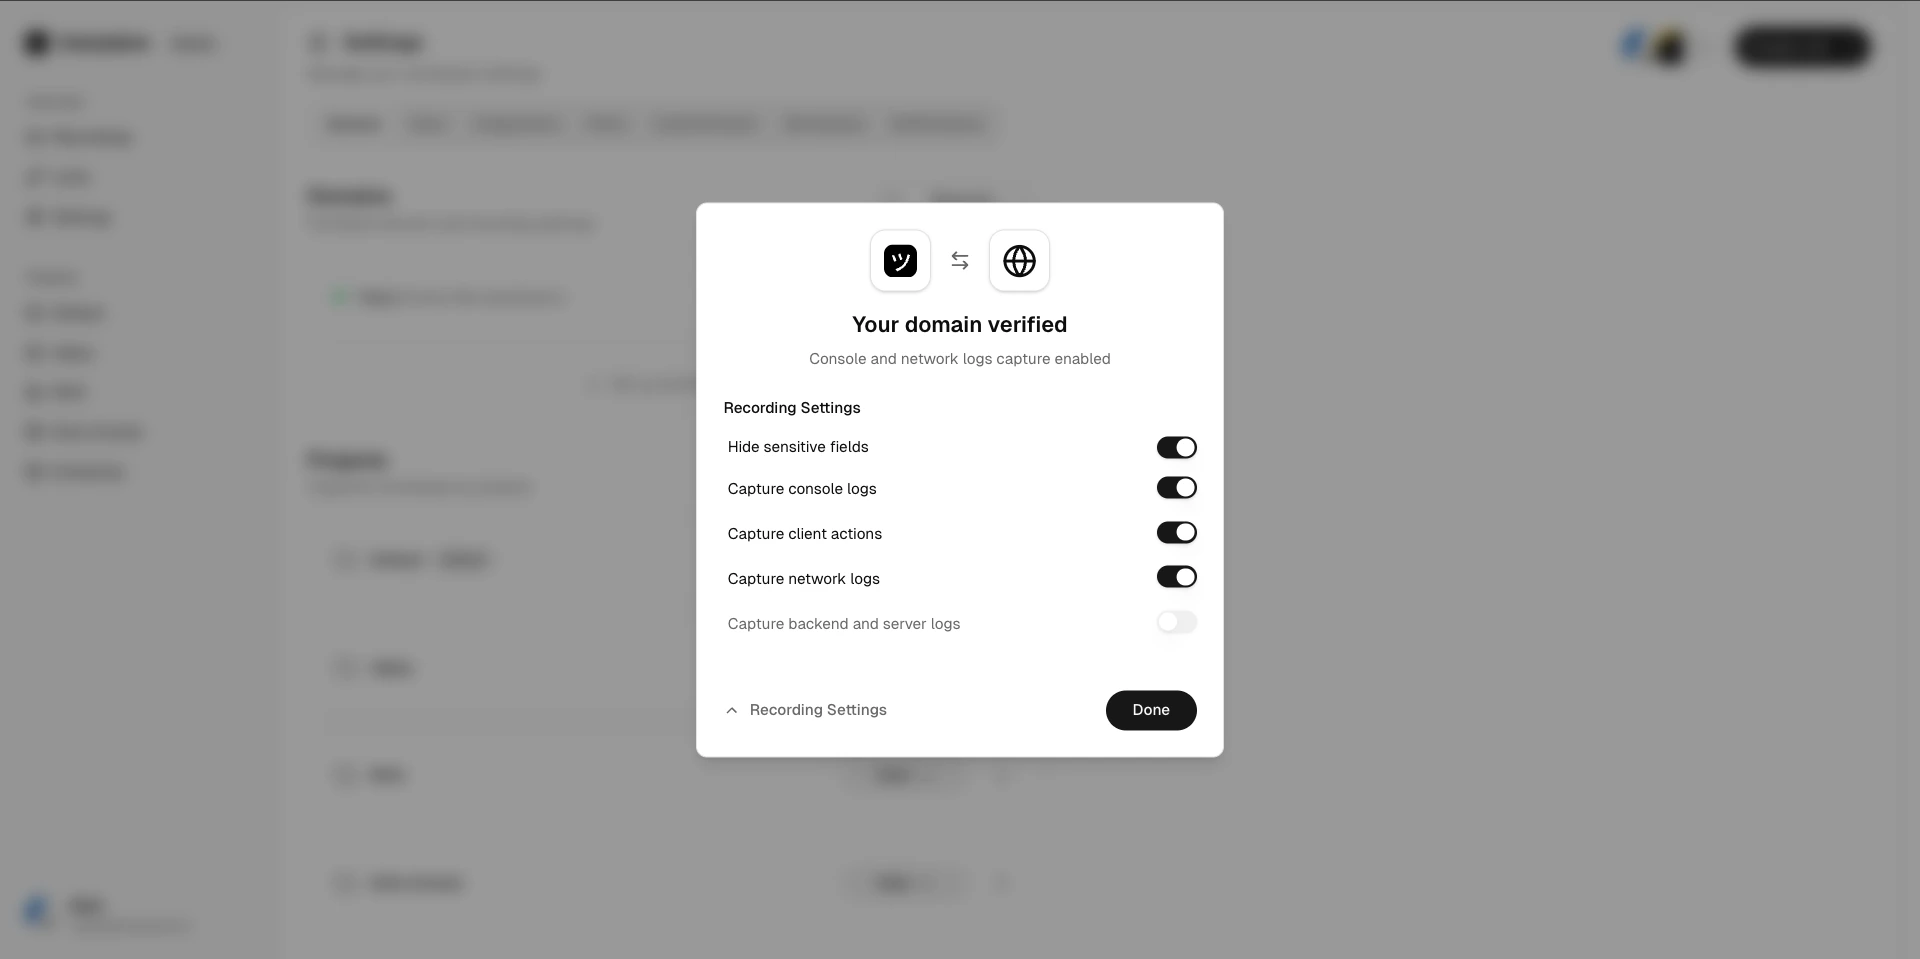
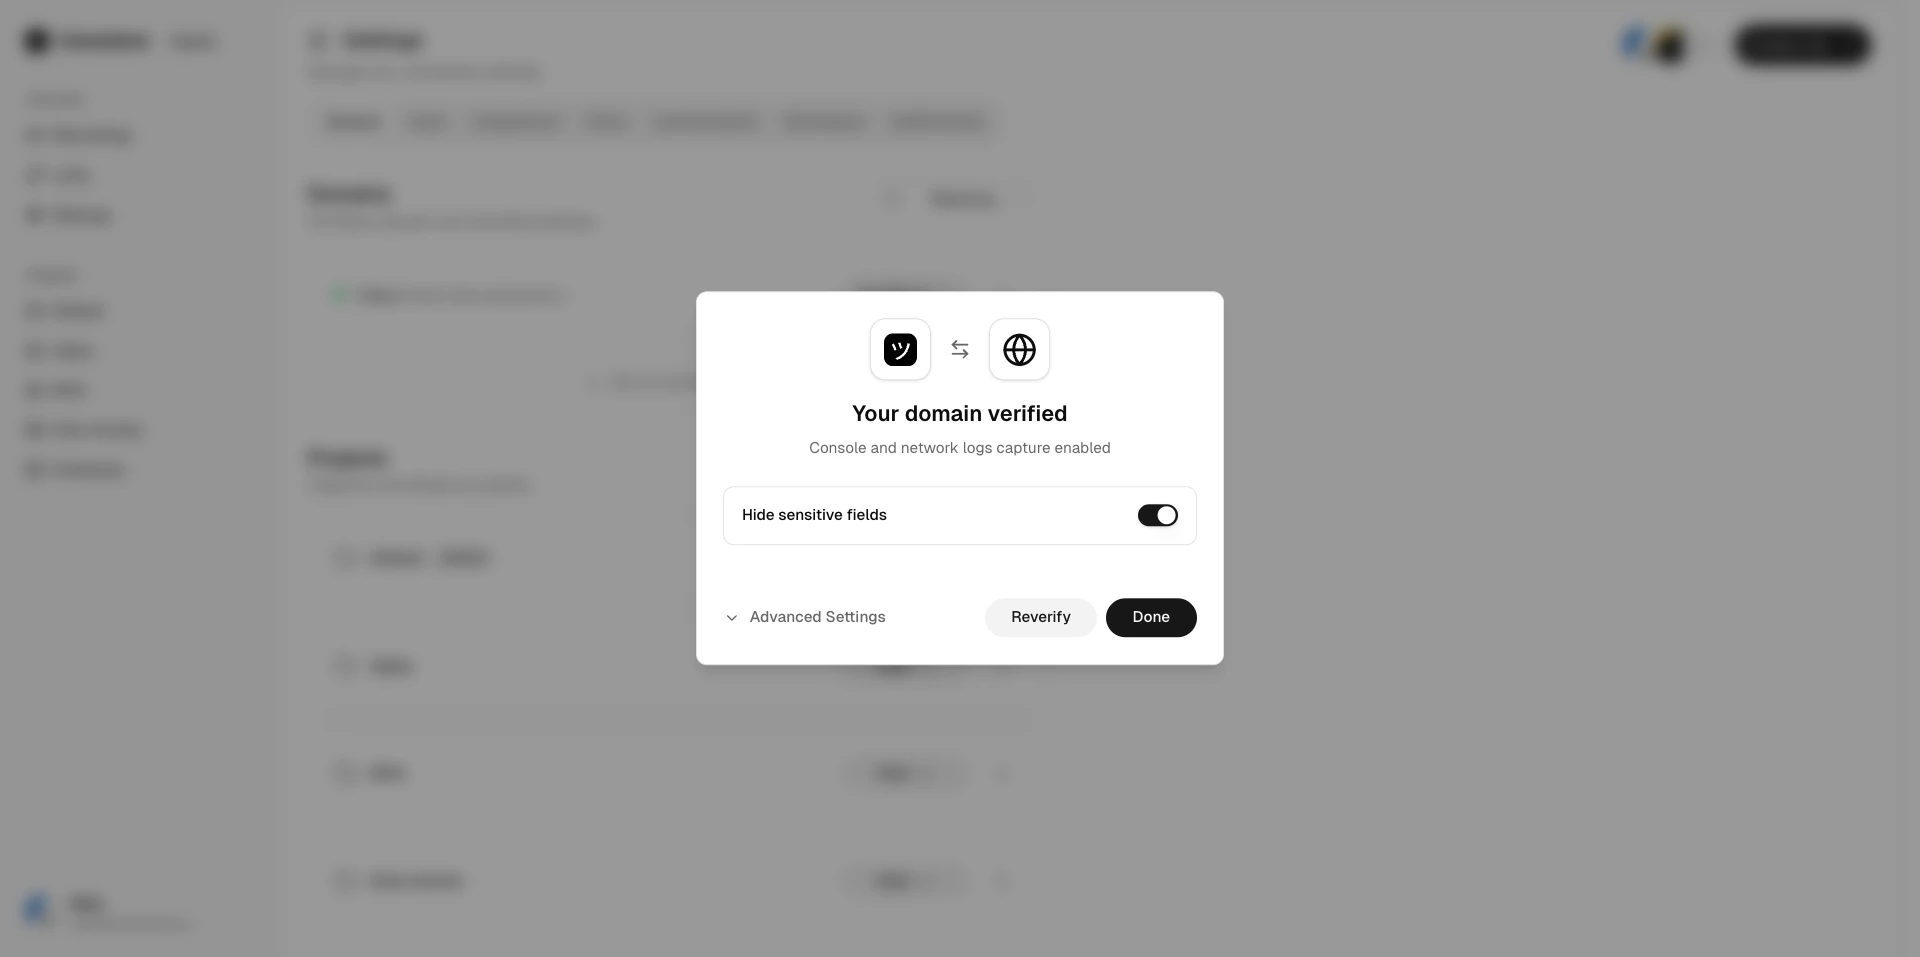
Verification complete
Once the token is found and valid, the domain status changes to Verified.