Choose your help desk
Intercom
Sidebar app, Cmd+K shortcuts, and macro support inside the Intercom inbox
Zendesk
Ticket sidebar, editor button, and top bar app inside Zendesk
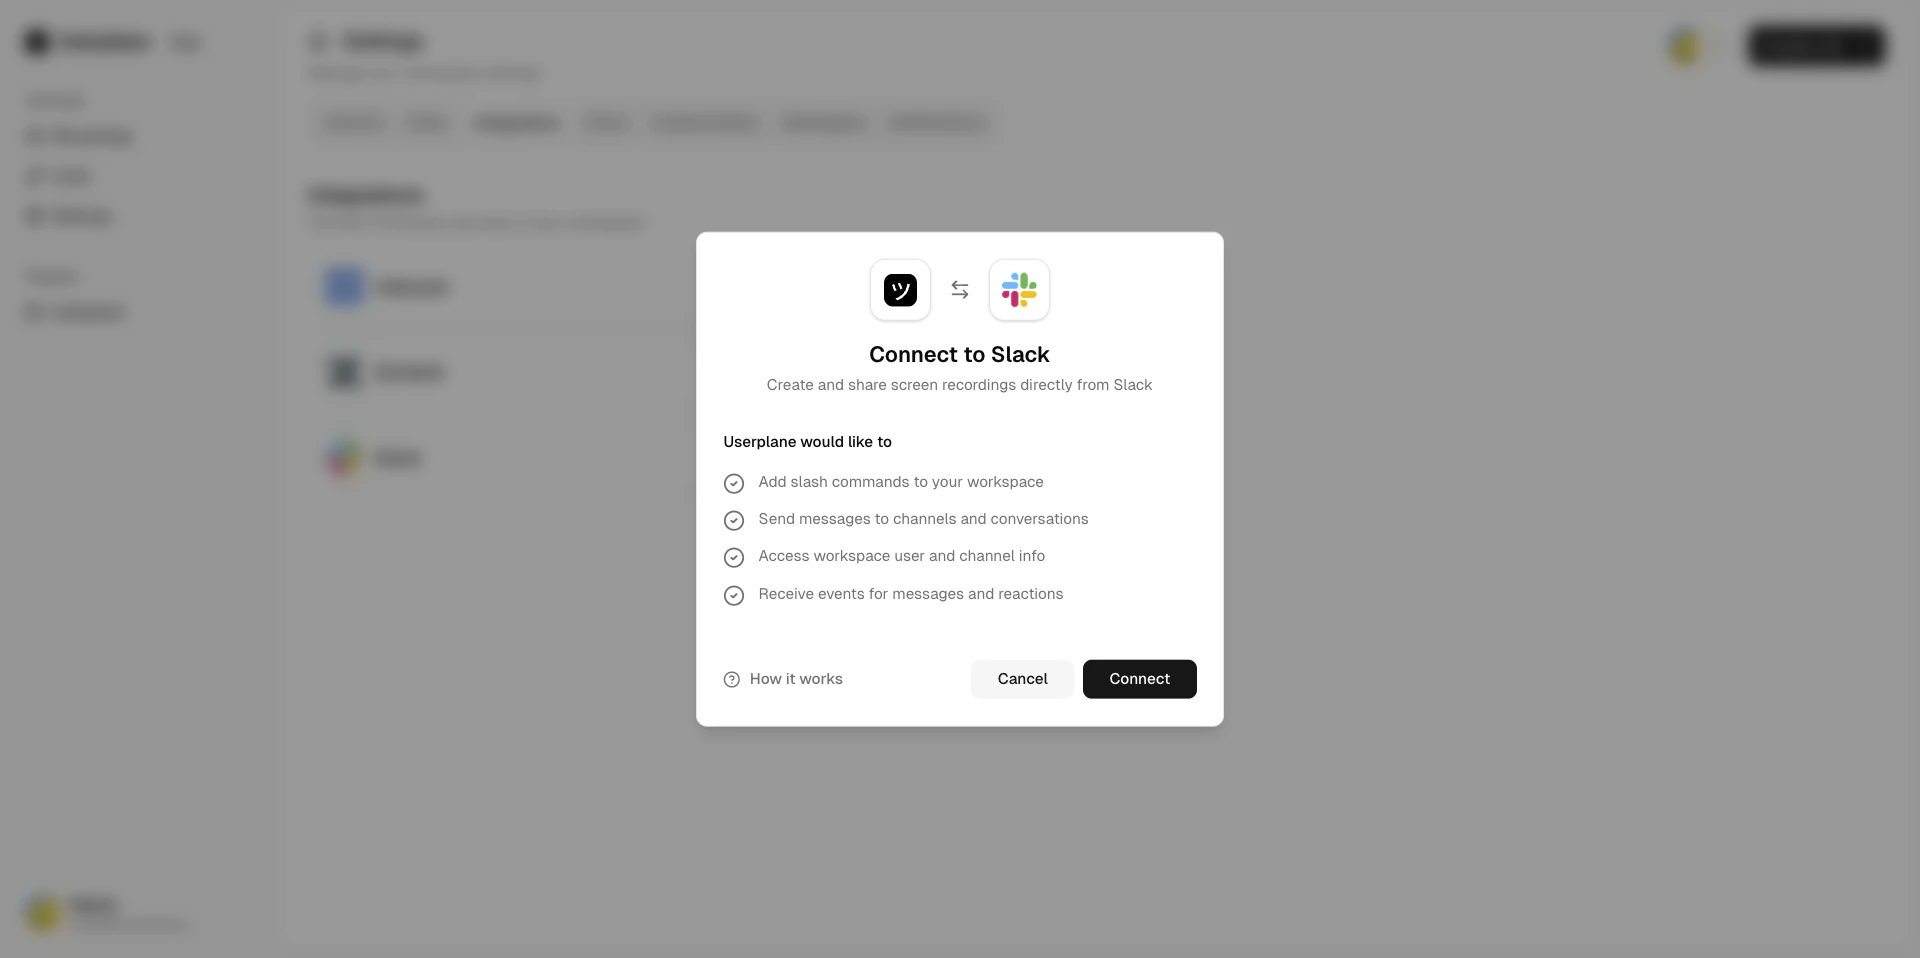
Slack
Slash command, message shortcuts, and App Home dashboard inside Slack
Chrome Extension
Side panel for creating links and viewing recordings alongside any browser-based tool
Connect Intercom
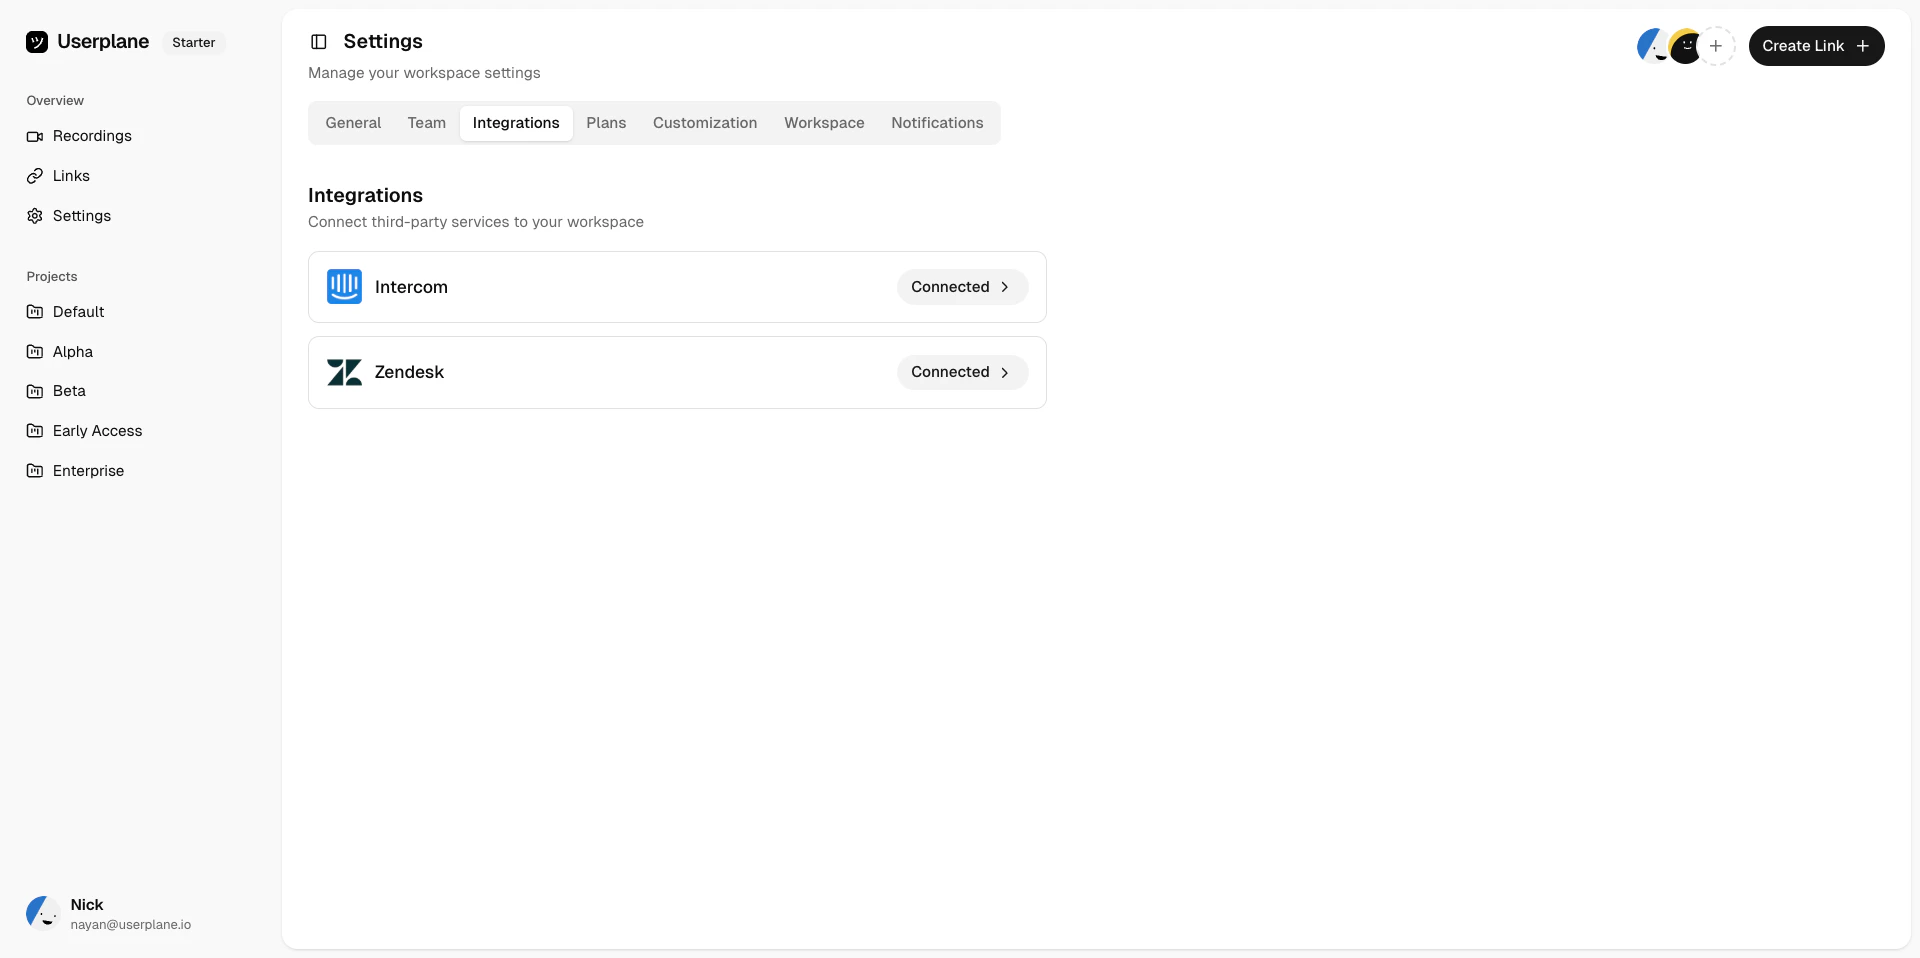
Open Integrations settings
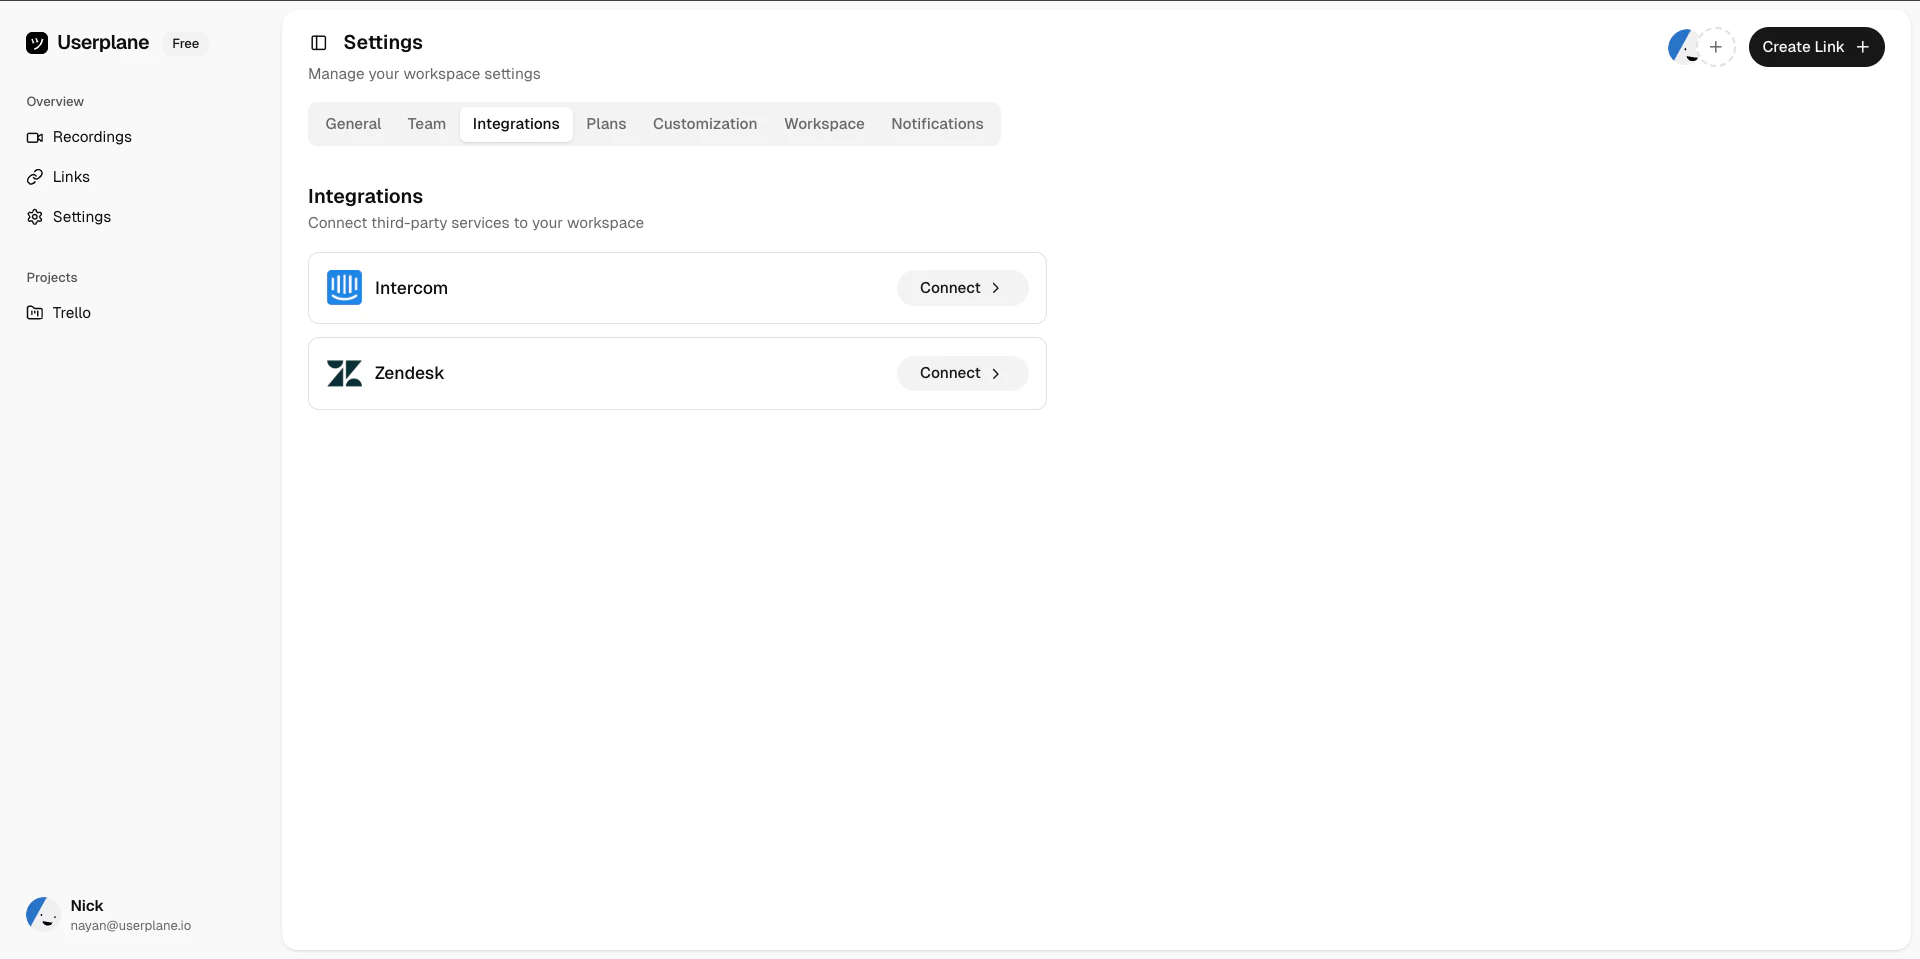
Click Connect Intercom
Click Connect Intercom. You’ll be redirected to Intercom to authorize the connection.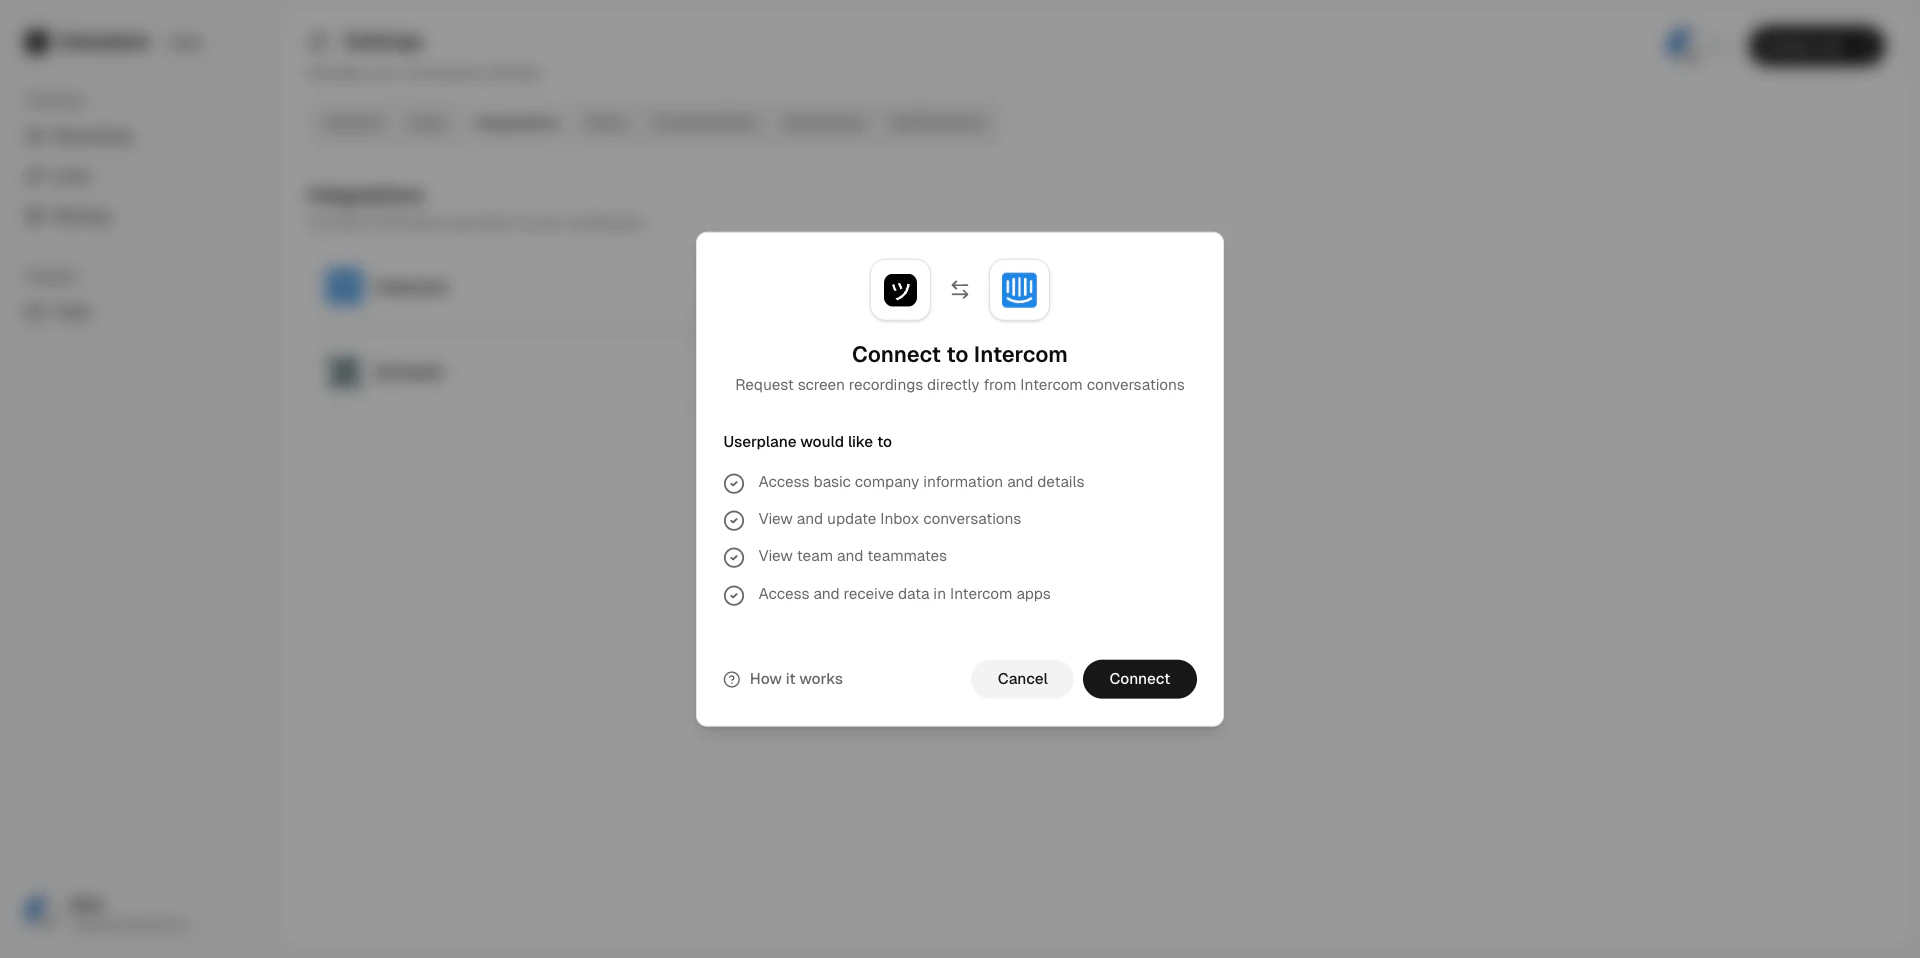
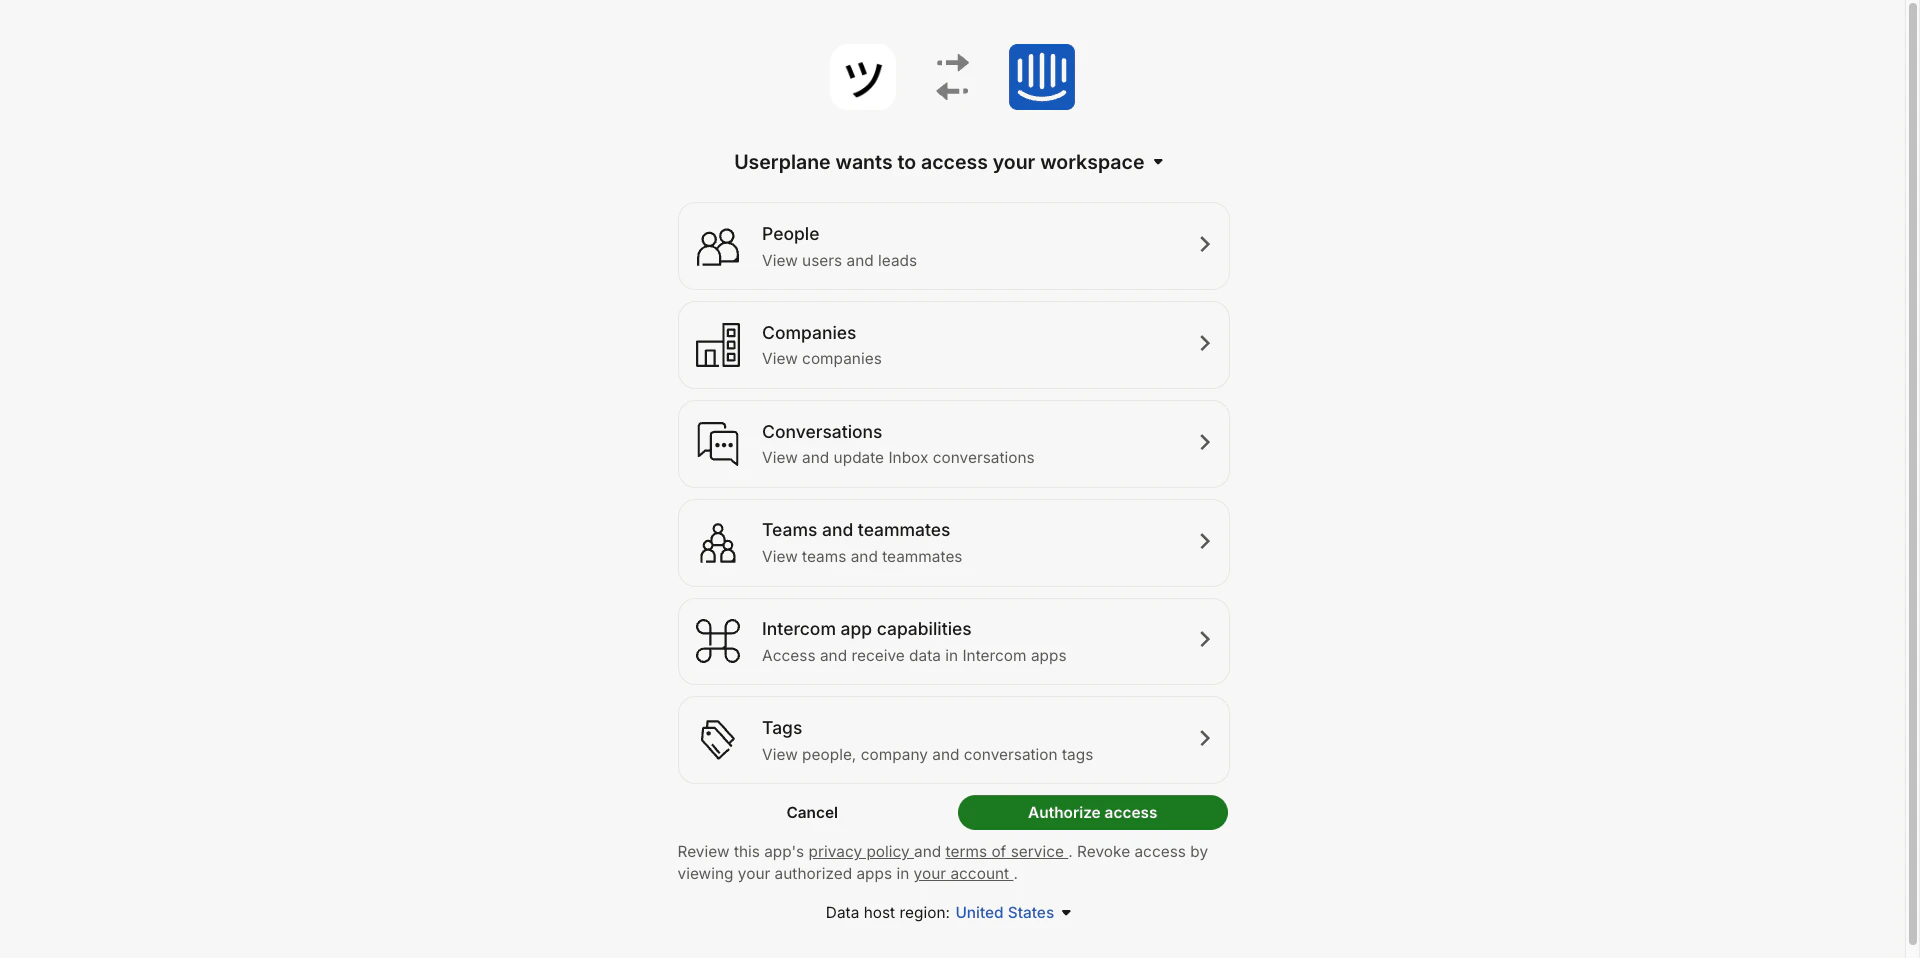
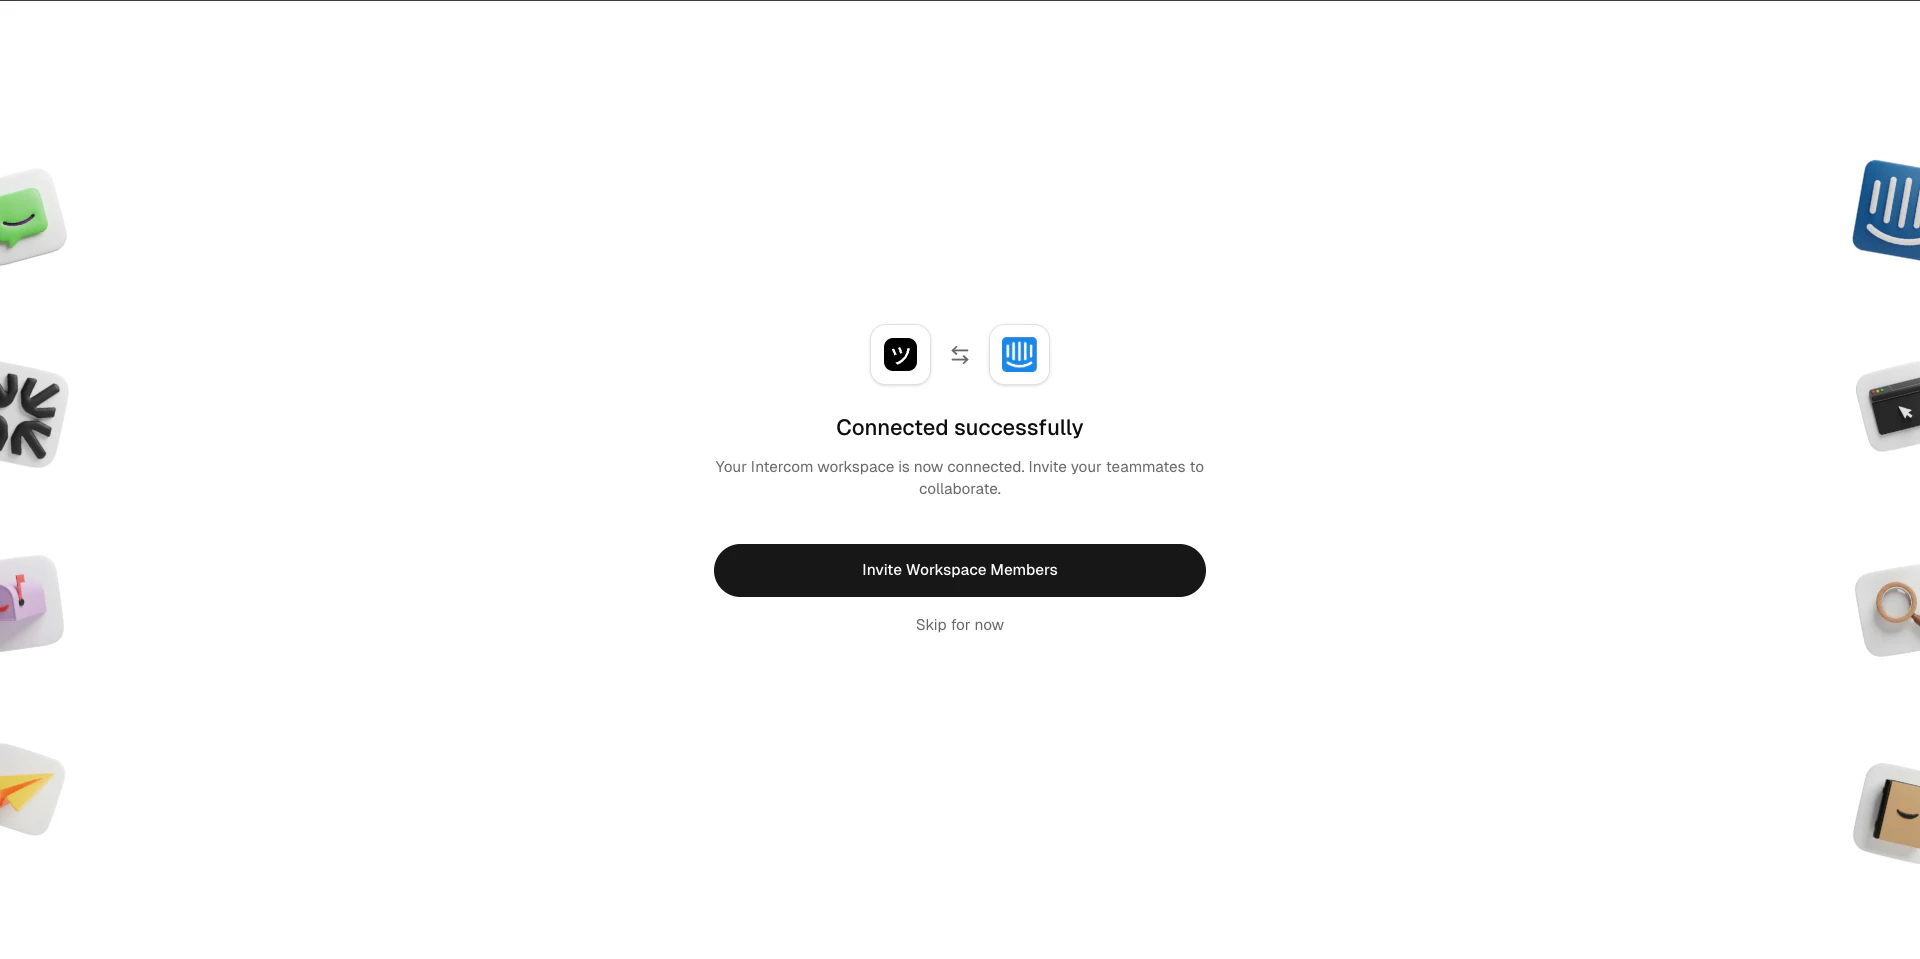
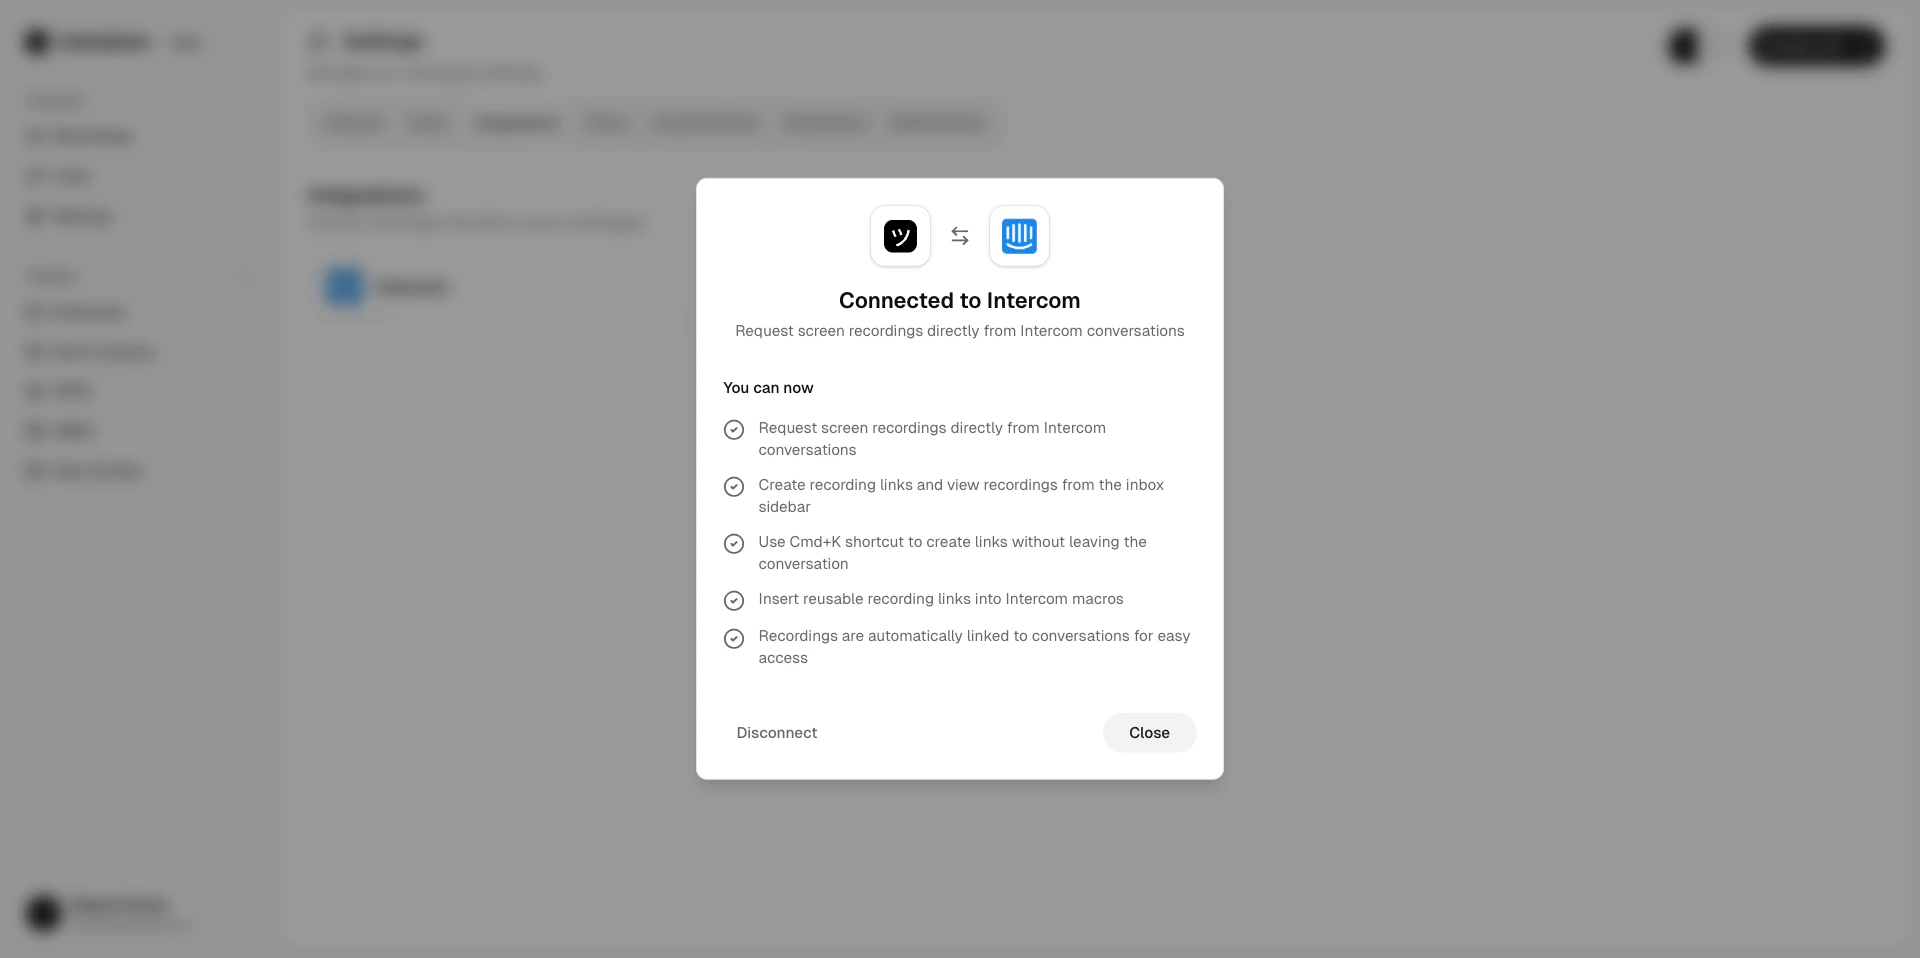
What happens when you connect
- Userplane is installed in your Intercom inbox. Agents can create recording links and view recordings directly from conversations.
- Intercom shortcuts are added so agents can request recordings using
Cmd+K. - If Userplane isn’t pinned to your sidebar, go to your Intercom inbox, select Edit app, and pin Userplane.
Only workspace owners and admins can manage the Intercom integration.
Connect Zendesk
Install from the Zendesk Marketplace
Find Userplane in the Zendesk Marketplace and install it to your Zendesk account.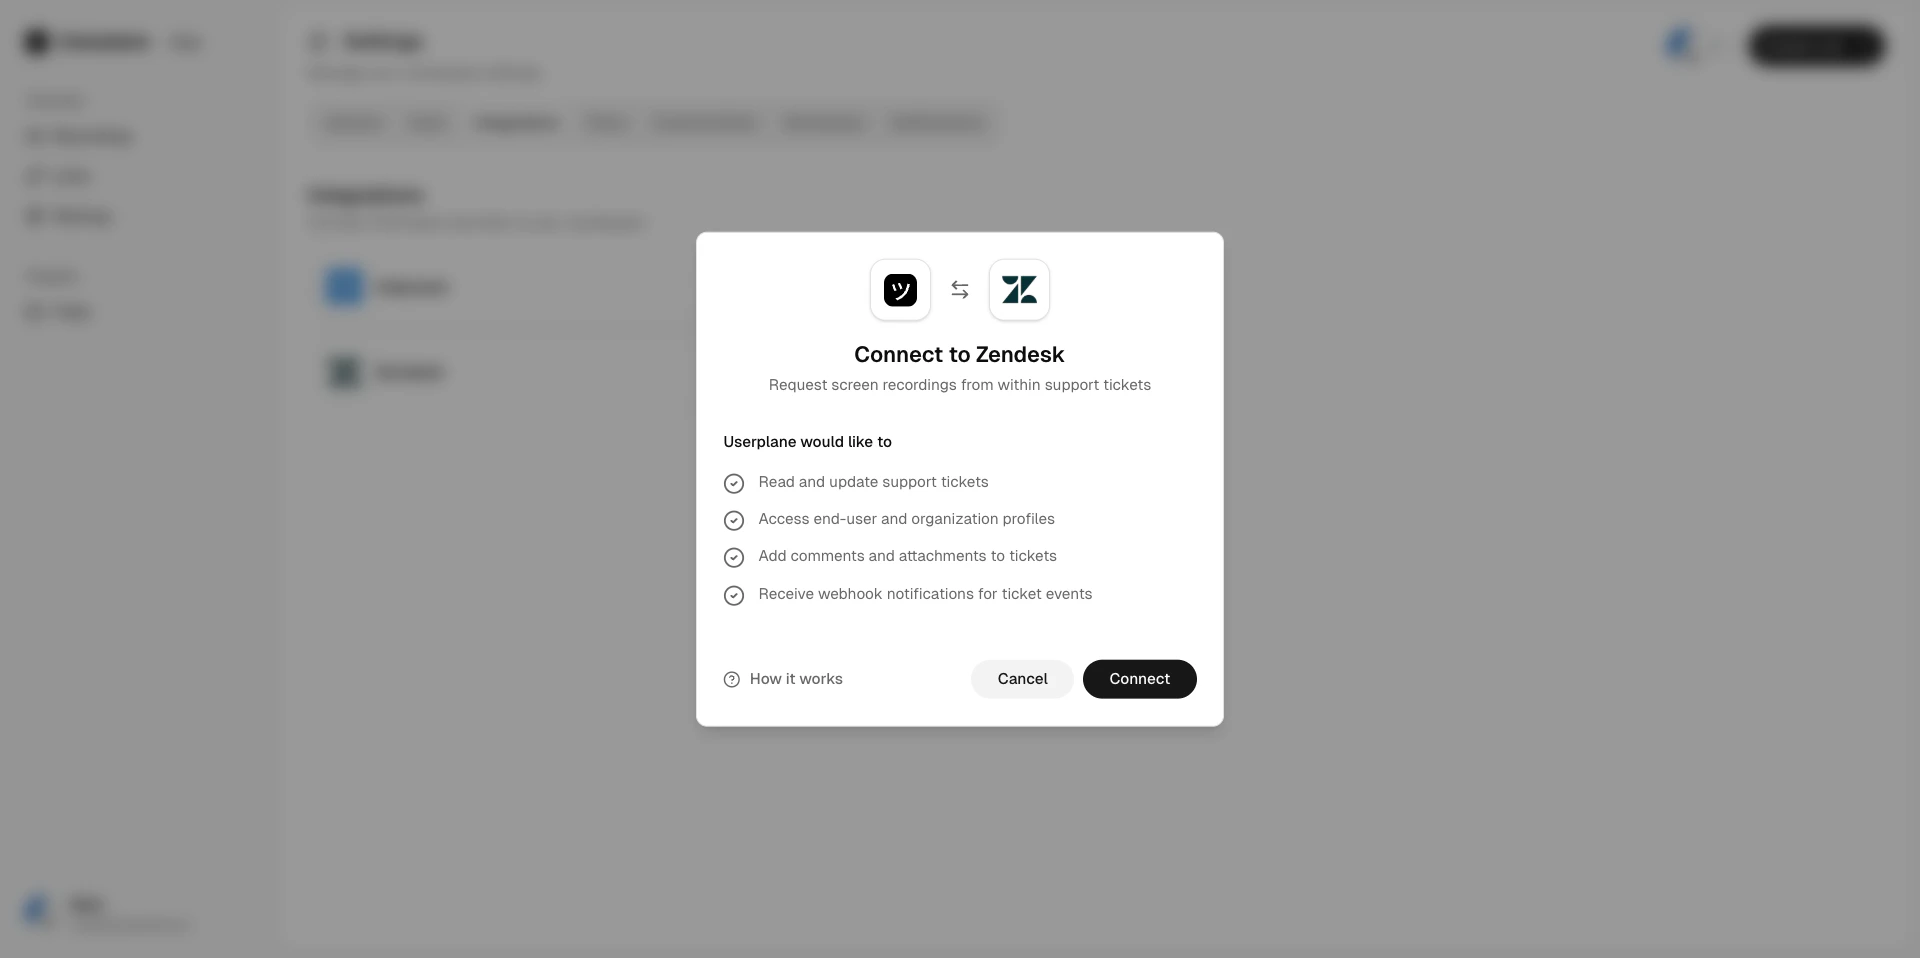
Connect to Userplane
Click Connect to Userplane. You’ll be redirected to authorize the connection and select your
workspace.
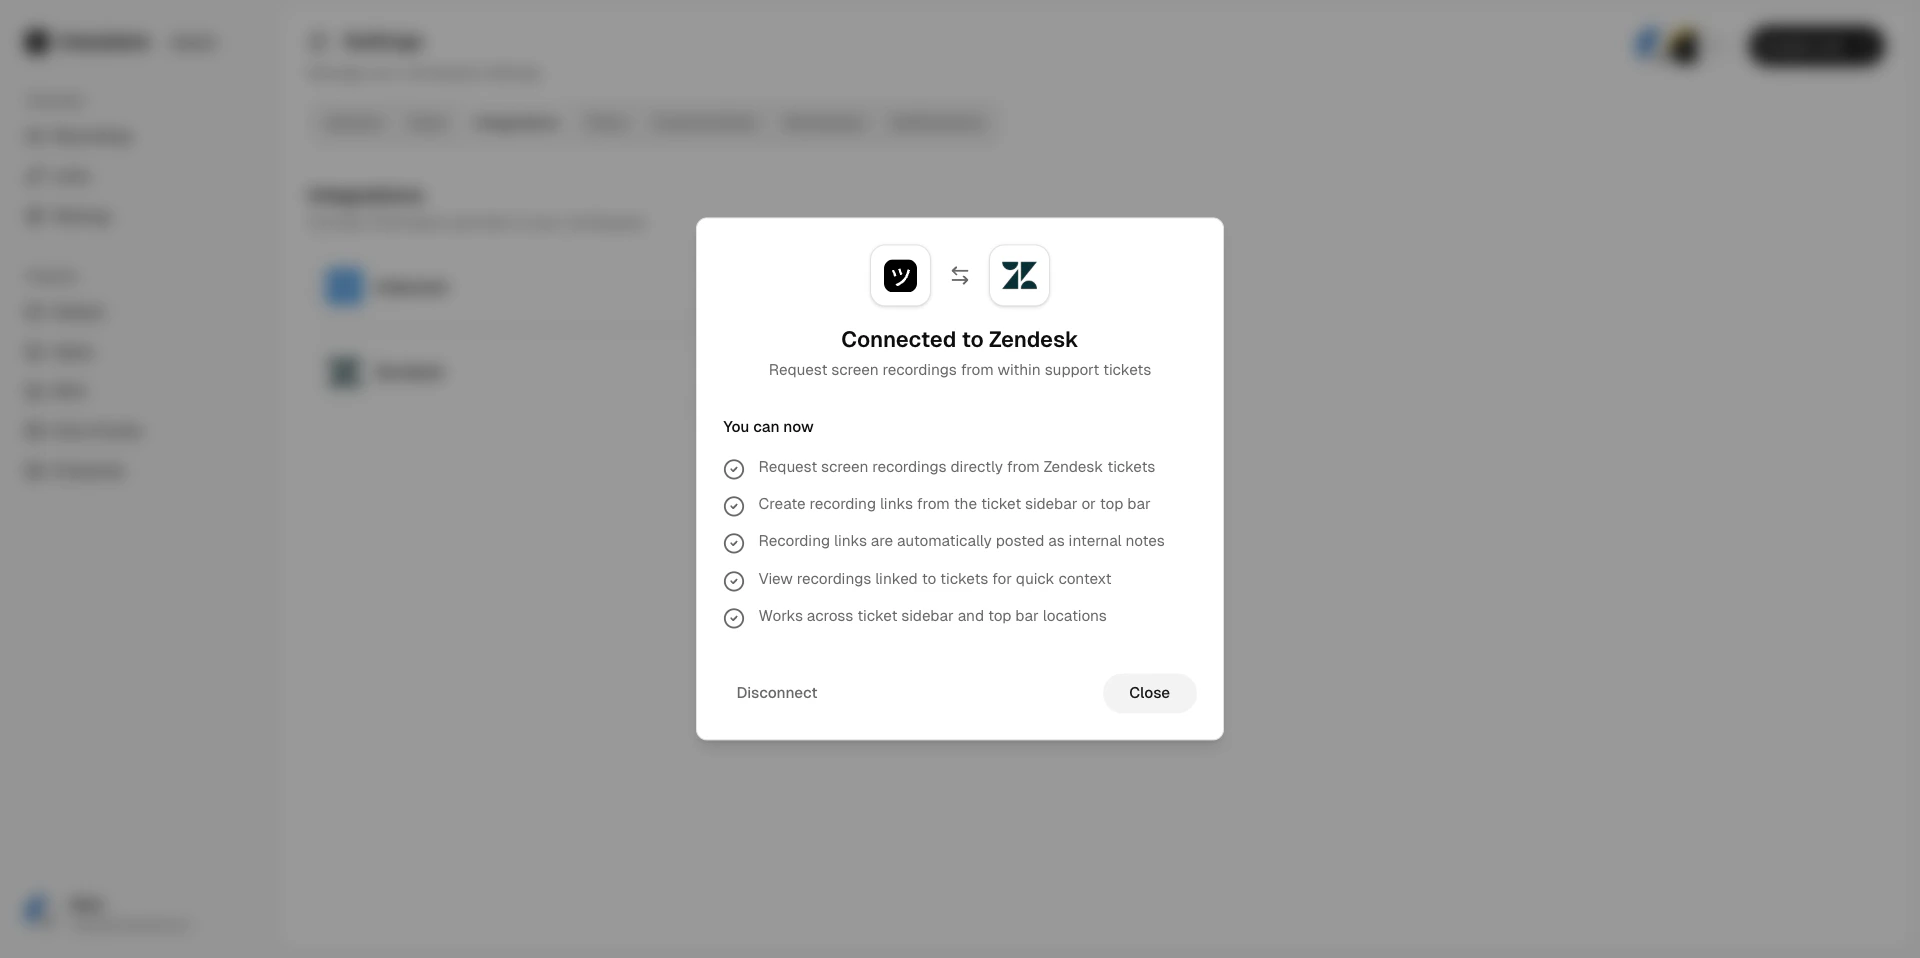
What happens when you connect
- A ticket sidebar app appears in every ticket for creating links and viewing recordings.
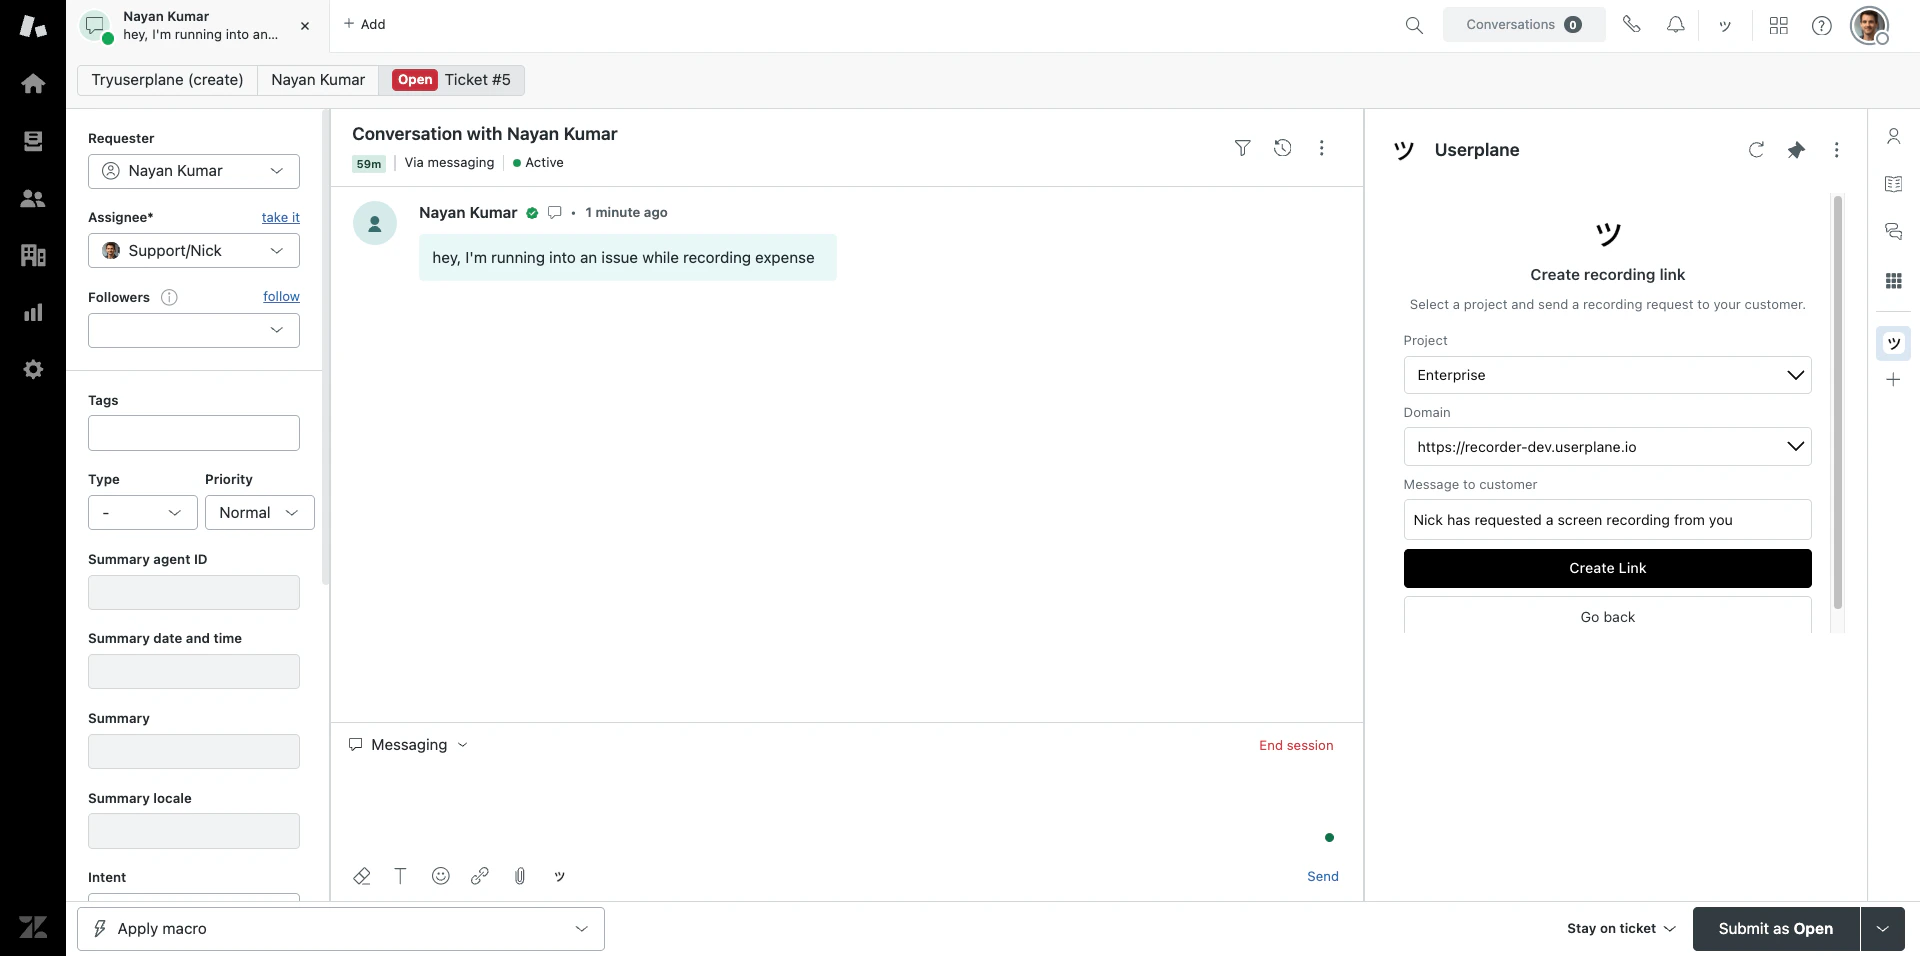
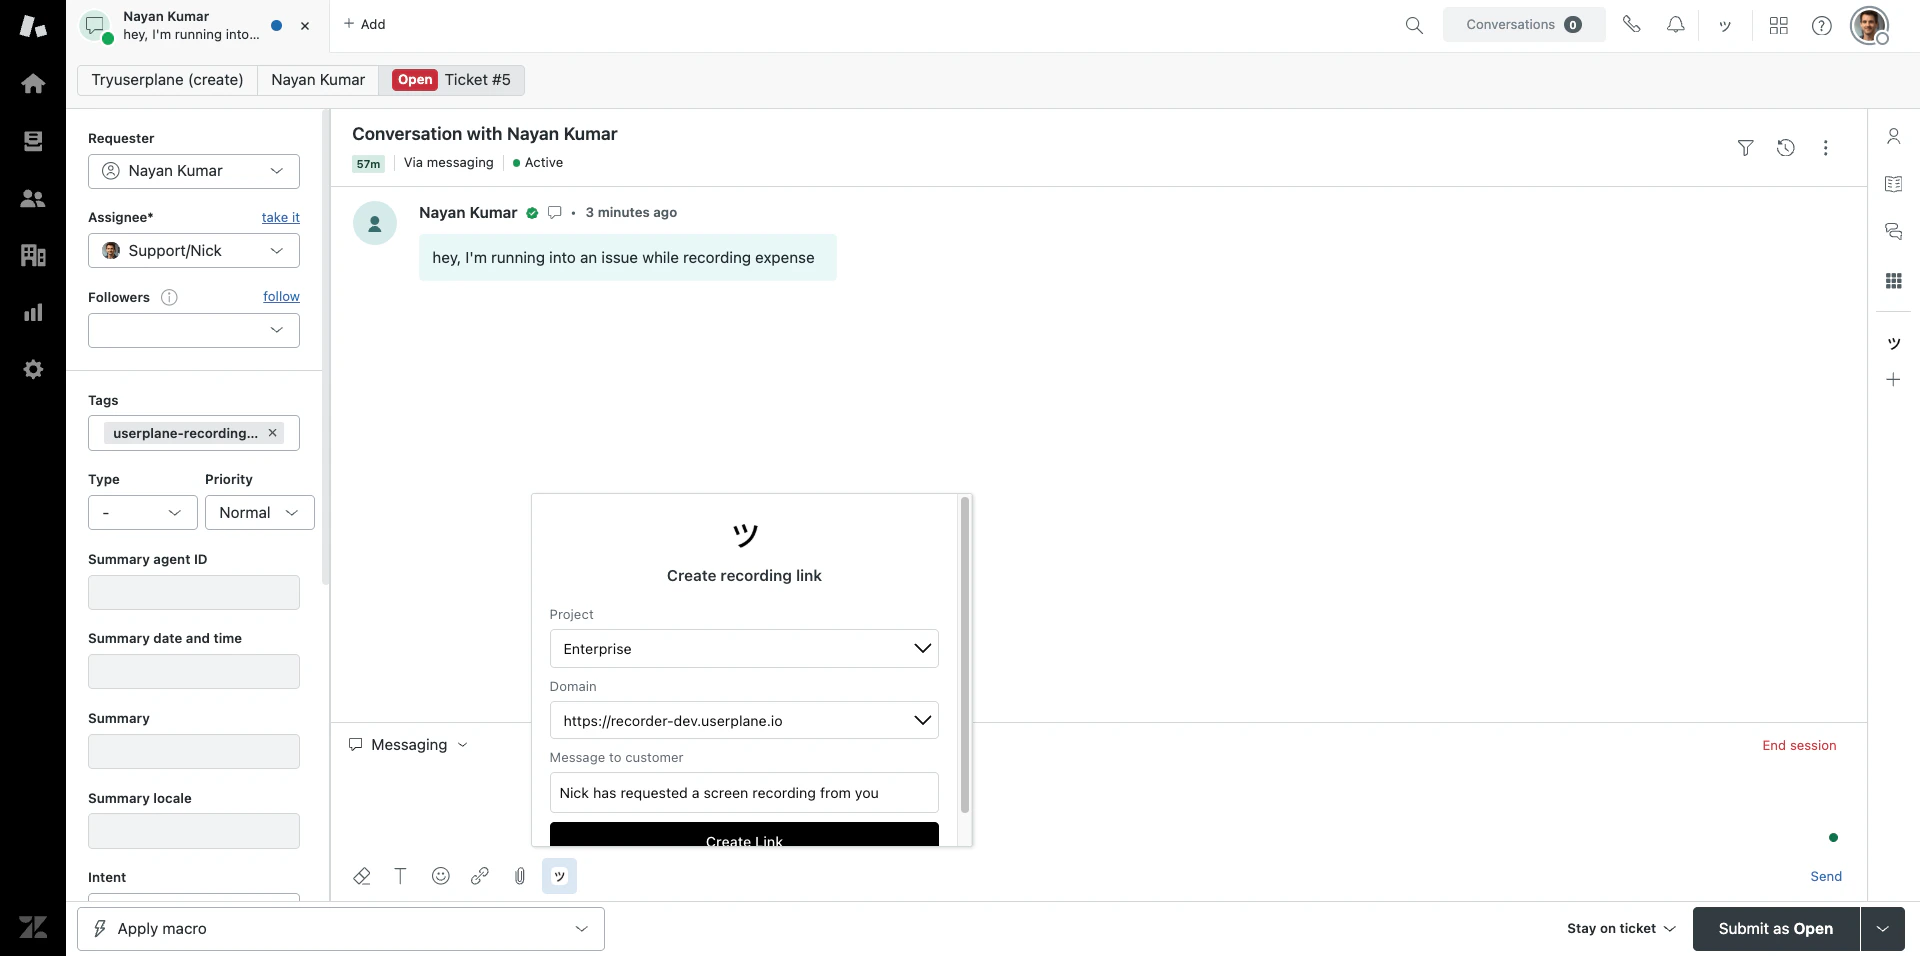
- A ticket editor button is added to the reply toolbar for inserting links directly into drafts.
- A top bar app provides quick link creation from anywhere in Zendesk.
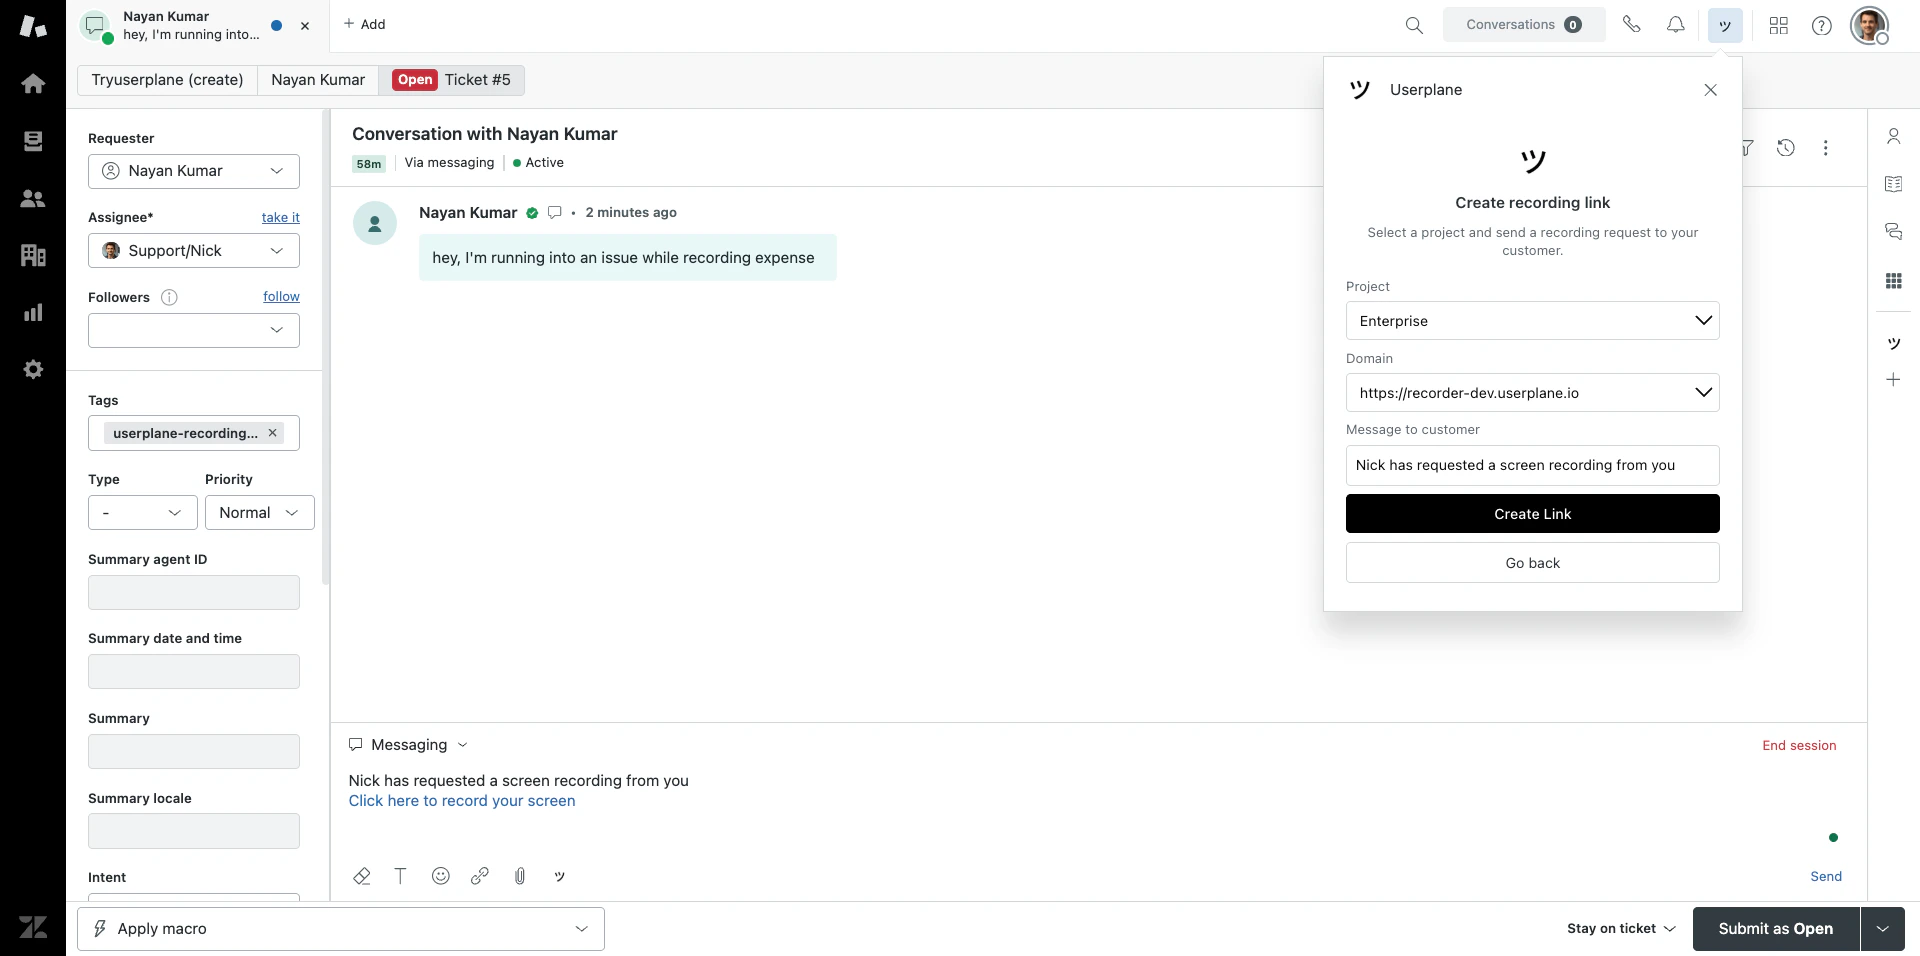
- Tickets are automatically tagged with
userplane-recording-requestedwhen a link is created.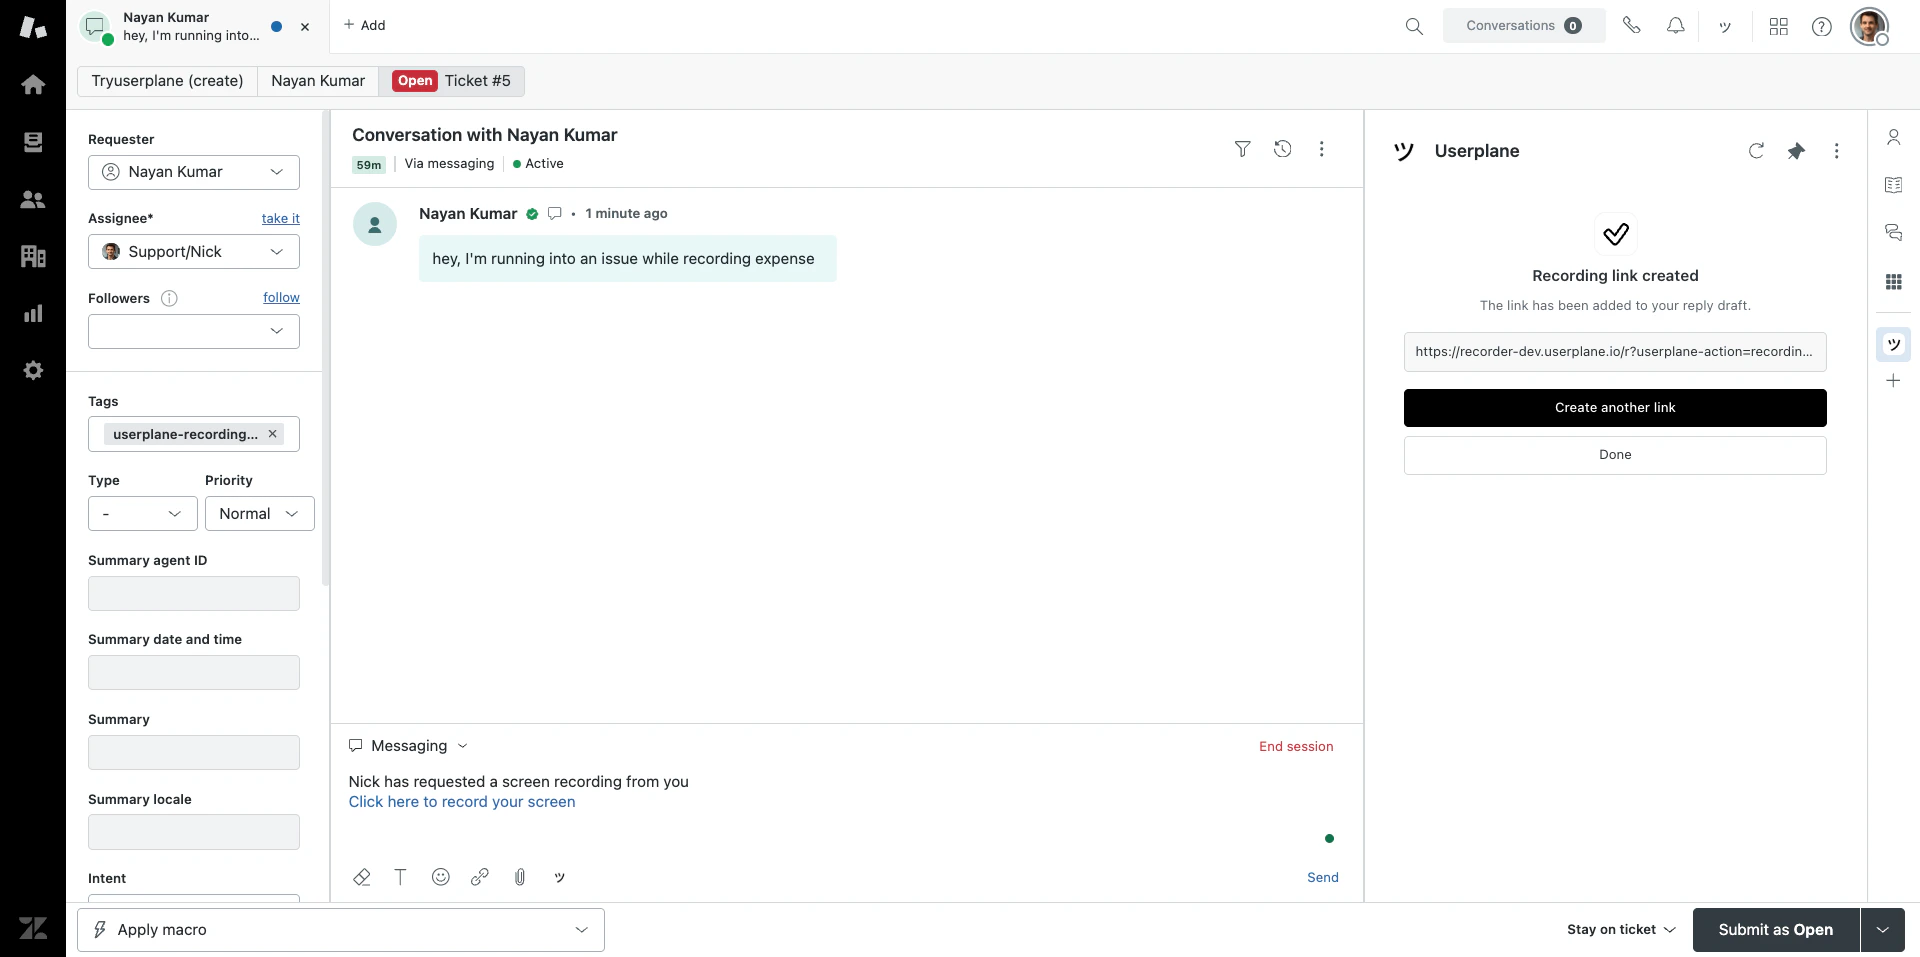
- Internal notes are posted to tickets when recordings arrive.
Only workspace owners and admins can authorize the Zendesk connection.
Connect Slack
Open Integrations settings

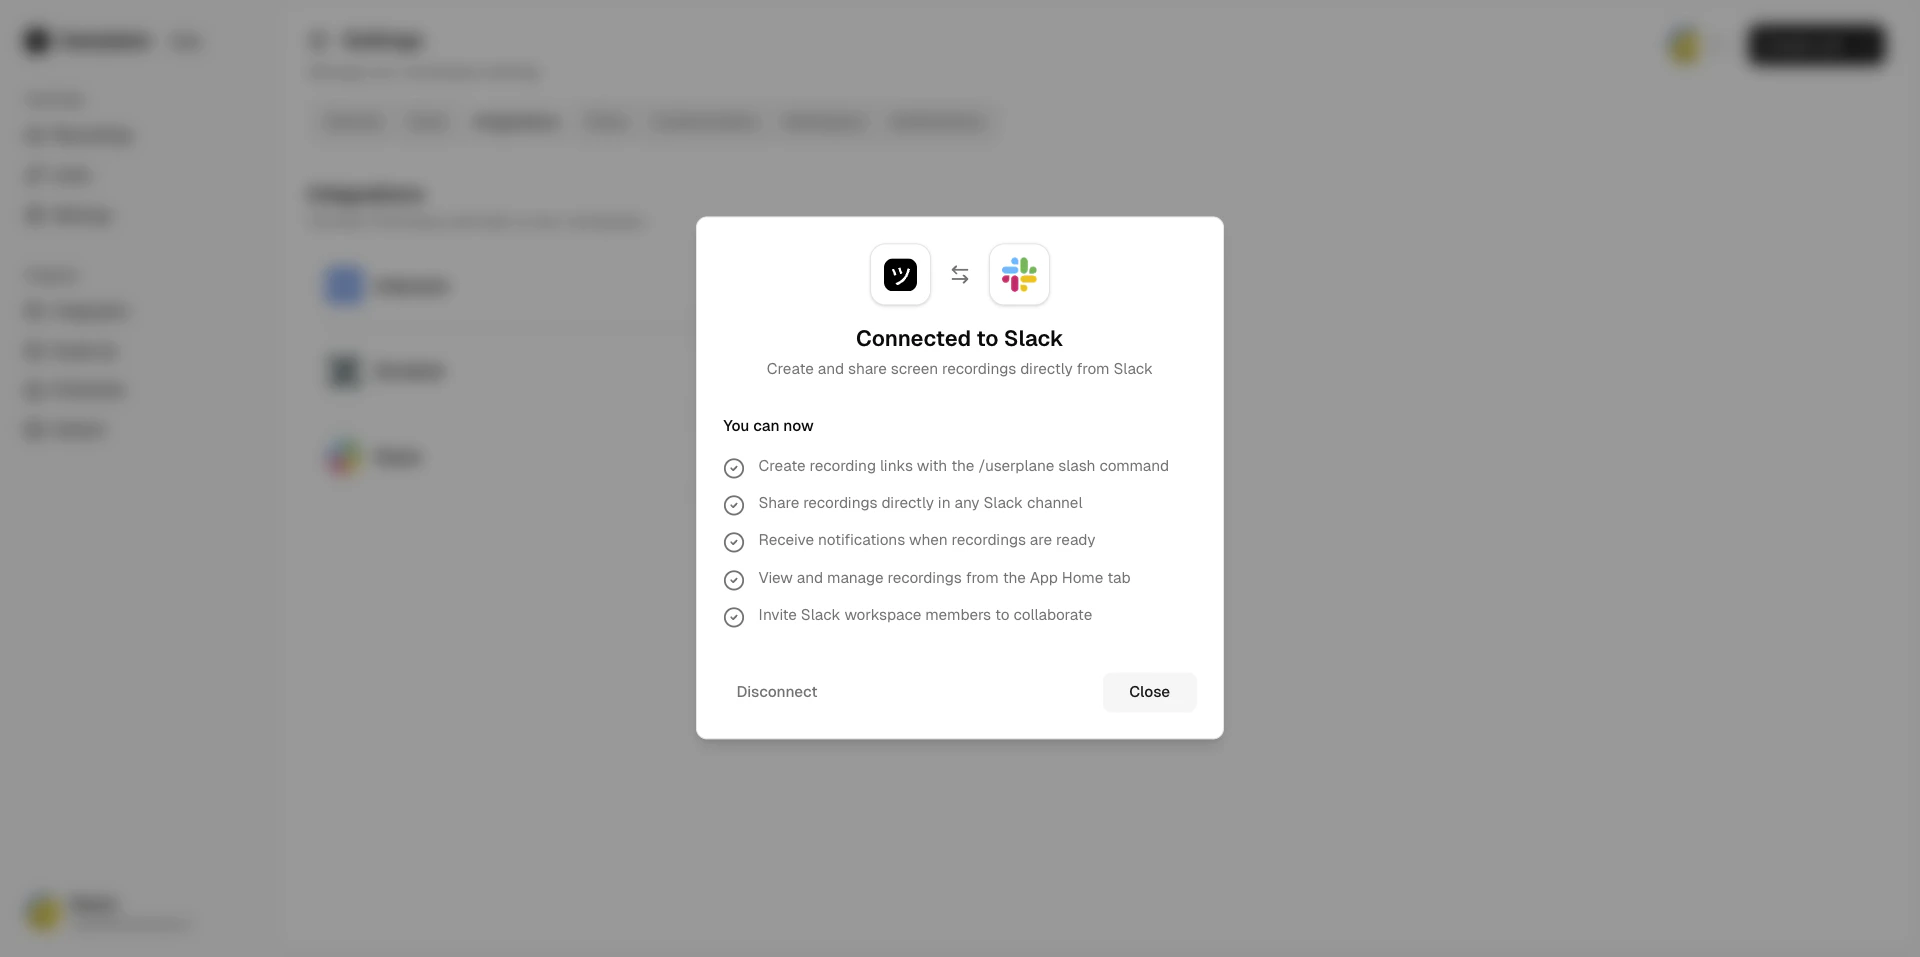
What happens when you connect
- The
/userplaneslash command is registered in your Slack workspace. Agents can type it in any channel to create a recording link. - A message shortcut is added so agents can right-click any Slack message to create a link in context.
- The Userplane App Home tab appears in Slack with a personal dashboard for each agent.
- Agents receive DM notifications when a recording arrives for a link they created from Slack. Any team member can also opt in to receive Slack DMs for all recordings via notification preferences.
Only workspace owners and admins can connect the Slack integration.
Chrome Extension
If your team uses a help desk other than Intercom or Zendesk, install the Chrome extension to get the same recording link workflow from a browser side panel.Install from the Chrome Web Store
Find Userplane in the Chrome Web Store and click Add to Chrome. Pin the extension to
your toolbar.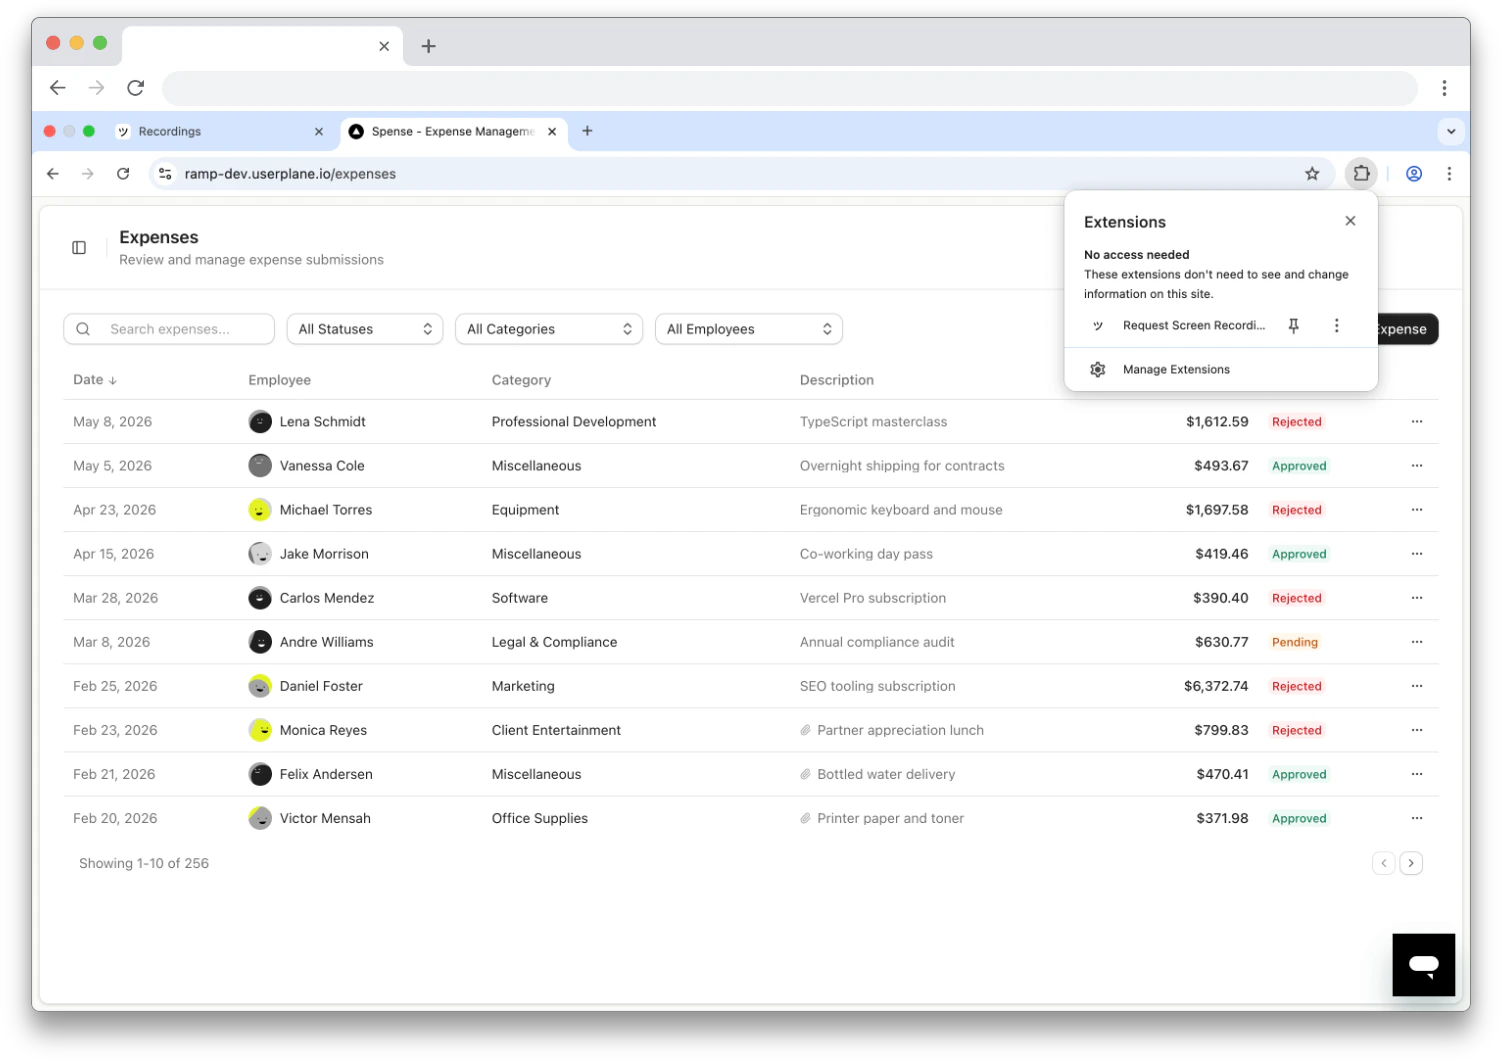
Open the side panel
Click the Userplane icon in the toolbar. The side panel opens on the right side of your
browser.
Sign in
Click Sign in to continue. You’ll be redirected to the Userplane dashboard to authenticate.
After signing in, return to the side panel and click Refresh if needed.
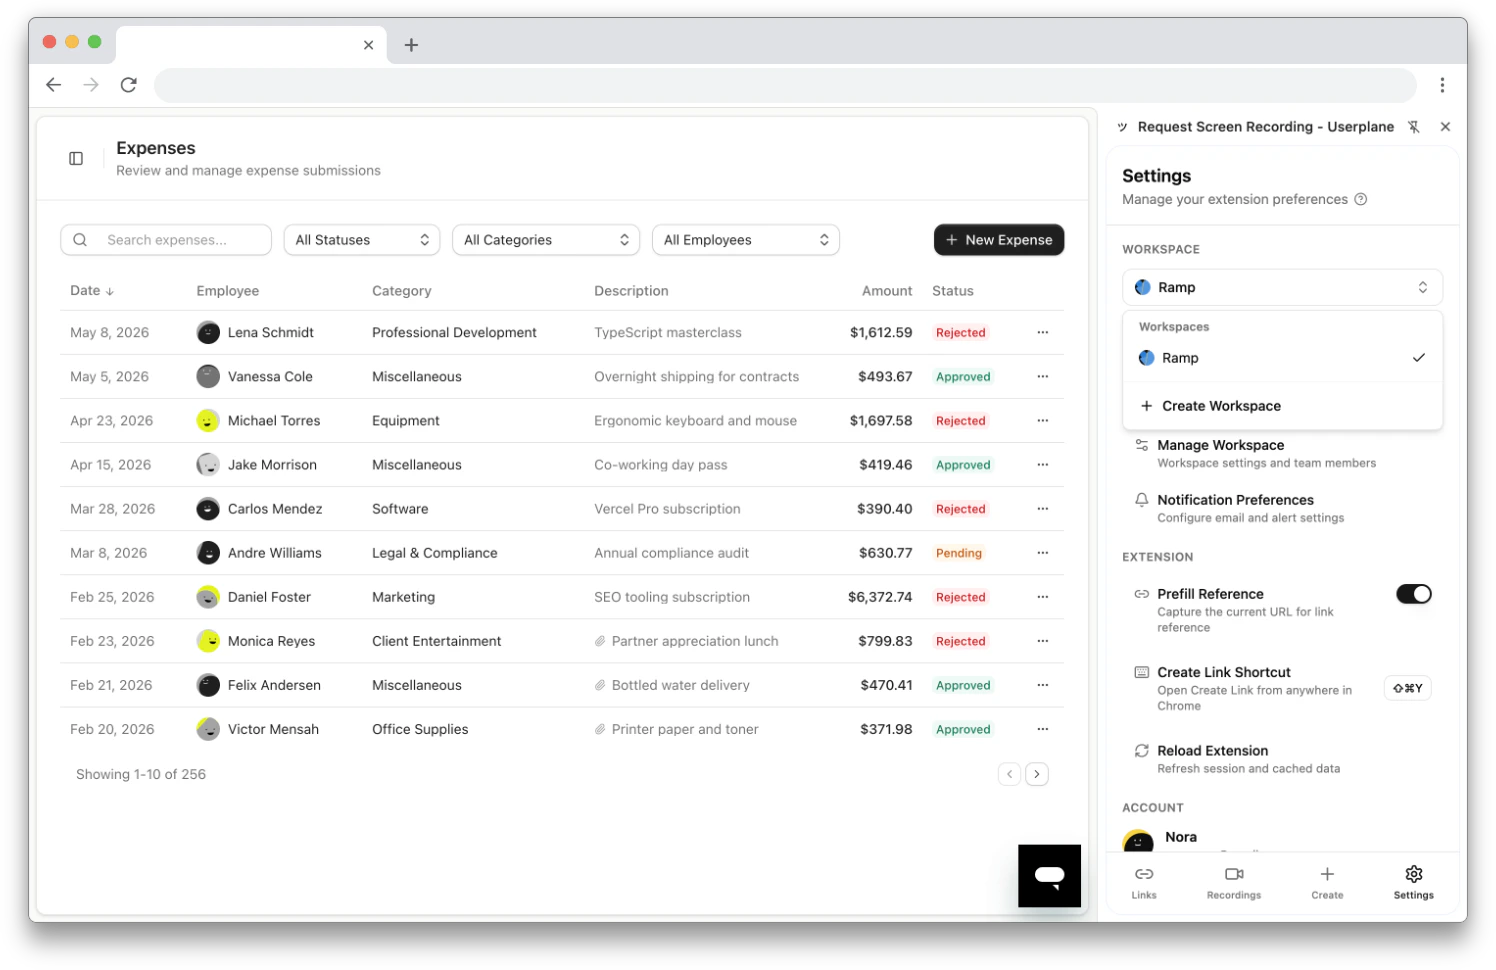
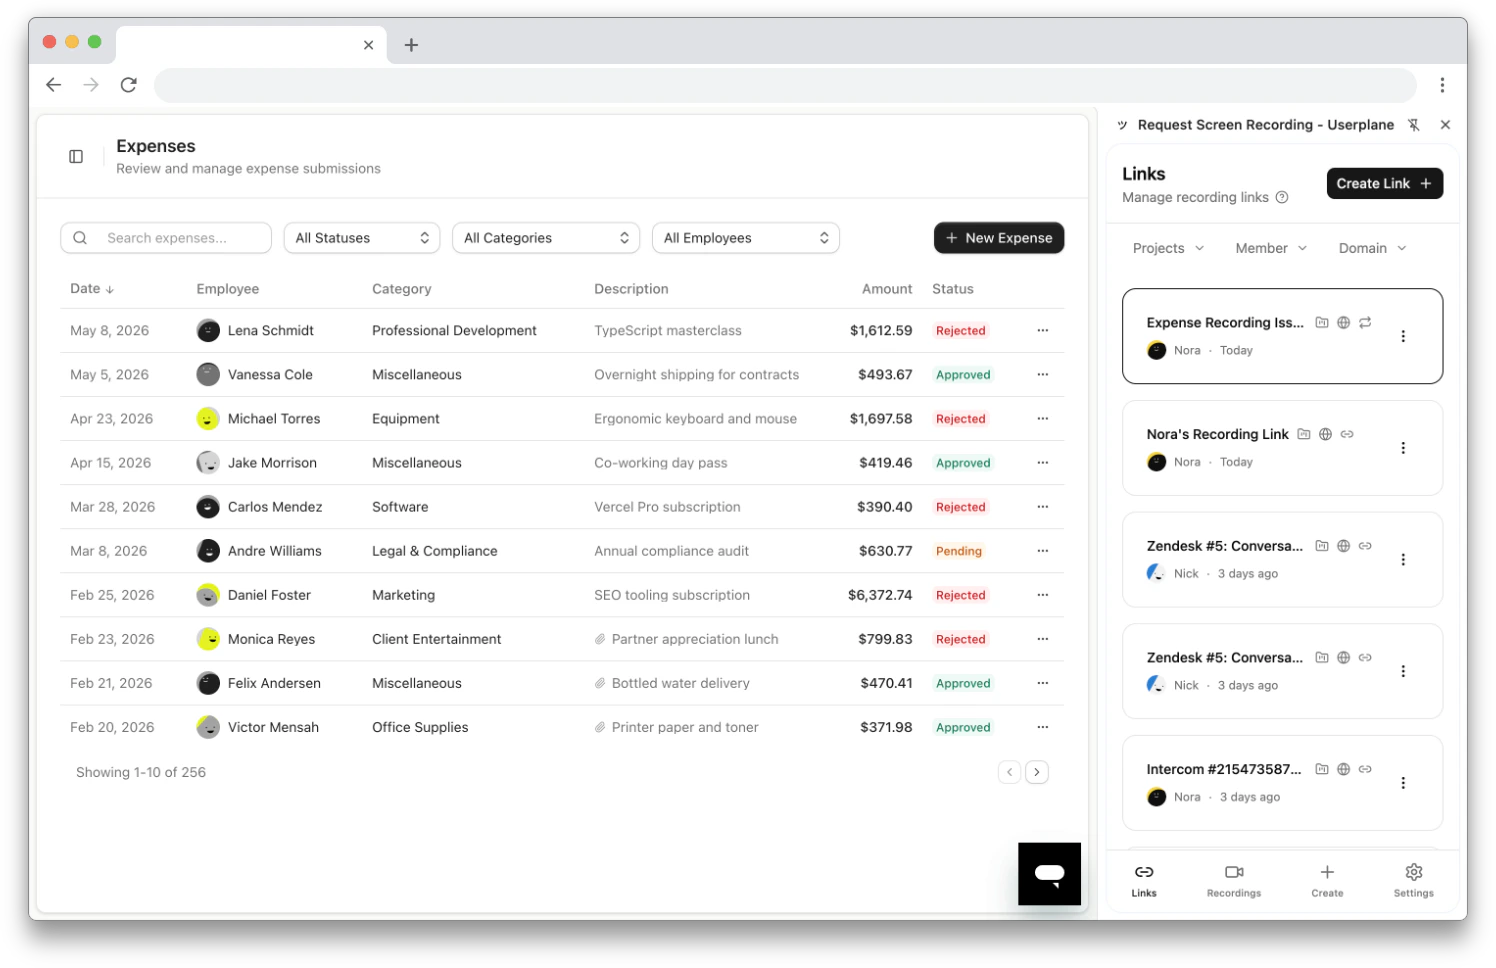
What you get
- A side panel with tabs for Links, Recordings, Create, and Settings.
- Keyboard shortcut (
Cmd+Shift+Y/Ctrl+Shift+Y) to create a link instantly. - Right-click context menus for quick link creation.
- Omnibox — type
userplanein the address bar to create a link with a reference. - Auto-populates the link reference with the current tab URL (e.g., your ticket page).
The Chrome extension works with any help desk. See Other Help
Desks for workflow tips.
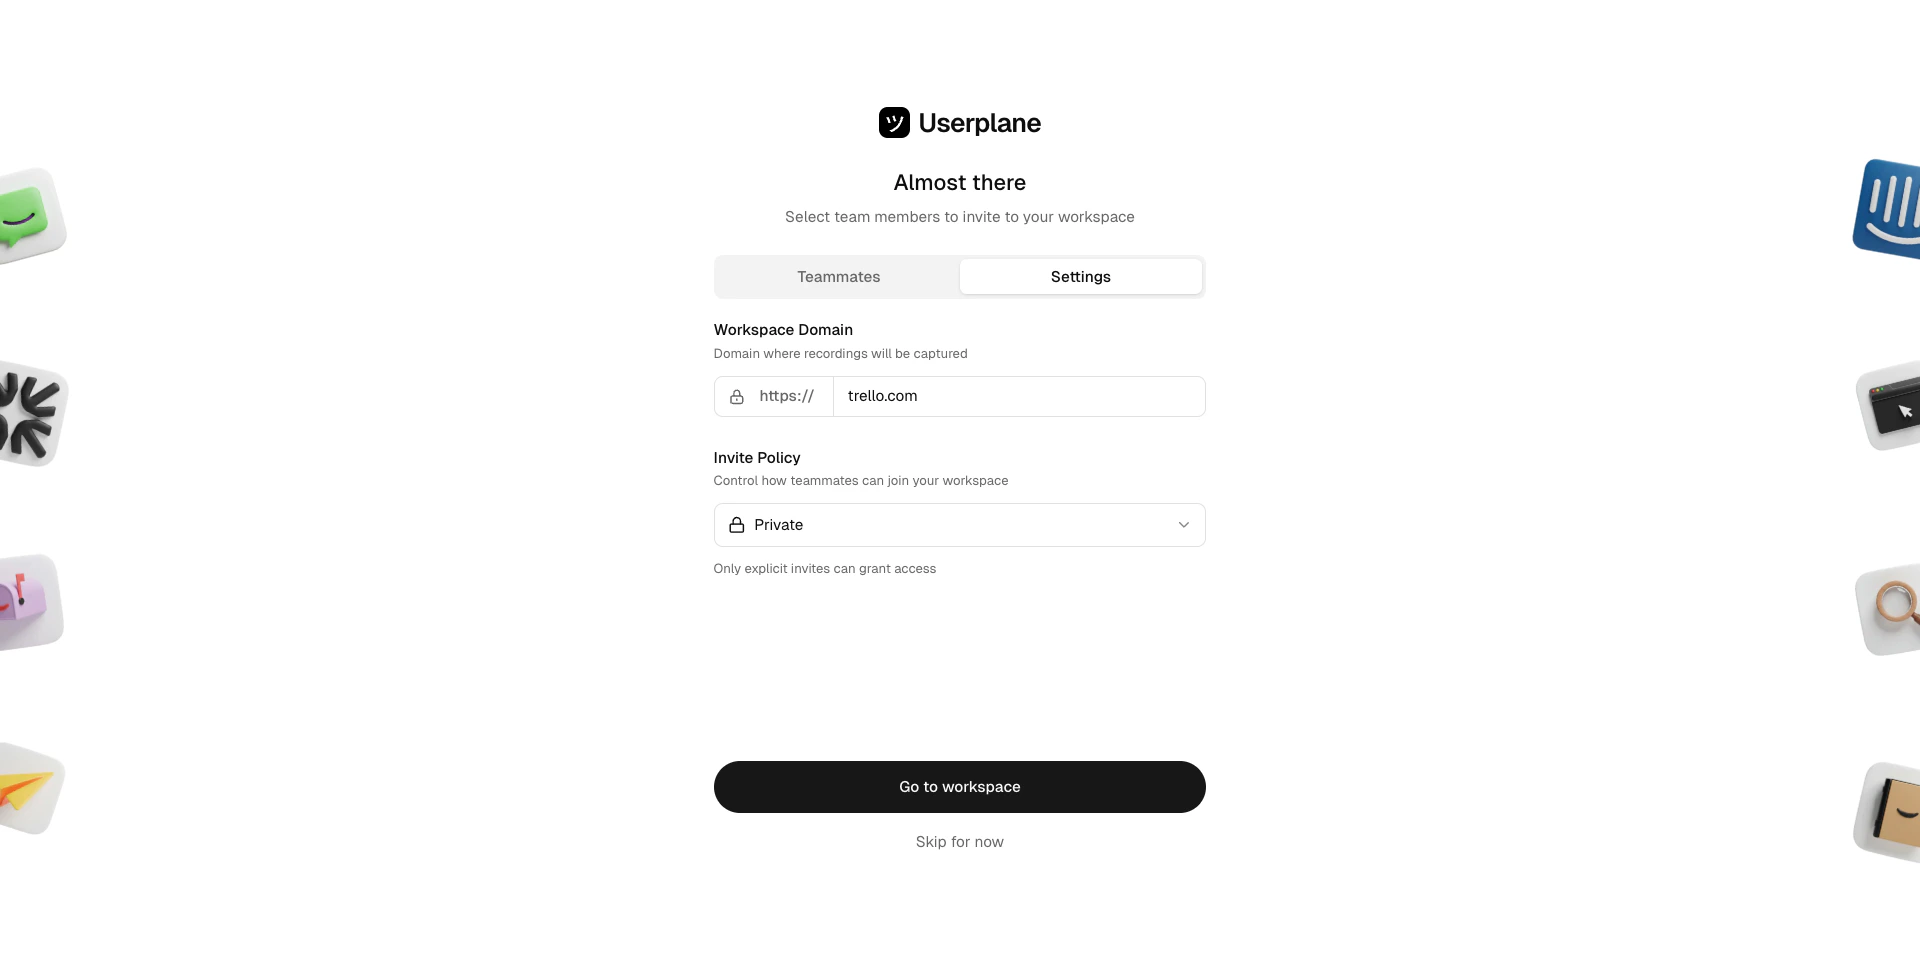
Invite your team
Once connected, invite your help desk agents to your Userplane workspace so they can use the integration: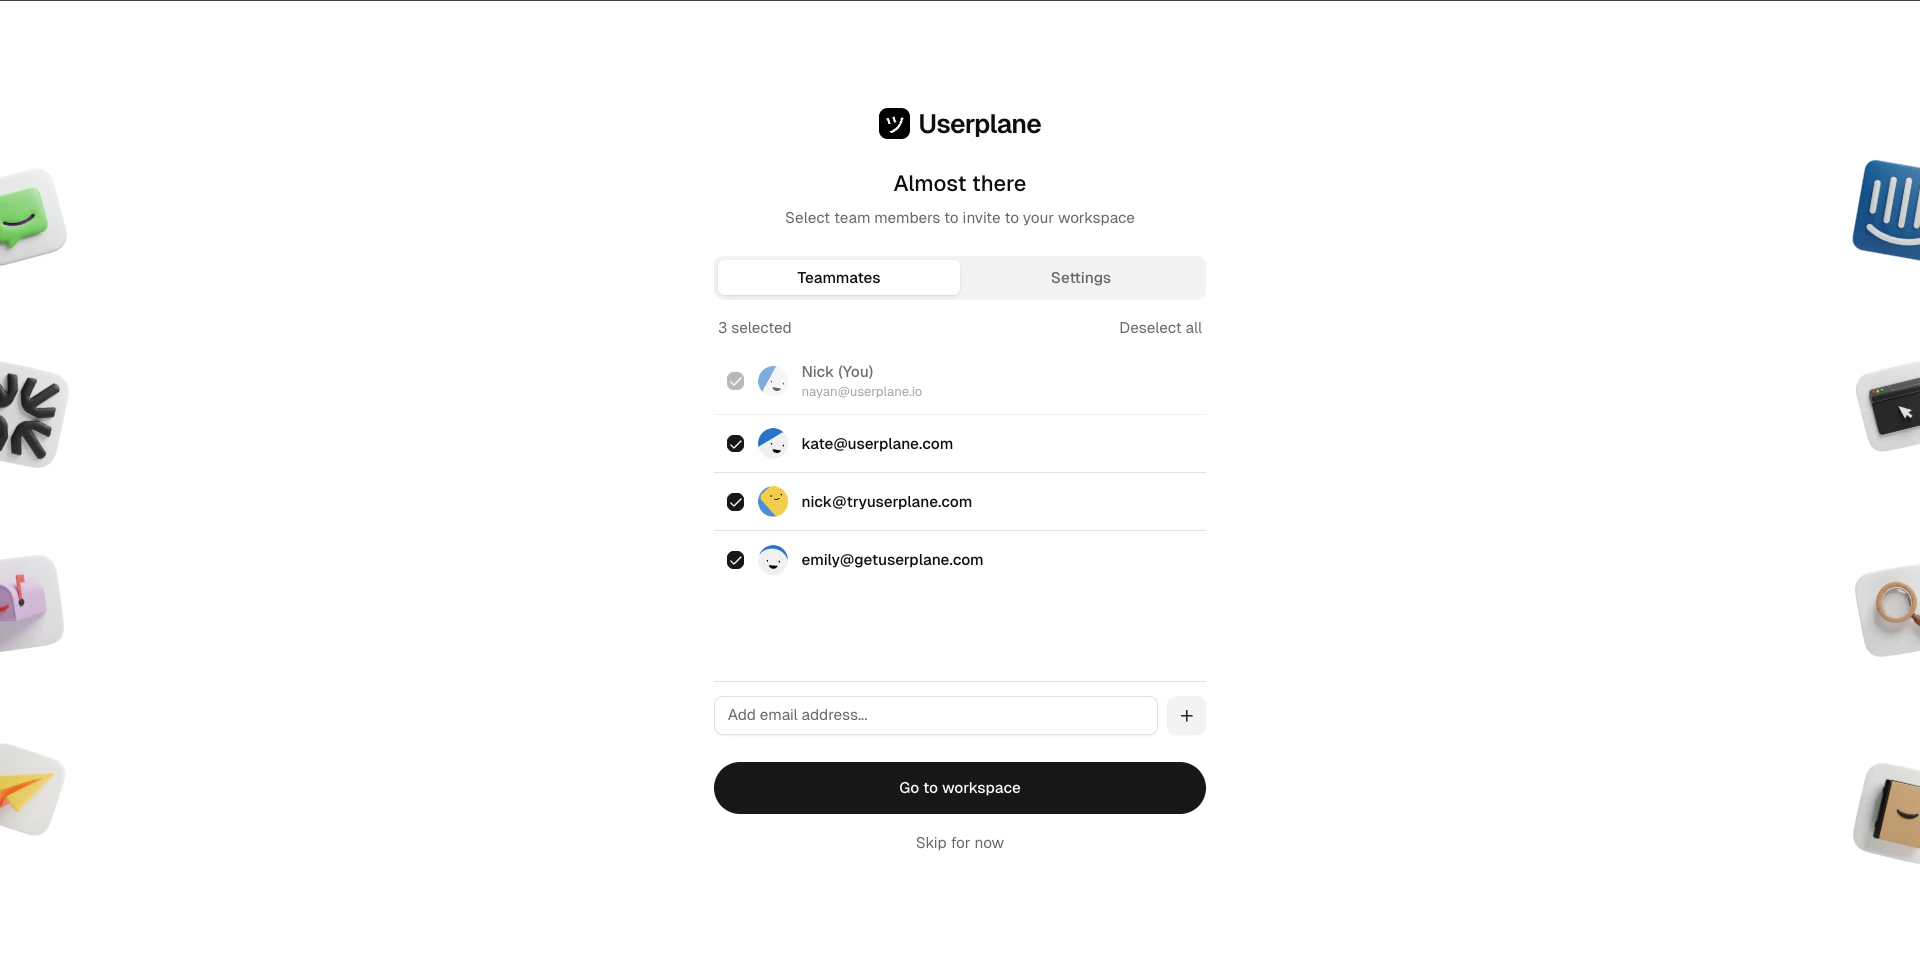
Select members to invite
Alternatively, go to Workspace Settings > Team and click
Invite Member.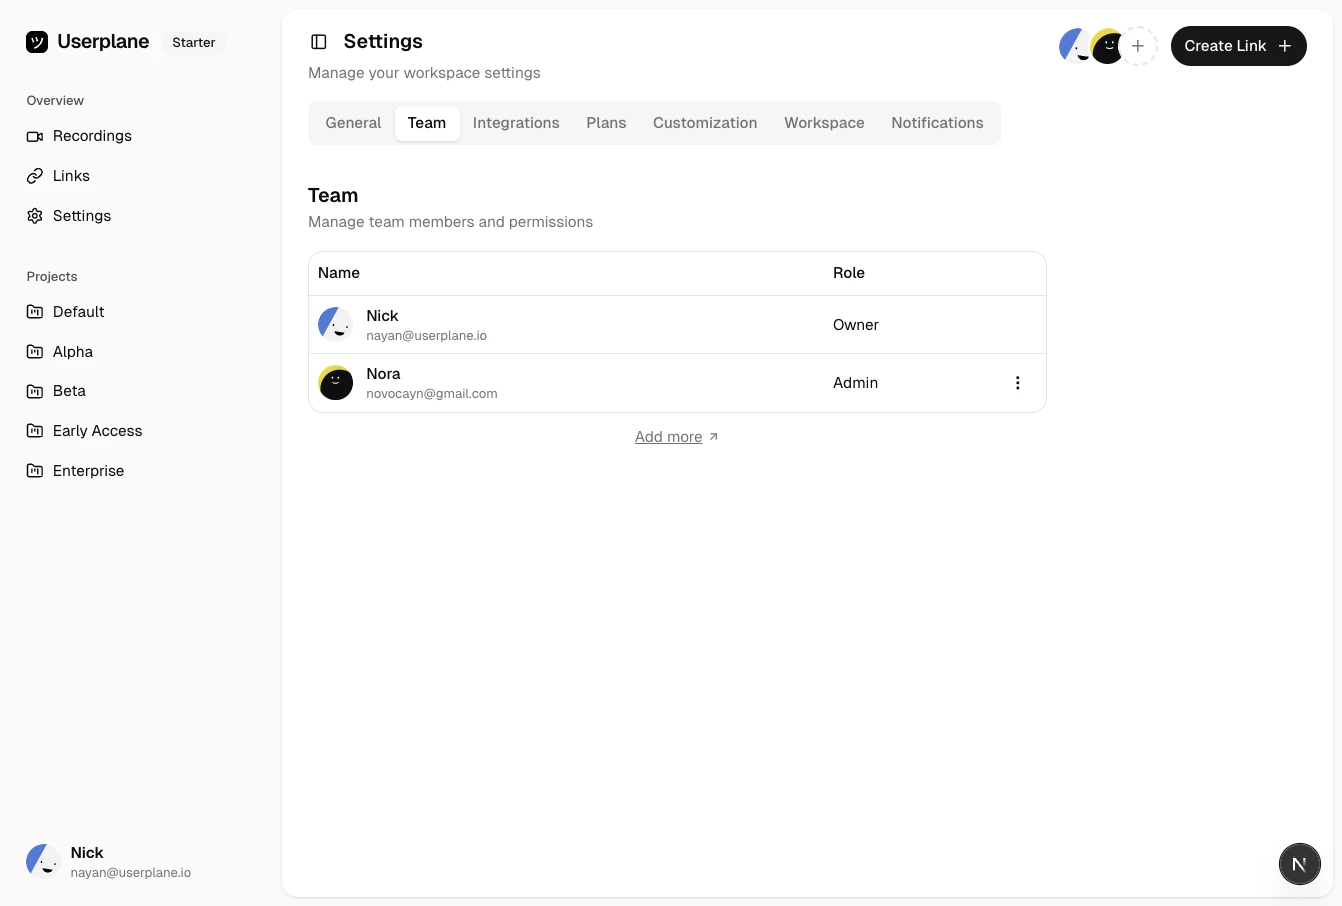
Disconnect
- Go to Workspace Settings > Integrations.
- Click Disconnect next to the integration you want to remove.
Disconnecting removes the Userplane app from your help desk. Existing recordings and links are
preserved.
Learn more
- Intercom Integration — detailed overview of the Intercom integration.
- Zendesk Integration — detailed overview of the Zendesk integration.
- Slack Integration — detailed overview of the Slack integration.
- Chrome Extension — installation and overview of the Chrome extension.
- Other Help Desks — use the Chrome extension alongside any help desk.
- Roles & Permissions — what each workspace role can do.
- Domain Verification — enable branded recording links.
- Team Management — manage workspace members and invites.