The Team section in Workspace Settings lets you manage who has access to your workspace and what they can do.

Viewing members

Go to Workspace Settings > Team to see all current workspace members. Each member entry shows their name, avatar, email, and role.

Inviting members

You can invite members from the navigation bar or from the Team settings page. Both open the same invite dialog.
1

Open the invite dialog

Click the invite button in the navigation bar.
2

Enter email and send

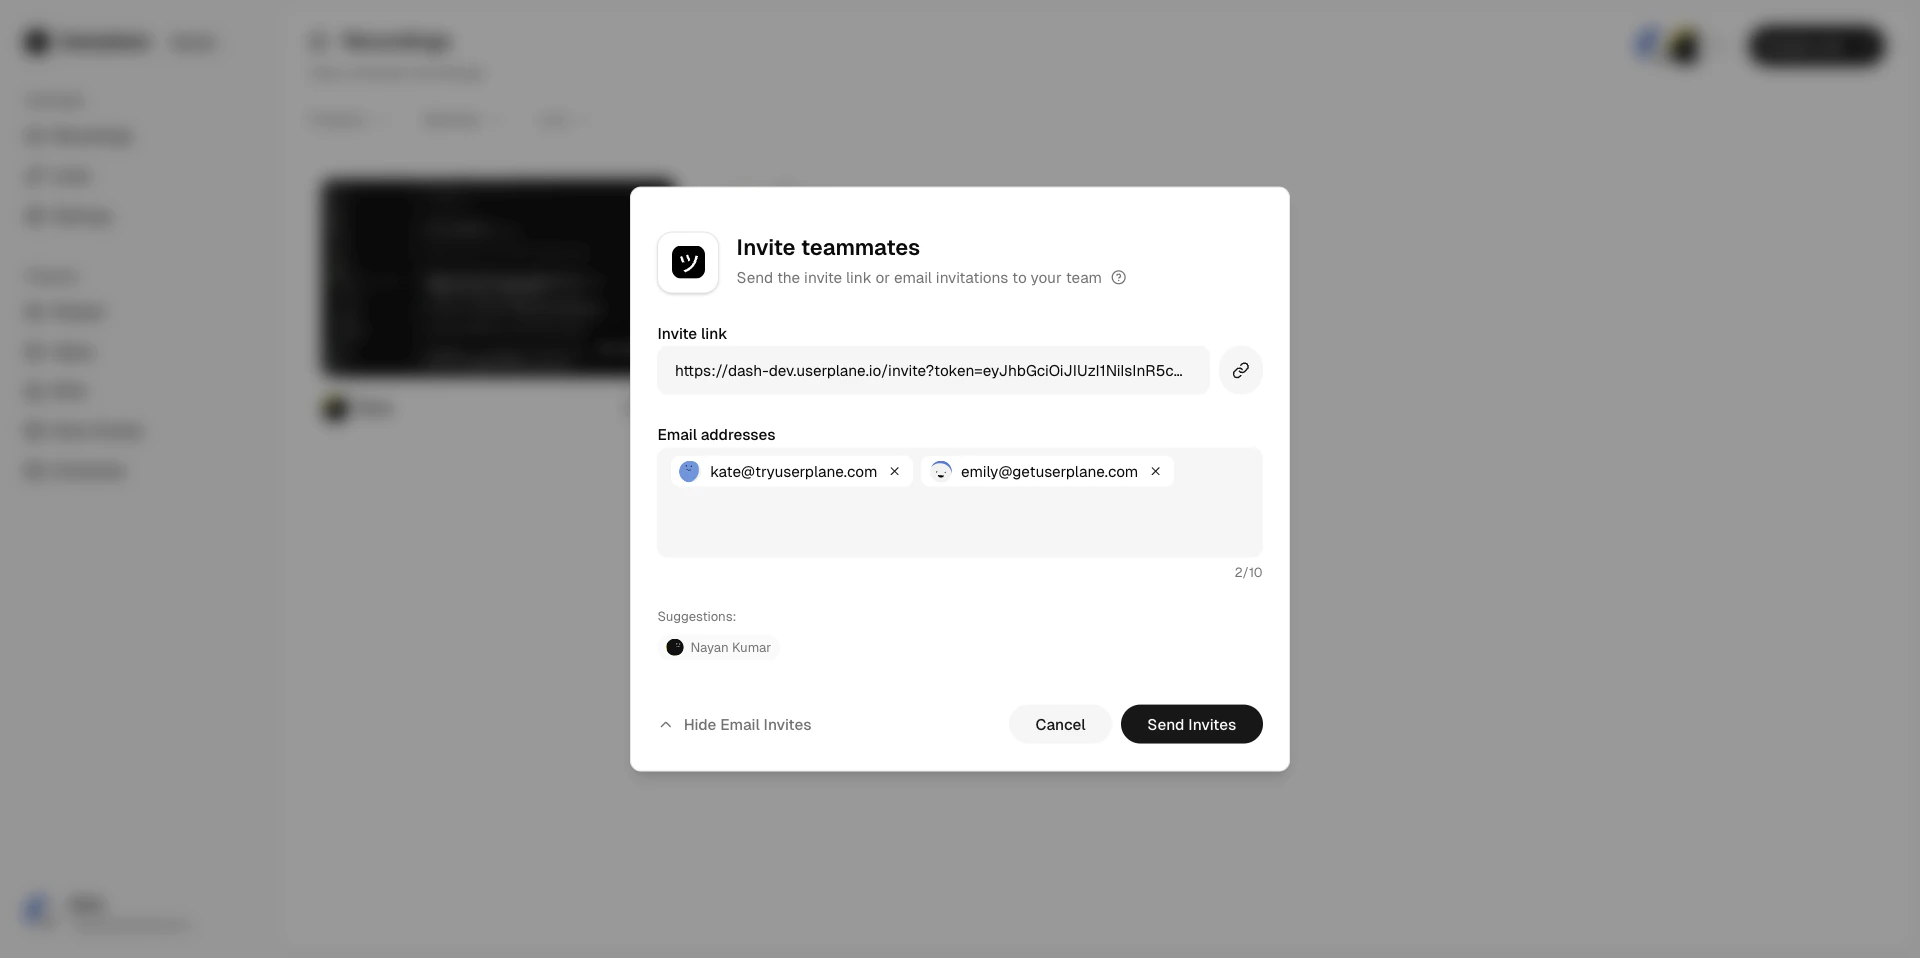
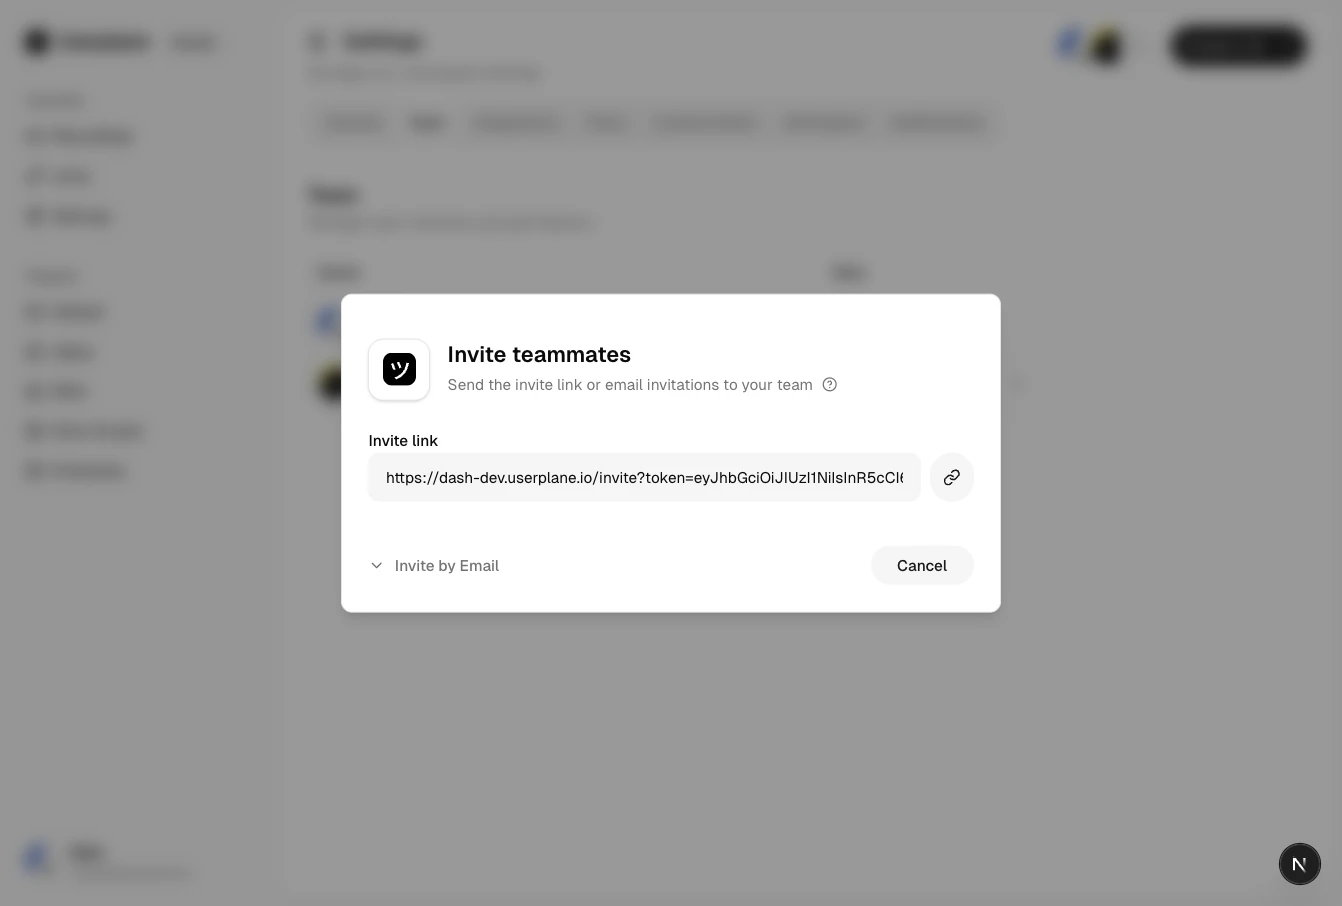
Enter the email address of the person you want to invite, then click Send Invite.
The invited person receives an email with a link to join the workspace.
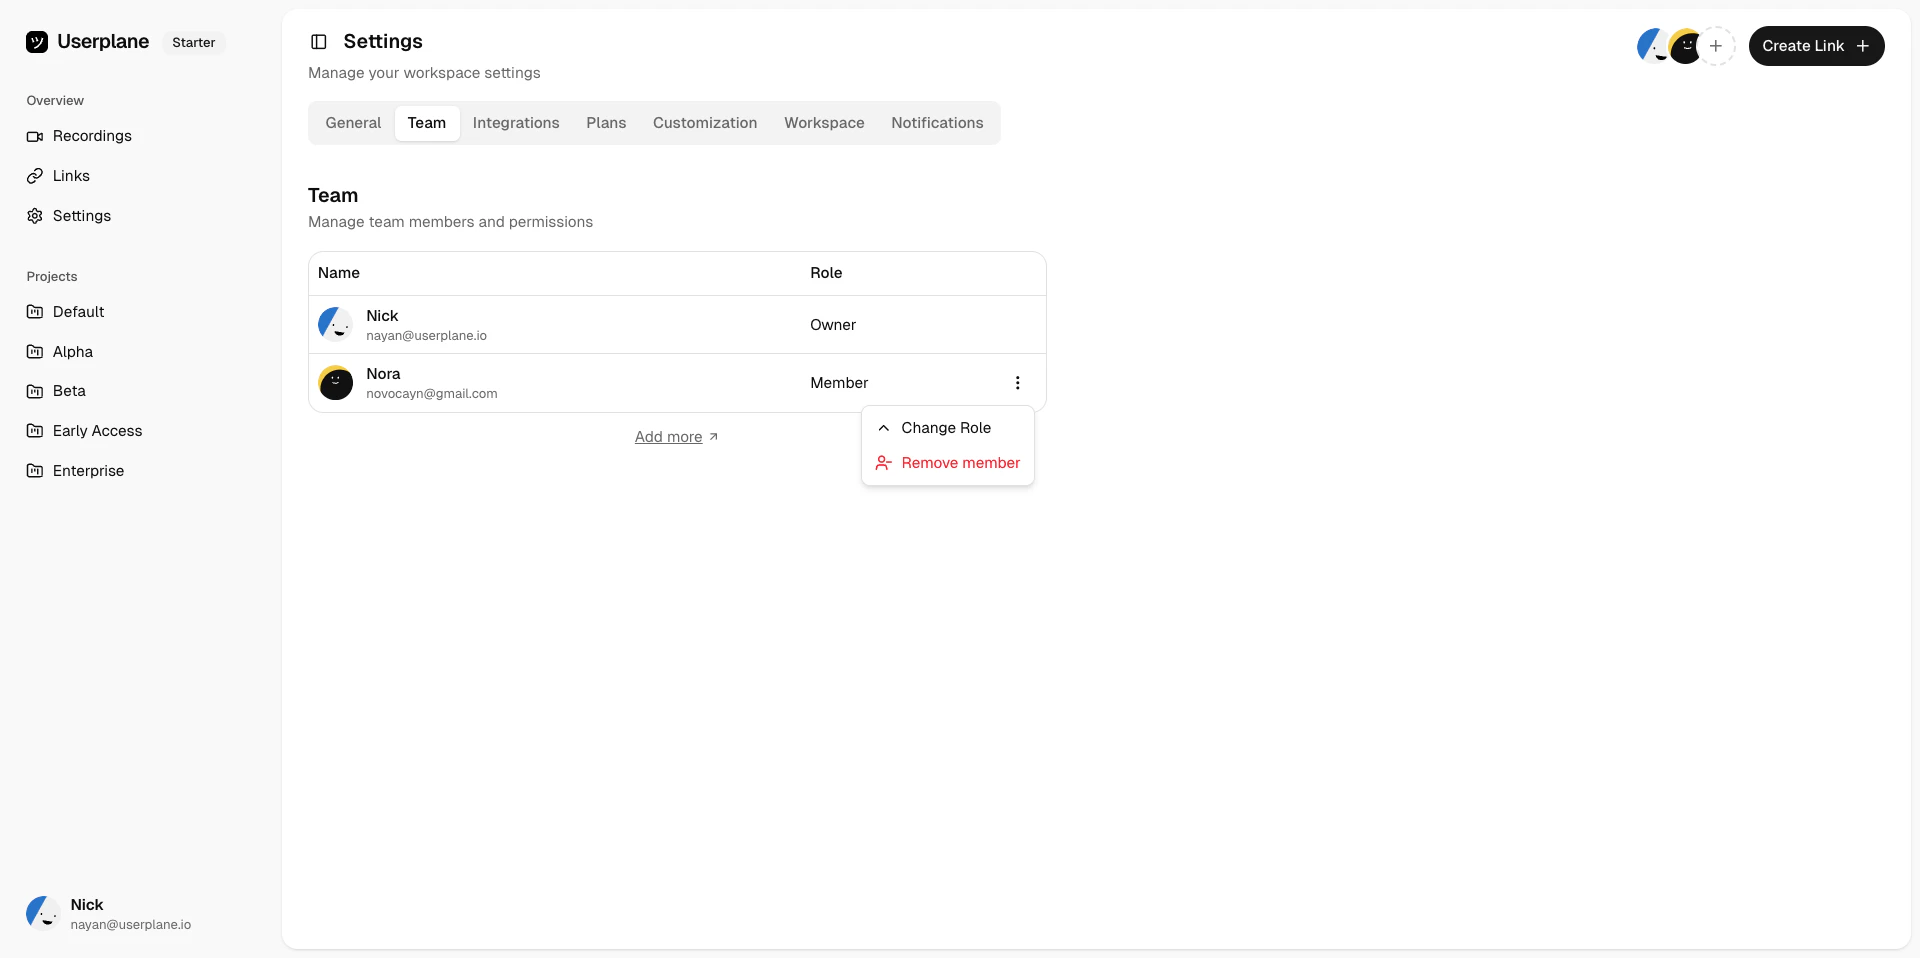
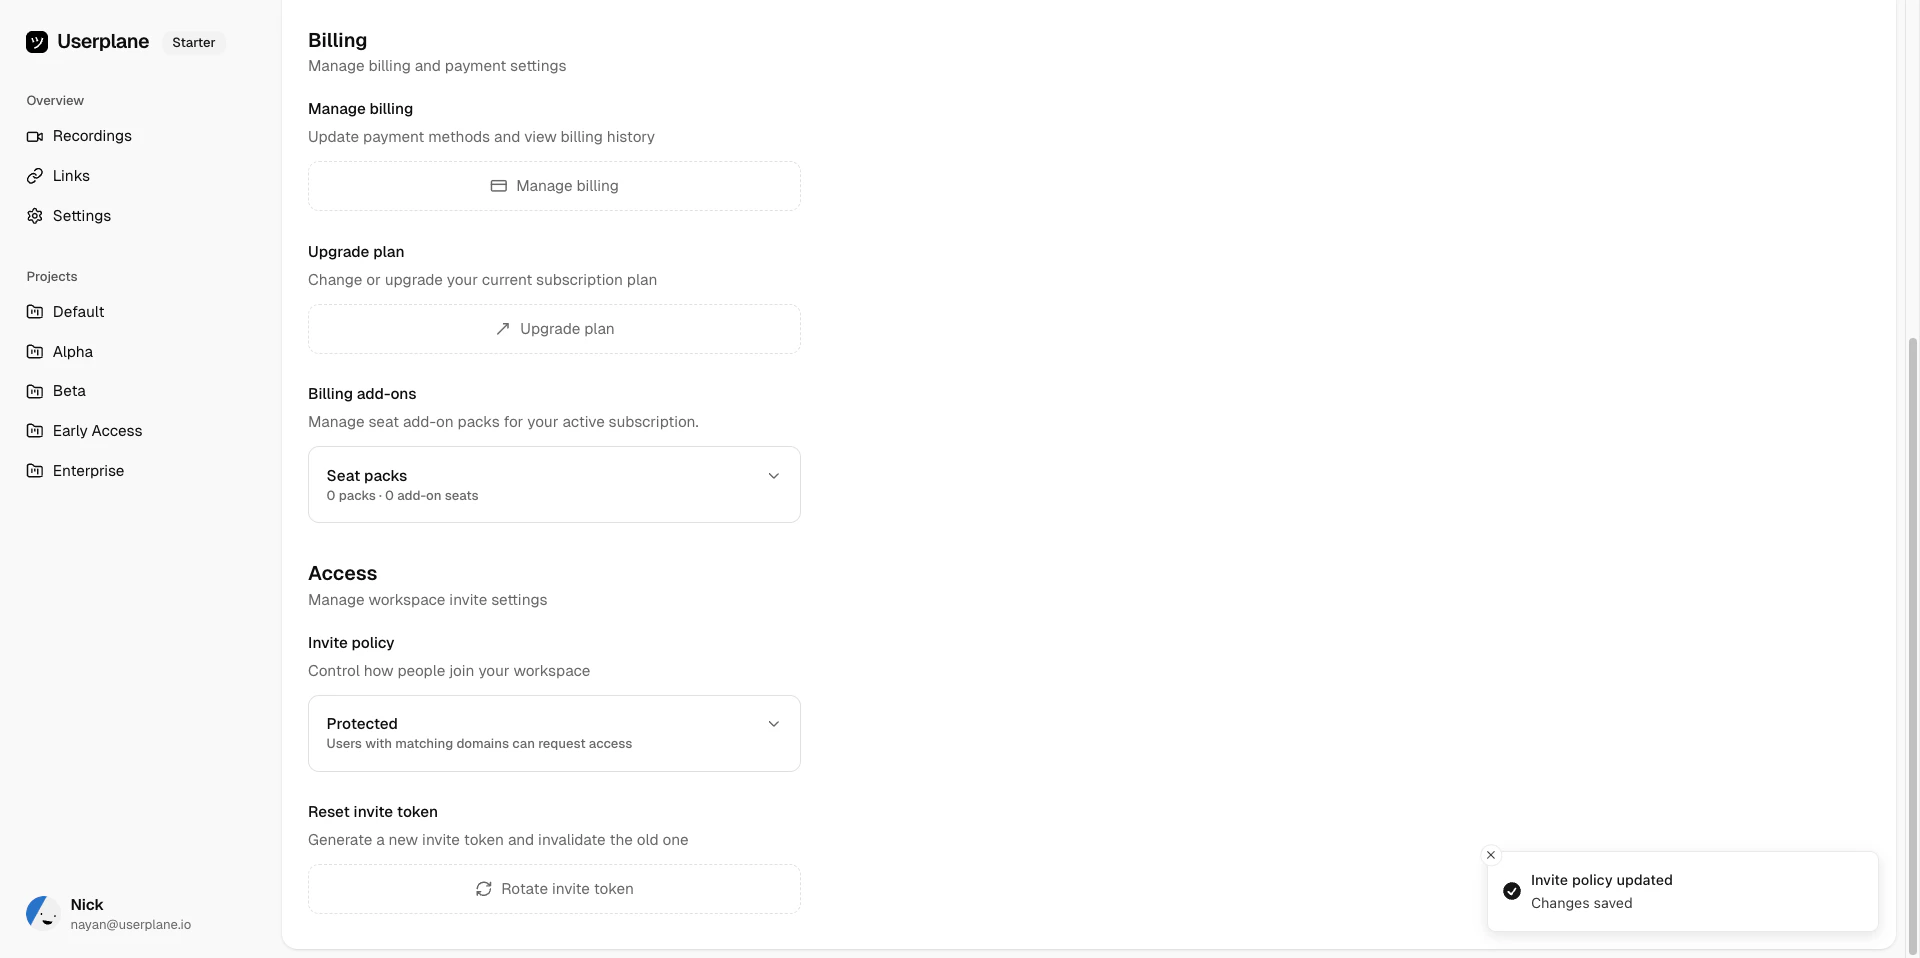
Your workspace’s invite policy controls whether your workspace is discoverable and how non-invited people can join — via direct access, email domain whitelist, or access requests. Explicit invitations sent from this dialog work regardless of the policy.

Changing roles

1

Find the member

Locate the member in the team list.
2

Open the role selector

Click their current role to open the role dropdown.
3

Choose the new role

Select the new role. The change takes effect immediately.
See Roles & Permissions for what each role can do.

Removing members

1

Find the member

Locate the member in the team list.
2

Click Remove

Click the actions menu and select Remove.
Removed members lose access to the workspace immediately. Their past recordings and links remain in the workspace.

Seat limits and add-ons

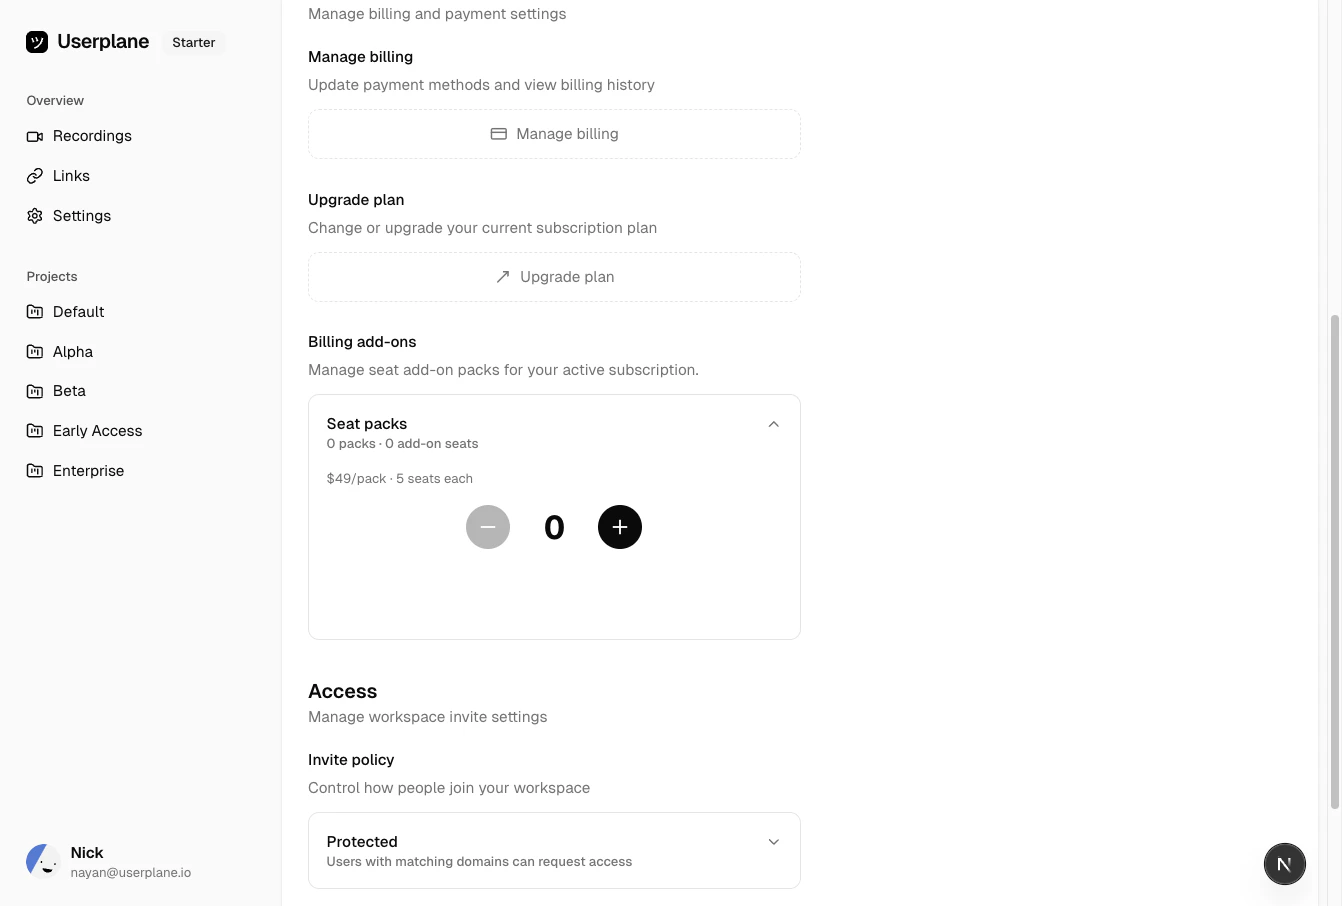
Each plan includes a set number of seats. If your workspace reaches its seat limit, you can purchase additional seats without upgrading your plan. See Seat Add-Ons for full details.
1

Open Billing settings

2

Find the Seats section

Locate the Seats add-on section in your billing settings.
3

Add seats

Click Add Seats, choose how many additional seats you need, and complete the purchase. The extra seats are available immediately.