Get up and running with Userplane — create a recording link, send it to a customer, and see exactly what went wrong.
Userplane helps your support team request screen recordings from customers in just a few seconds. Instead of asking customers to describe what went wrong, you can send them a simple link and get a full video of the issue, complete with console logs, network activity, and more.
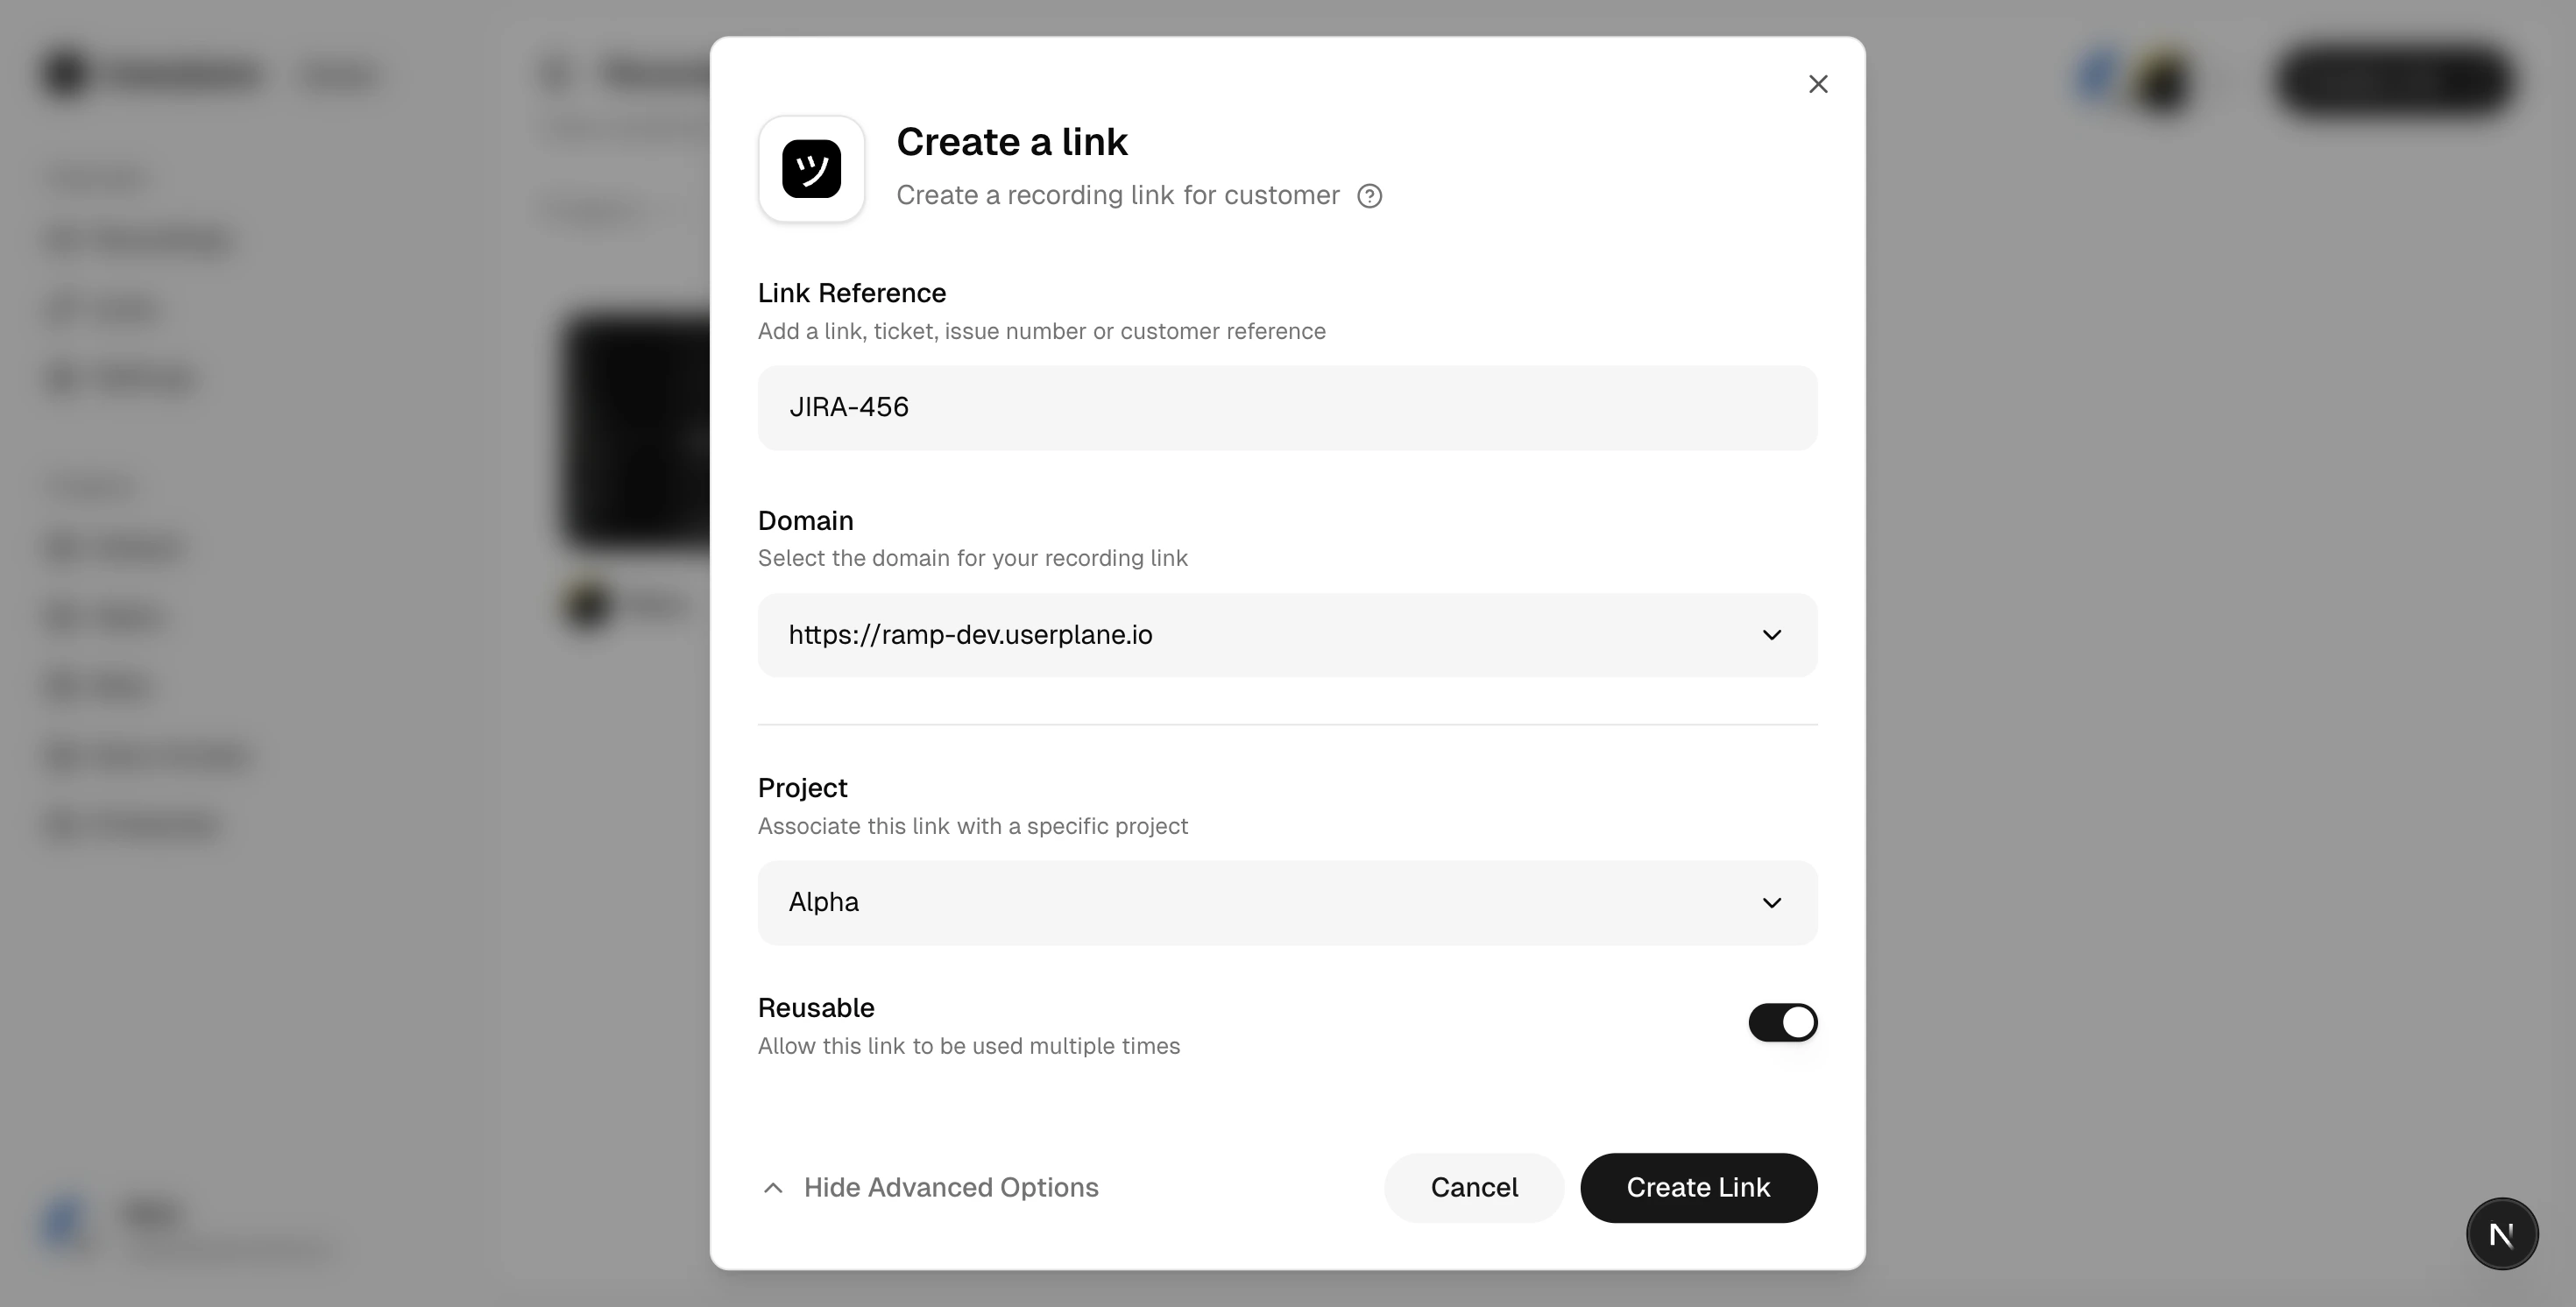
Create a recording link — pick a project, domain, and optional reference from the dashboard or the Chrome extension, then share the link with your customer.
Customer records — your customer opens the link in their browser and records their screen. No installs or extensions needed.
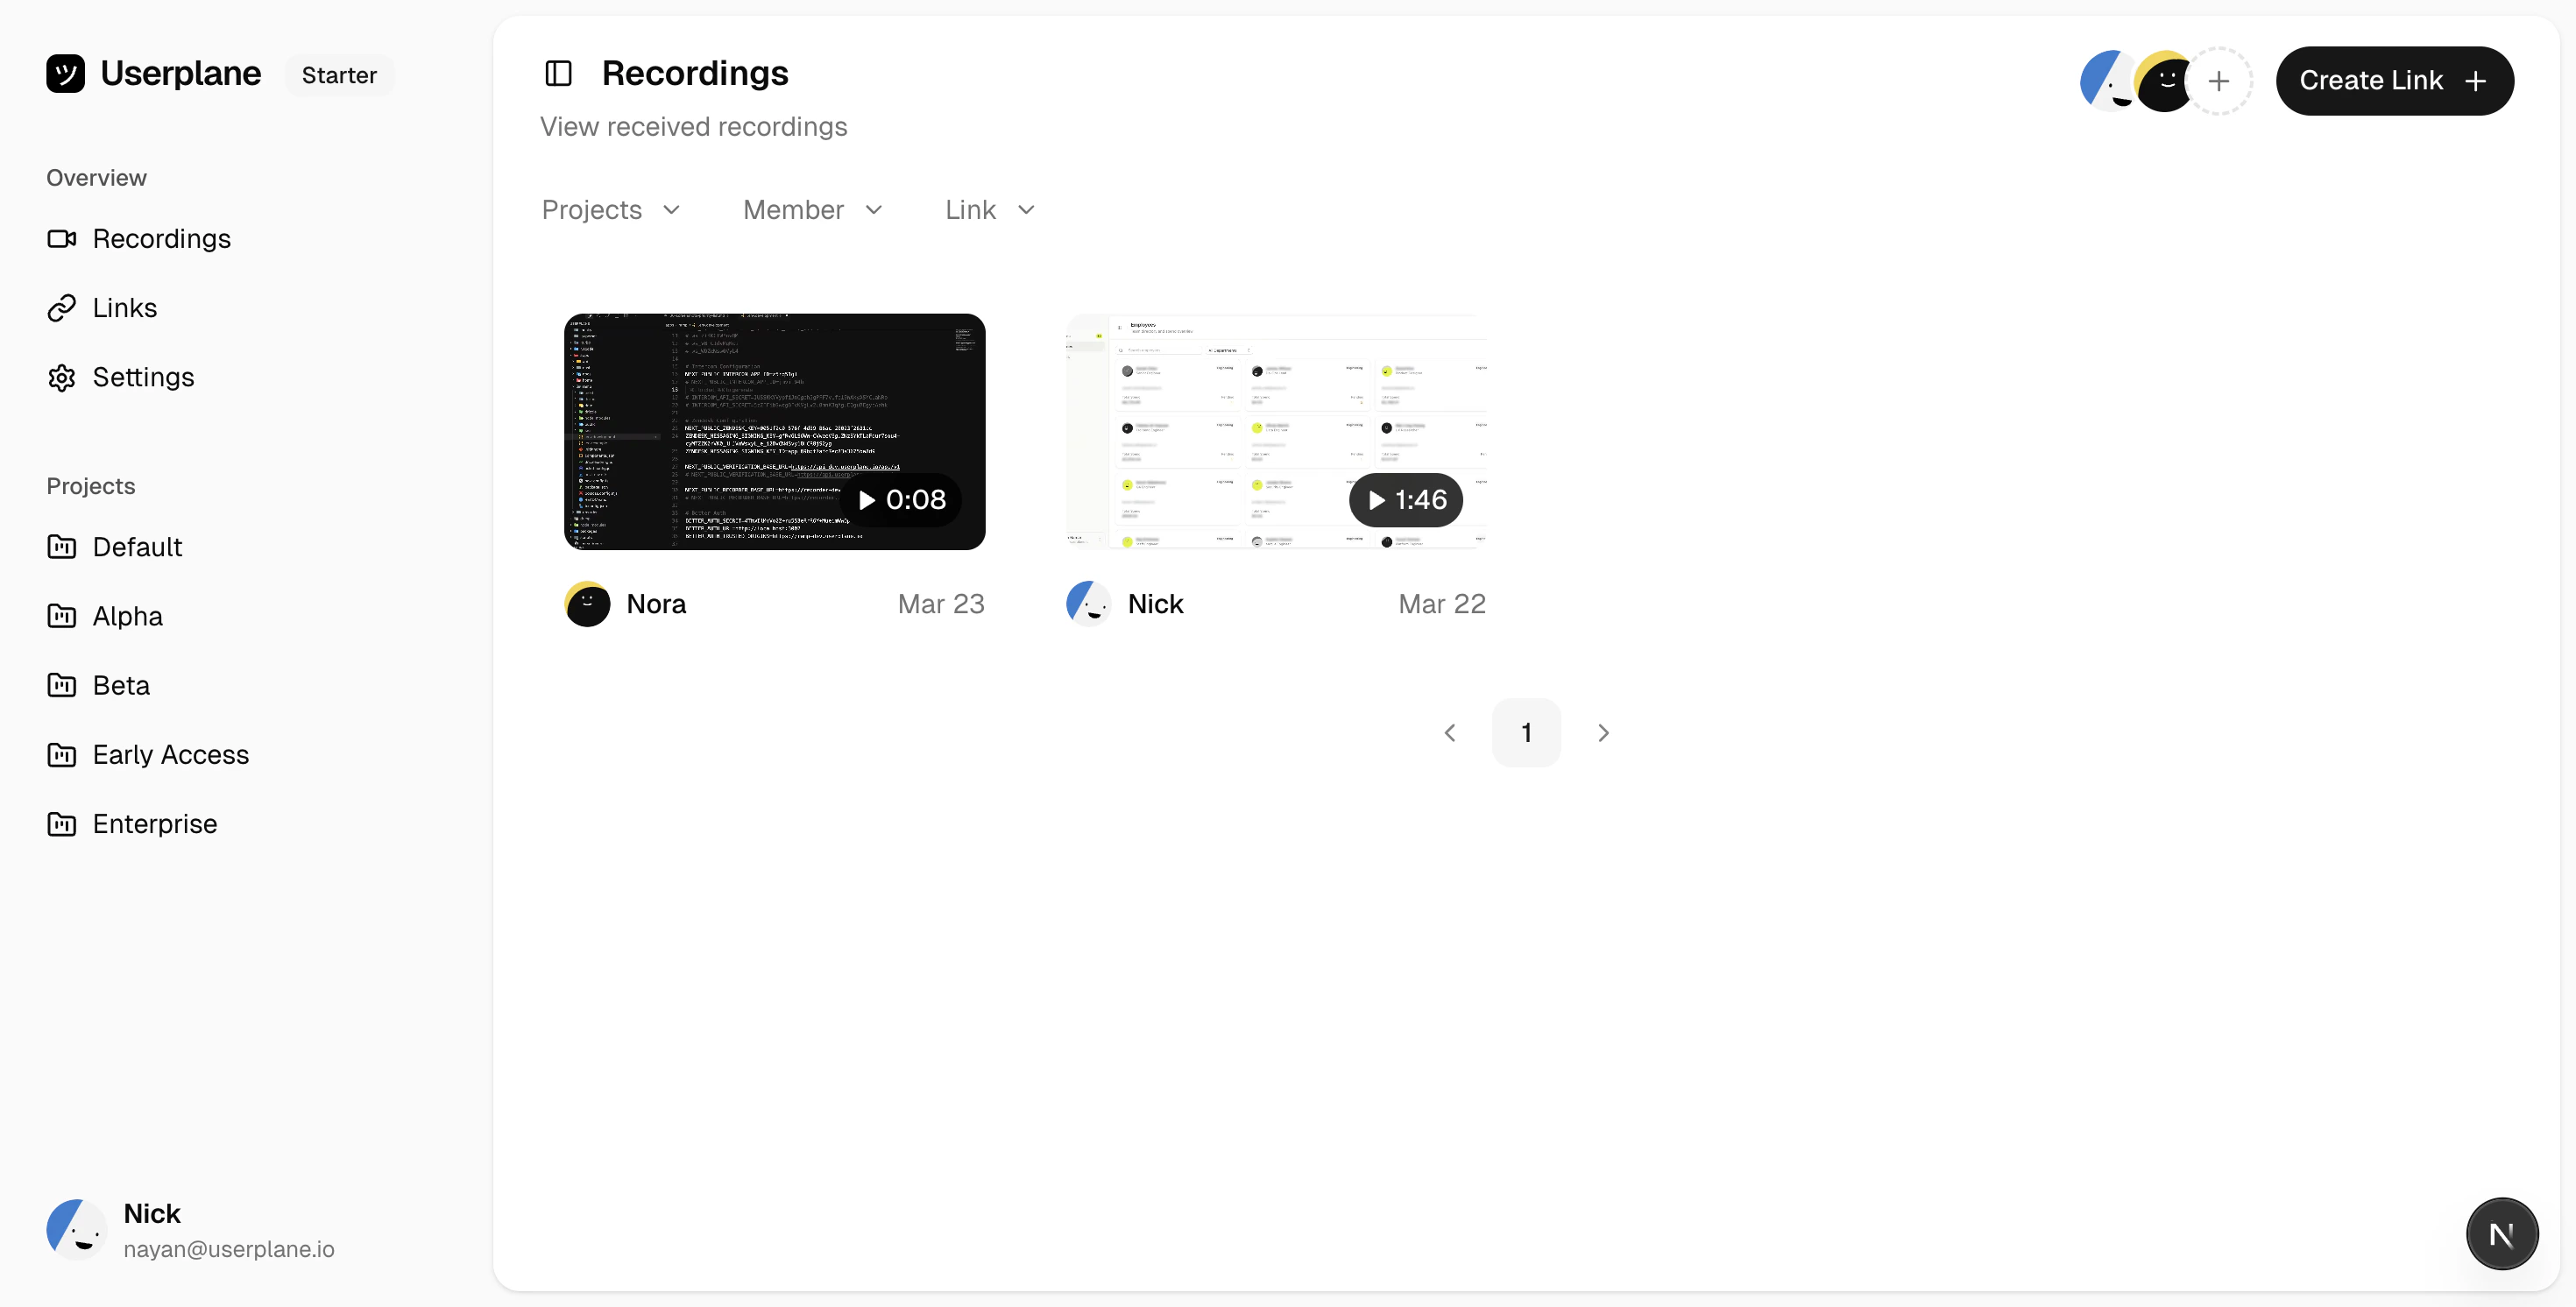
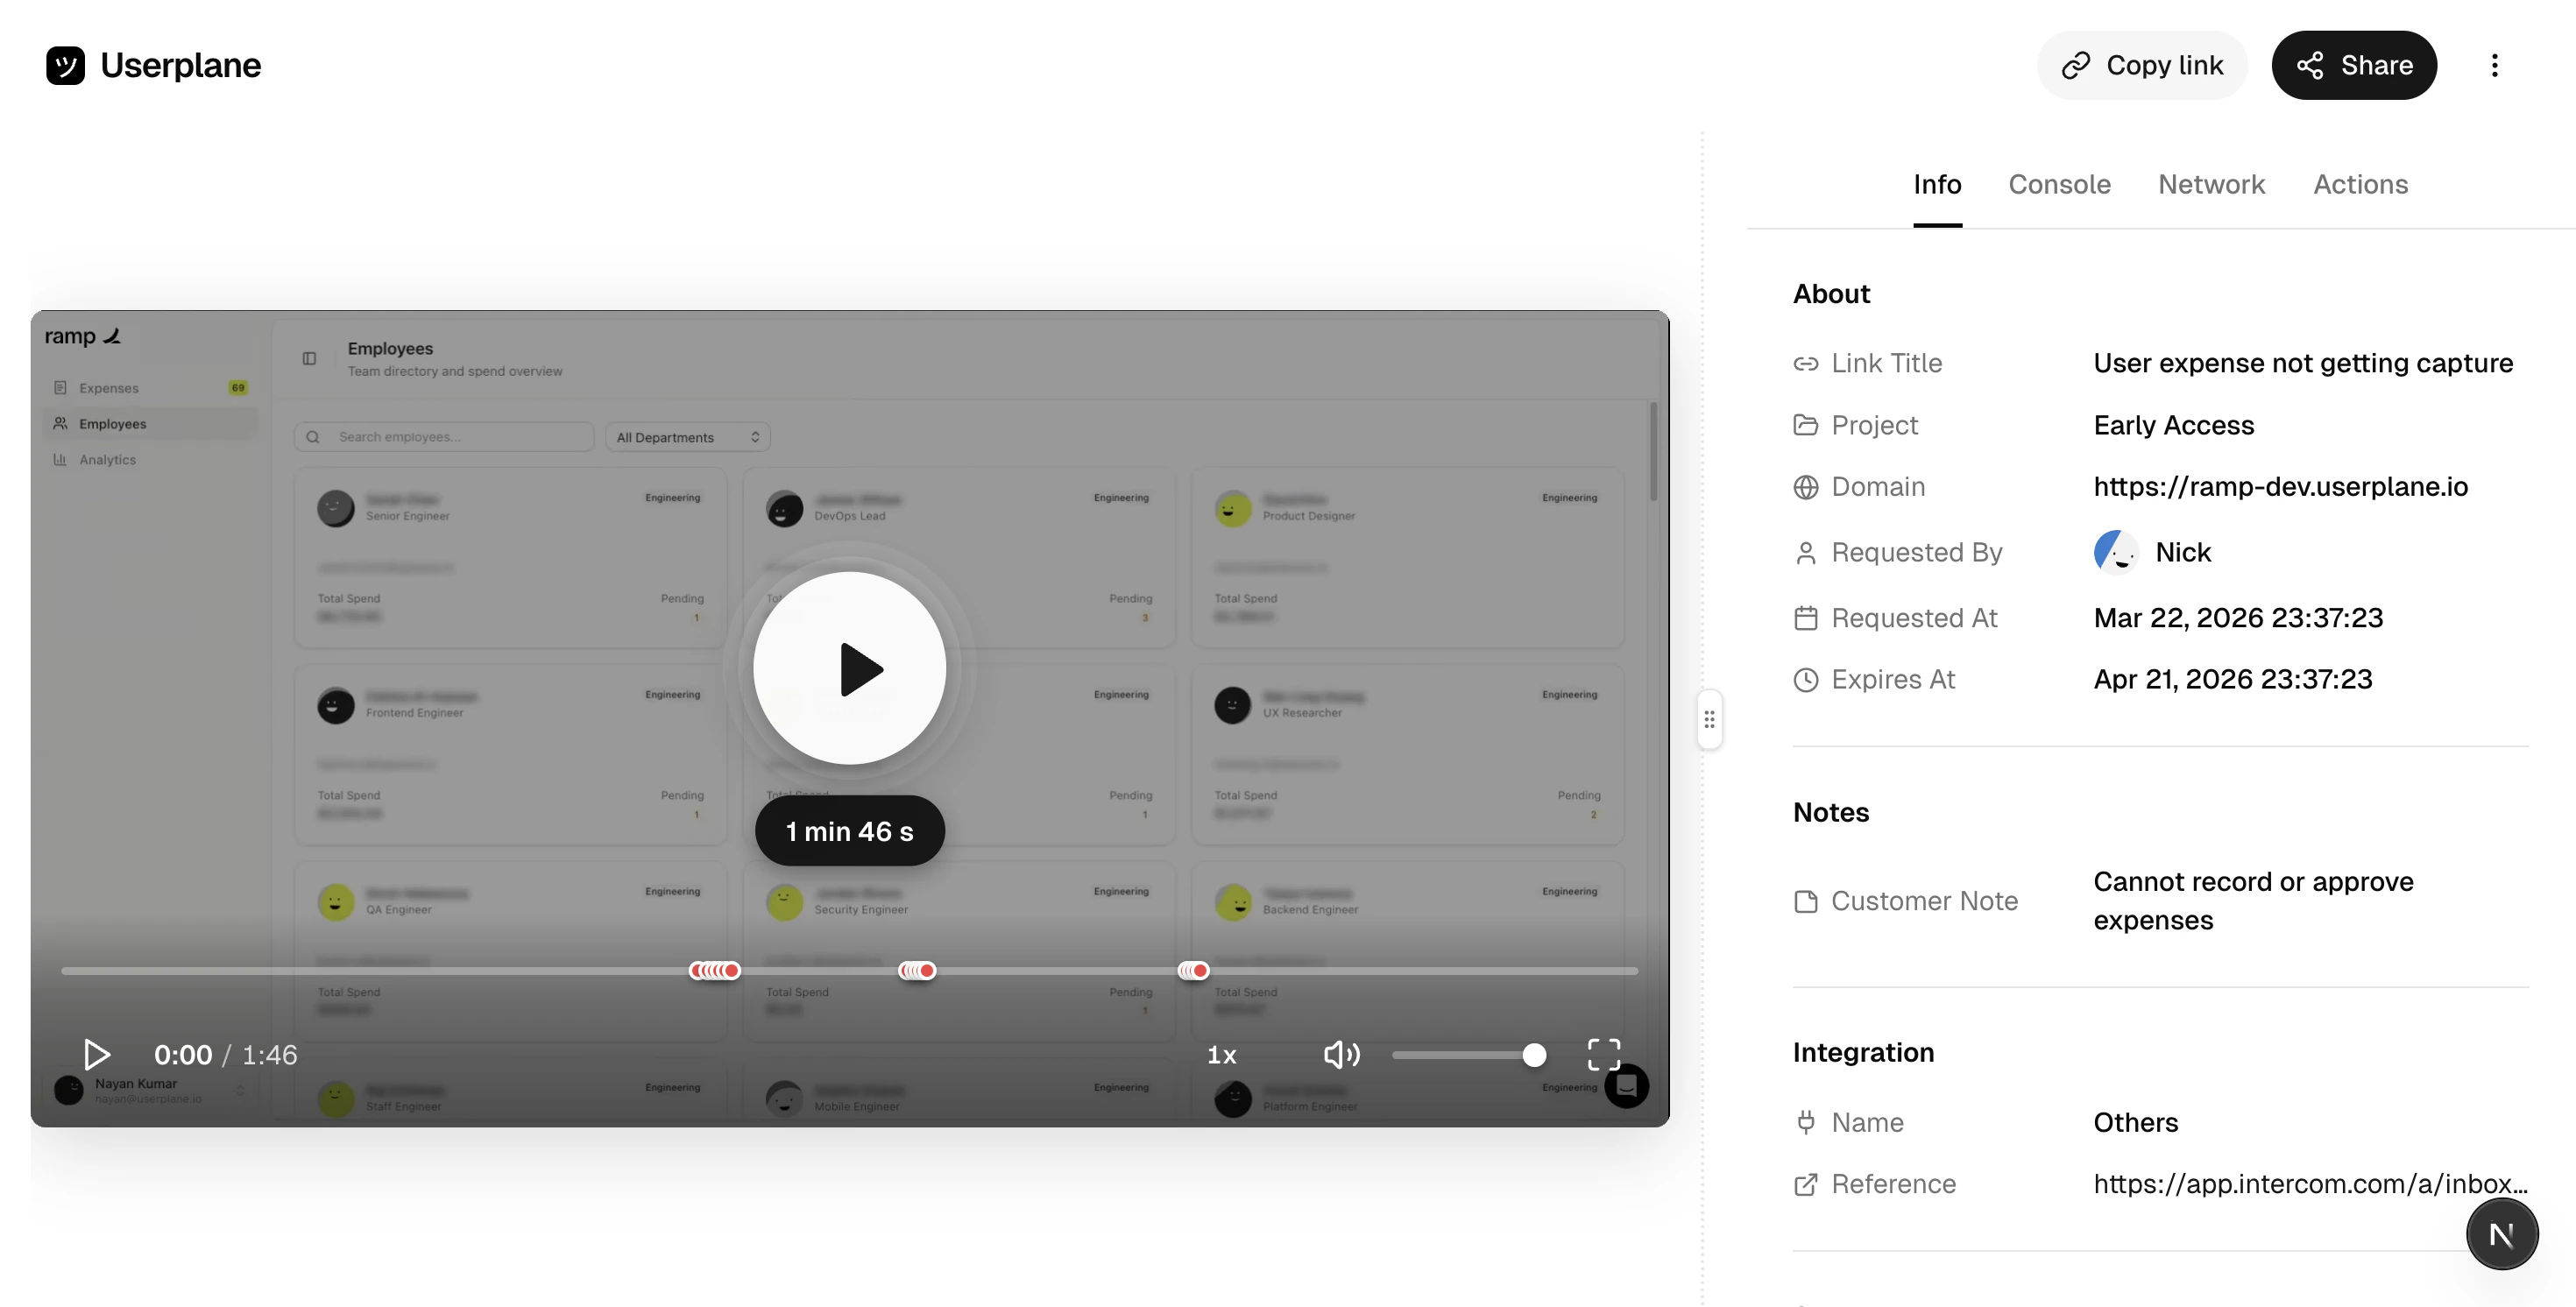
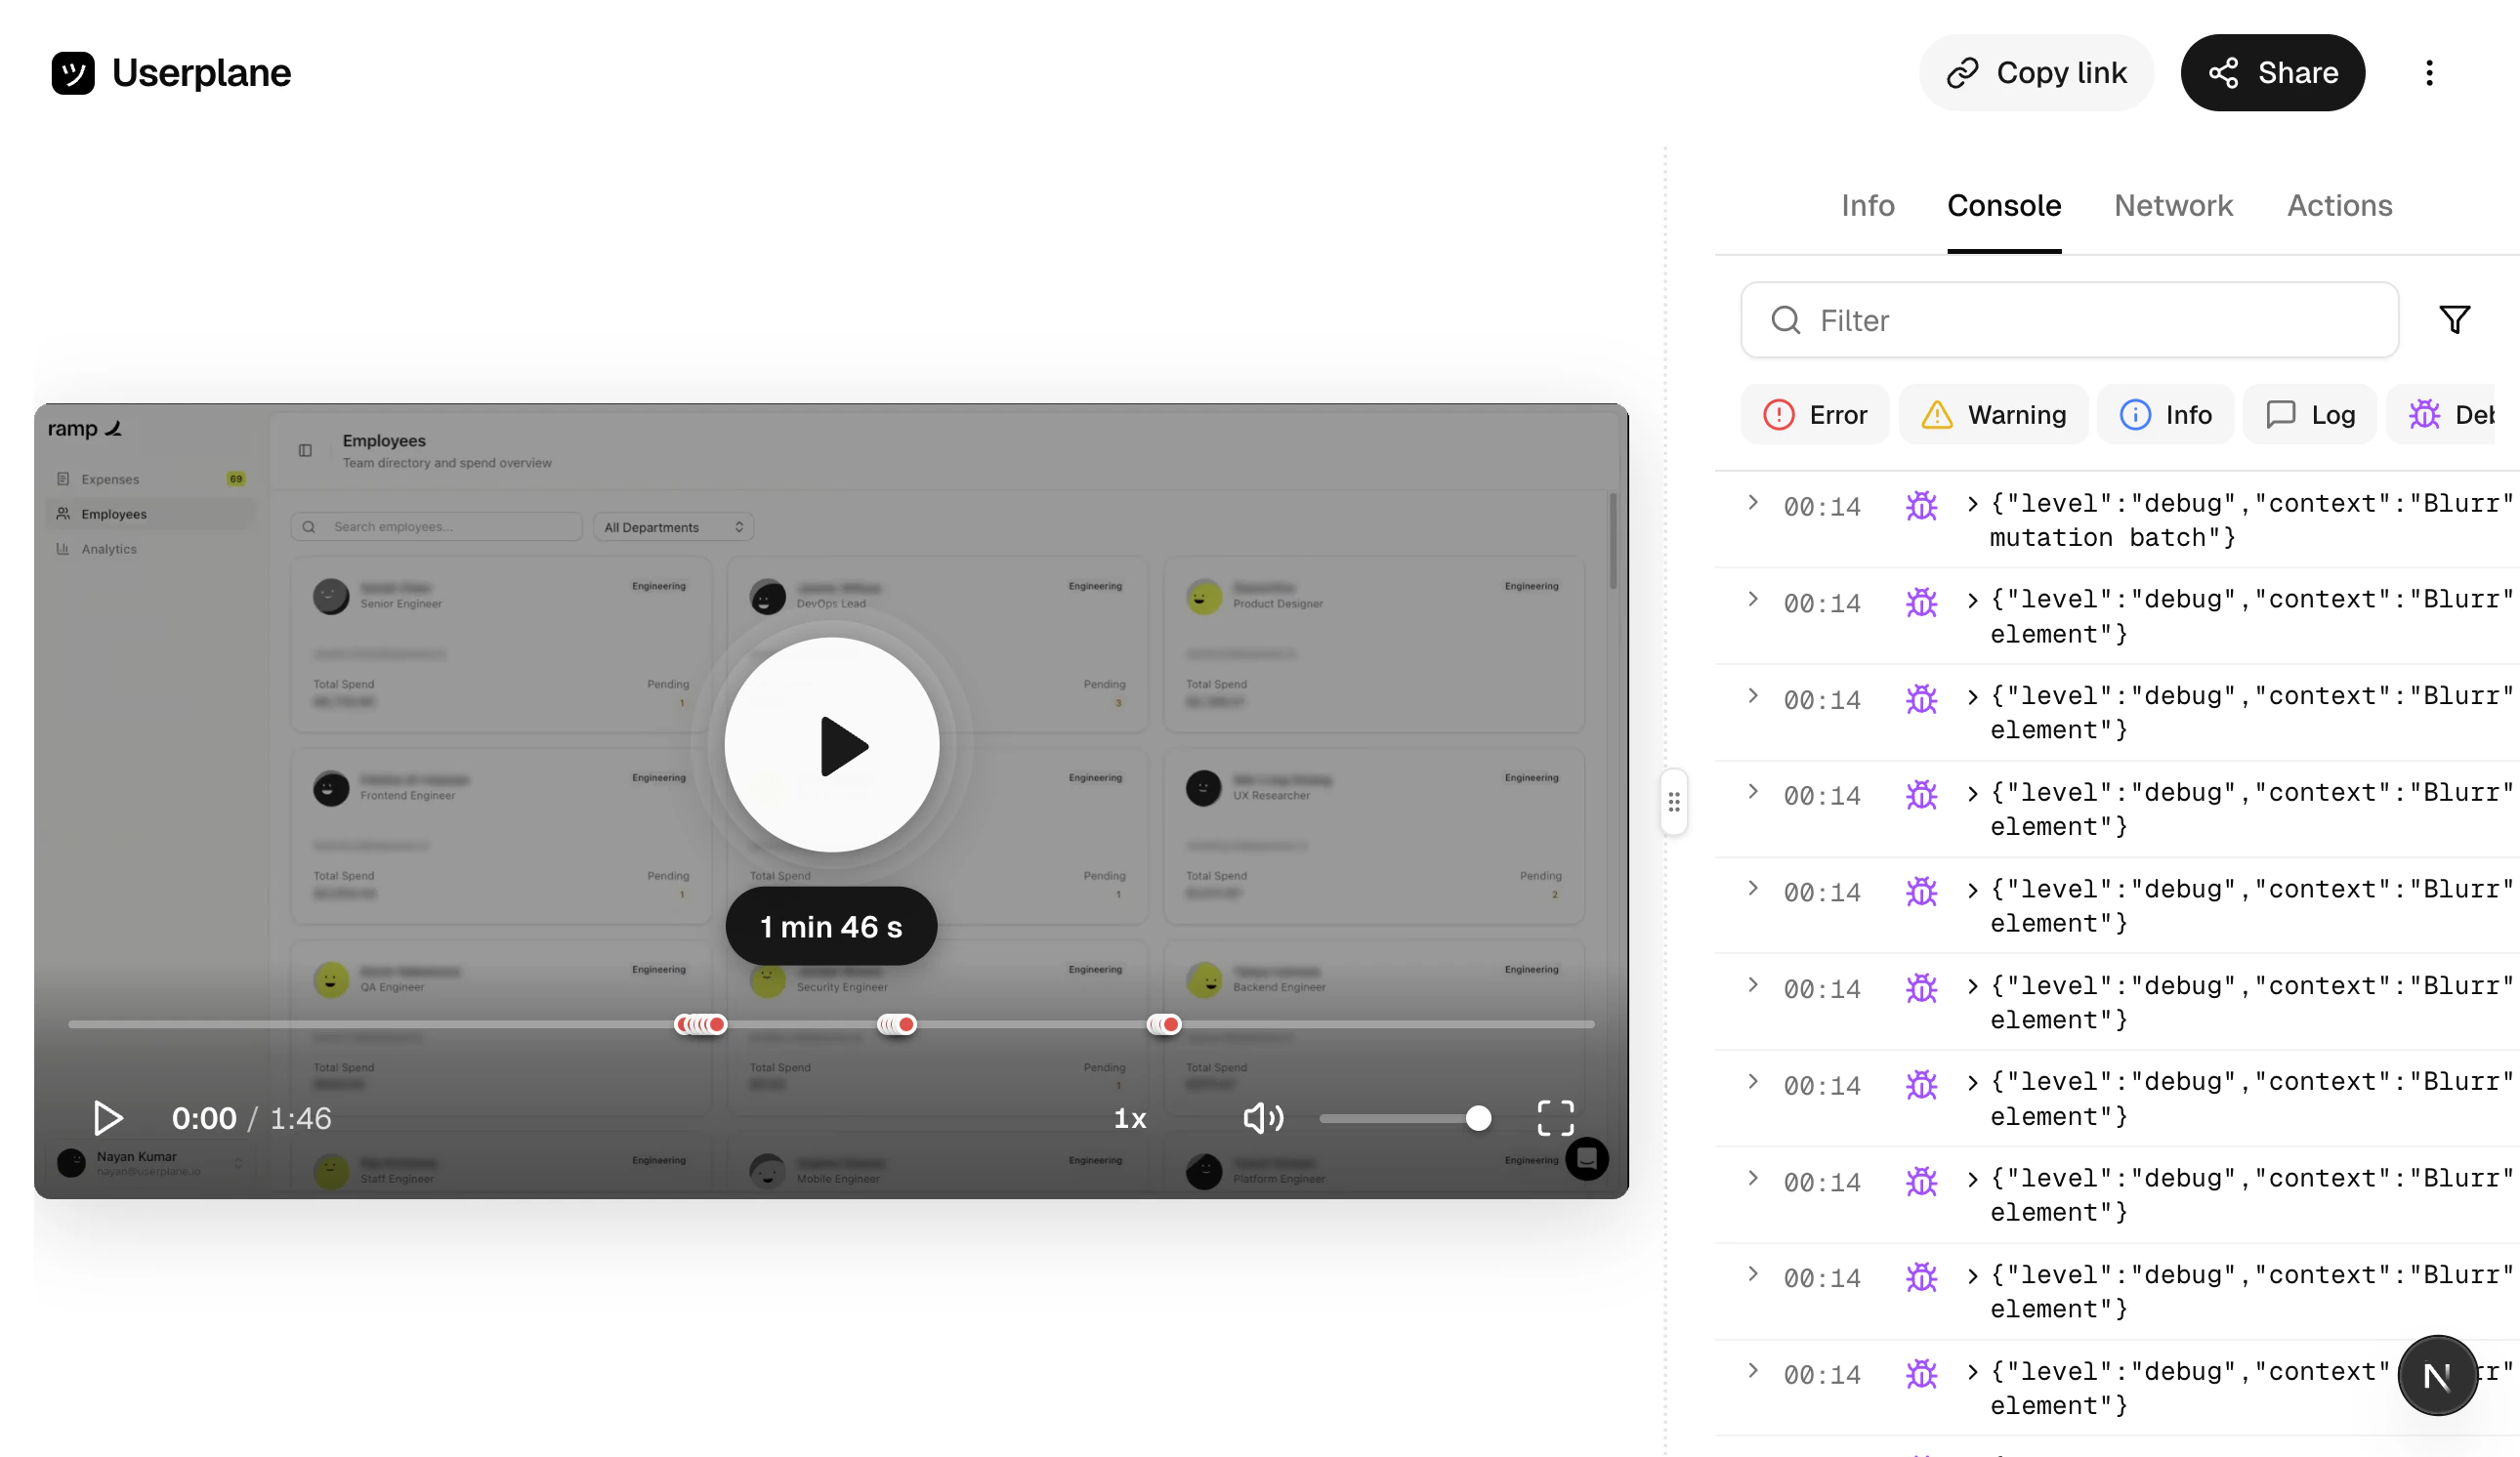
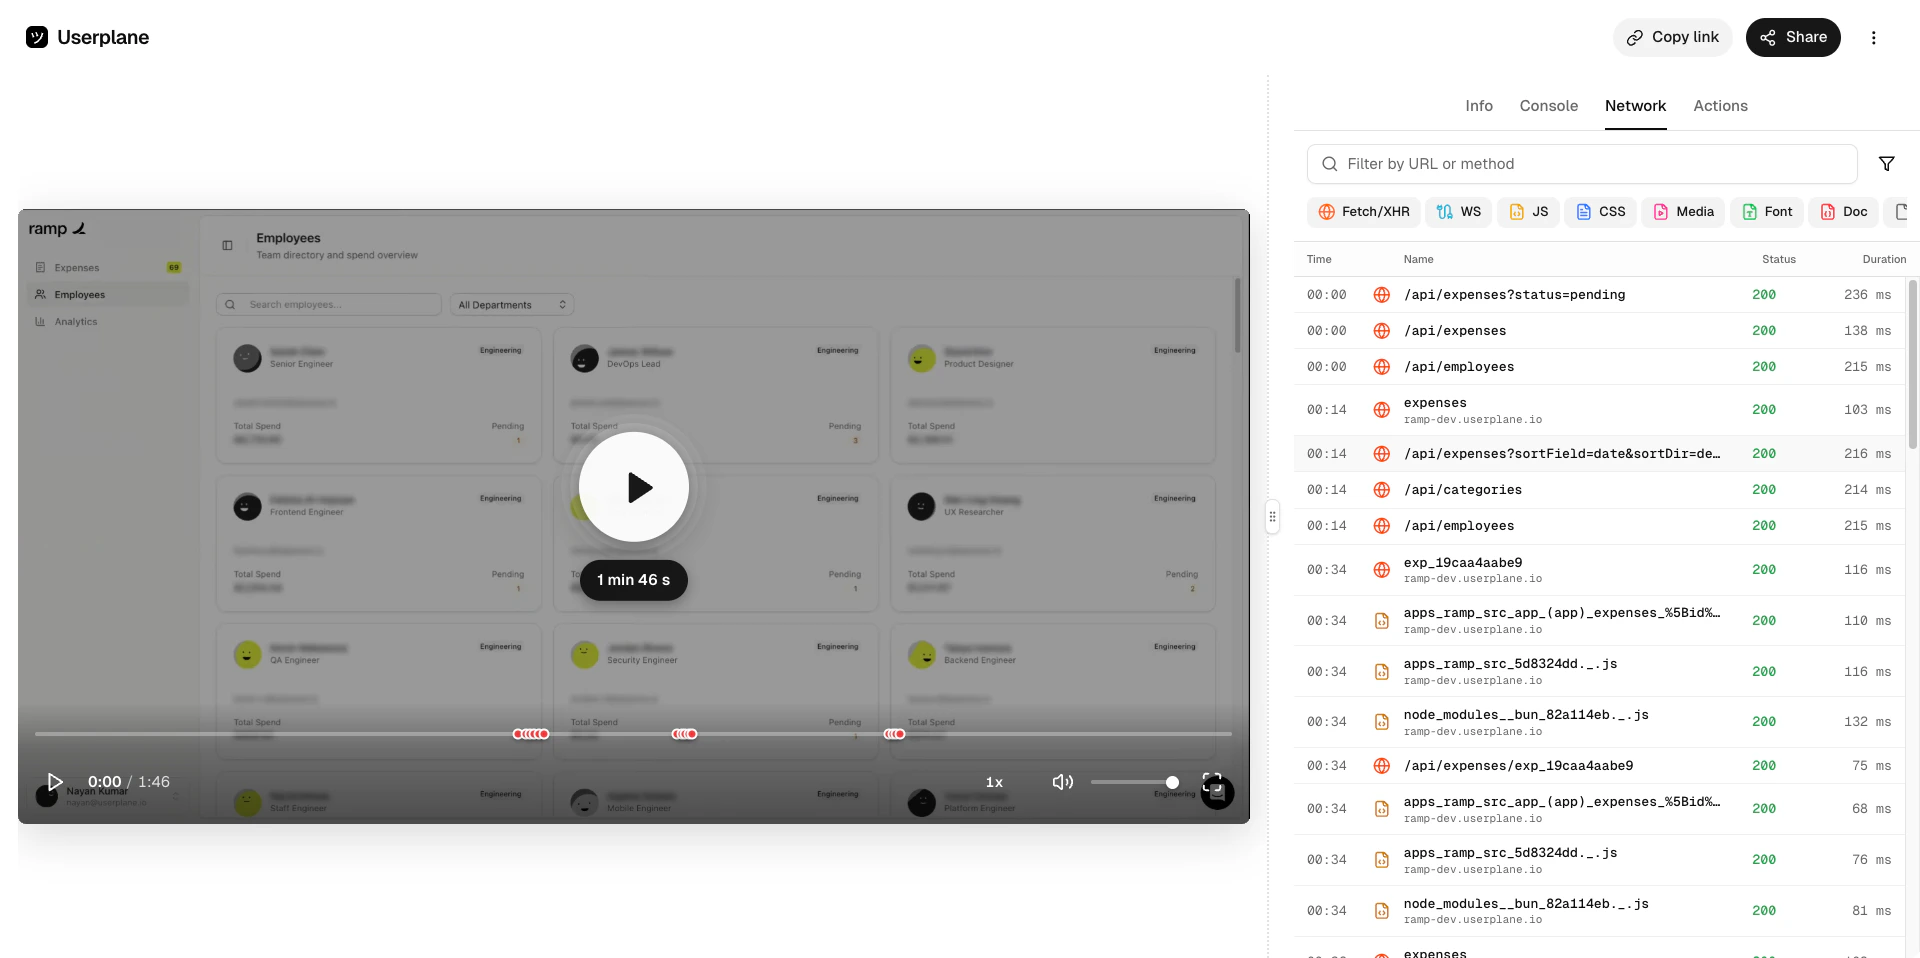
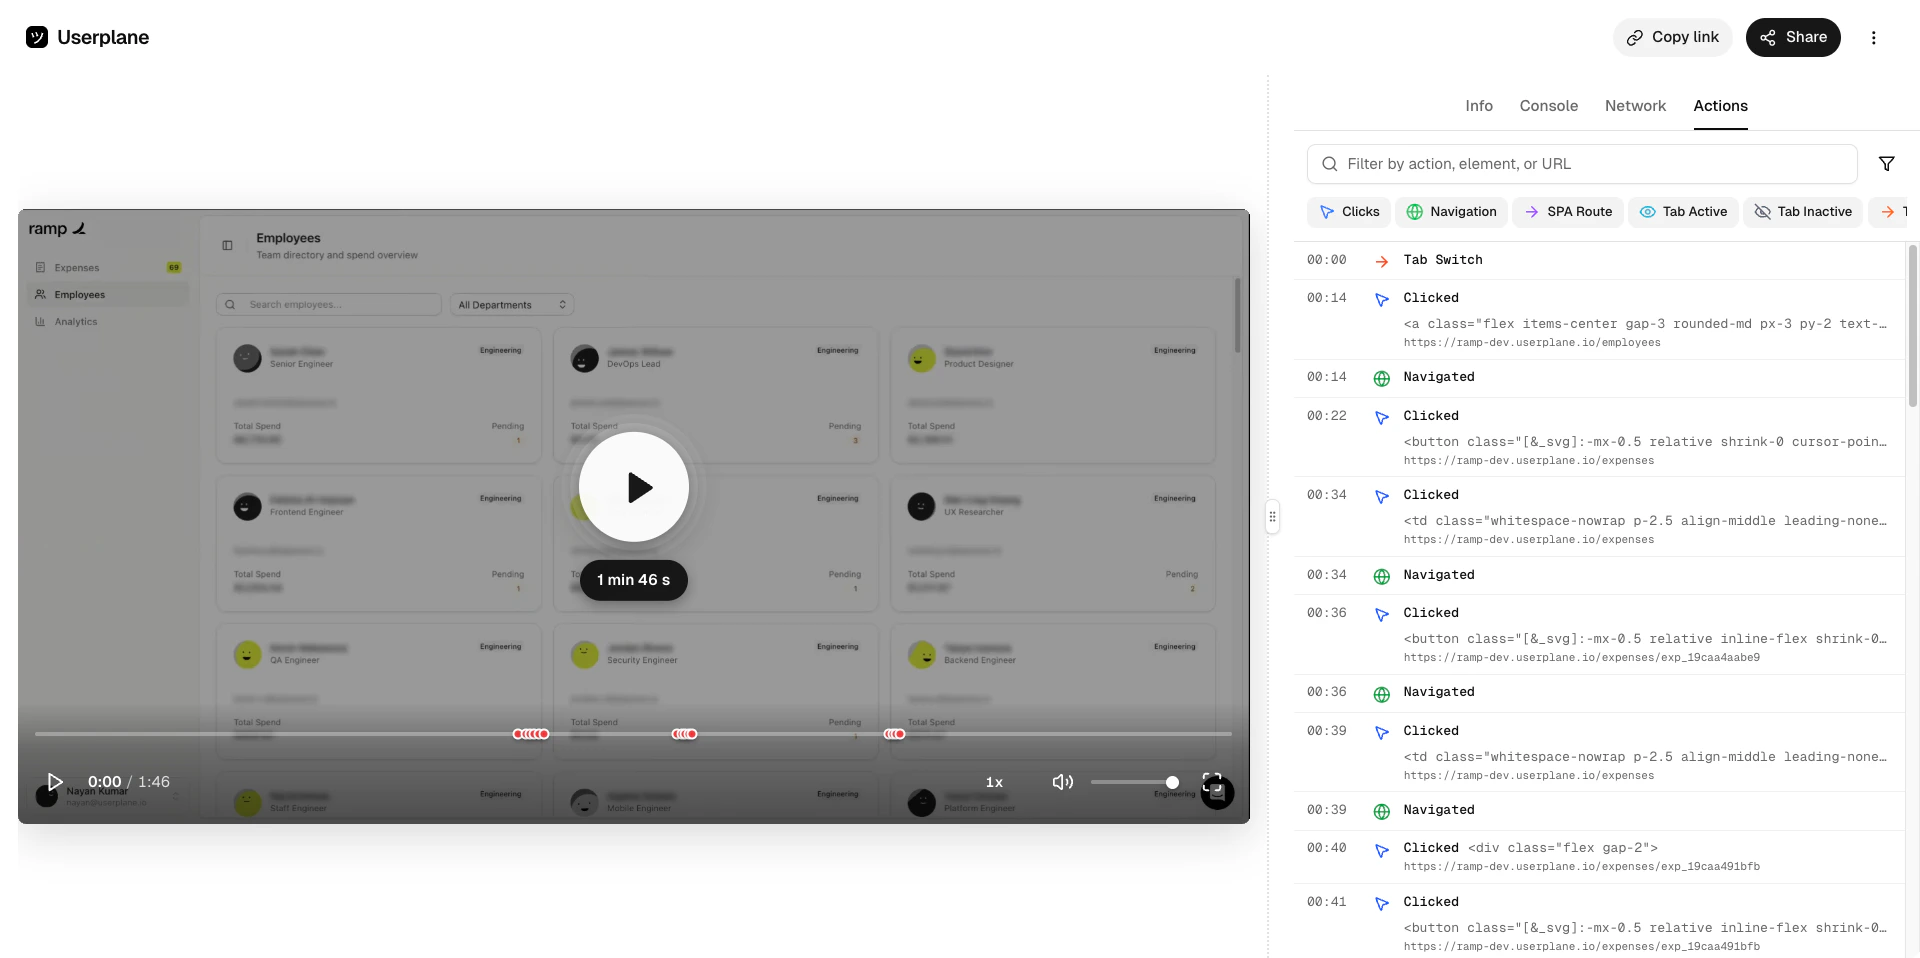
Review the recording — watch the video and inspect console errors, network requests, client actions, and any custom metadata.
Project — choose which project this recording belongs to. - Domain — select a verified
domain to brand the link with your site’s identity (optional but recommended). - Reference —
add an external reference like a ticket number or URL (e.g. JIRA-456). - Reusable — toggle
whether the link can be used once or multiple times.
Filled Create Link form
3
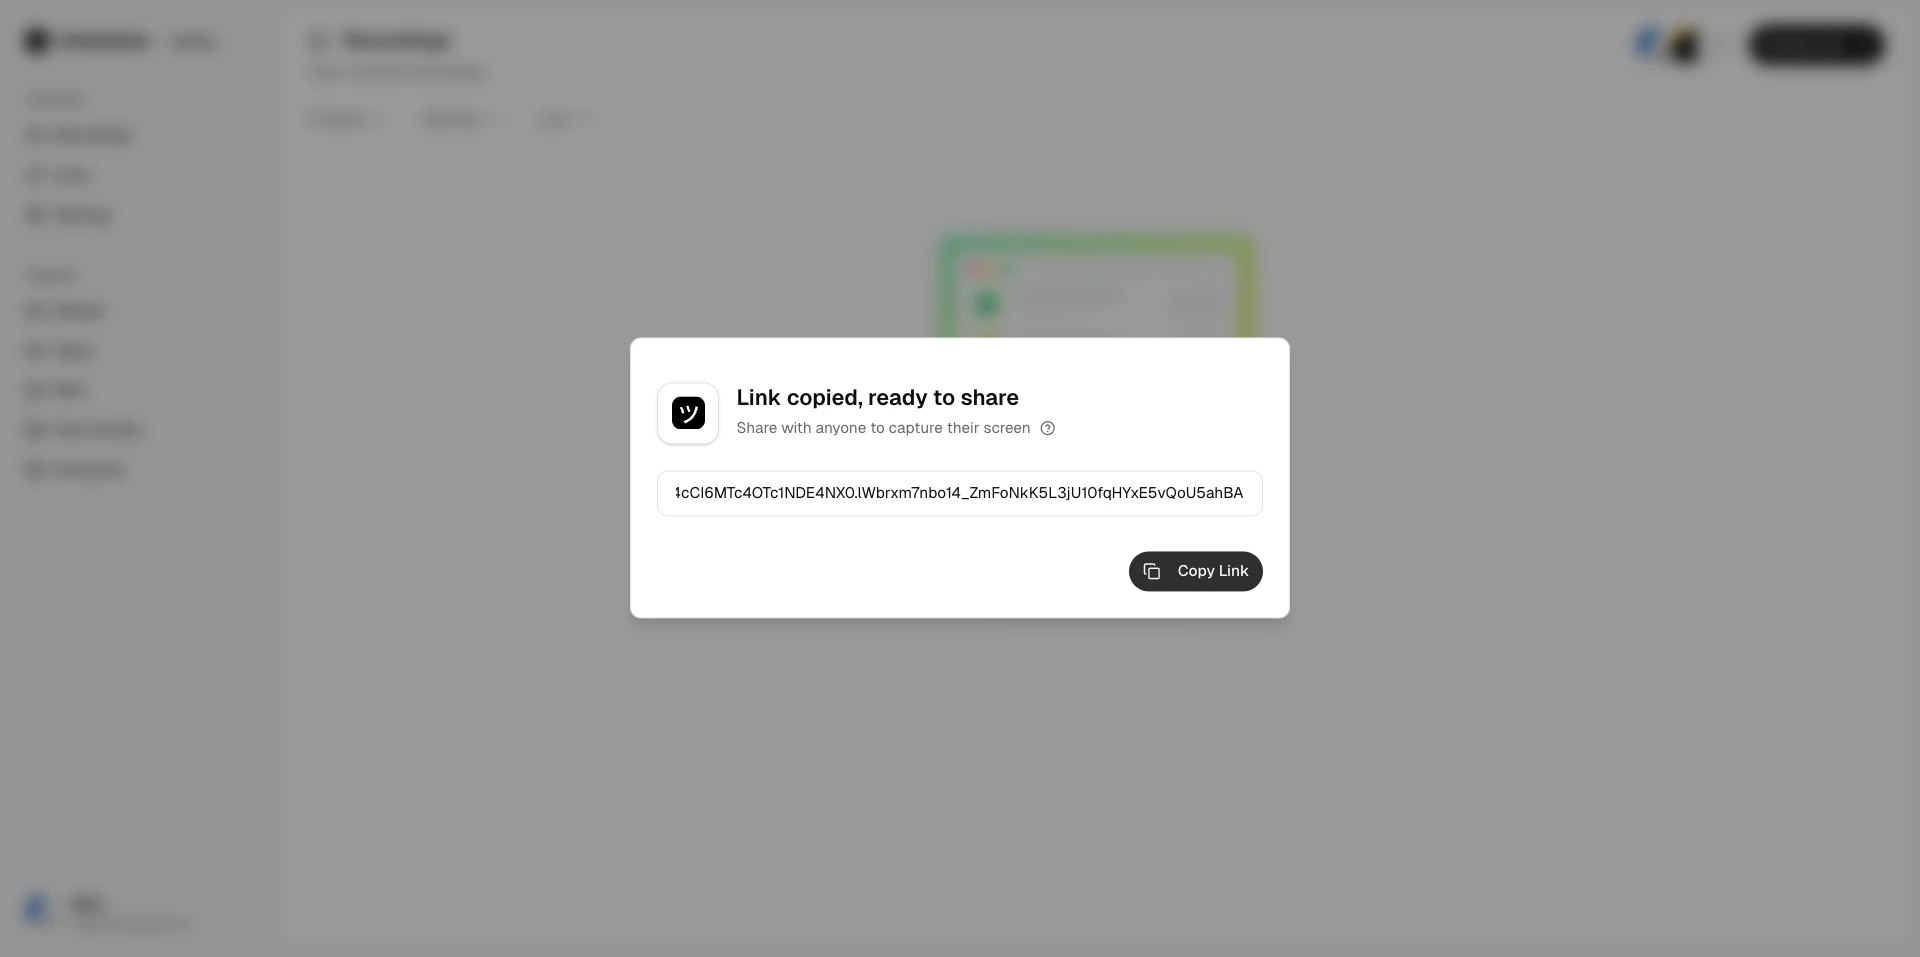
Share the link
Click Create and copy the link. Send it to your customer through chat, email, or a help desk
macro.