Configure your workspace, set up domains, manage recording link settings, and keep sensitive data secure
You’re the one who gets things set up so the rest of the support team can work effectively. This guide covers workspace configuration, domain setup, recording link management, and sensitive data controls.
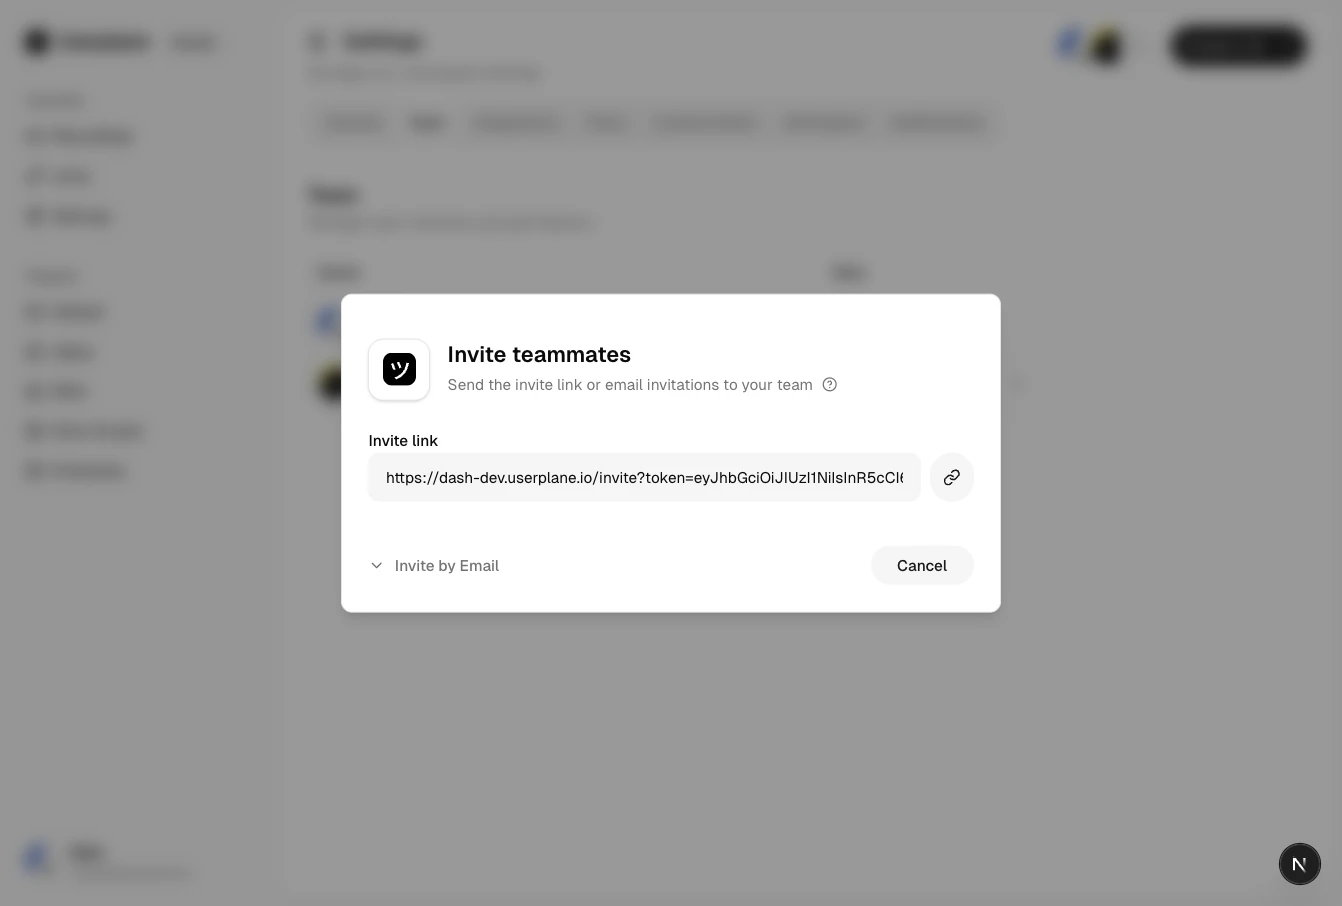
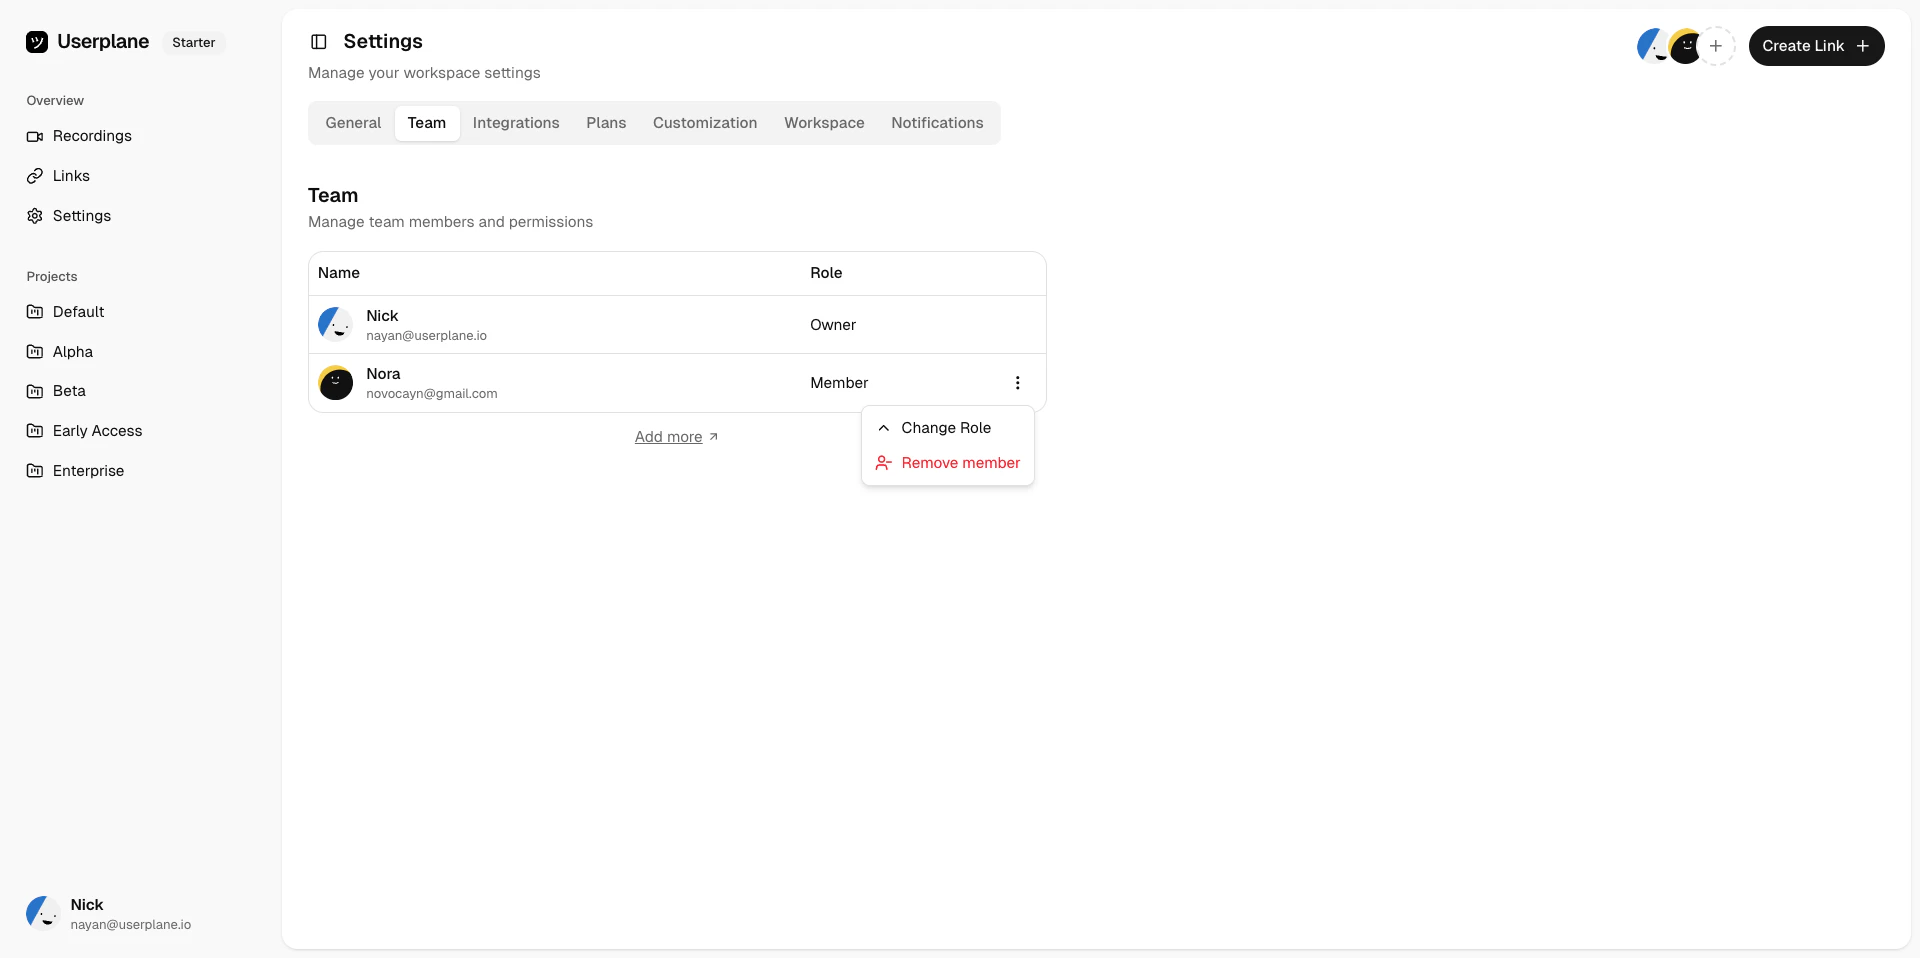
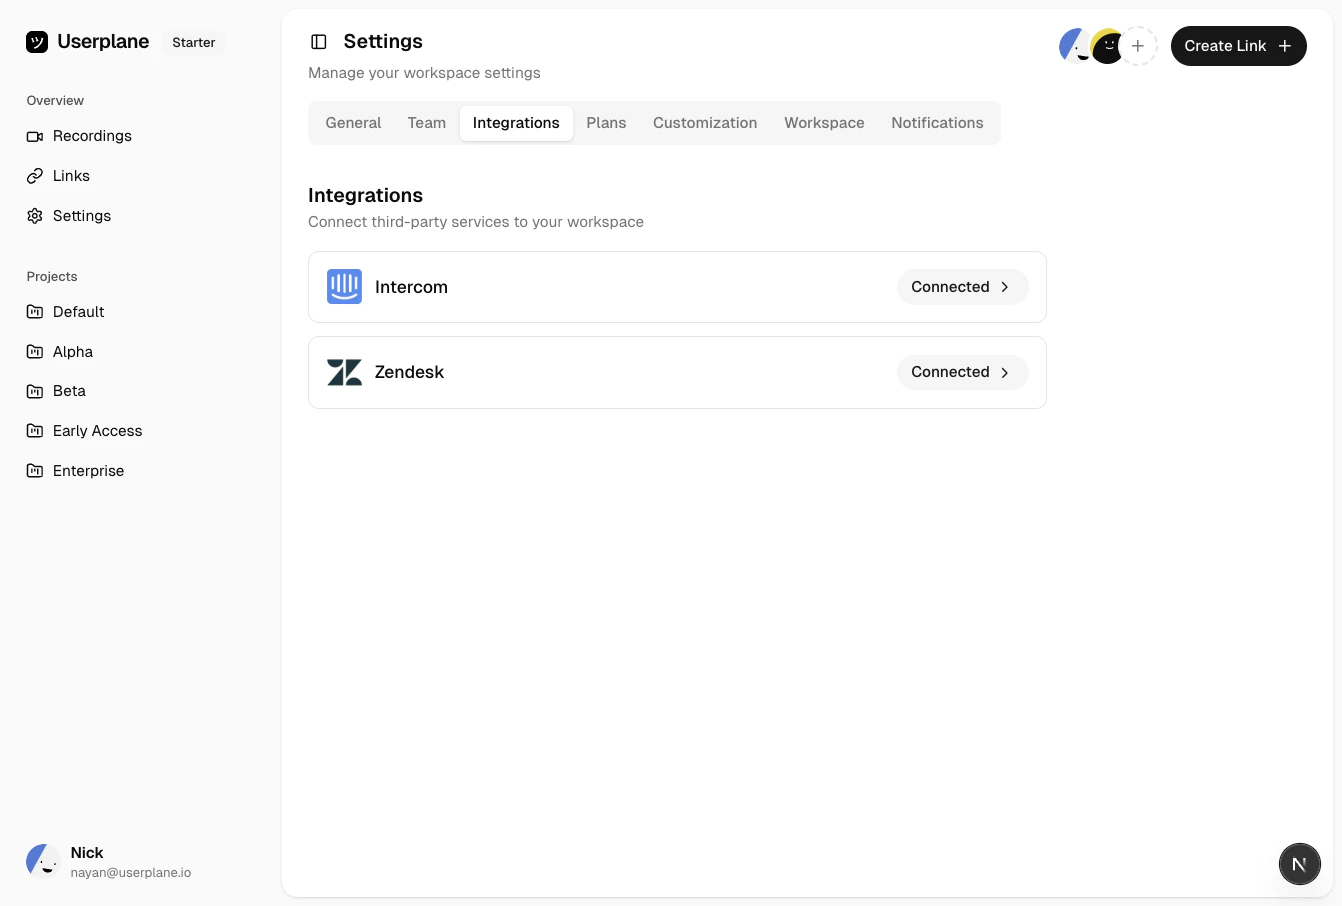
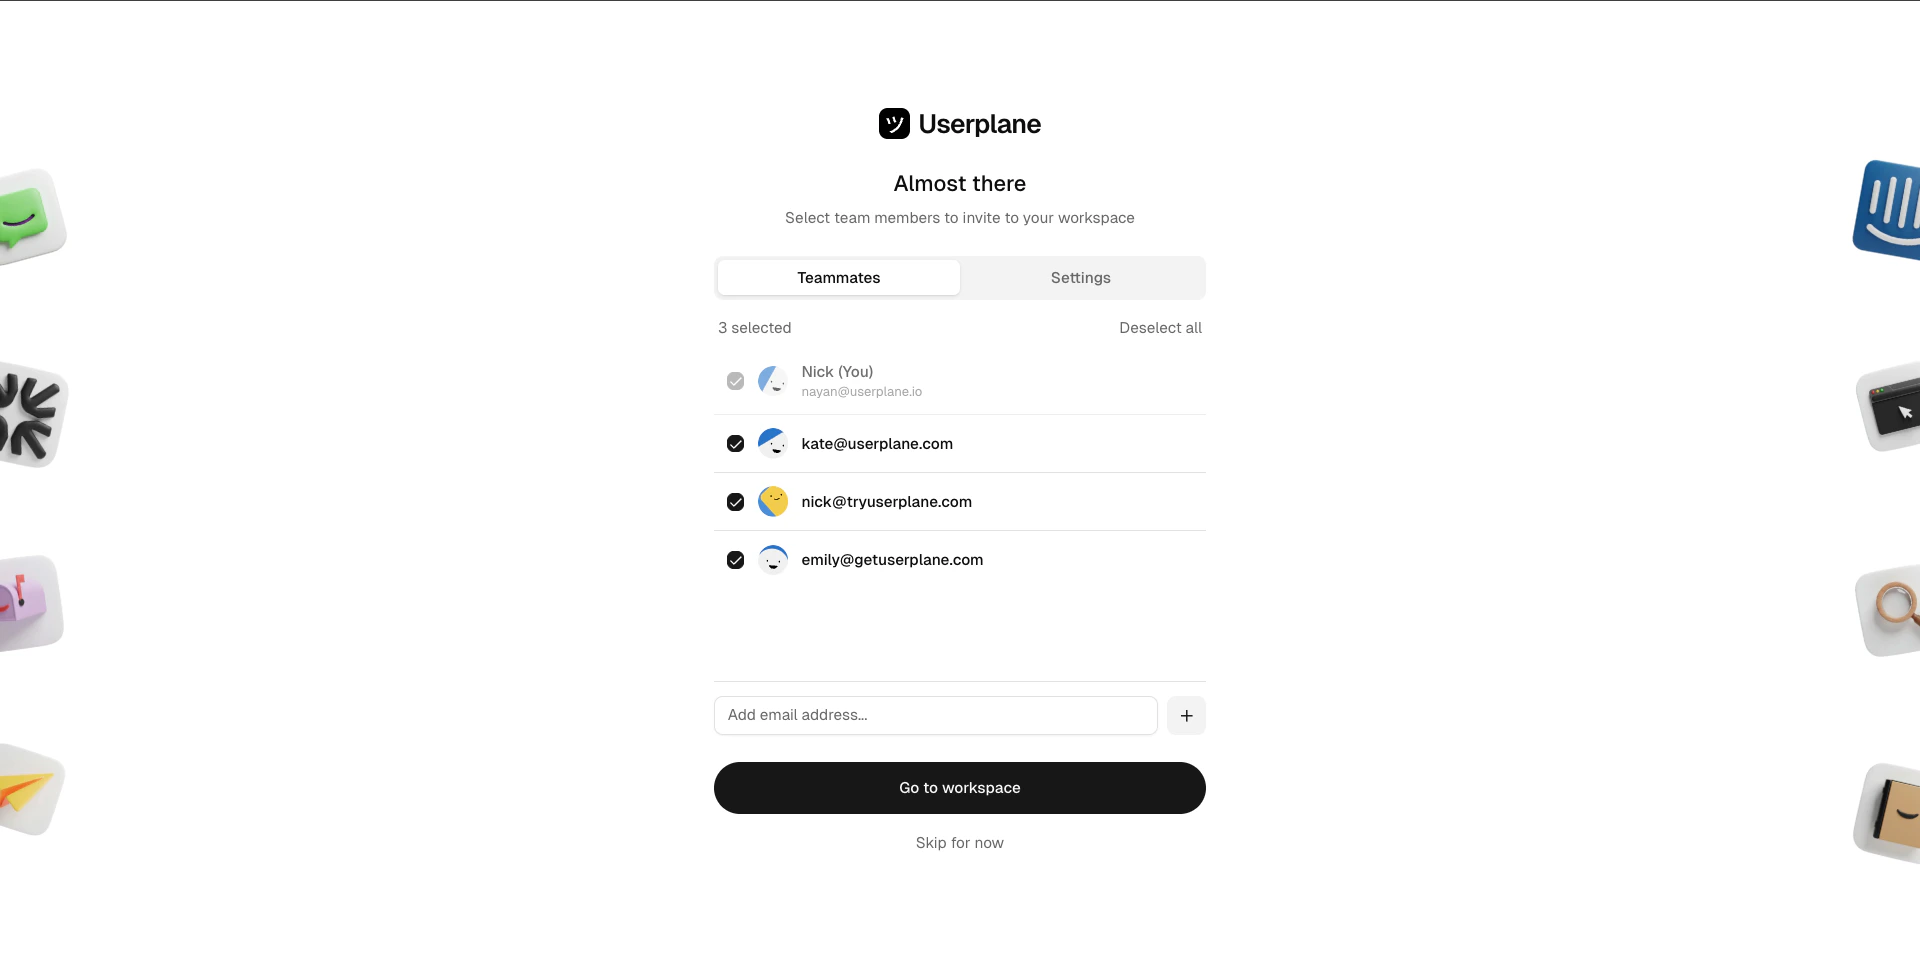
Review the default roles (Owner, Admin, Member, Viewer) and assign them to
teammates. Admins can manage integrations and settings; Members can create links and review
recordings.
Assign roles
2
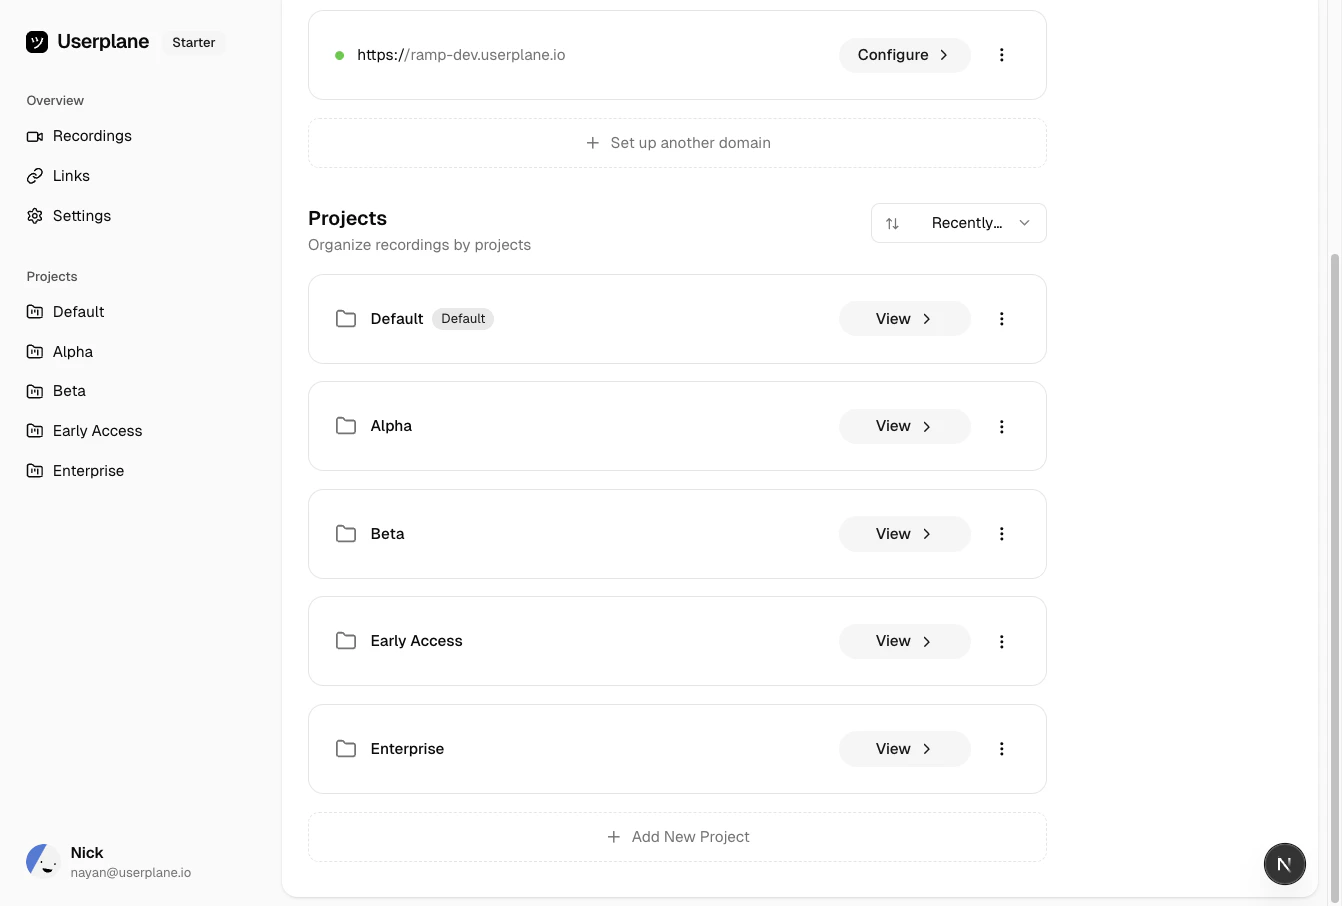
Create projects
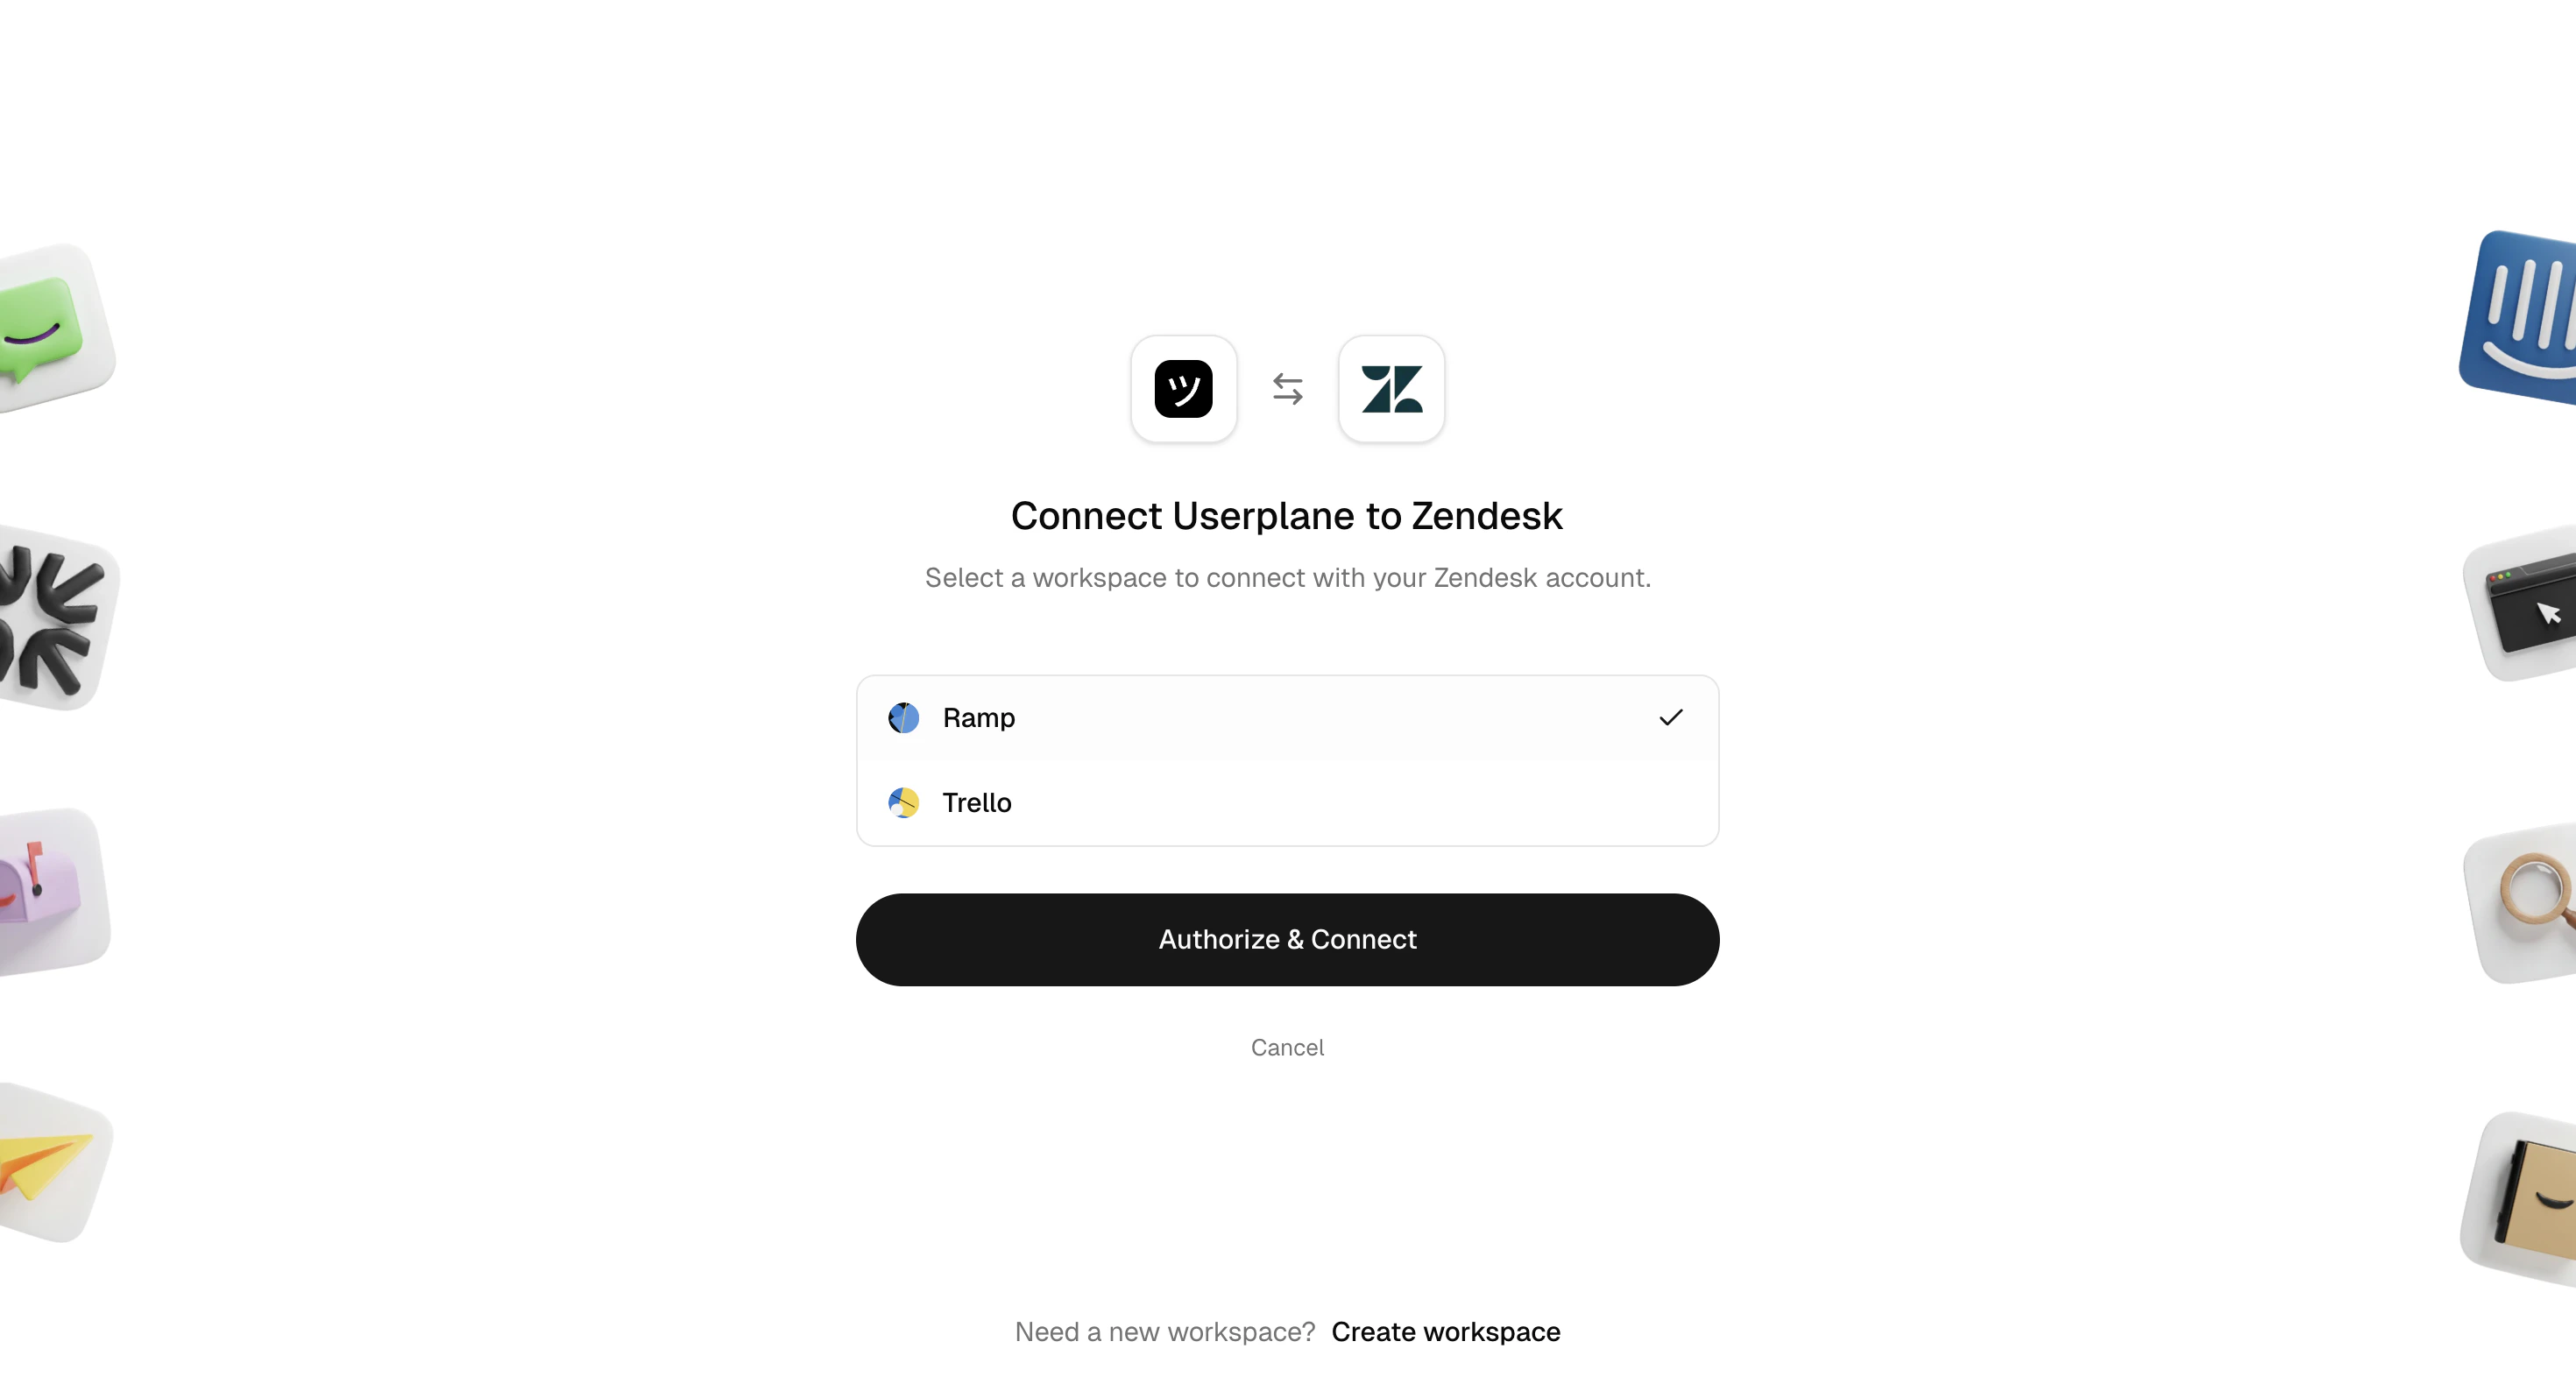
Go to Projects and create projects for each product
area, customer segment, or team. Projects keep recordings organized and make filtering easy.
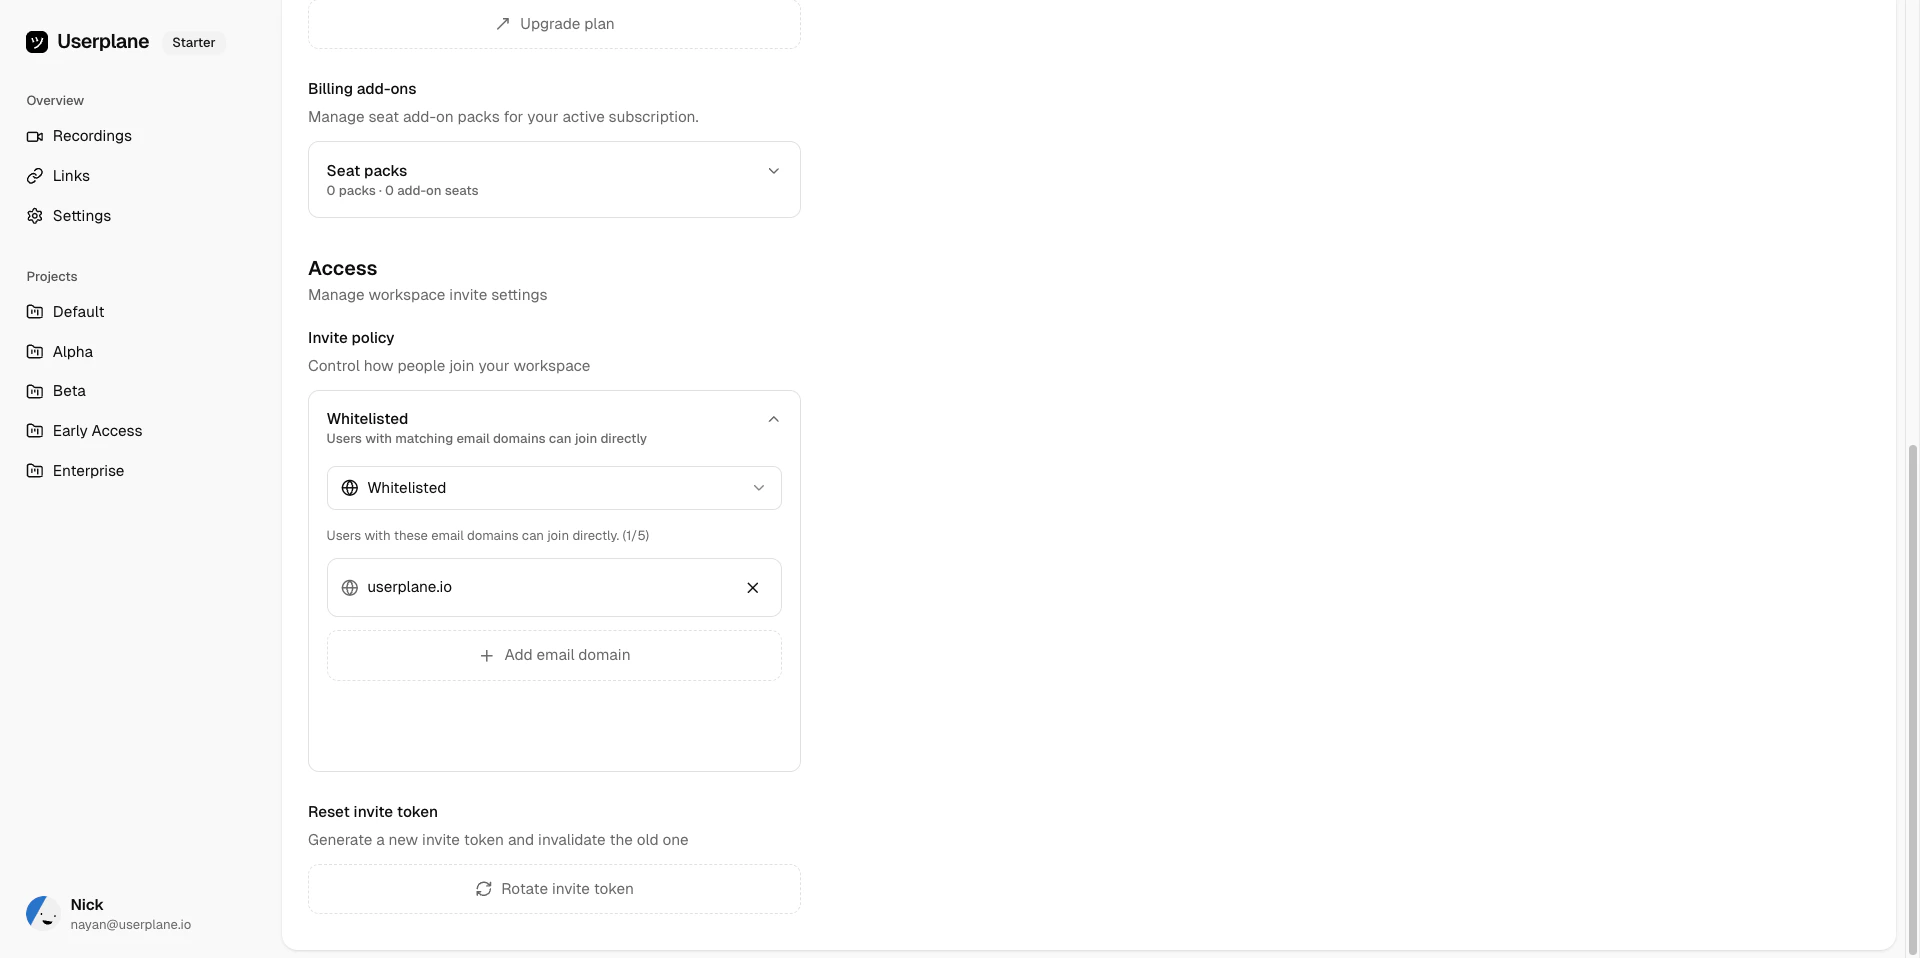
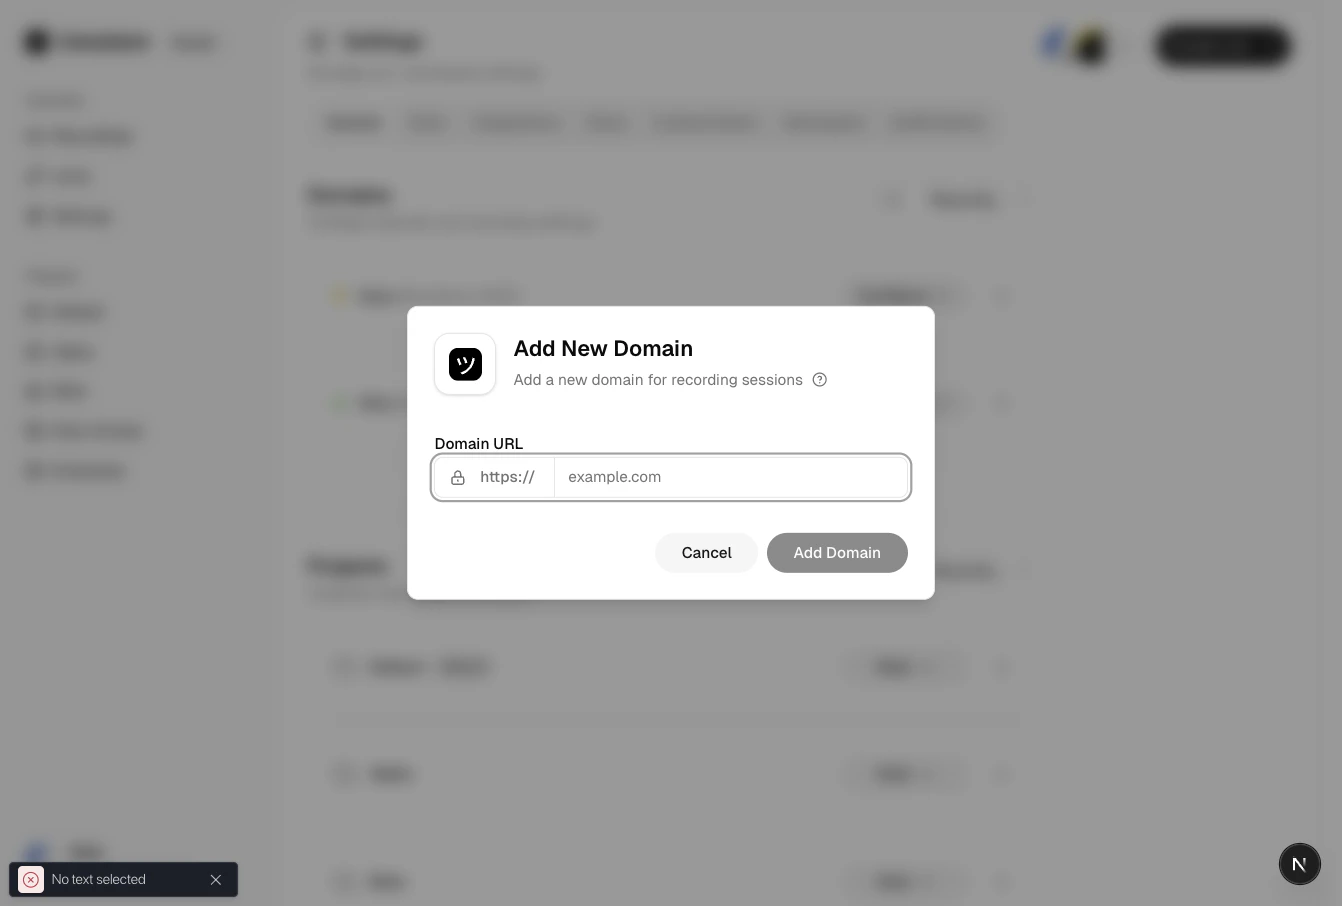
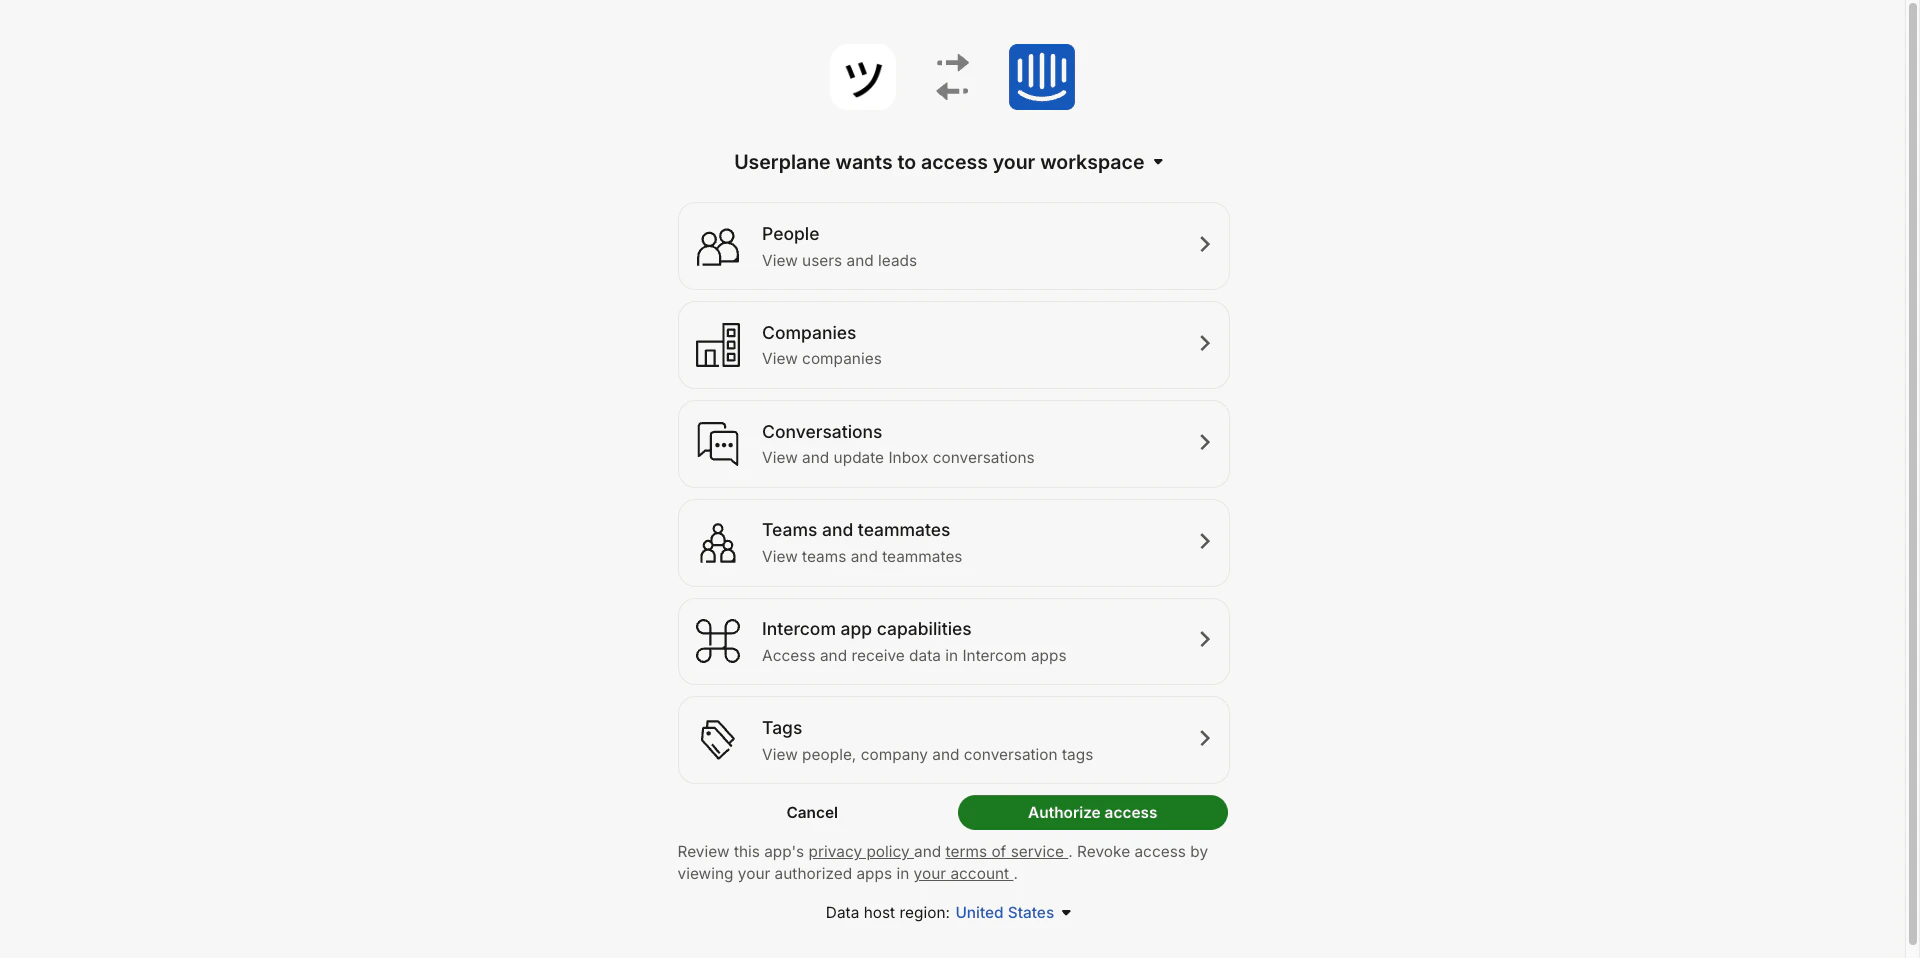
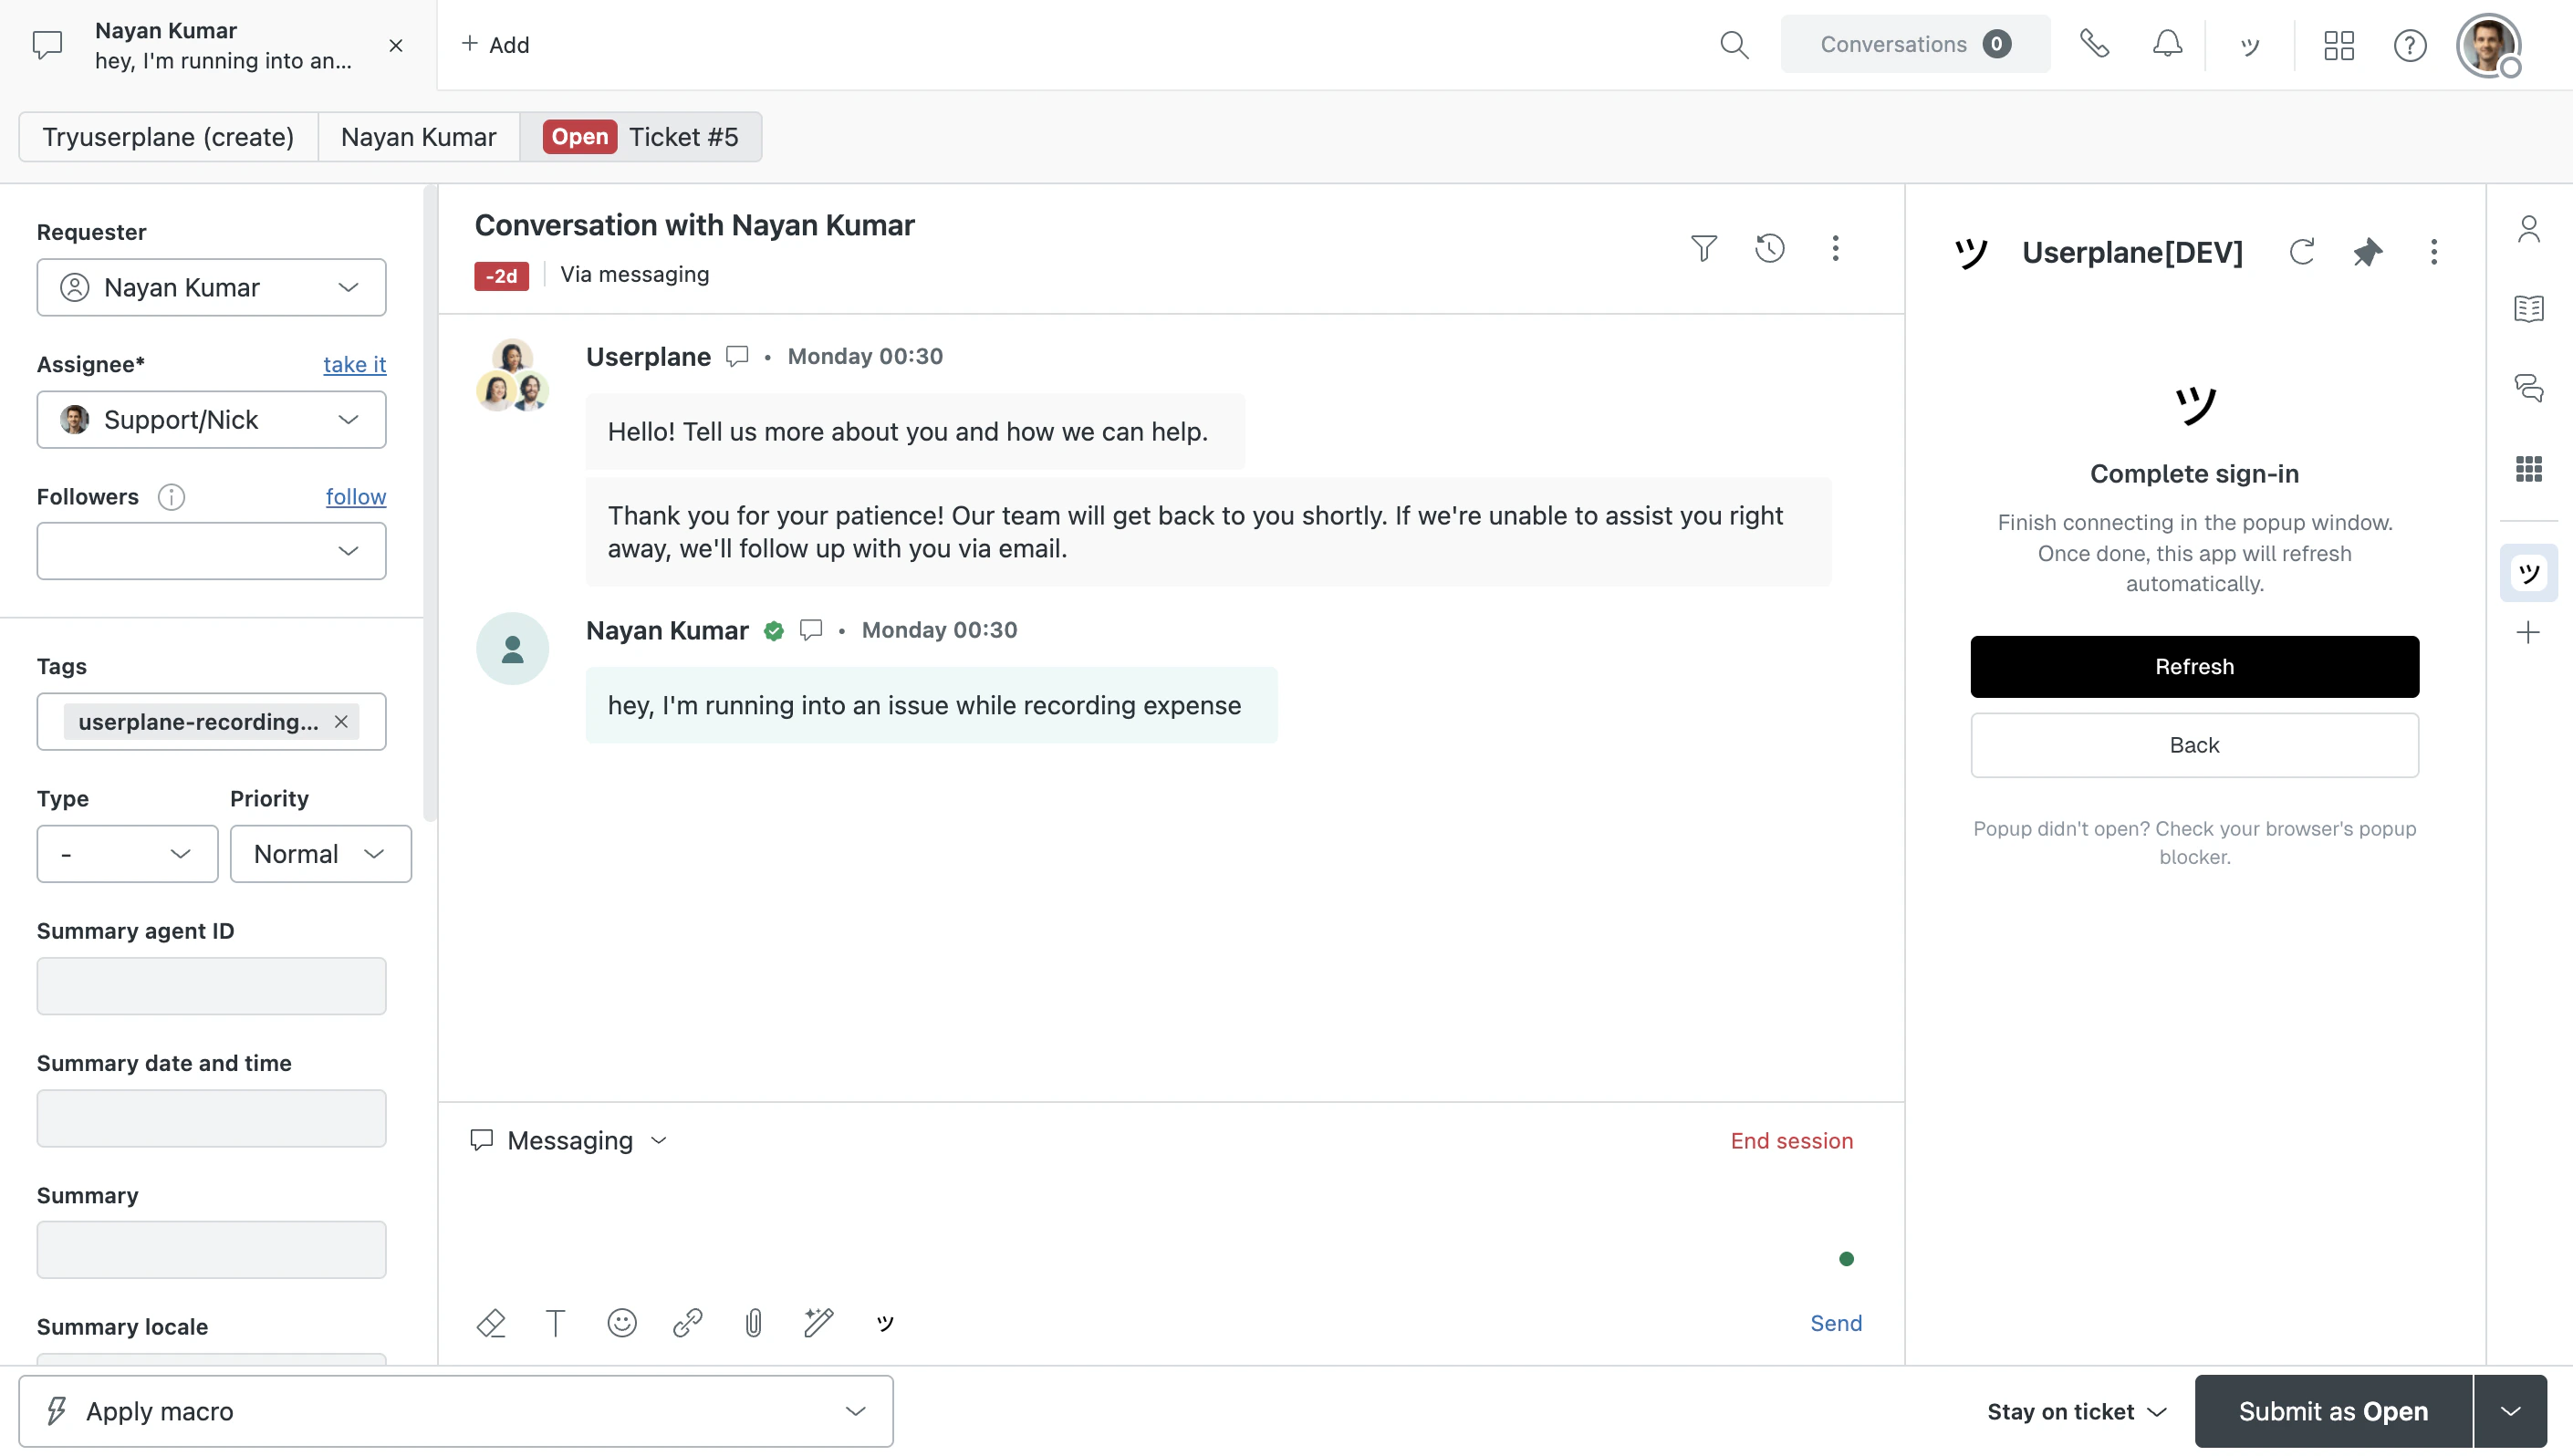
Domain verification enables first-party branded recording links — customers see your domain, not Userplane’s. Userplane verifies ownership by checking that its embed script is present on your site.
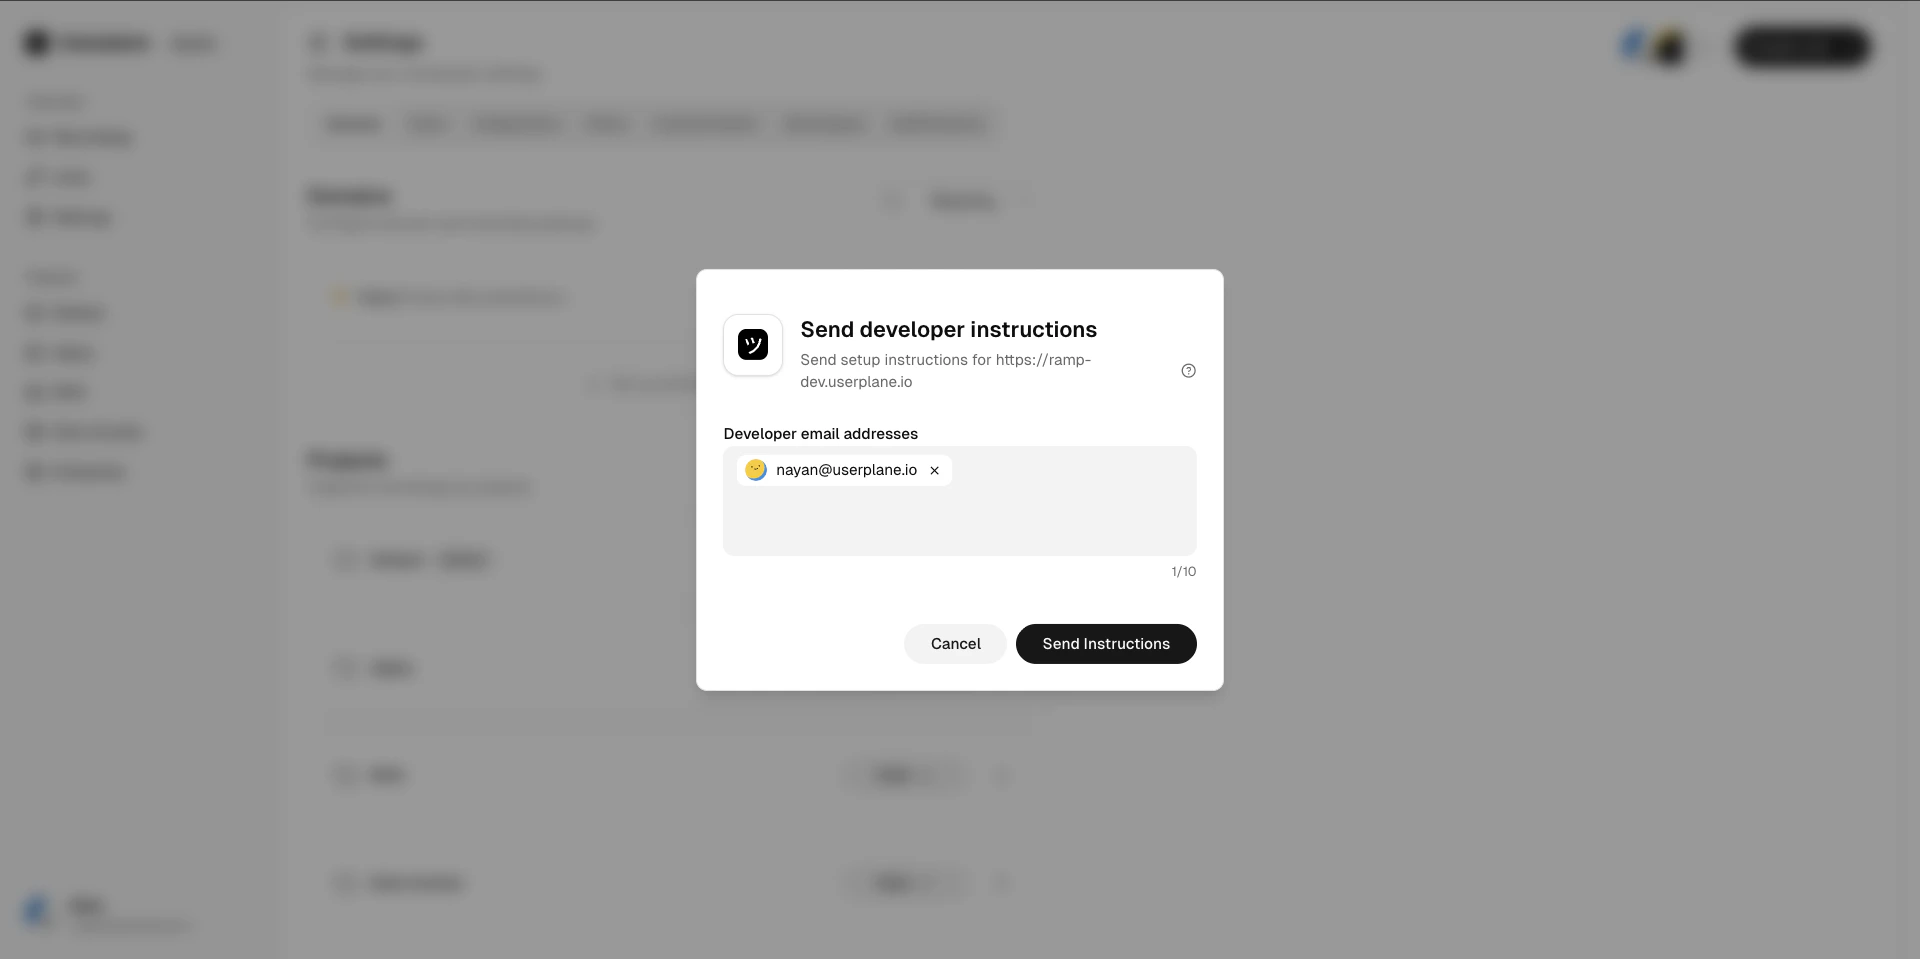
Click Send to Developer to email the script install instructions to your engineering team.
They need to add the Userplane embed script to a publicly accessible page on the domain.
Domain verification
3
Verify
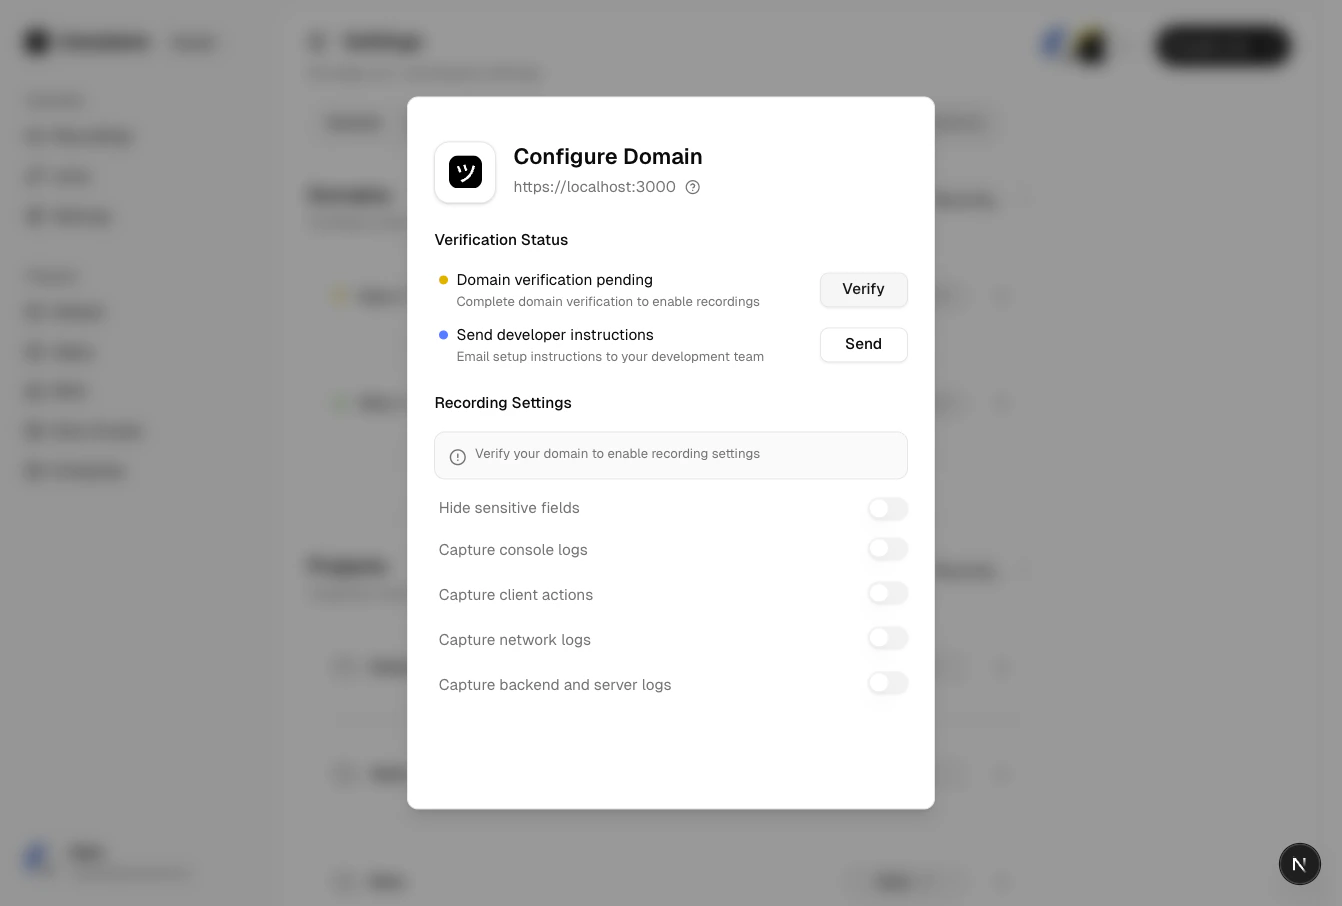
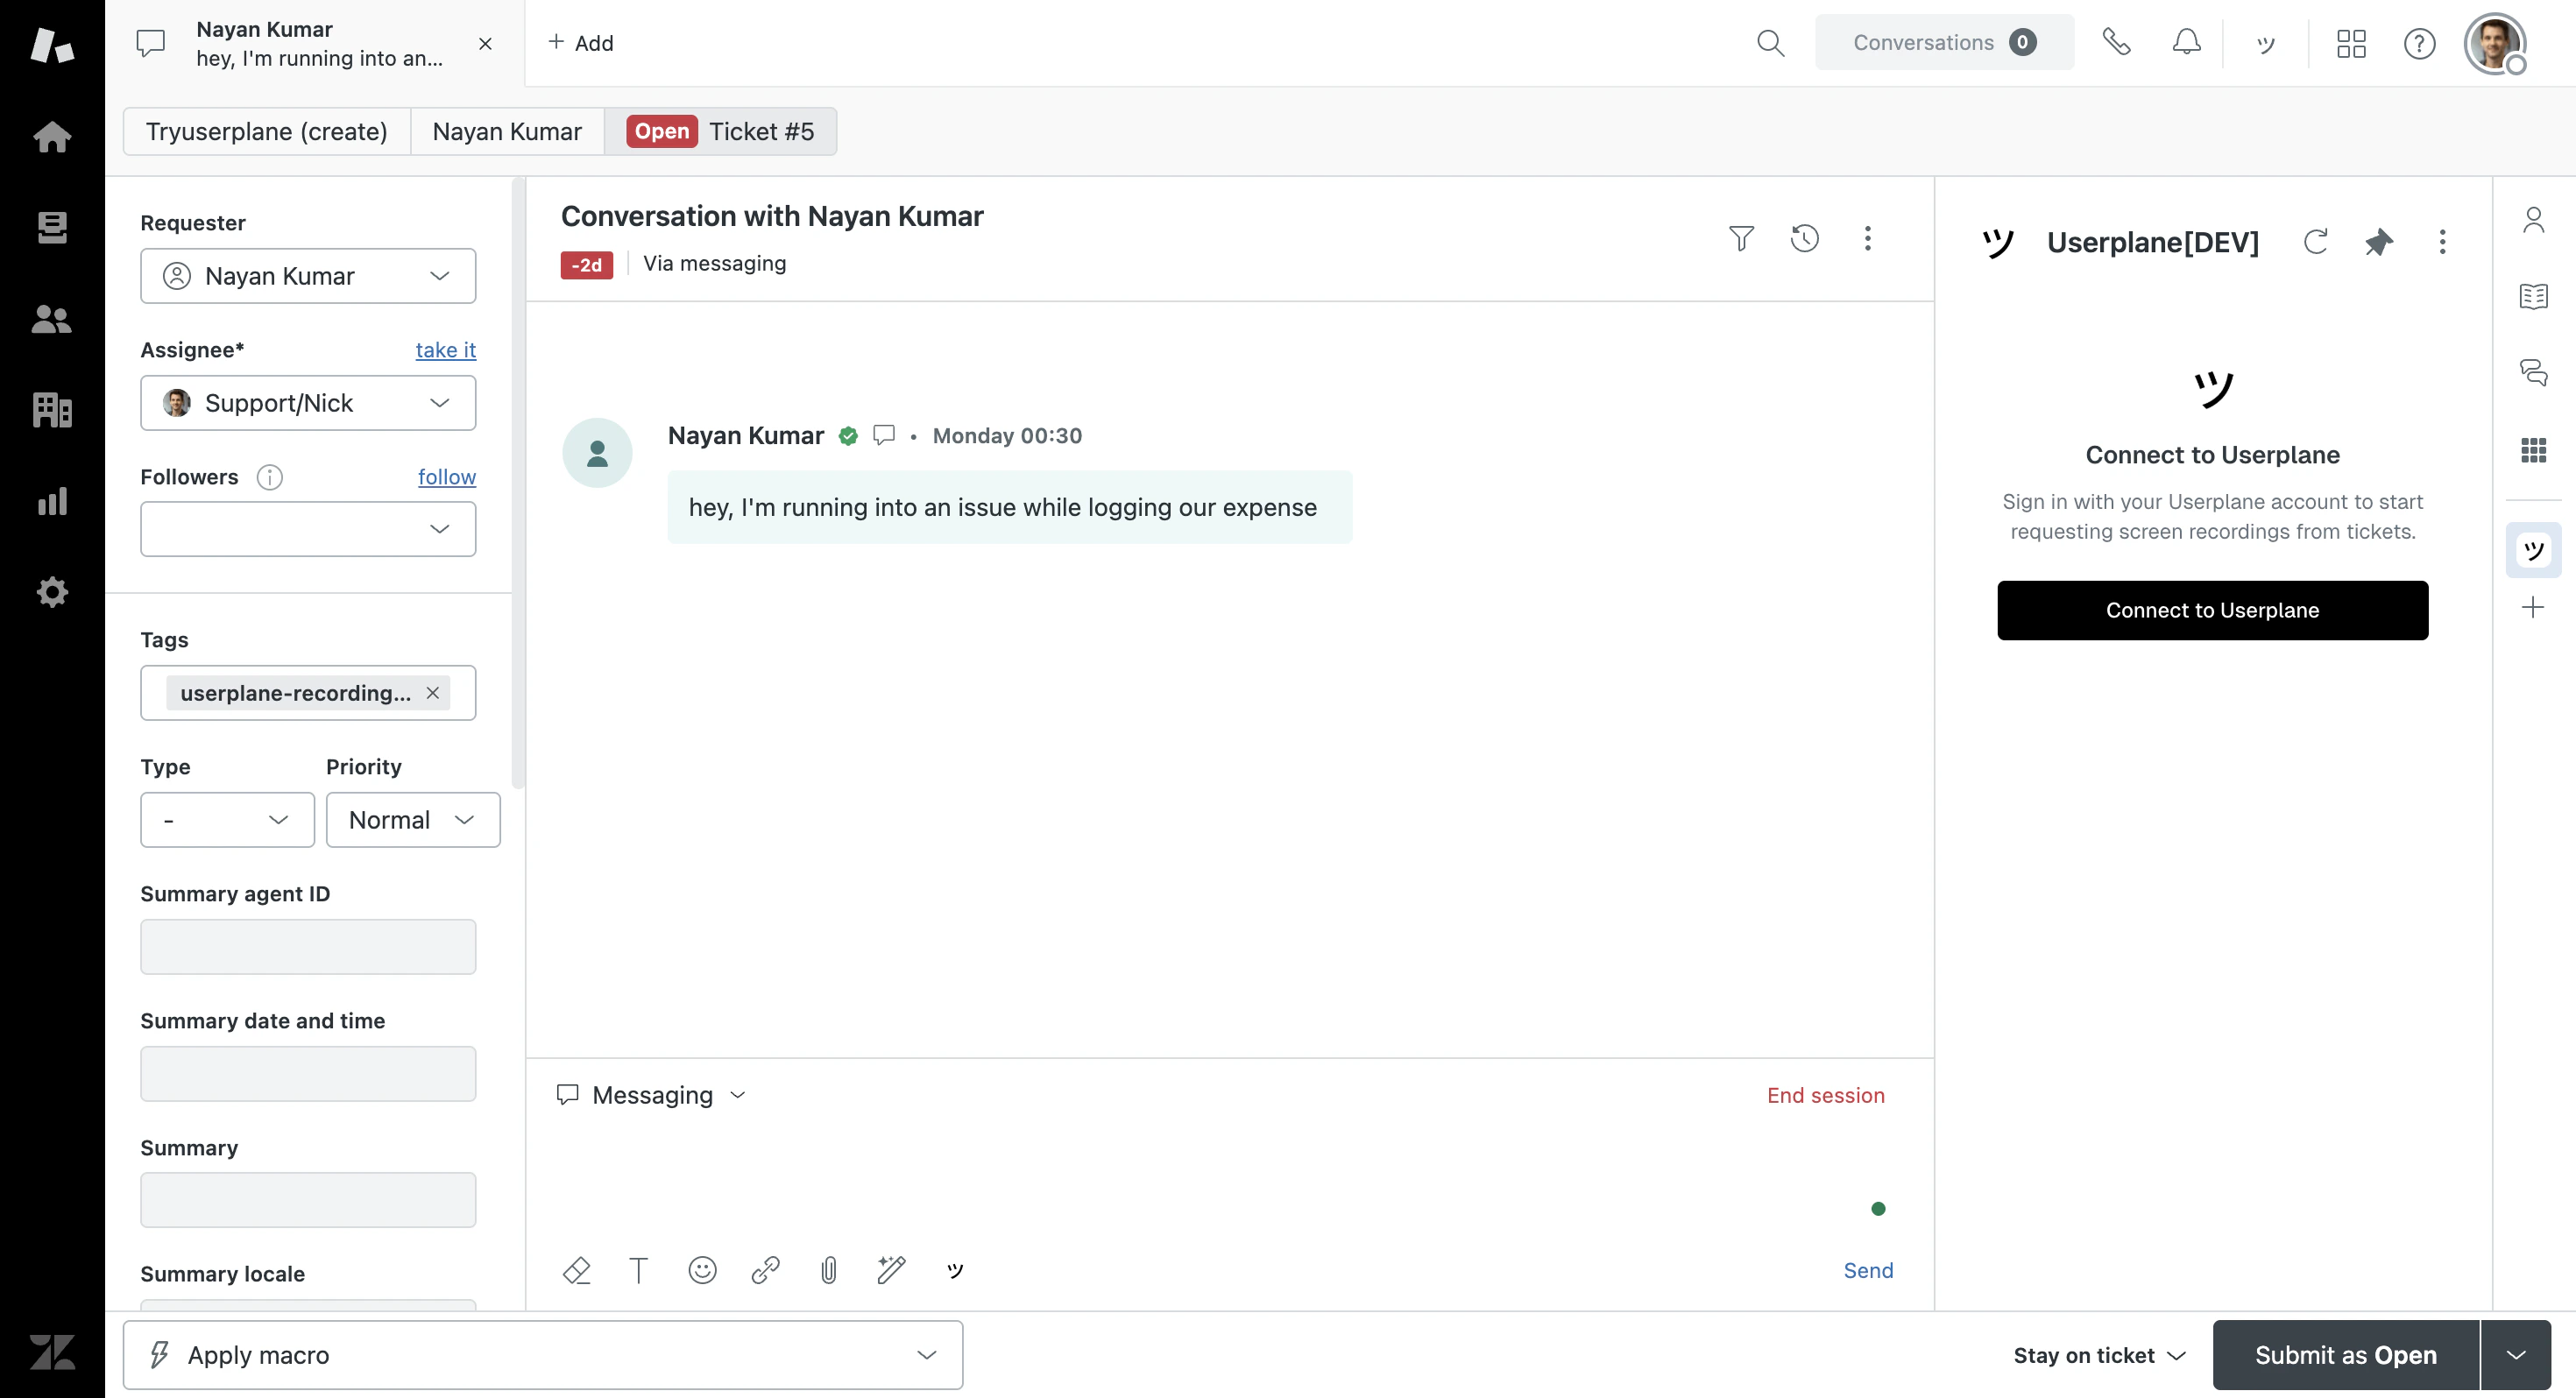
Once your developer confirms the script is deployed, click Verify in the dashboard.
Verification runs immediately. The verification token expires after 5 minutes, so coordinate
with your developer before clicking Verify.
Domain verification
4
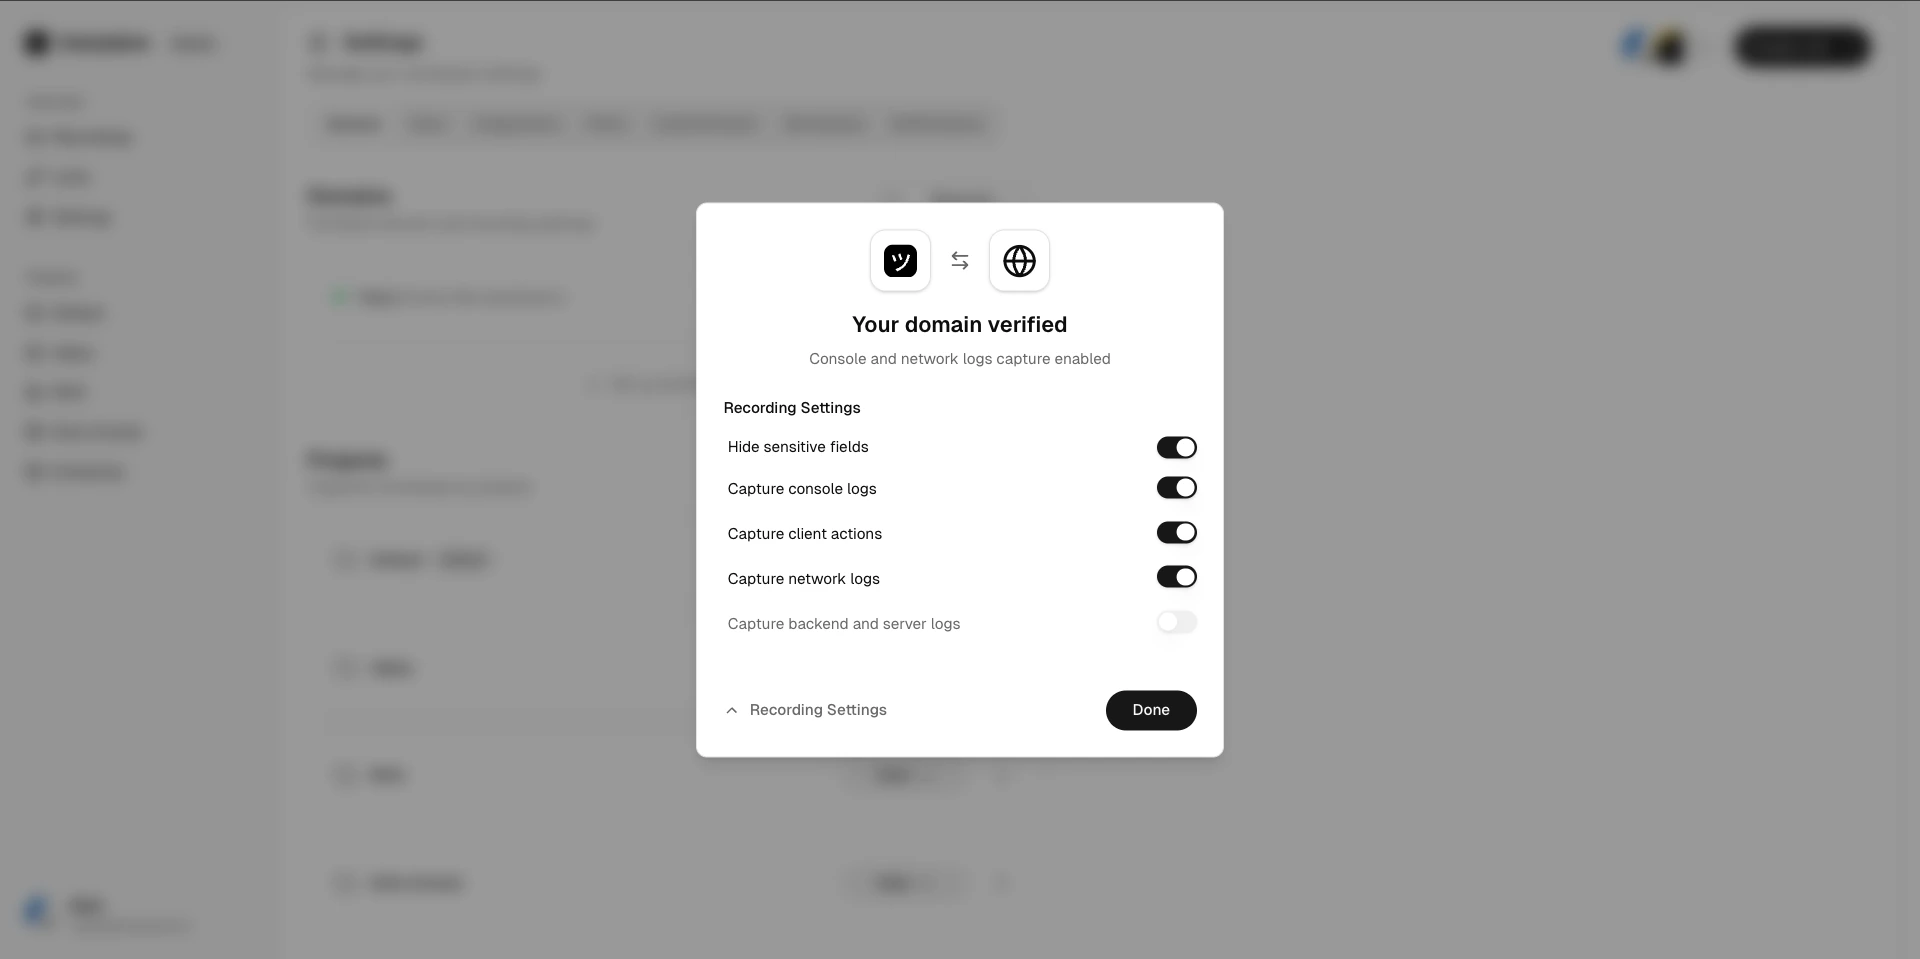
Configure recording preferences
Once verified, set per-domain defaults: which data to capture (console, network, audio), link
expiry, and branding.
Before going live, make sure sensitive customer data doesn’t appear in recordings.
1
Review what gets captured
Once enabled, recordings include screen video, console logs, and network requests.
2
Set up redaction rules
Go to Recording Link Settings and configure: -
URL patterns to exclude from network capture - Request header redaction for auth tokens
CSS selector masking to blur sensitive DOM elements in the video
3
Coordinate with your engineering team
For deeper redaction (e.g., redacting specific fields in API responses), your engineering team
can use the SDK’s privacy controls. Point them to the Developer
guide.