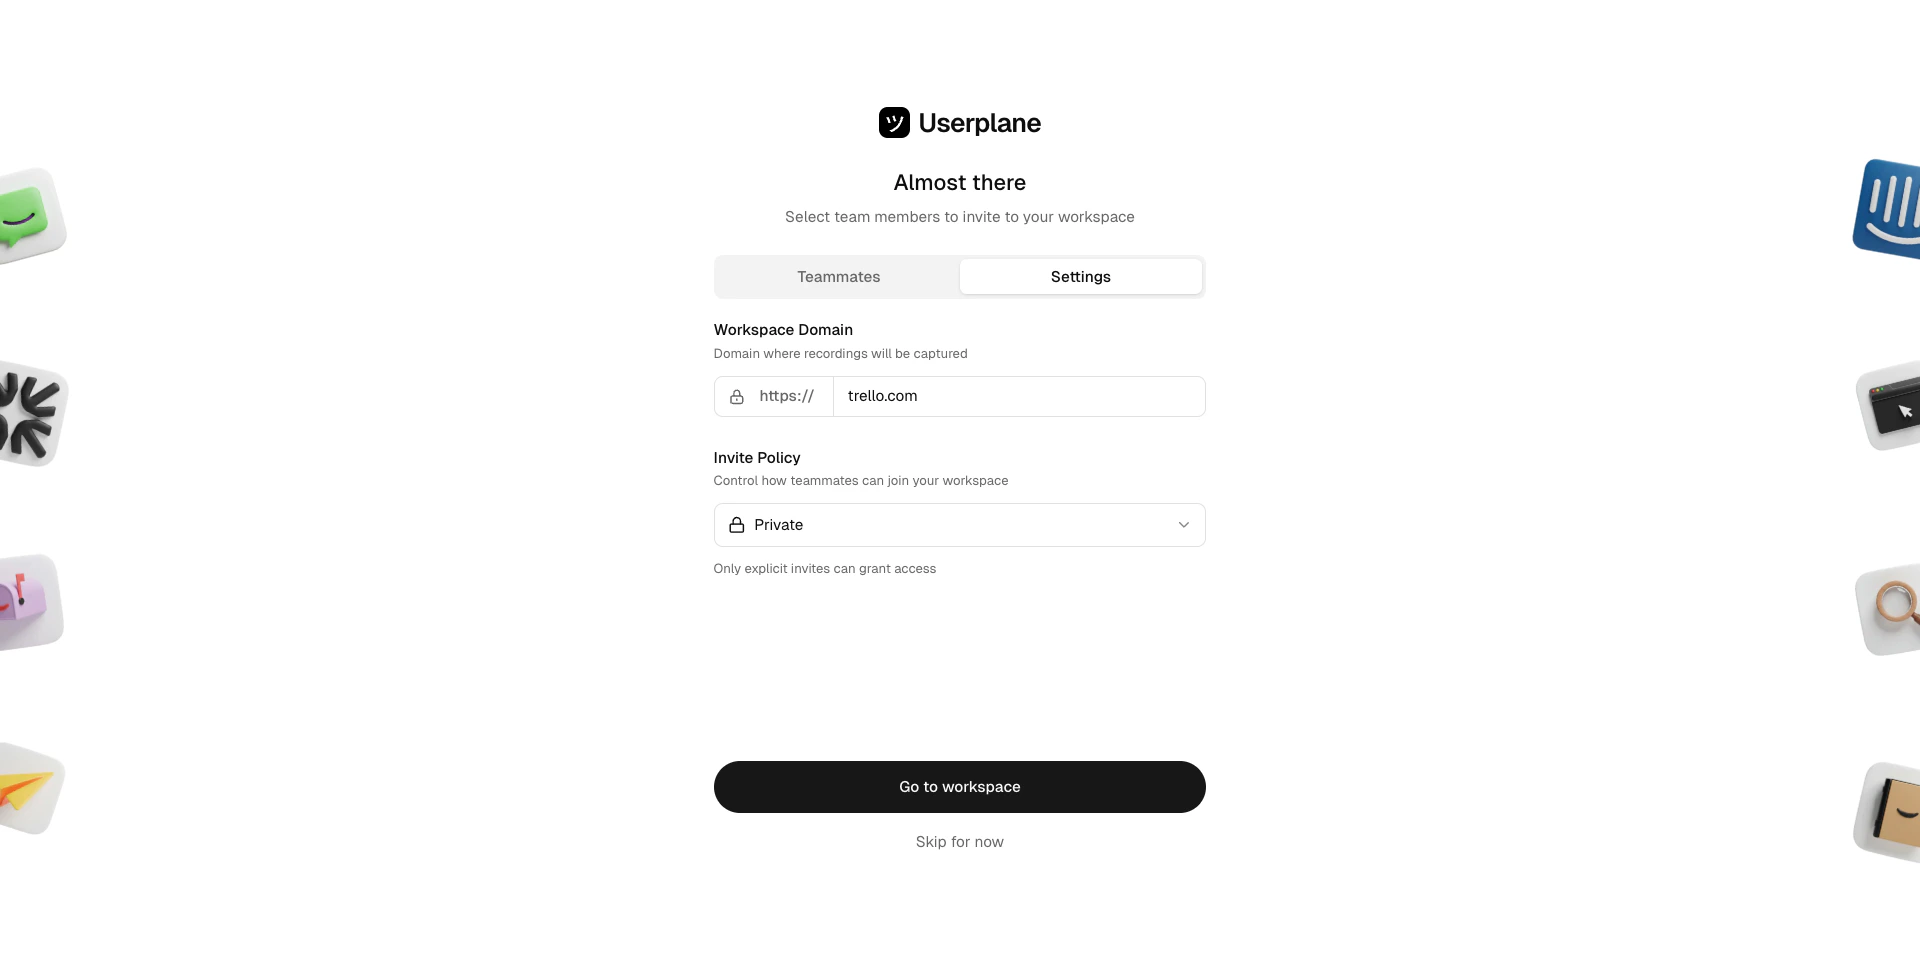
Create a workspace, invite your team, and configure basic settings
A workspace is where your team manages recording links, reviews recordings, and configures settings. Every Userplane account can create up to 3 workspaces.
Once created, you become the owner of the workspace and can manage all settings. You can now
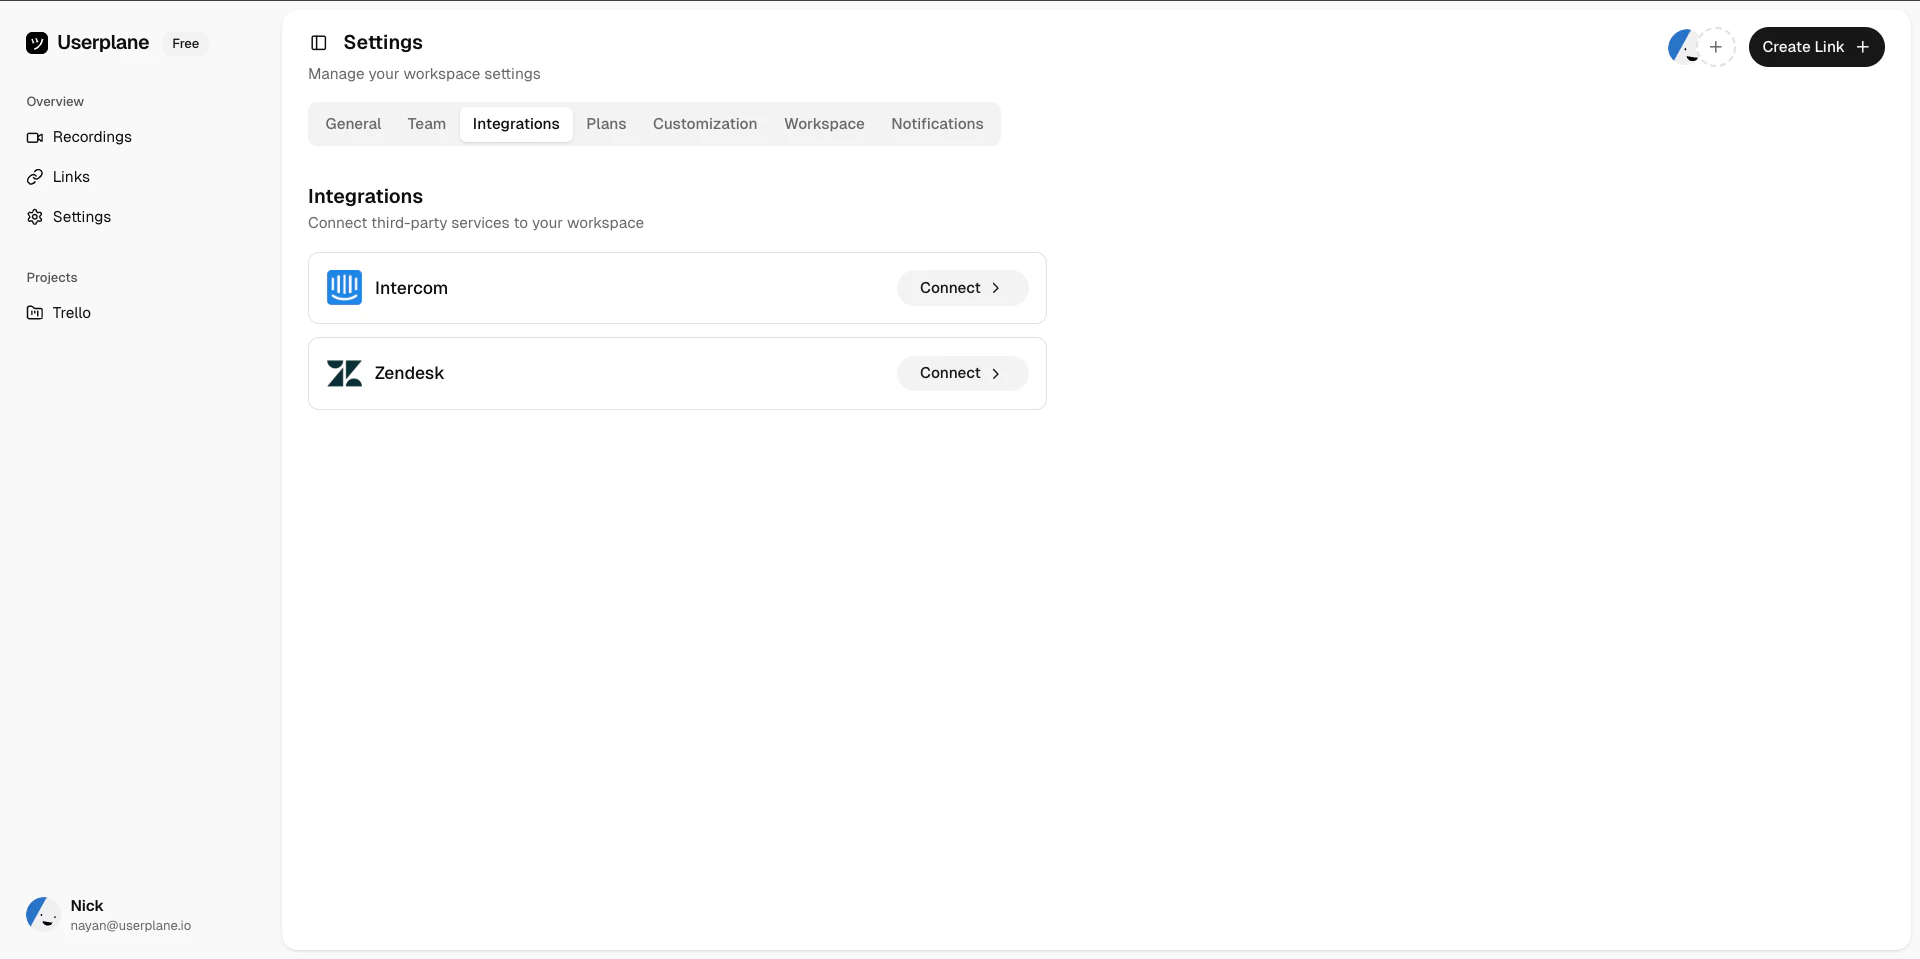
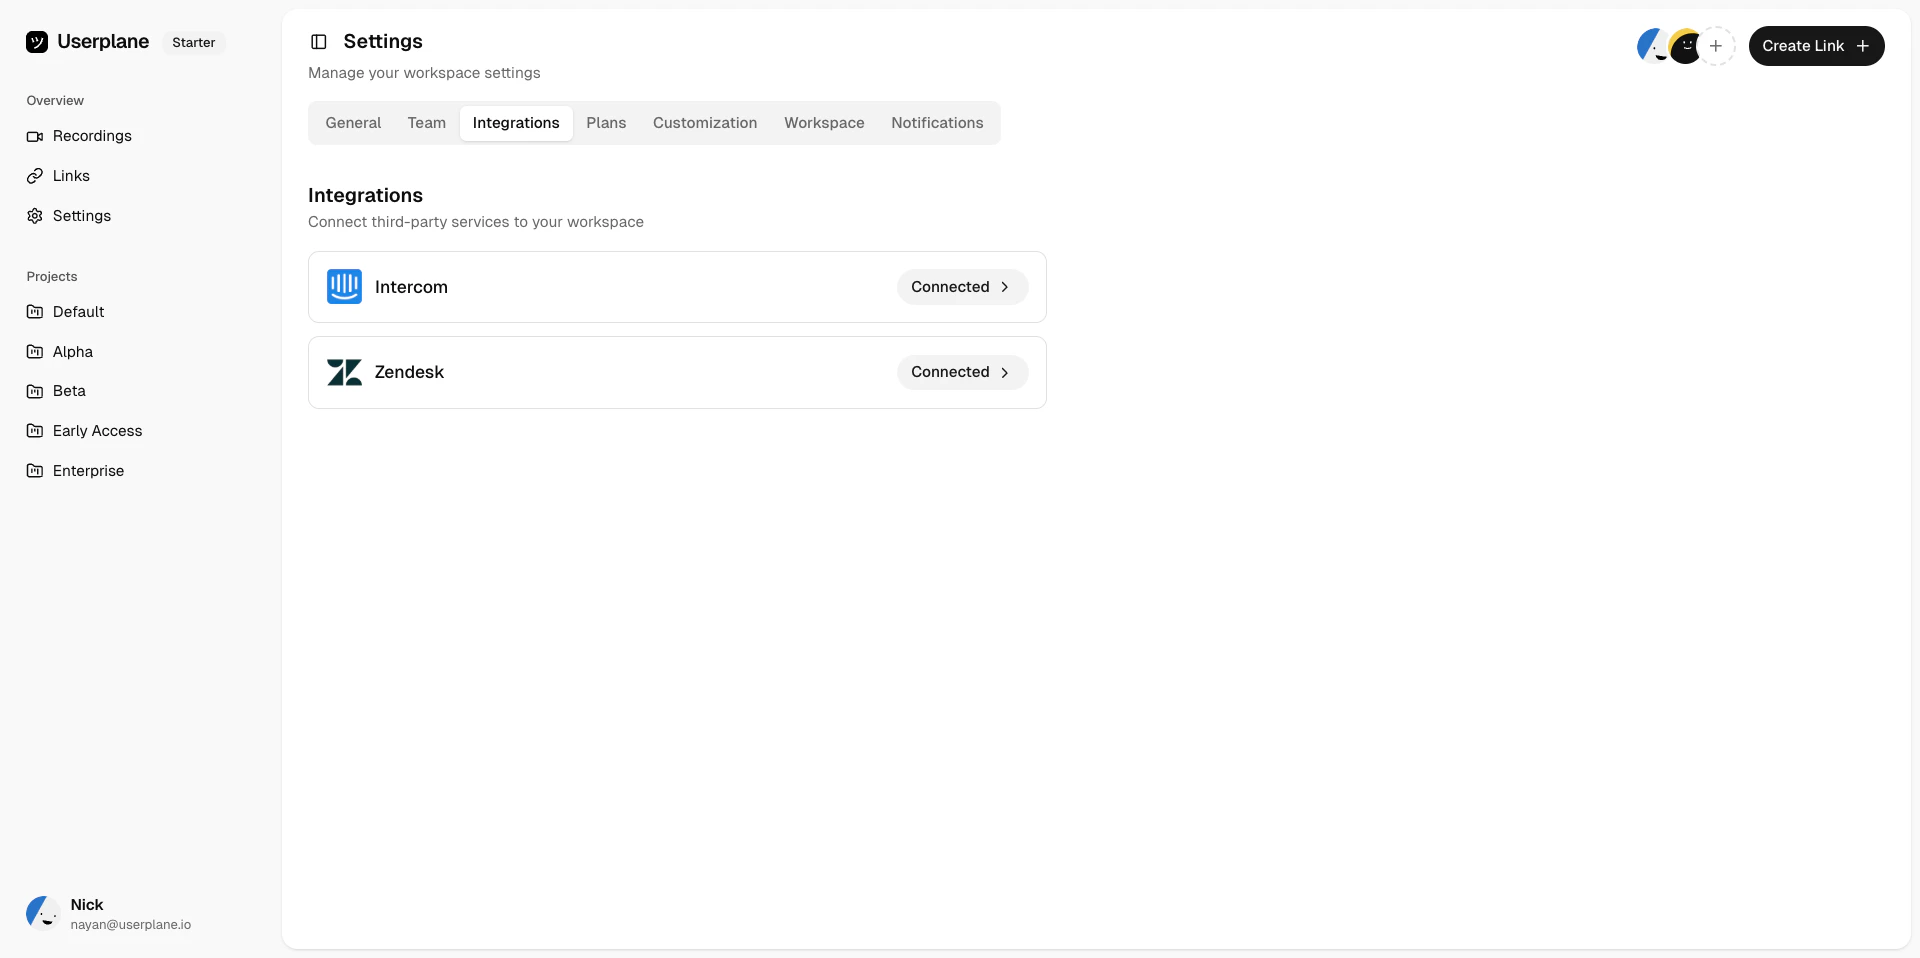
invite teammates and connect integrations like Intercom, Zendesk, or Slack.
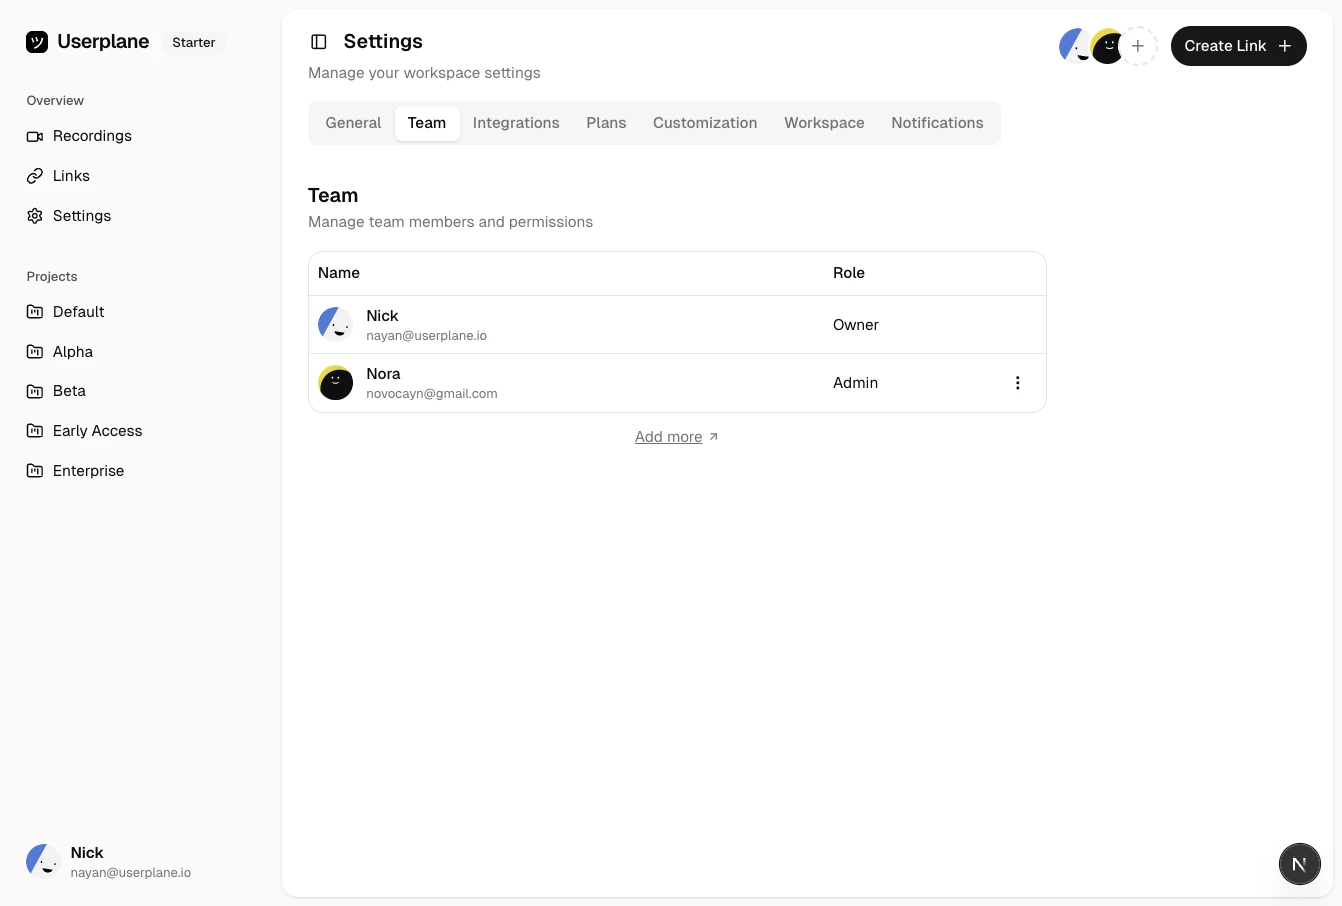
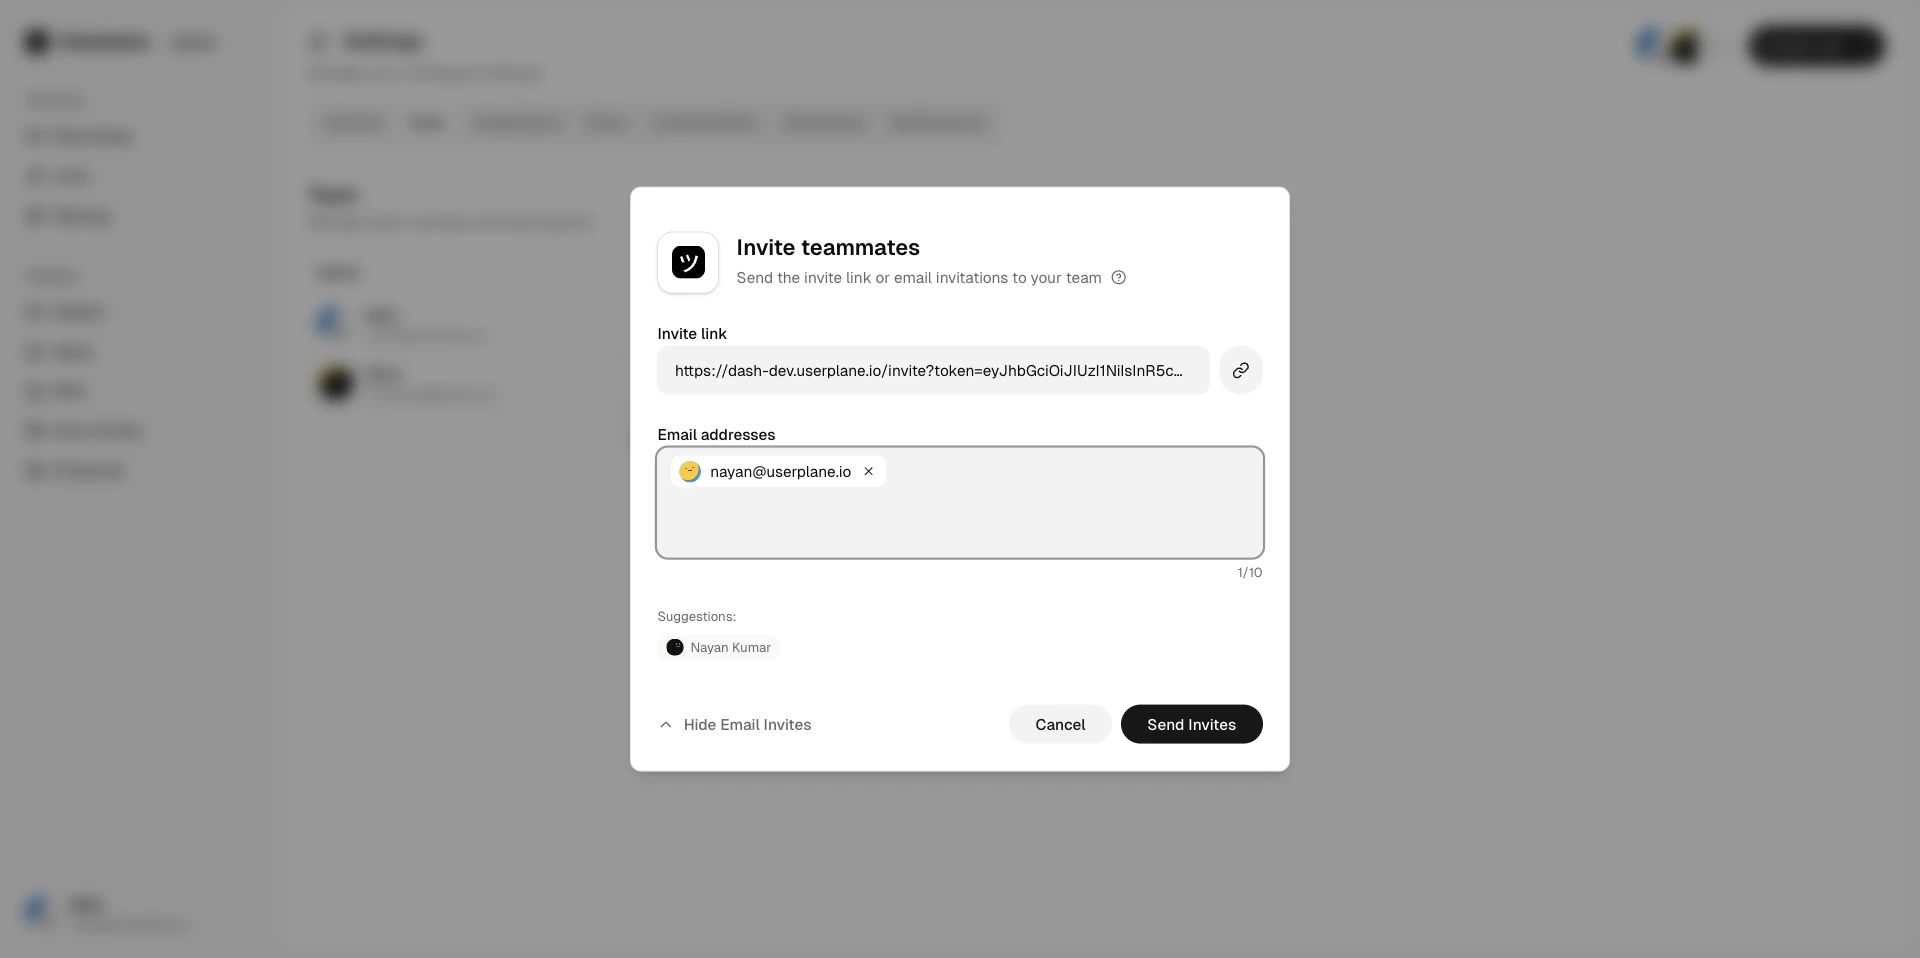
Click Invite Member, enter the email address of the person you want to invite, then click Send Invite.If you’ve connected Intercom, you’ll see recommendations from your Intercom workspace.
Invite teammates
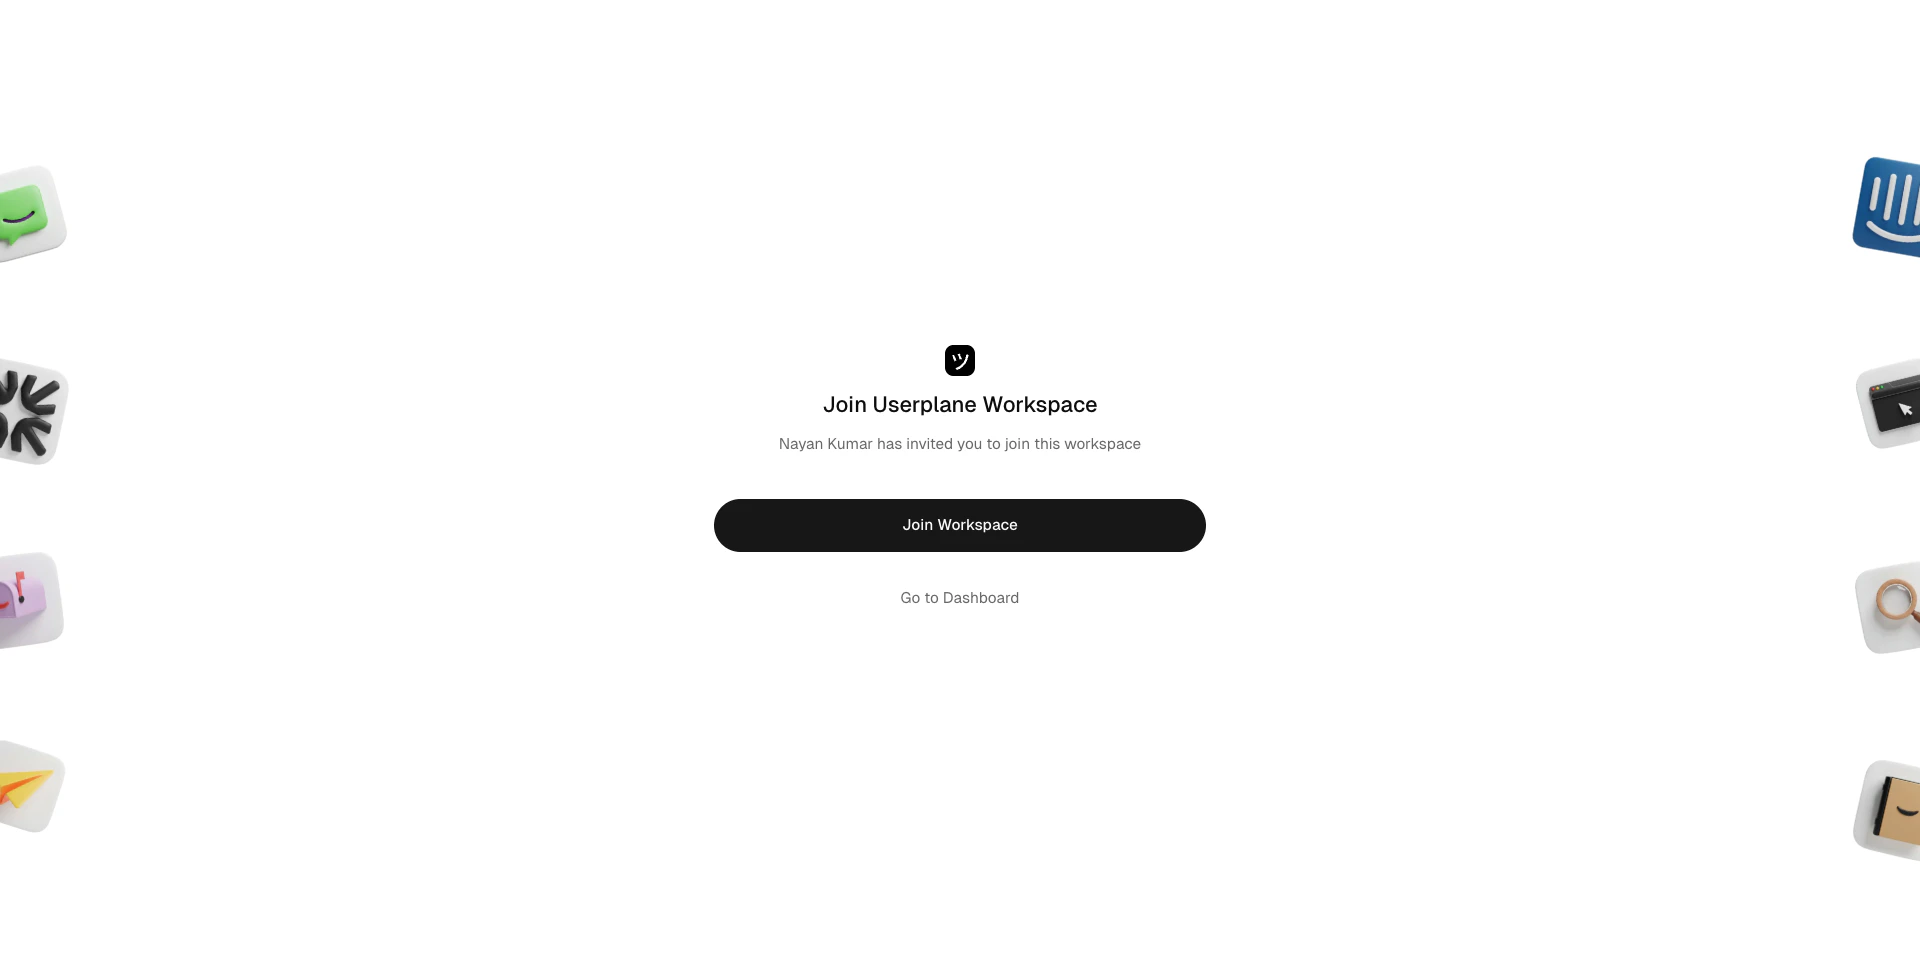
Accepting a workspace invite
Invited users will receive an email with a link to join. See Team Management for more on managing members.
Userplane integrates with Intercom, Zendesk, and Slack so your support agents can create recording links and view recordings directly from conversations and tickets.