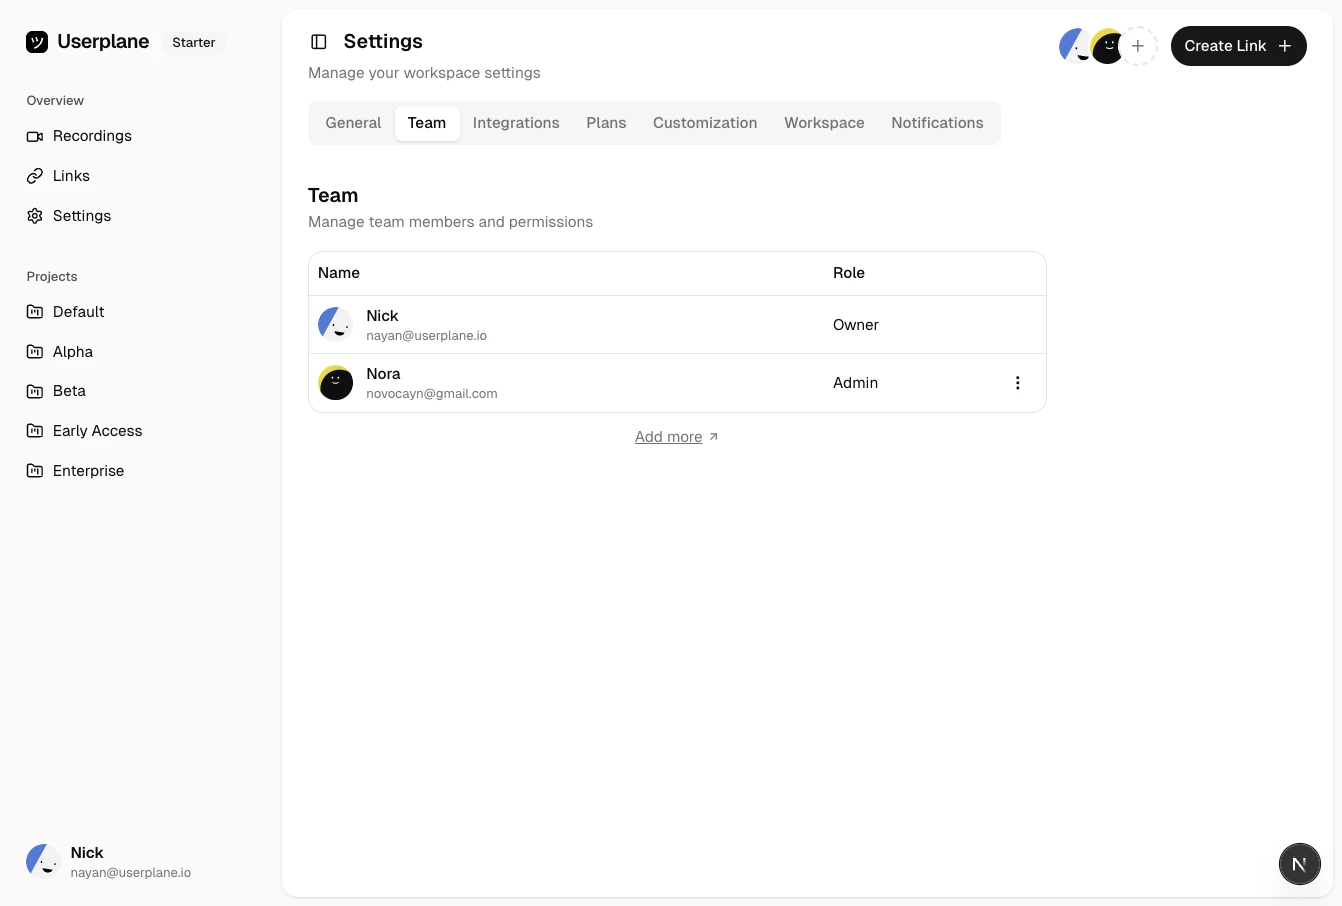
Your workspace admin will send you an invite link via email. Click it to create your account and join the workspace. If you haven’t received an invite, ask your admin to send one from Workspace Settings > Team.
Go to Team settings
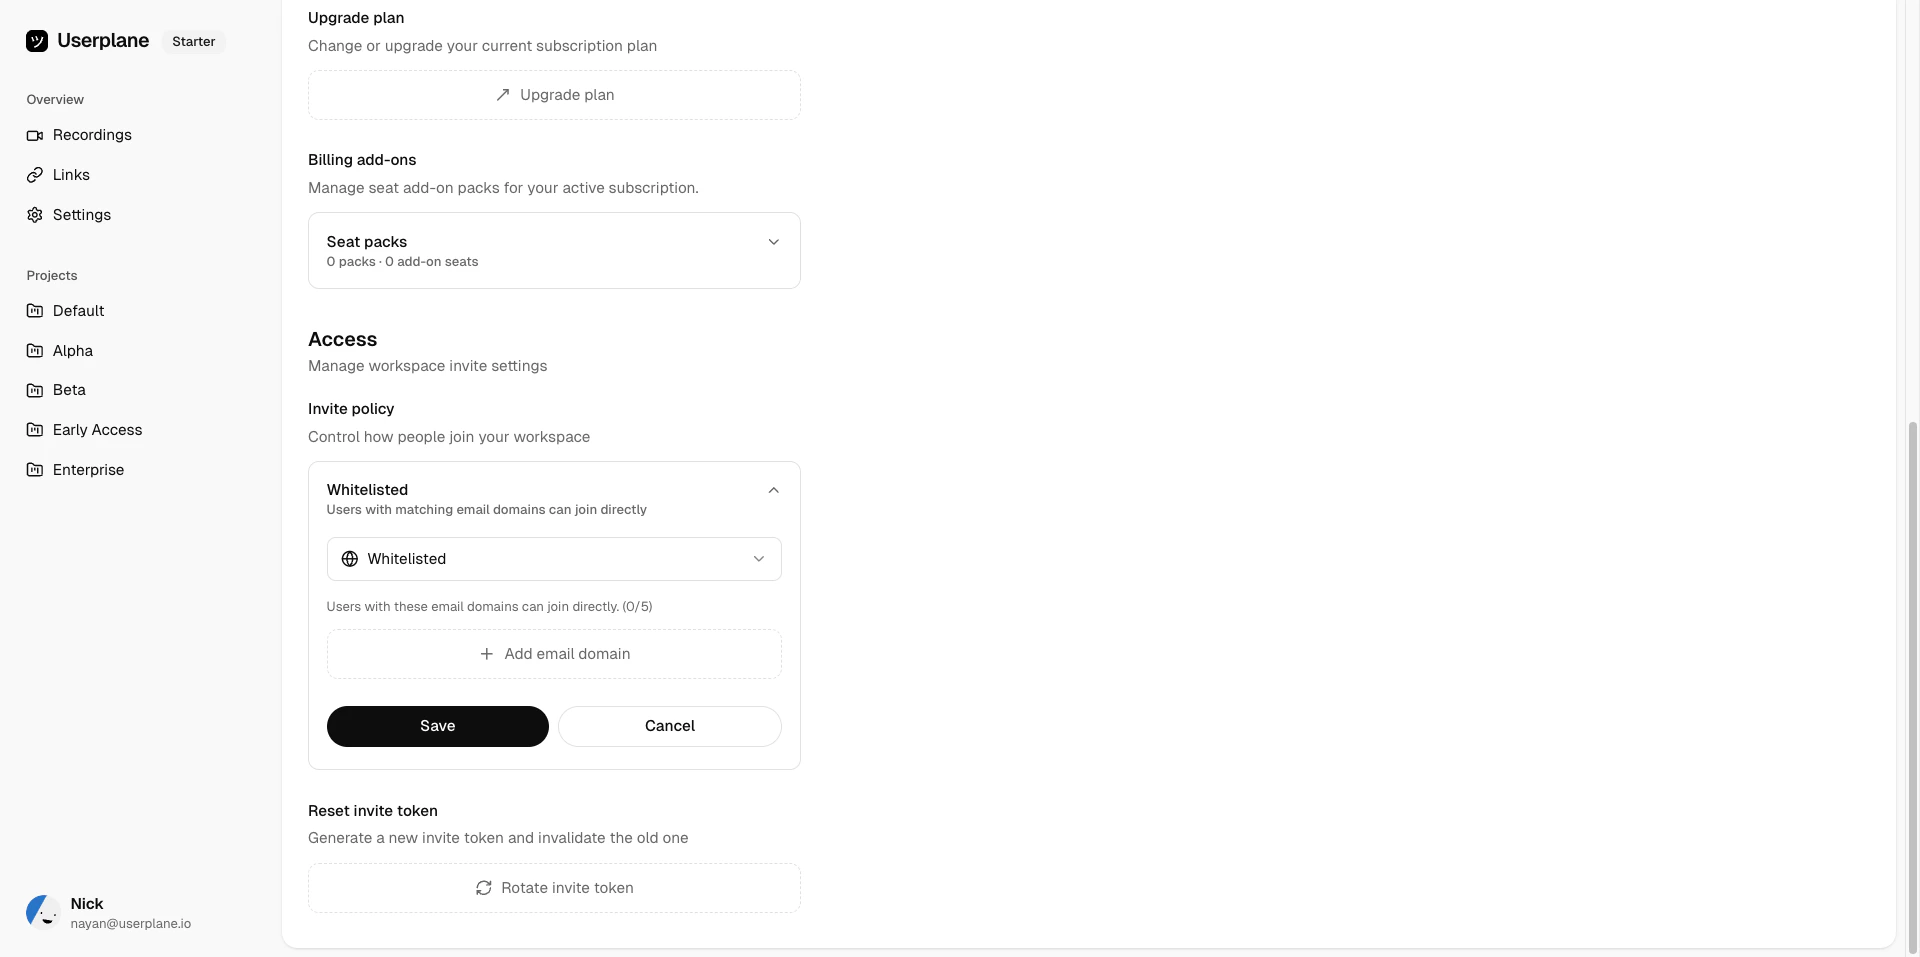
If your company has domain whitelisting enabled, you may be able to join directly with your work
email — no invite needed.
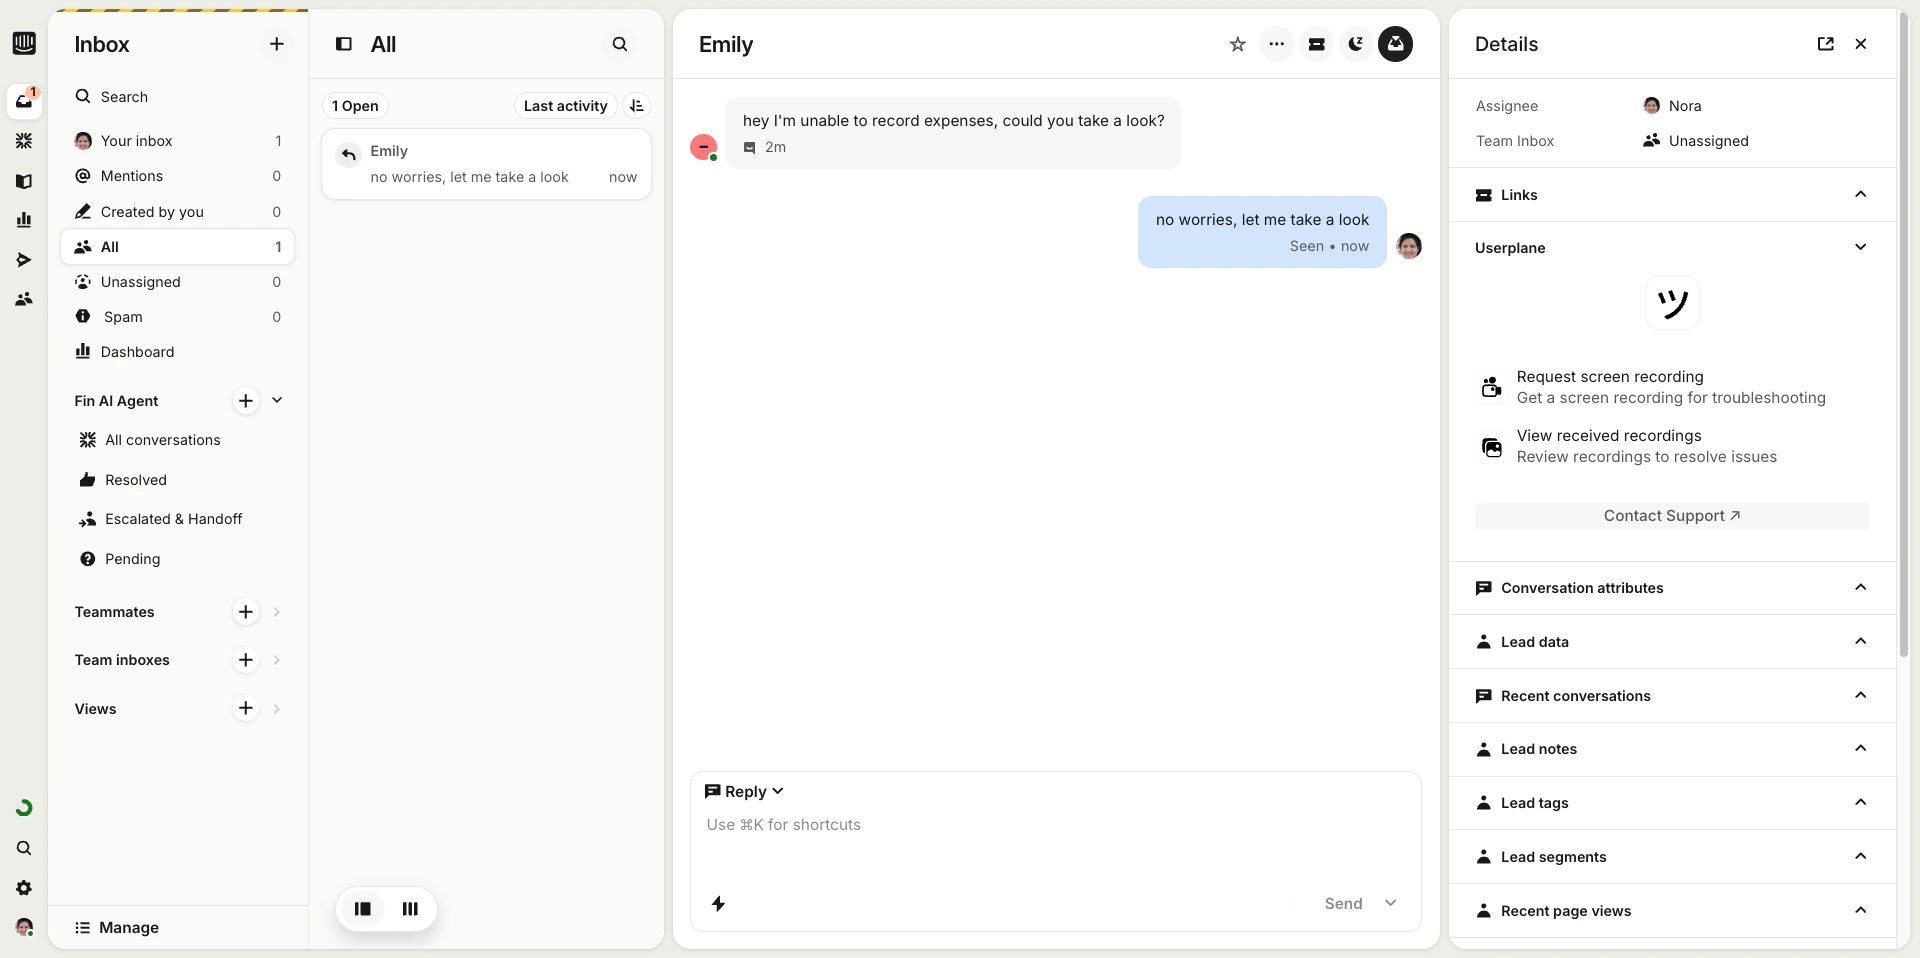
Go to the Intercom conversation where the customer is reporting an issue.
2
Create a recording link
In the Userplane sidebar app, click Create Link. Choose a project, add a reference (like a
ticket number), and click Create.
Create link from Intercom sidebar
3
Send the link
Copy the link and paste it into the conversation — or use an Intercom shortcut to insert it in
one click.
Create link from Intercom sidebar
4
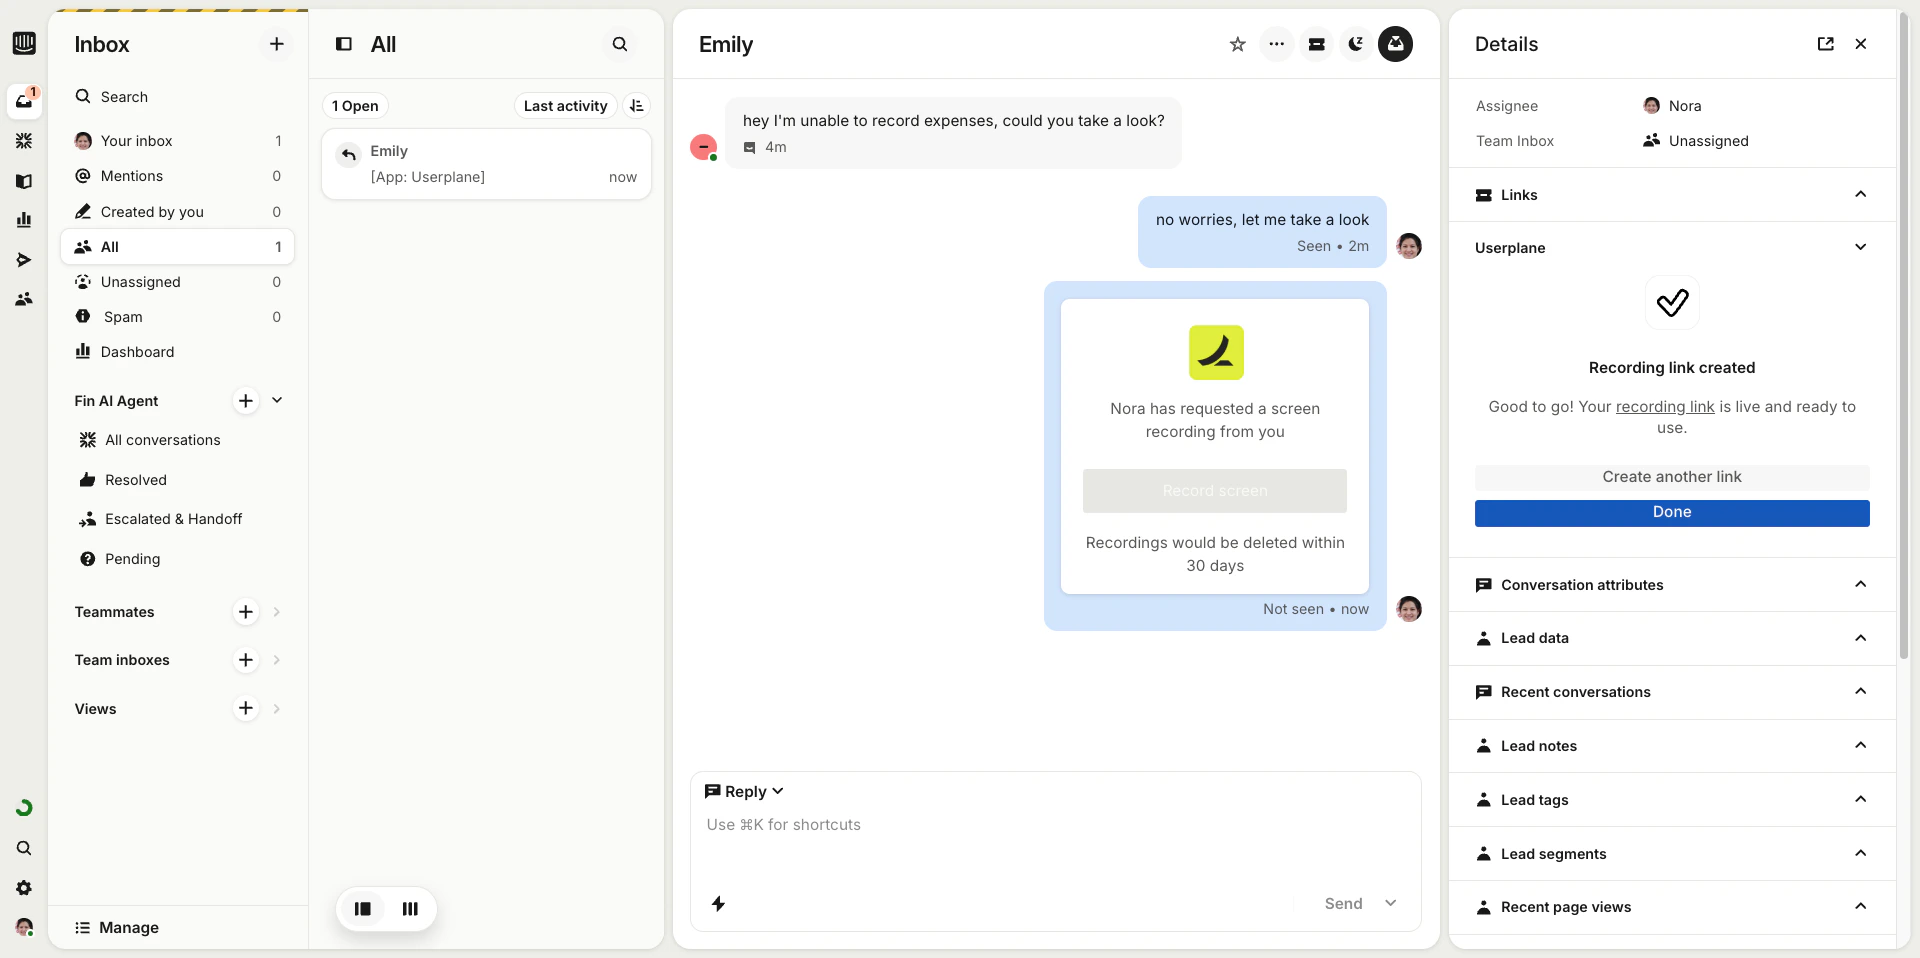
Customer records
The customer clicks the link, records their screen, and submits. No installs required on their
end.
Create link from Intercom sidebar
Use Intercom Shortcuts (Cmd+K / Ctrl+K) to insert a recording link into the conversation
without opening the sidebar. See Intercom Shortcuts for setup.
1
Open a ticket
Go to the Zendesk ticket where the customer is reporting an issue.
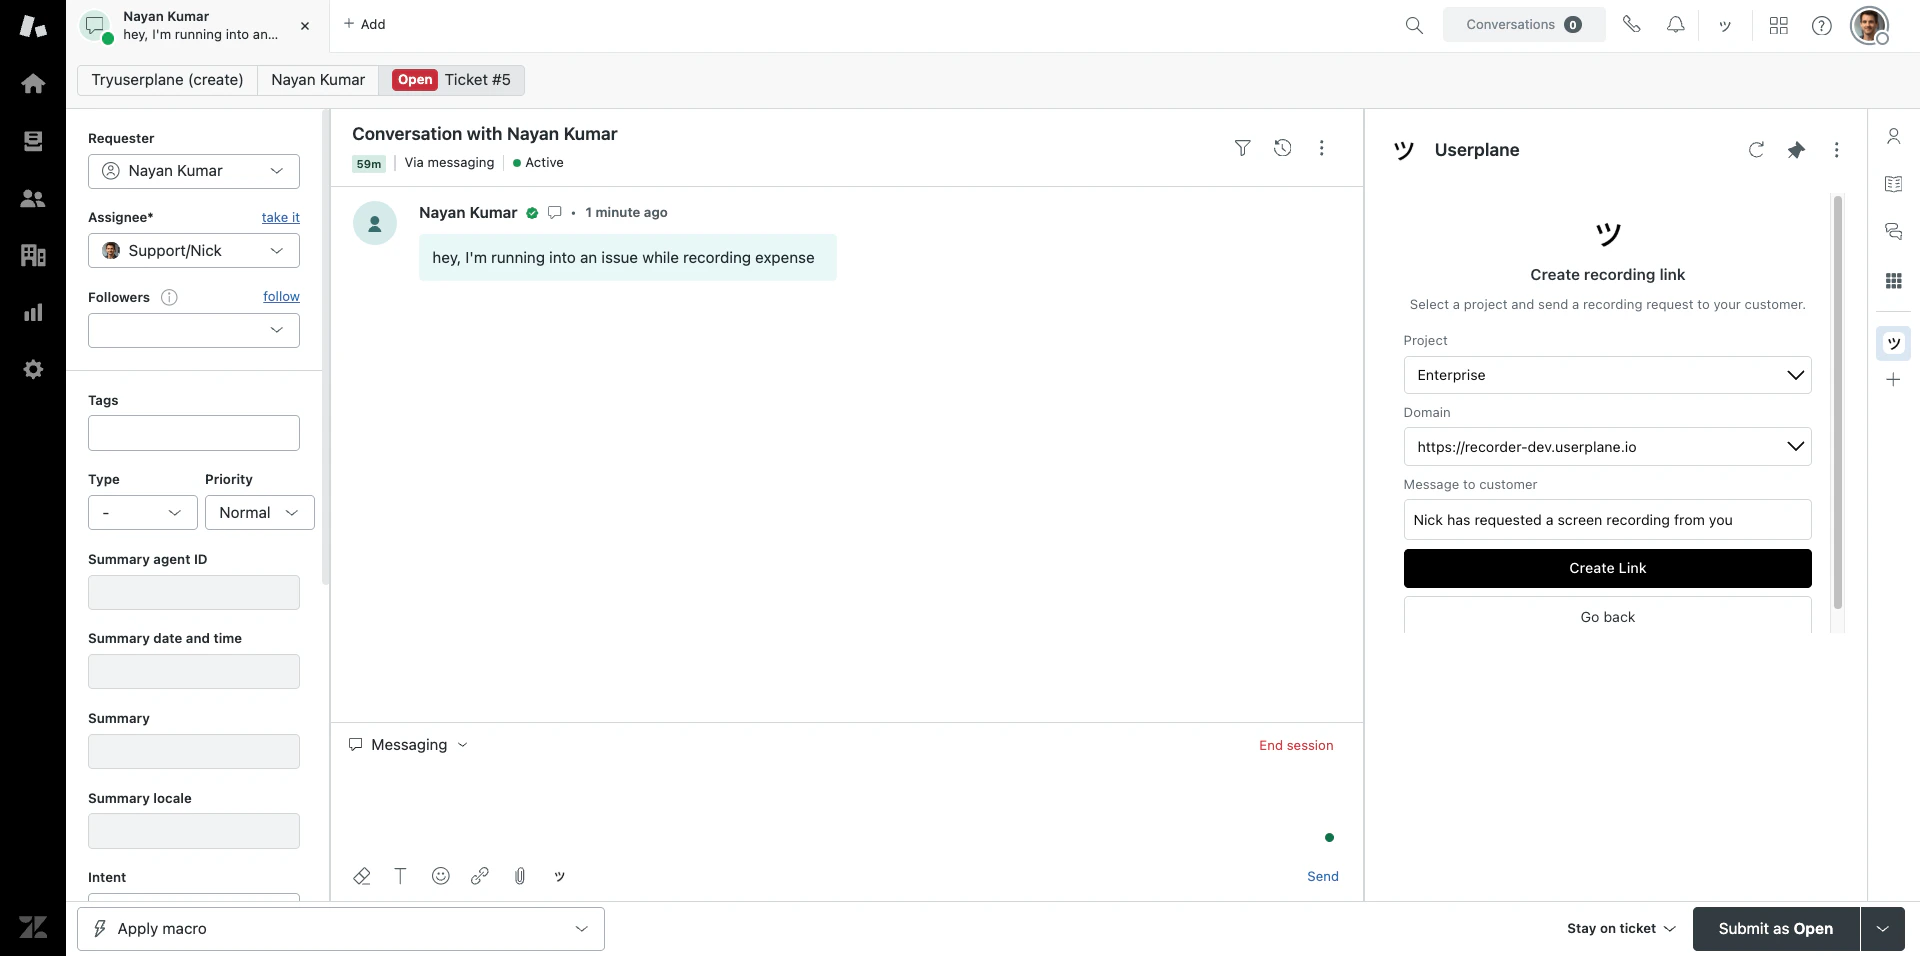
2
Create a recording link
Click Userplane in the ticket sidebar and click Request Recording. Select a project and
domain, then click Create Link.
Create link from Zendesk sidebar
3
Share the link
The recording link is ready to share with the customer. You can also use the ticket editor button to insert a link directly into your reply draft.
4
Customer records
The customer clicks the link, records their screen, and submits. No installs required on their
end.
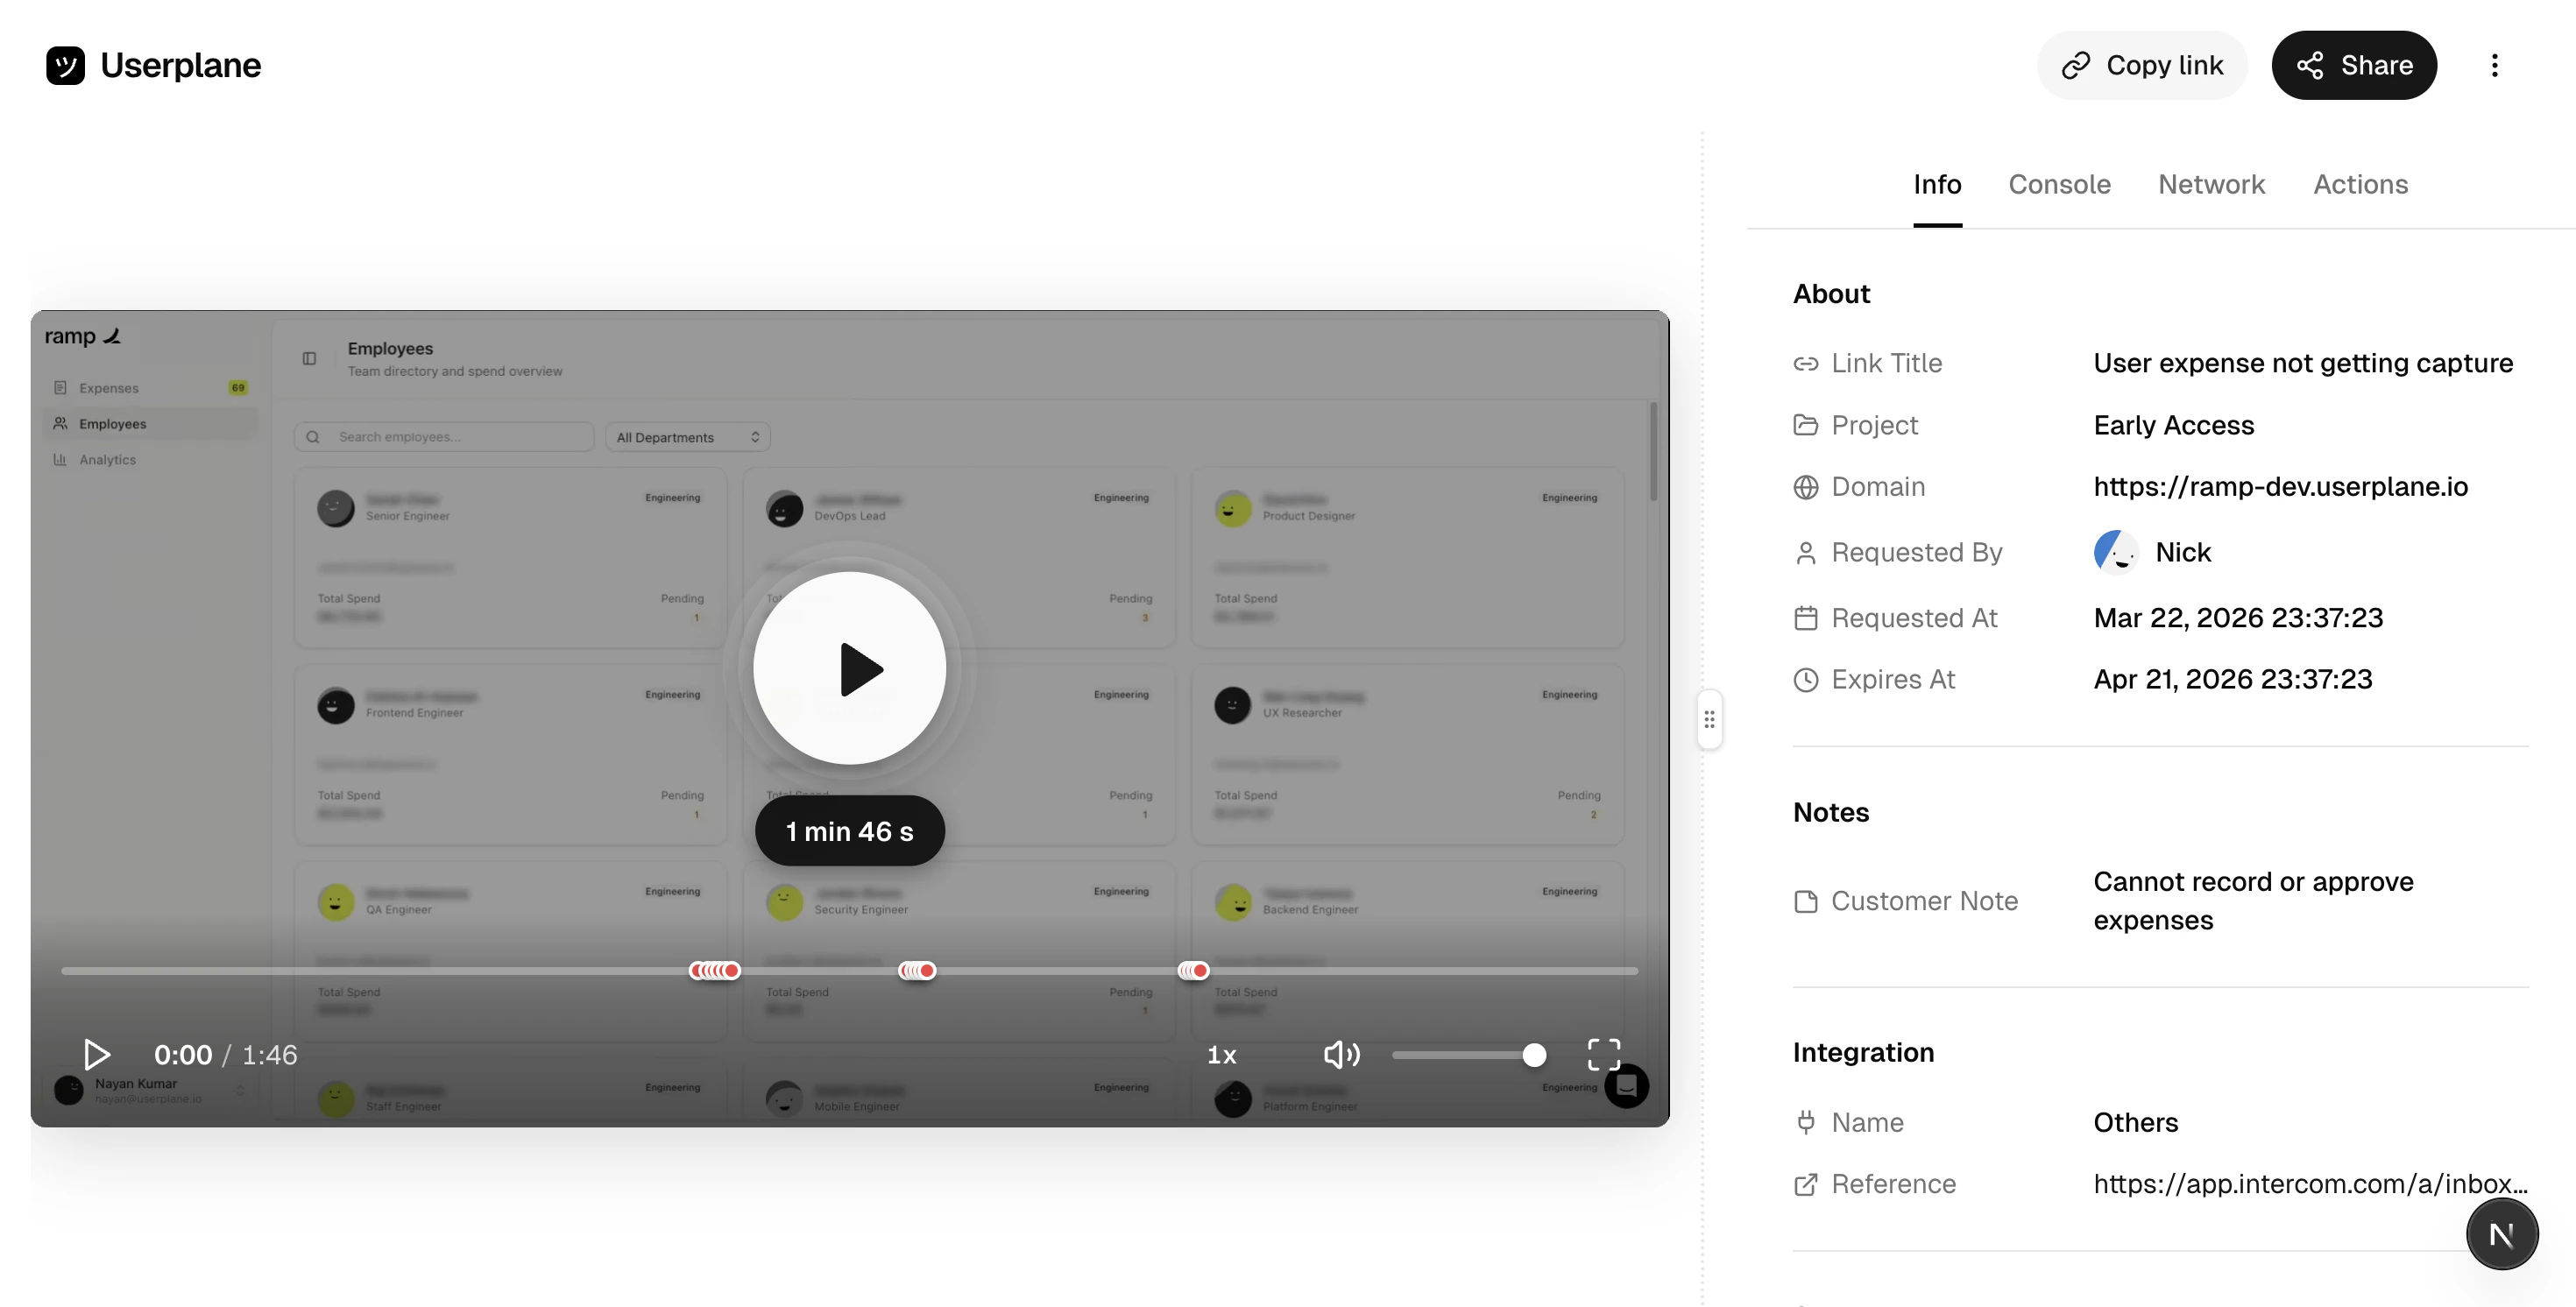
Customer recording page
Use the ticket editor button in the reply toolbar to insert a recording link directly into
your reply — without opening the sidebar. See Zendesk Ticket Editor.
1
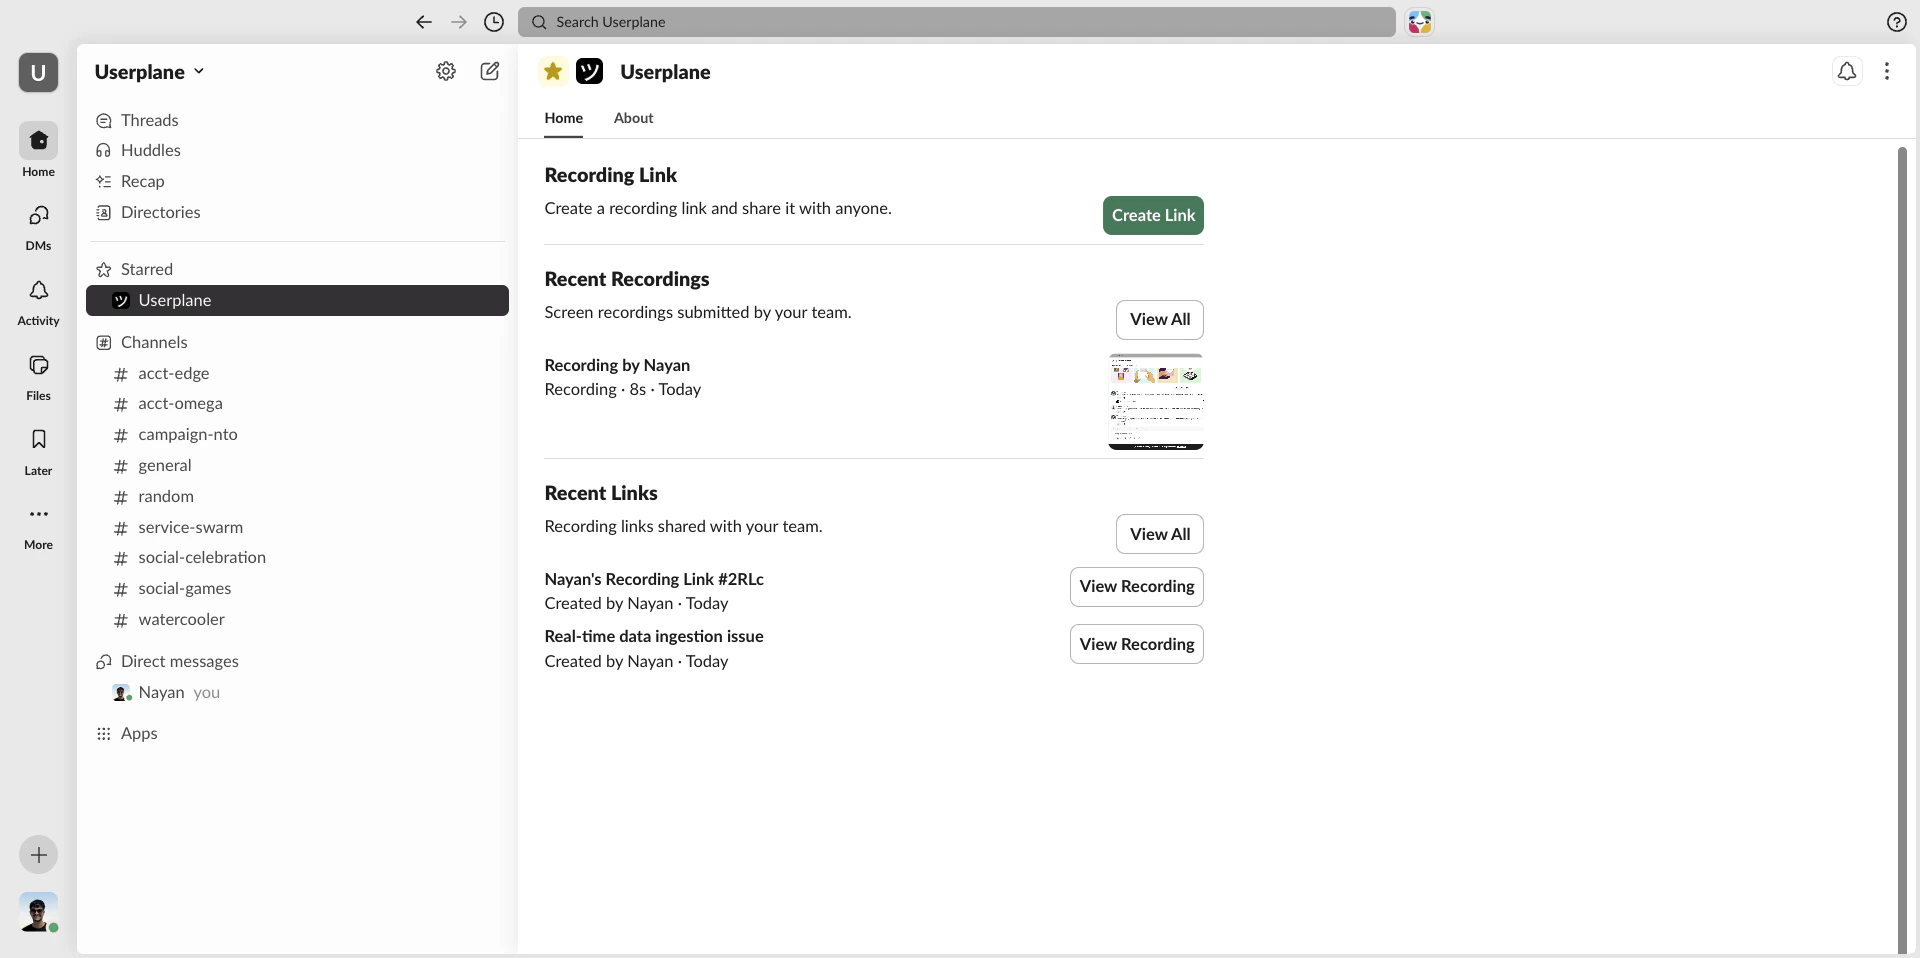
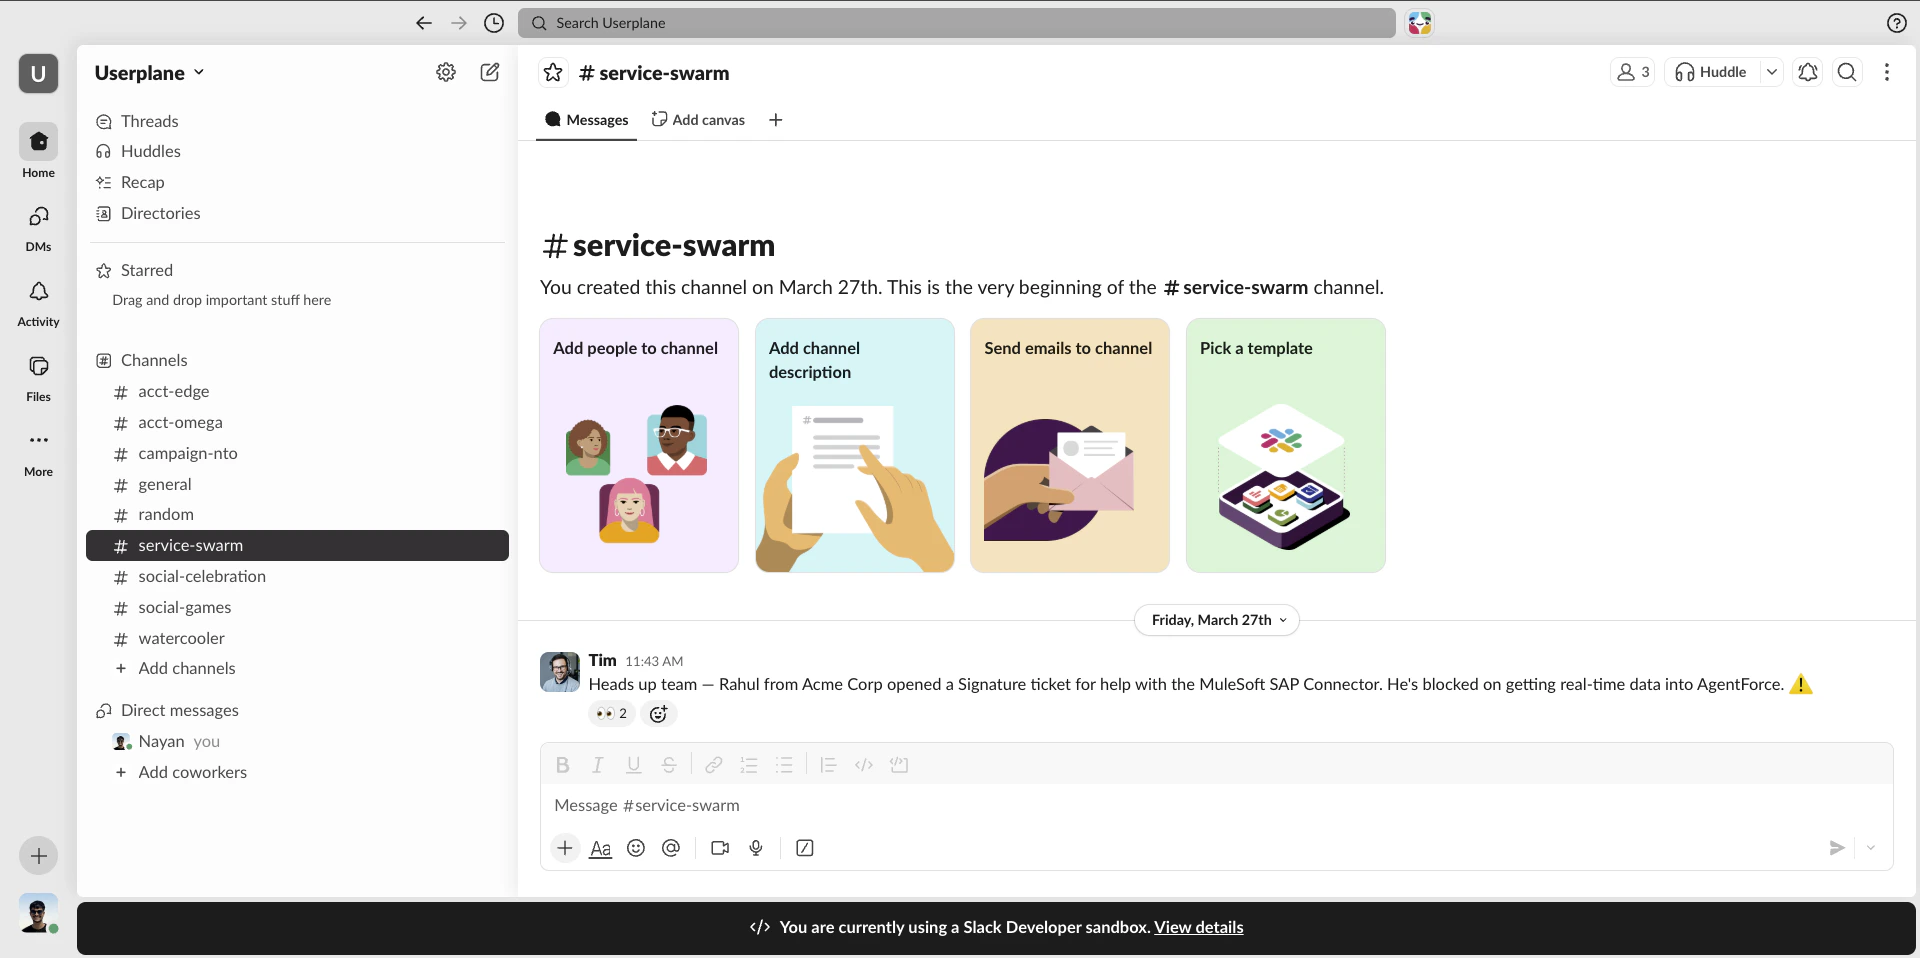
Go to the channel or DM
Find the Slack channel or DM where the customer (or an internal teammate relaying the issue) has described the problem.
Slack channel with a customer issue
2
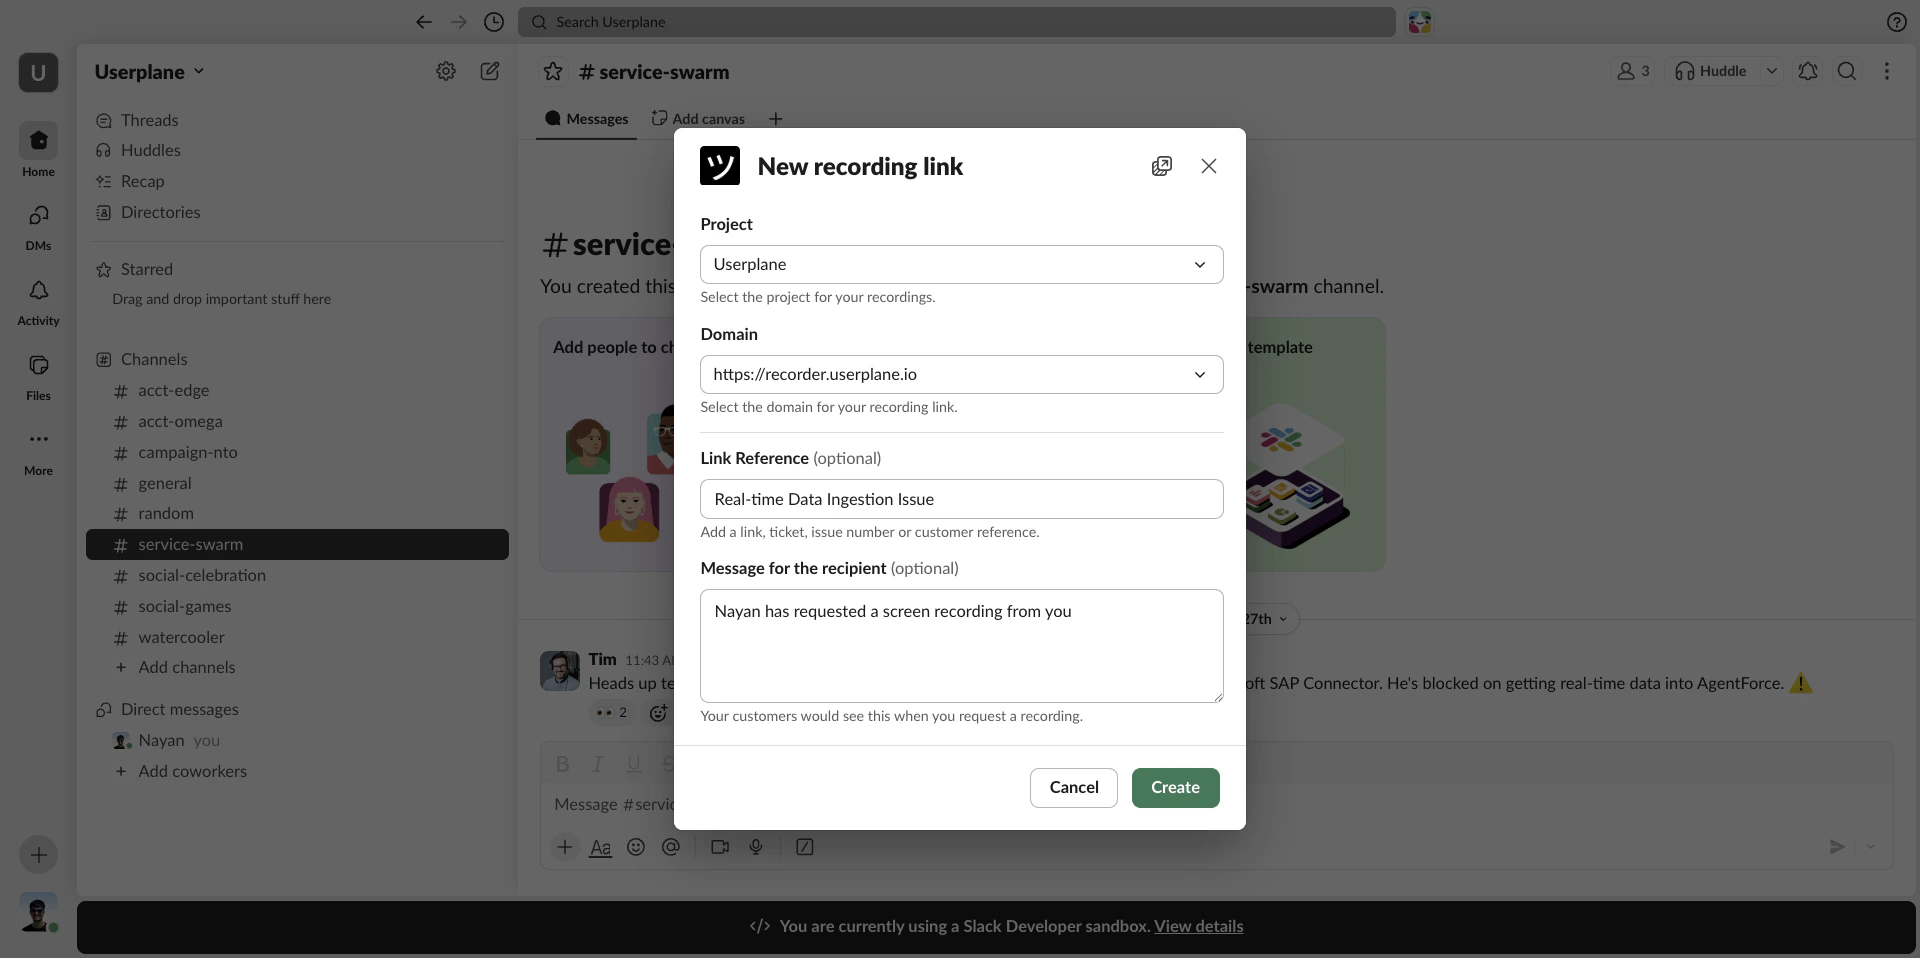
Create a recording link
Type /userplane in the channel and press Enter. A modal opens — select a Project and Domain, optionally add a reference, and click Create.
Link creator modal from /userplane
3
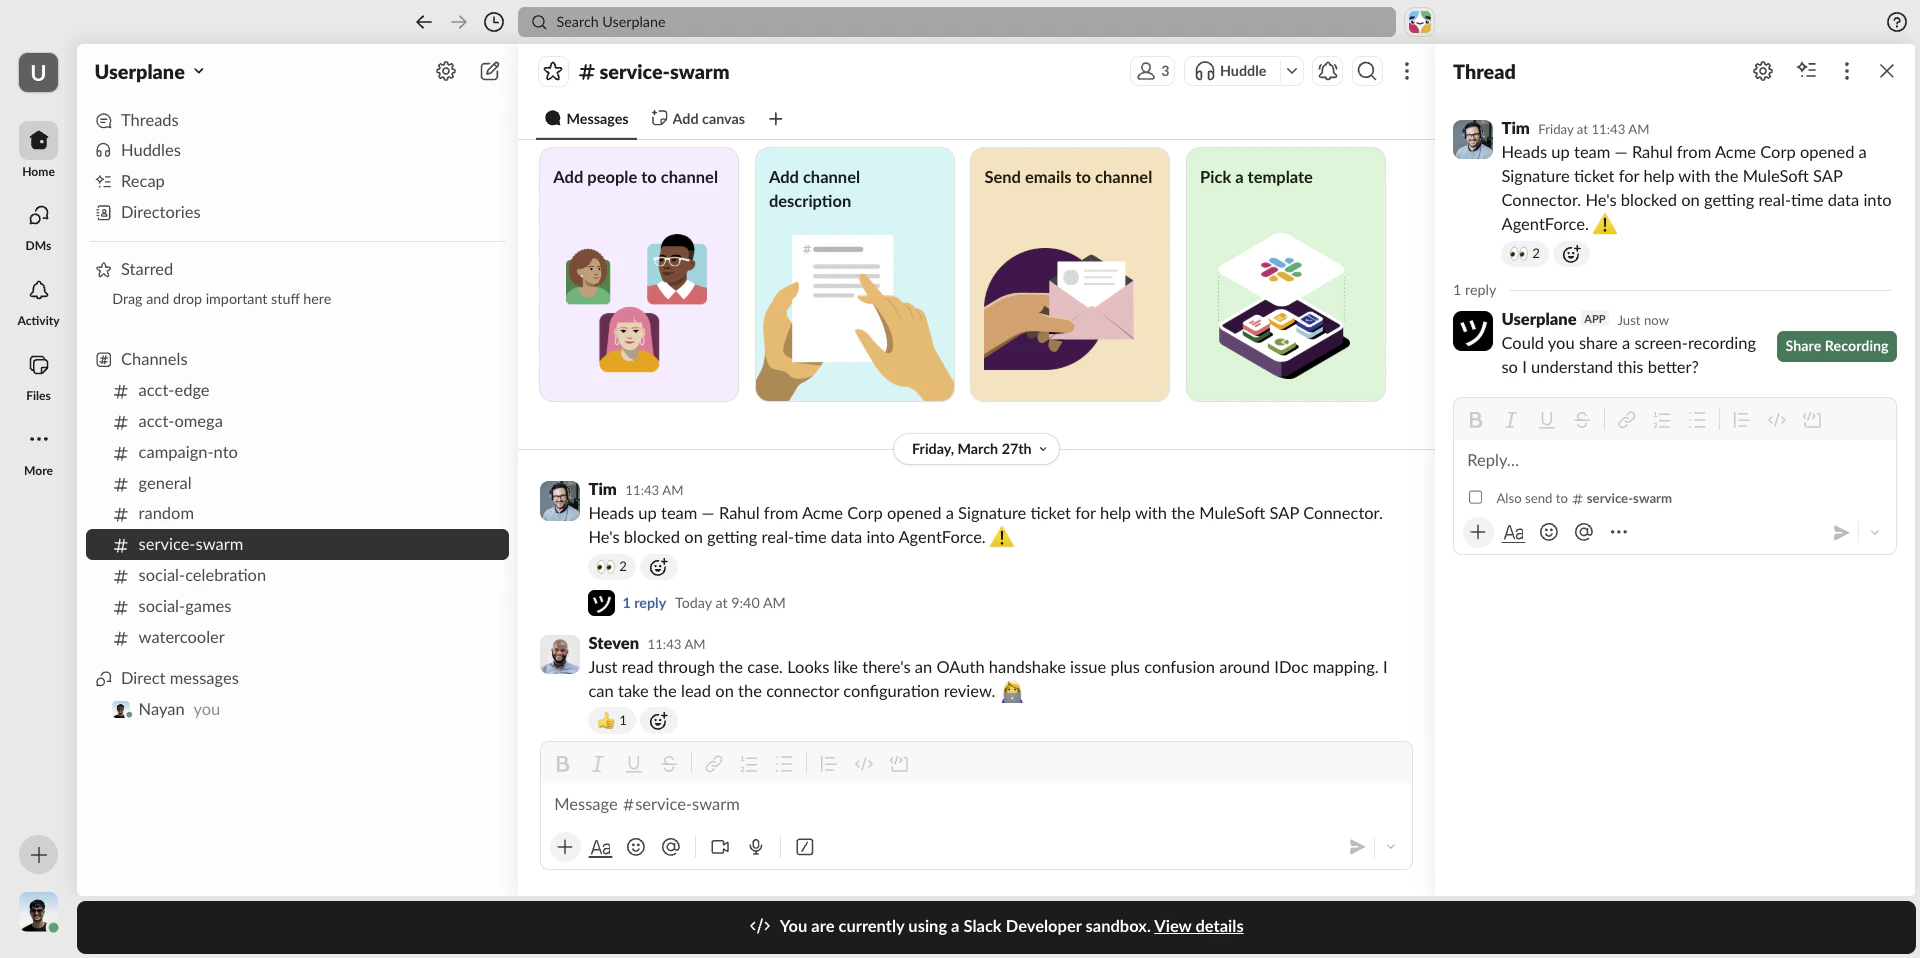
Link is posted to the channel
The recording link is posted as a channel message. Share it with the customer directly or copy it to send via another channel.
Recording link posted to channel
4
Customer records
The customer clicks the link, records their screen, and submits. No installs required on their end.
Use the message shortcut instead if you want the recording link posted as a reply to a specific message. Right-click any message and select Create recording link. See Slack Message Shortcuts.
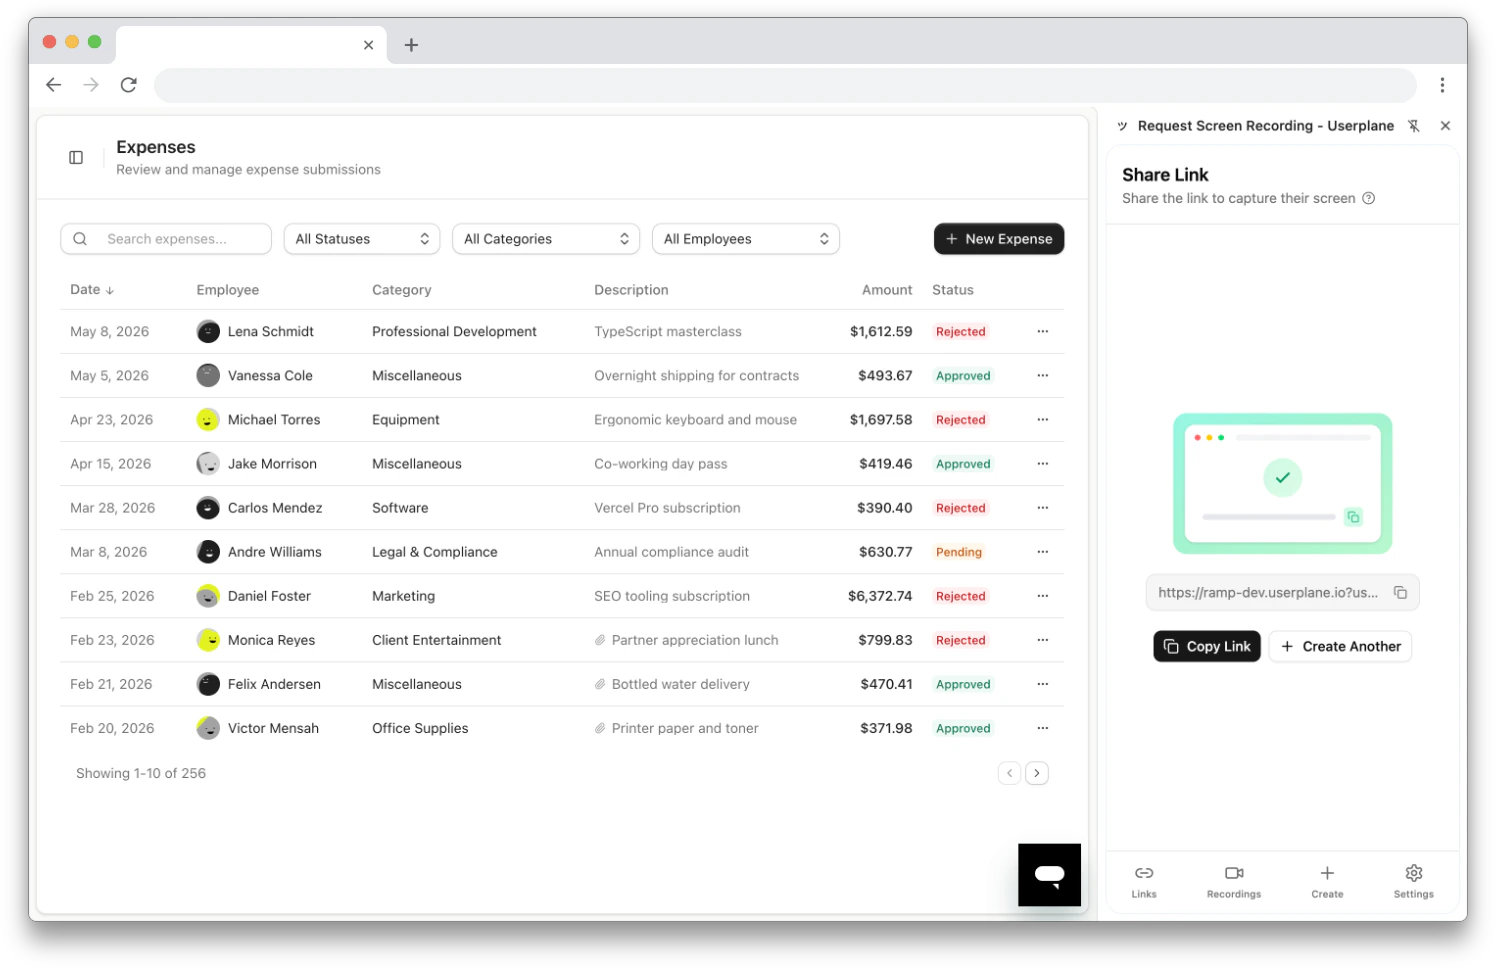
1
Open a ticket
Go to the ticket or conversation in your help desk where the customer is reporting an issue.
2
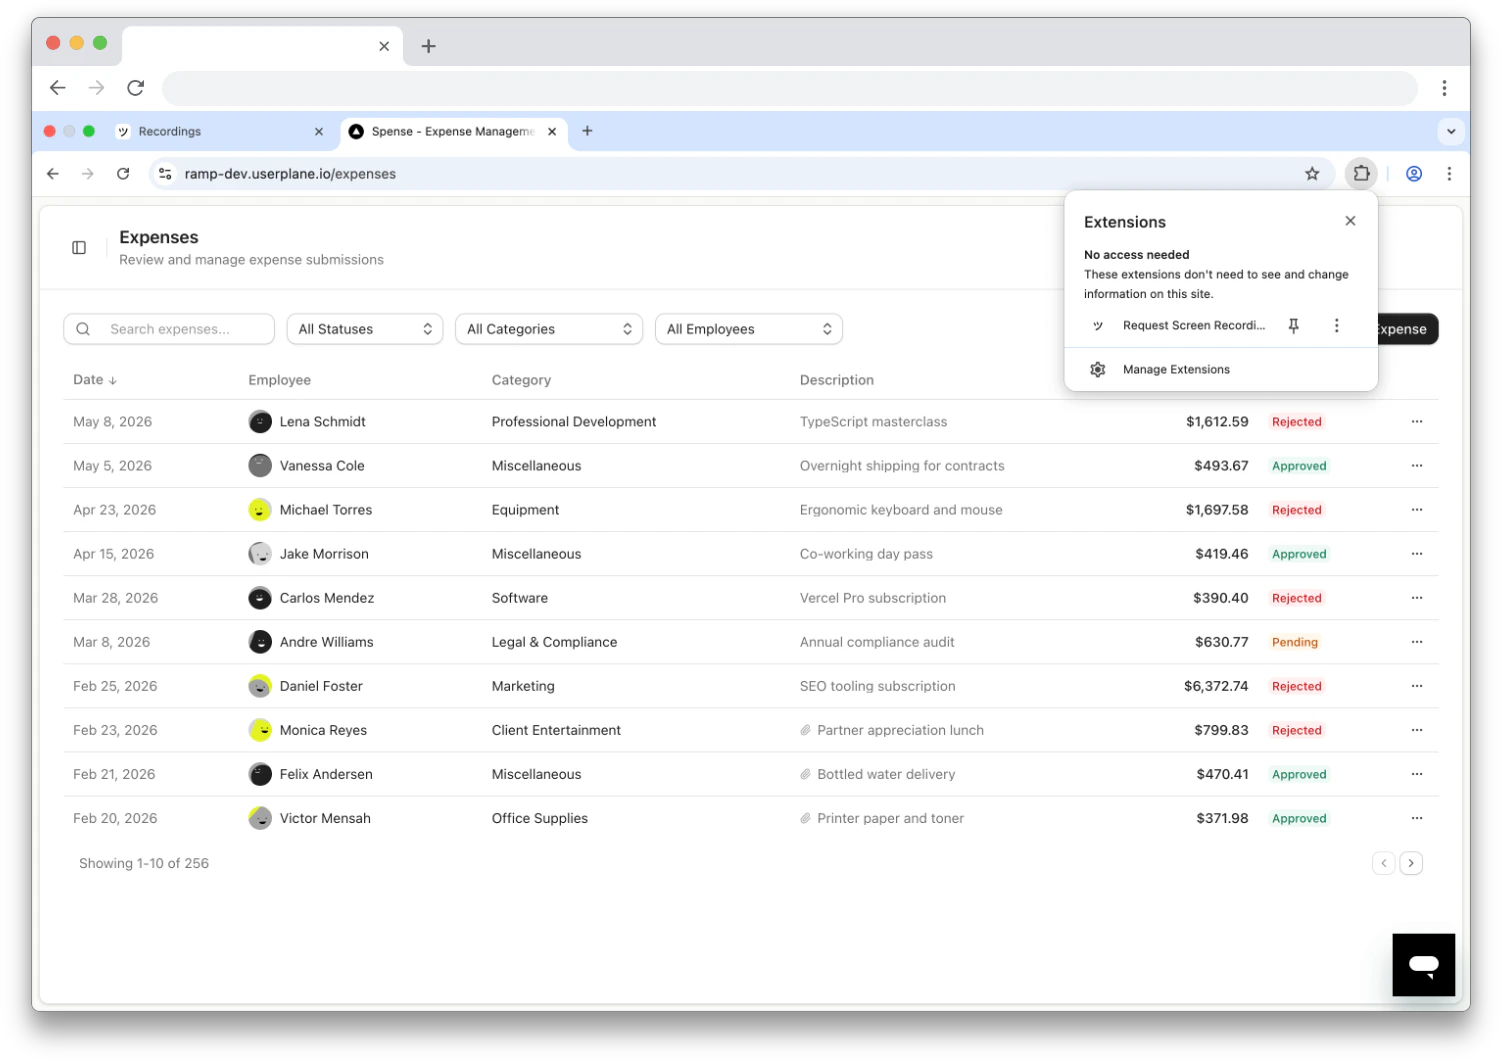
Open the side panel
Click the Userplane icon in the toolbar or press Cmd+Shift+Y (Mac) / Ctrl+Shift+Y (Windows/Linux).
3
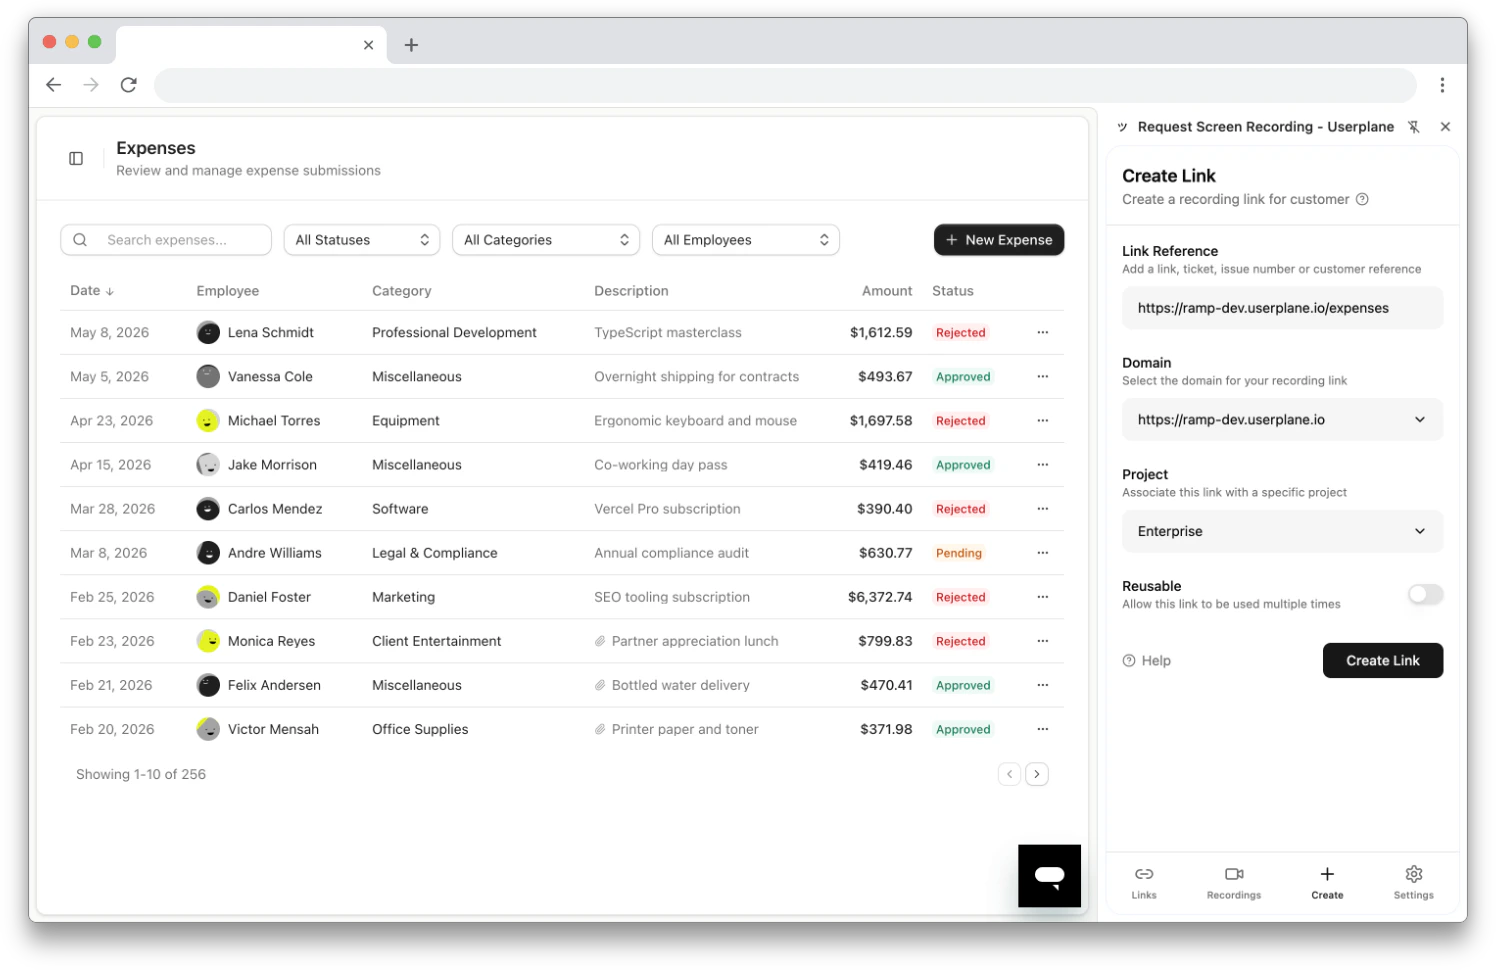
Create a recording link
The Link Reference field auto-populates with the current tab URL (your ticket page). Select a domain and project, then click Create Link.
Create Link form with auto-populated reference
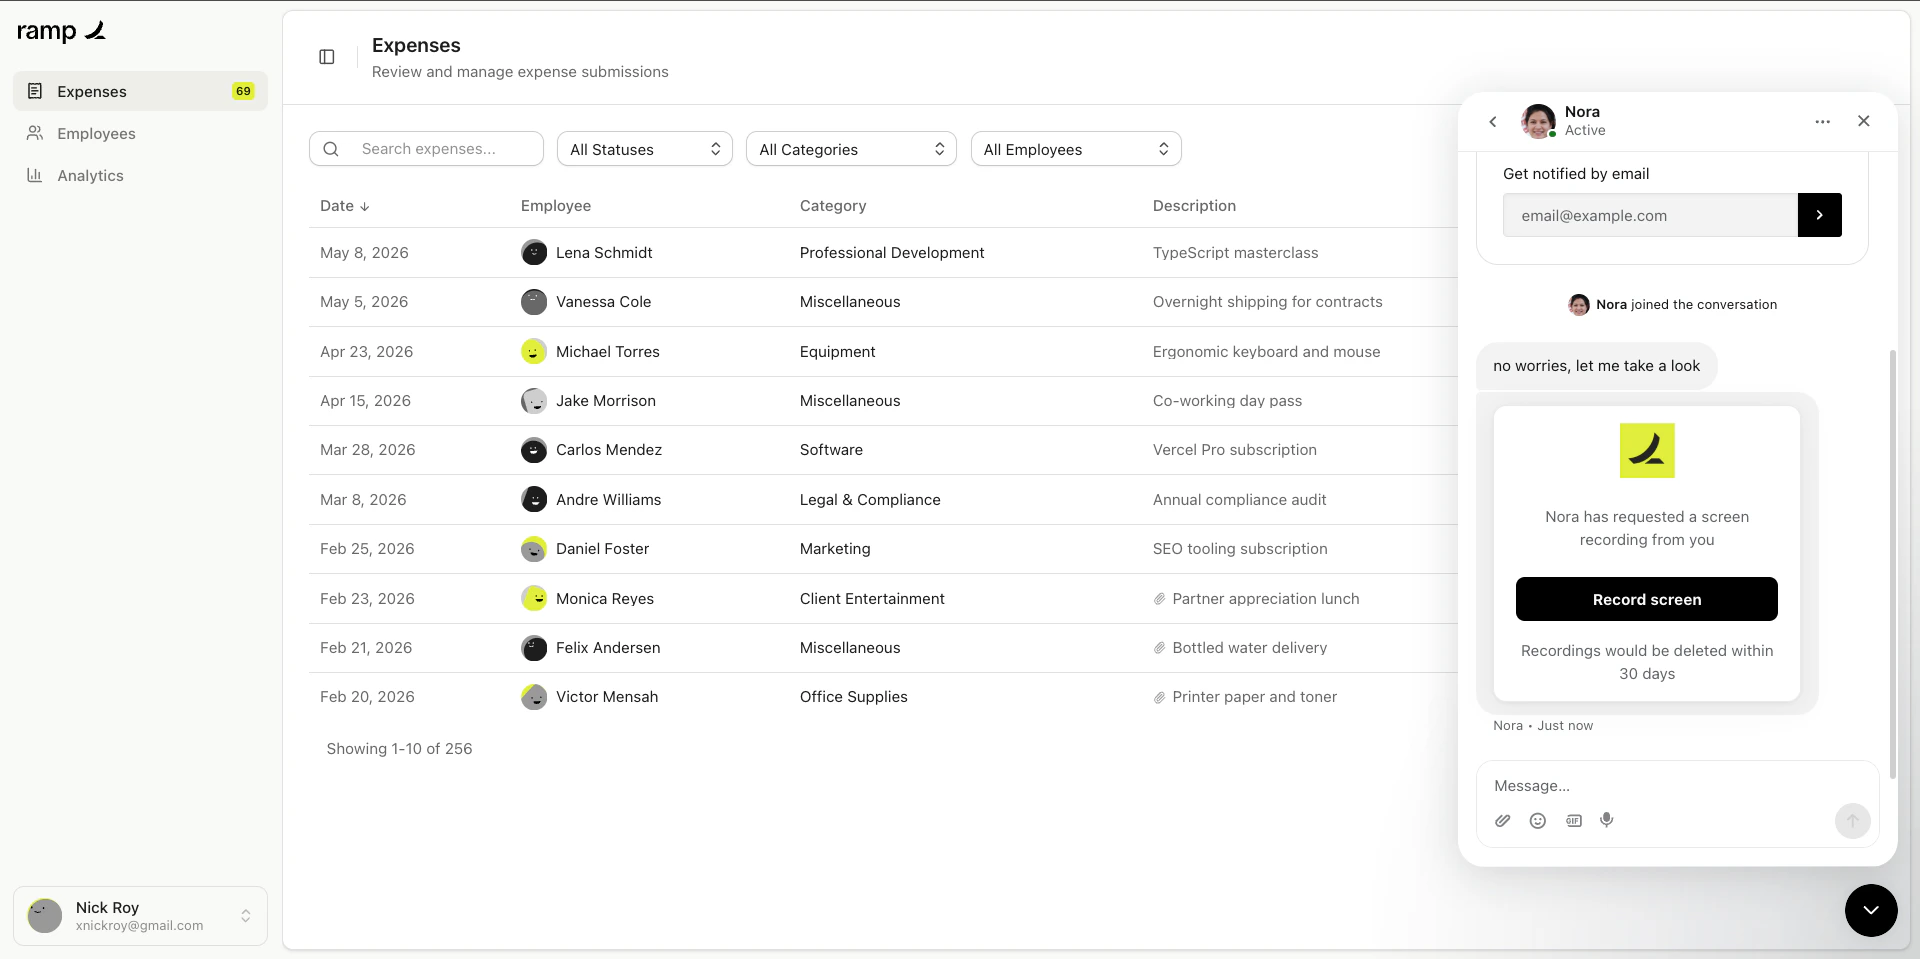
4
Share the link
Copy the link and paste it into your help desk reply.
Share the recording link
5
Customer records
The customer clicks the link, records their screen, and submits. No installs required on their end.
Use the omnibox (type userplane in the address bar, press Tab, then type a reference) or
right-click context menu for even faster access. See Chrome Extension
Shortcuts.