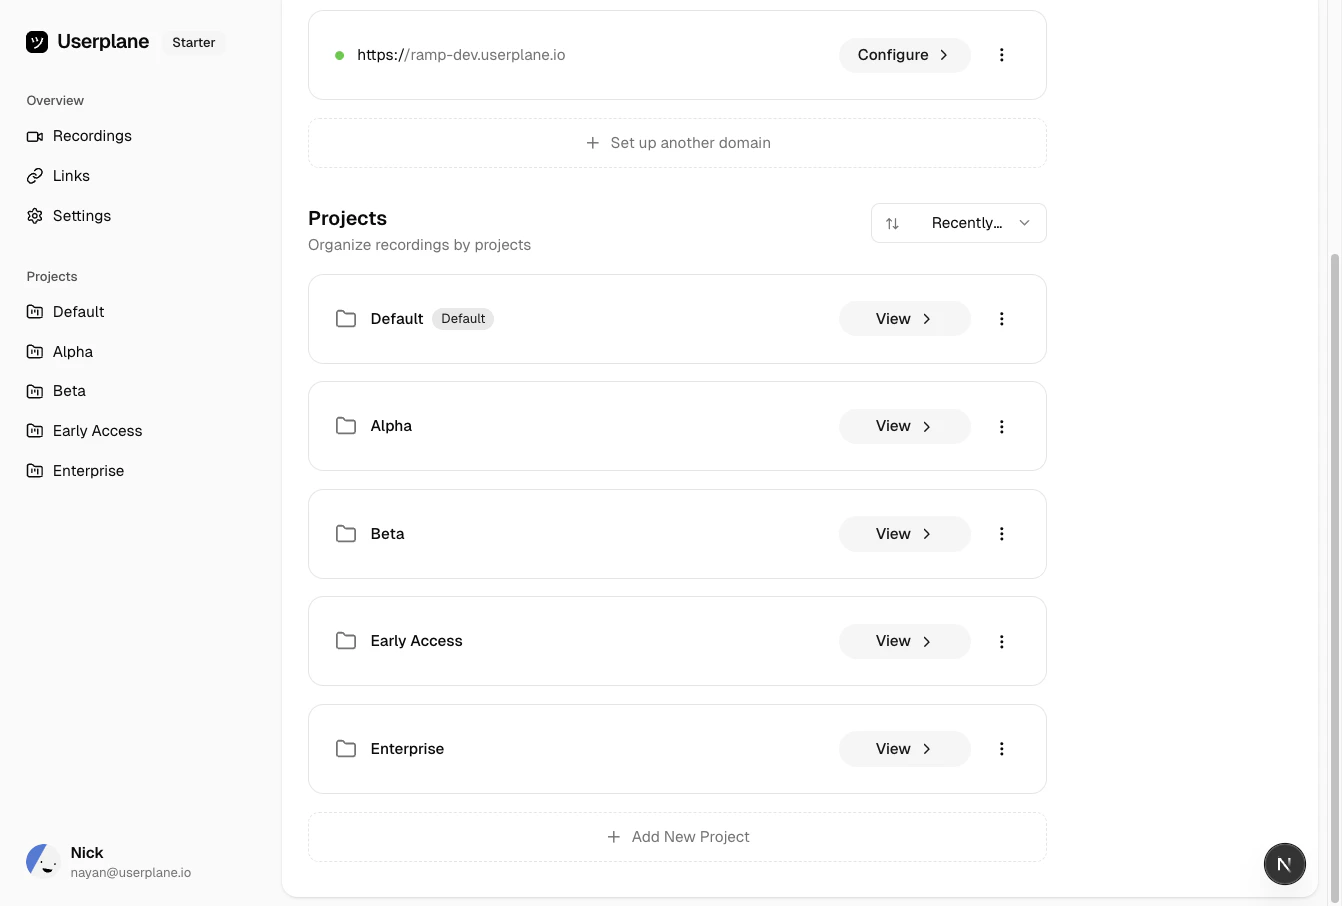
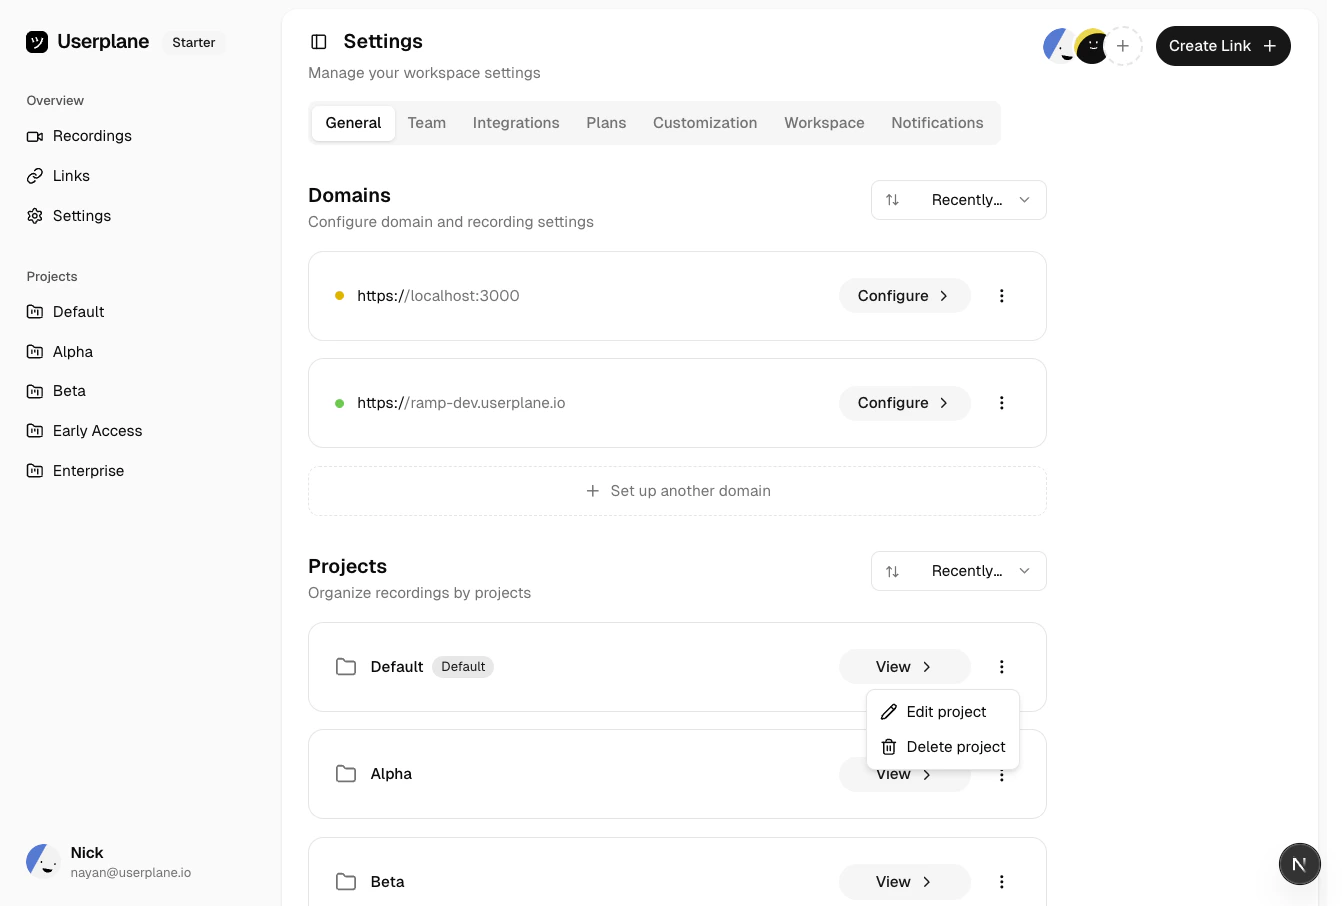
Organize recordings and links by assigning them to projects
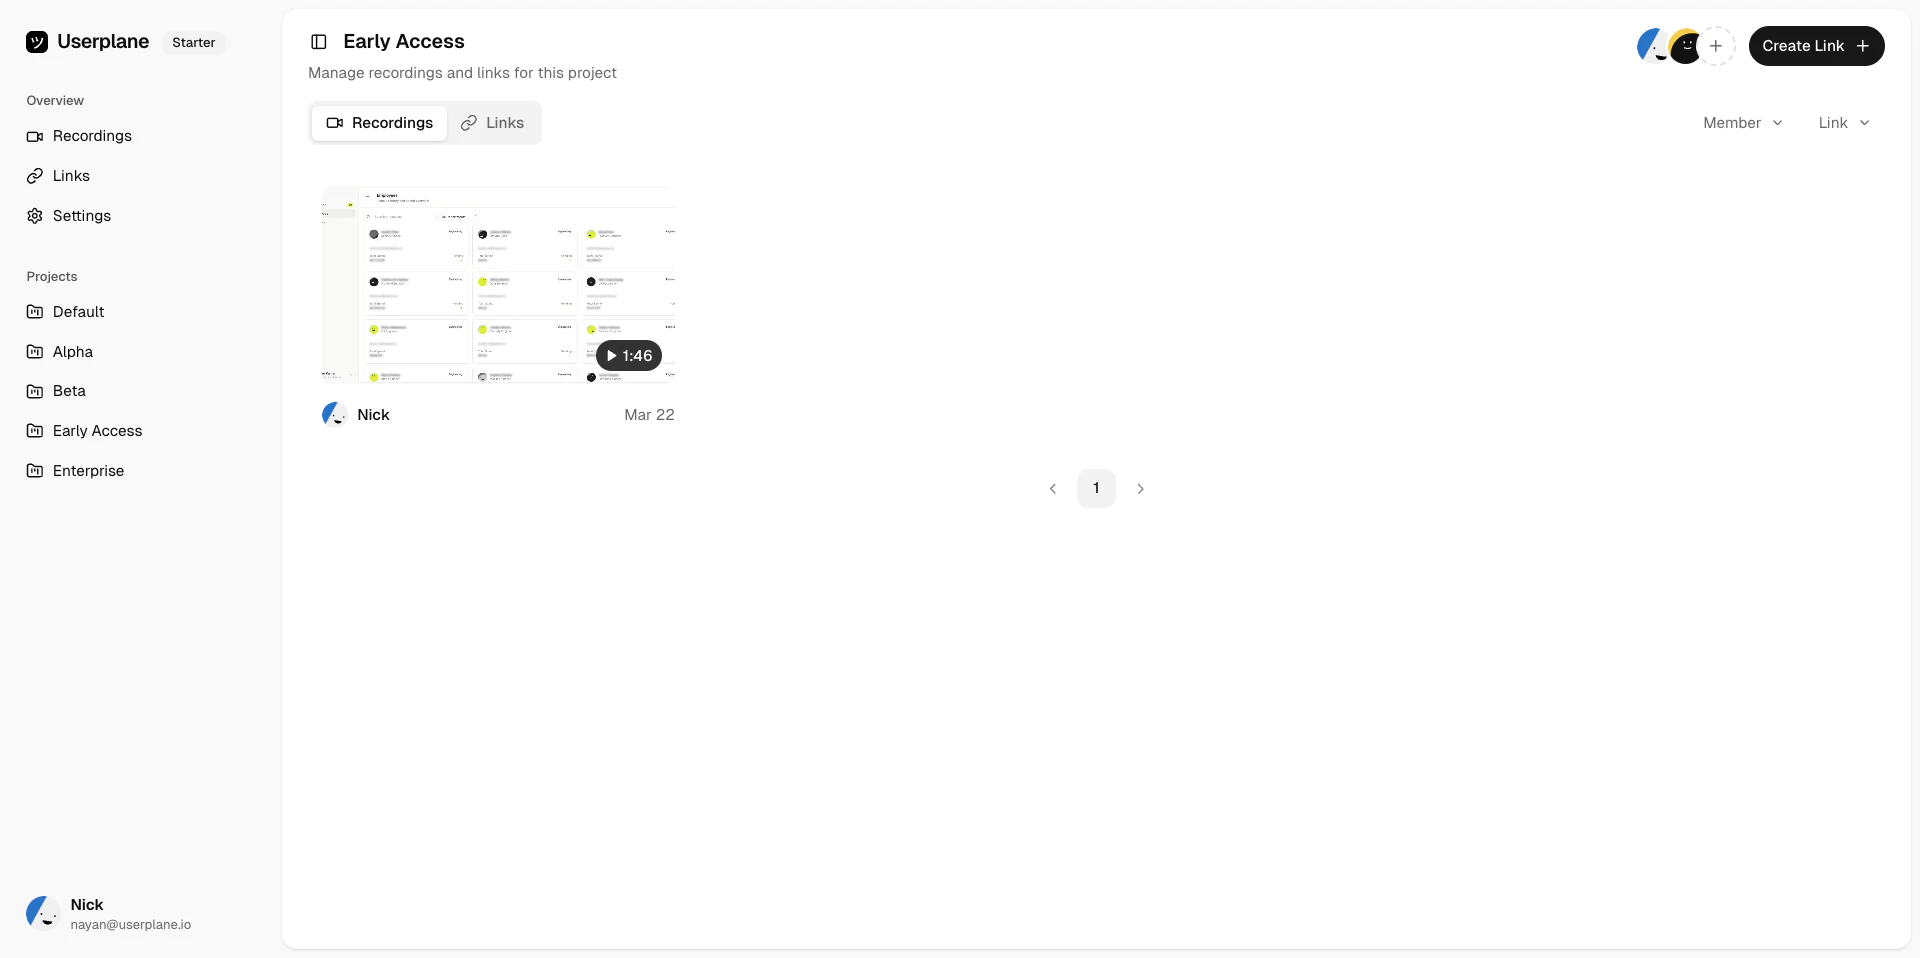
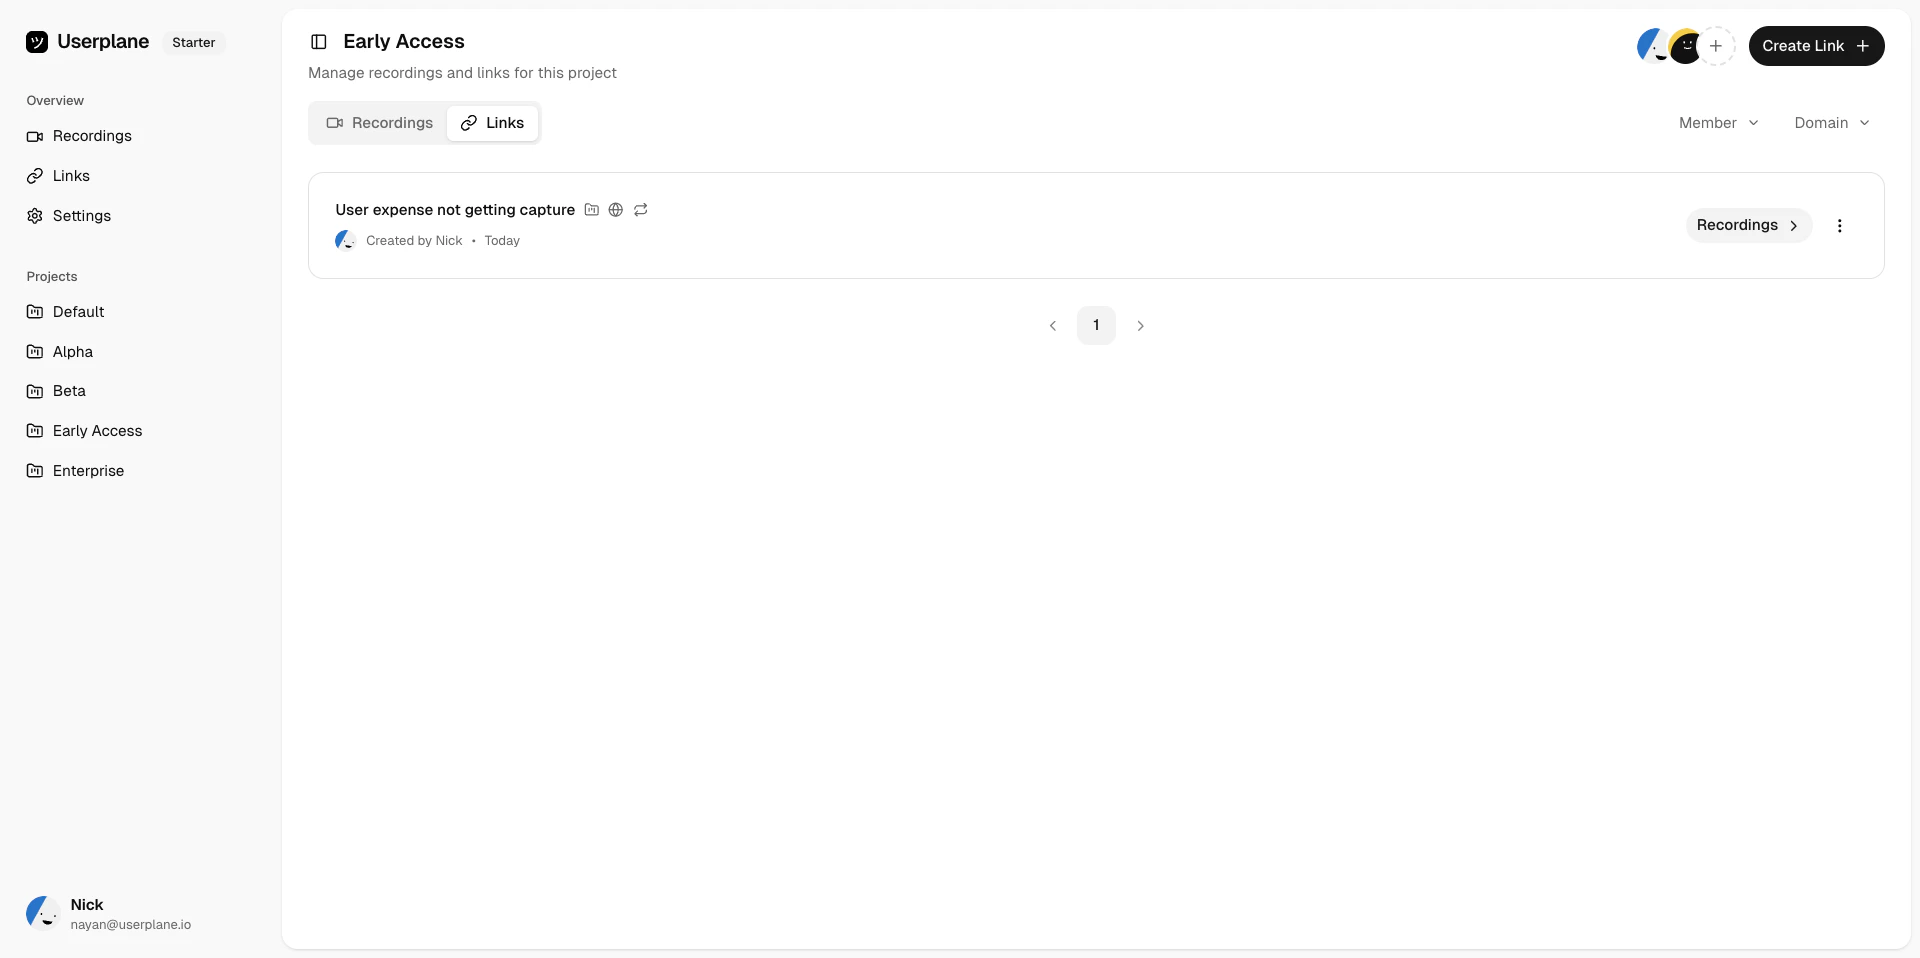
Projects help you organize recordings and links into logical groups. Every recording link is assigned to a project, and the resulting recording inherits that assignment.
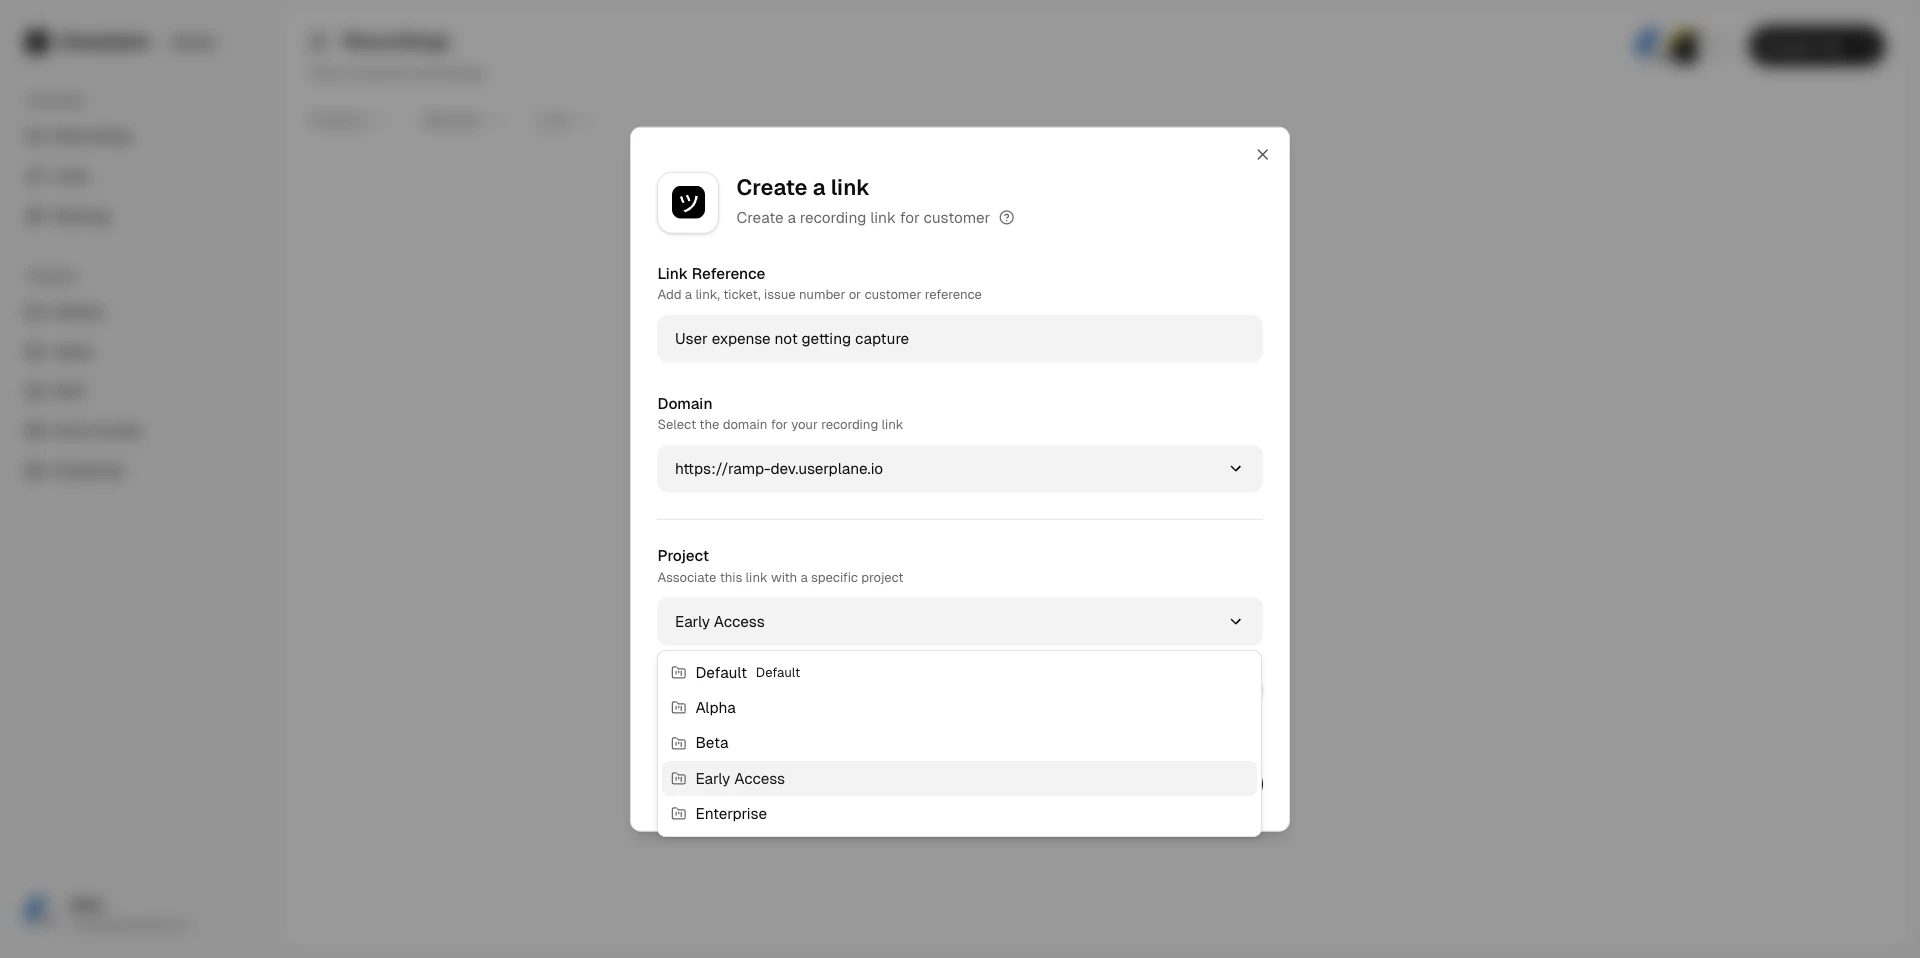
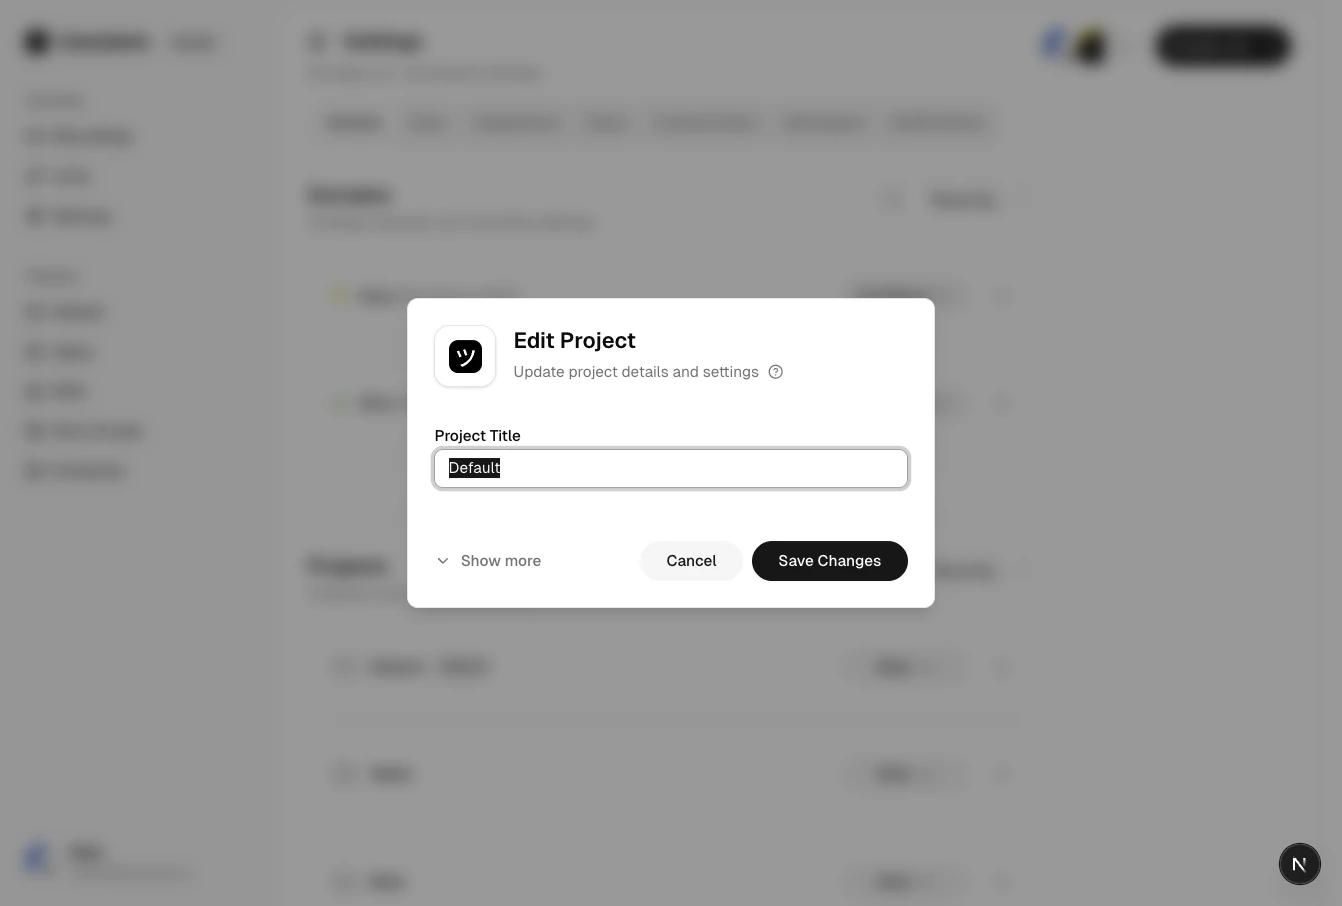
When you create a recording link, select a project from the dropdown. If you don’t choose one, the link is assigned to the workspace’s default project.
1
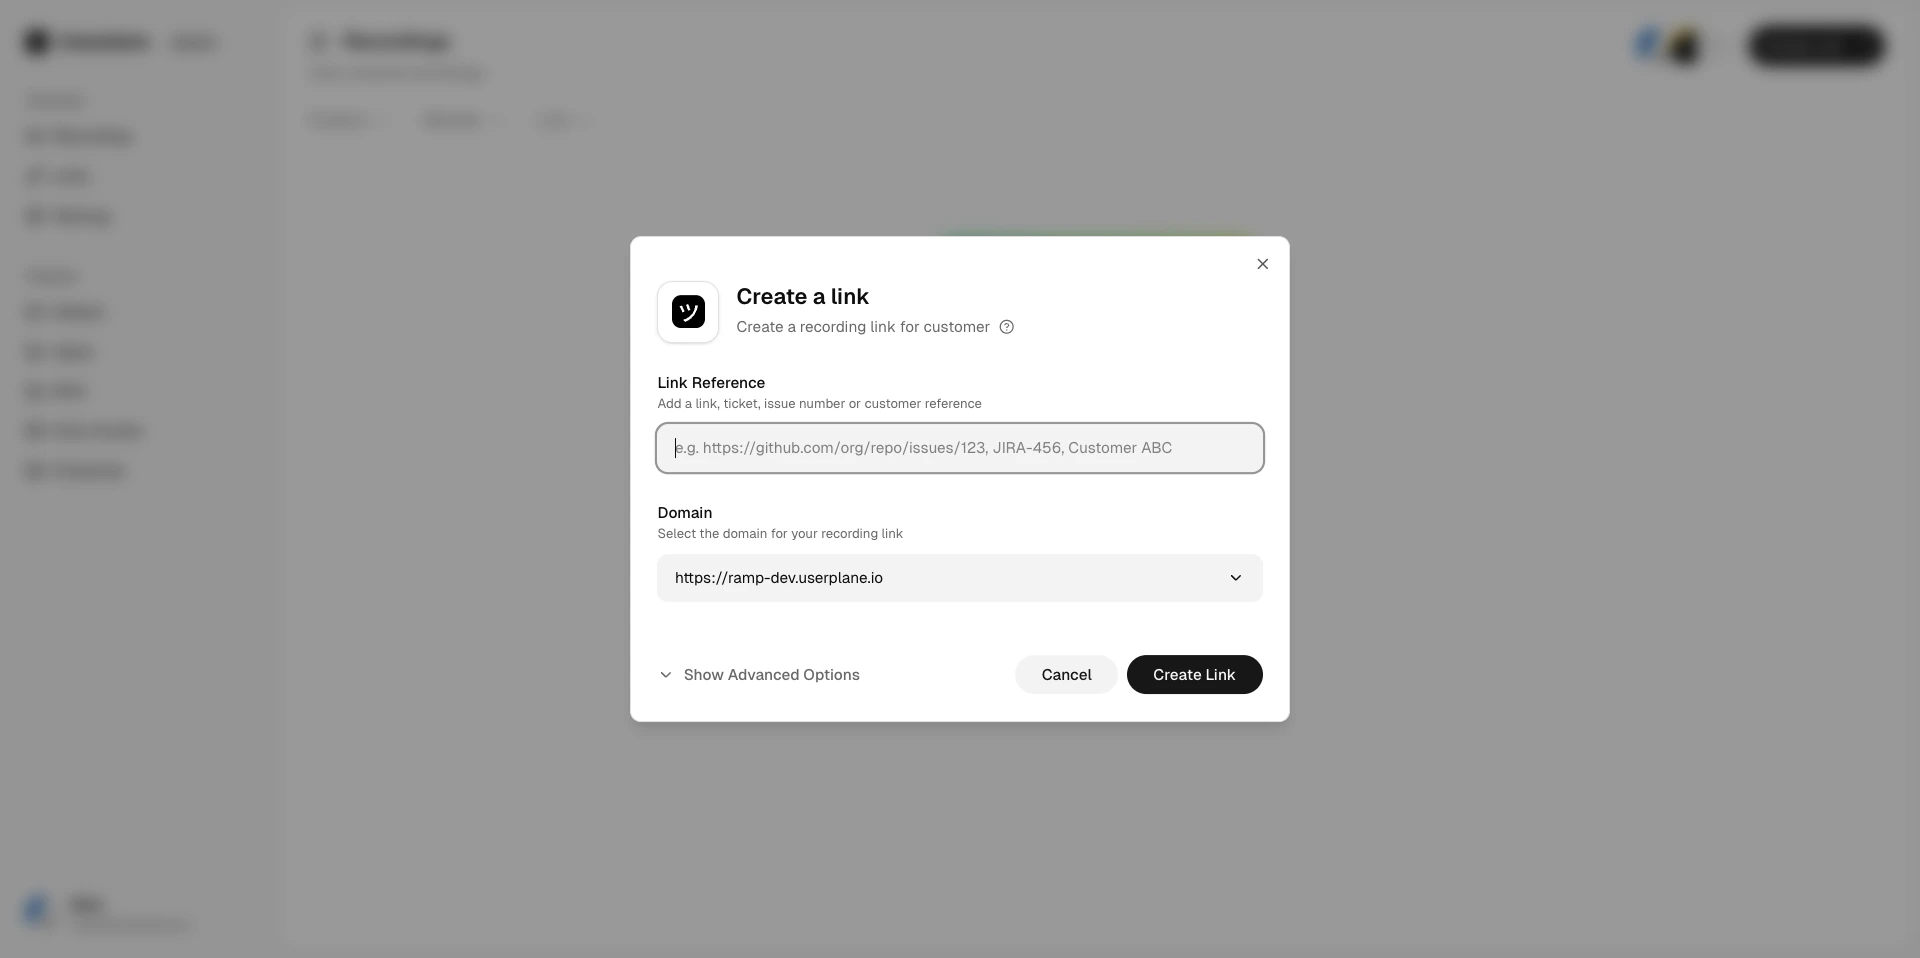
Open the Create Link dialog
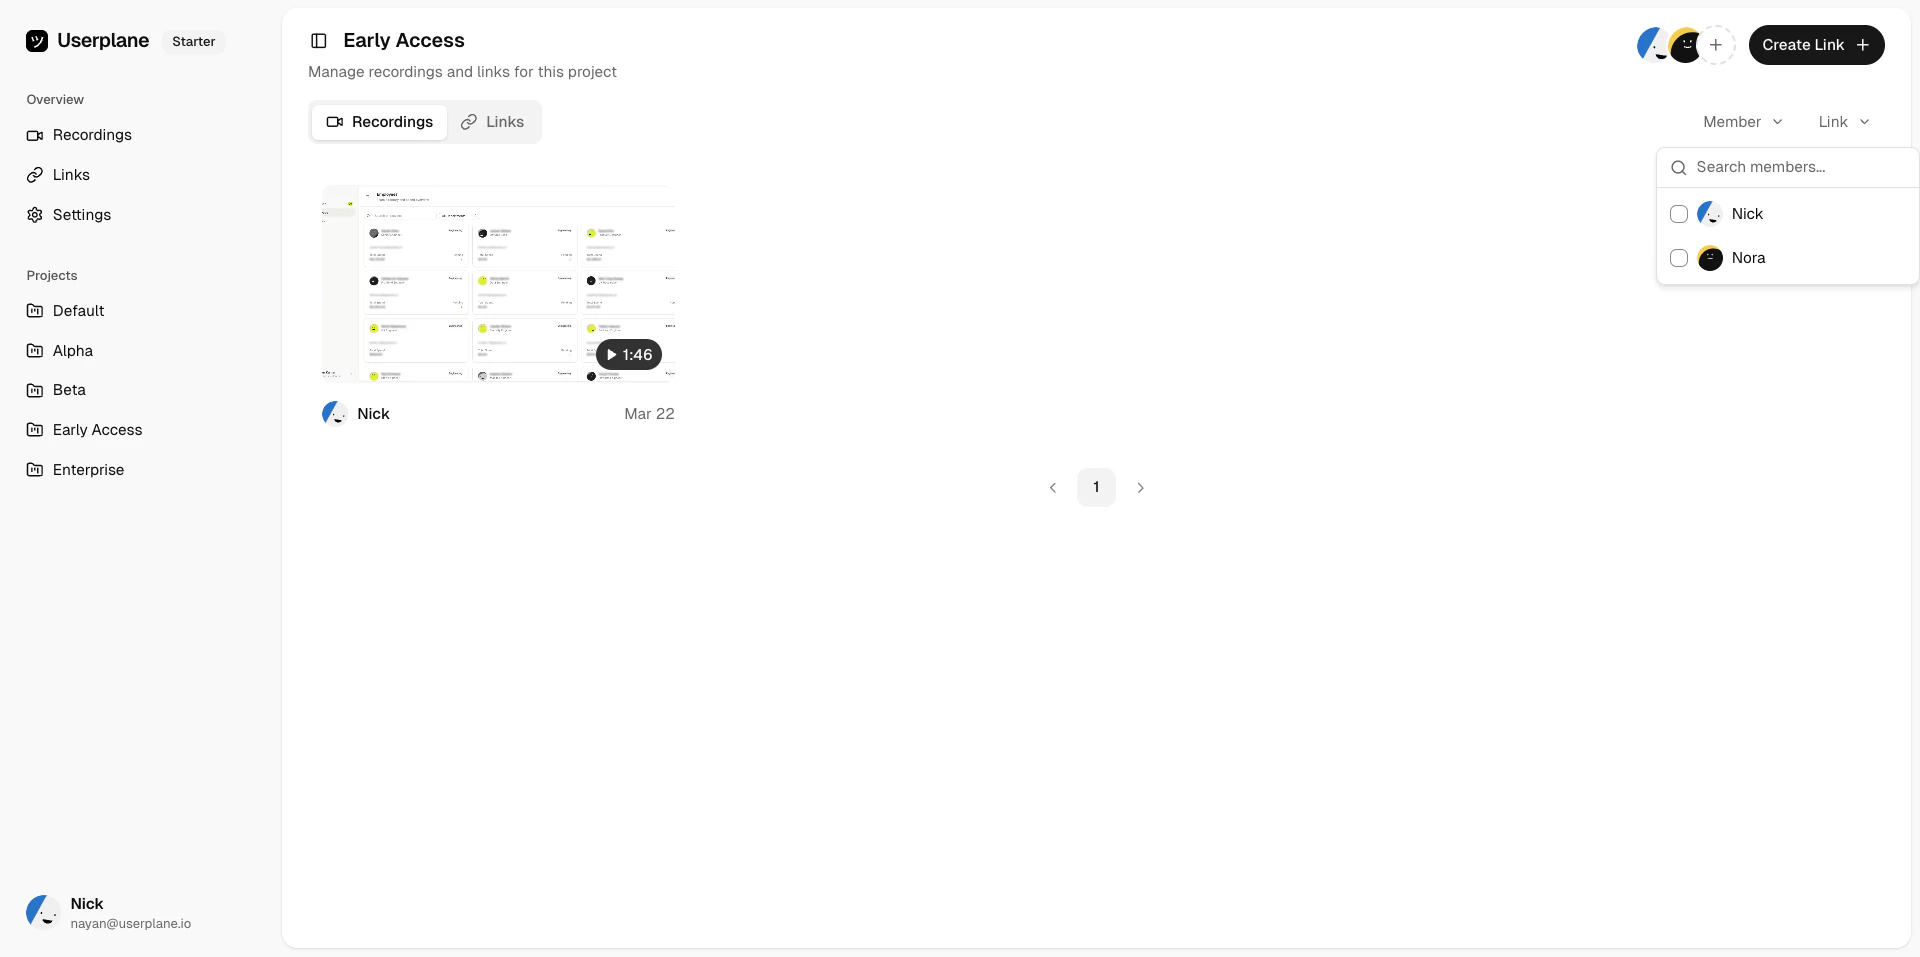
Click the Create Link button in the top right corner.
Create Link button
2
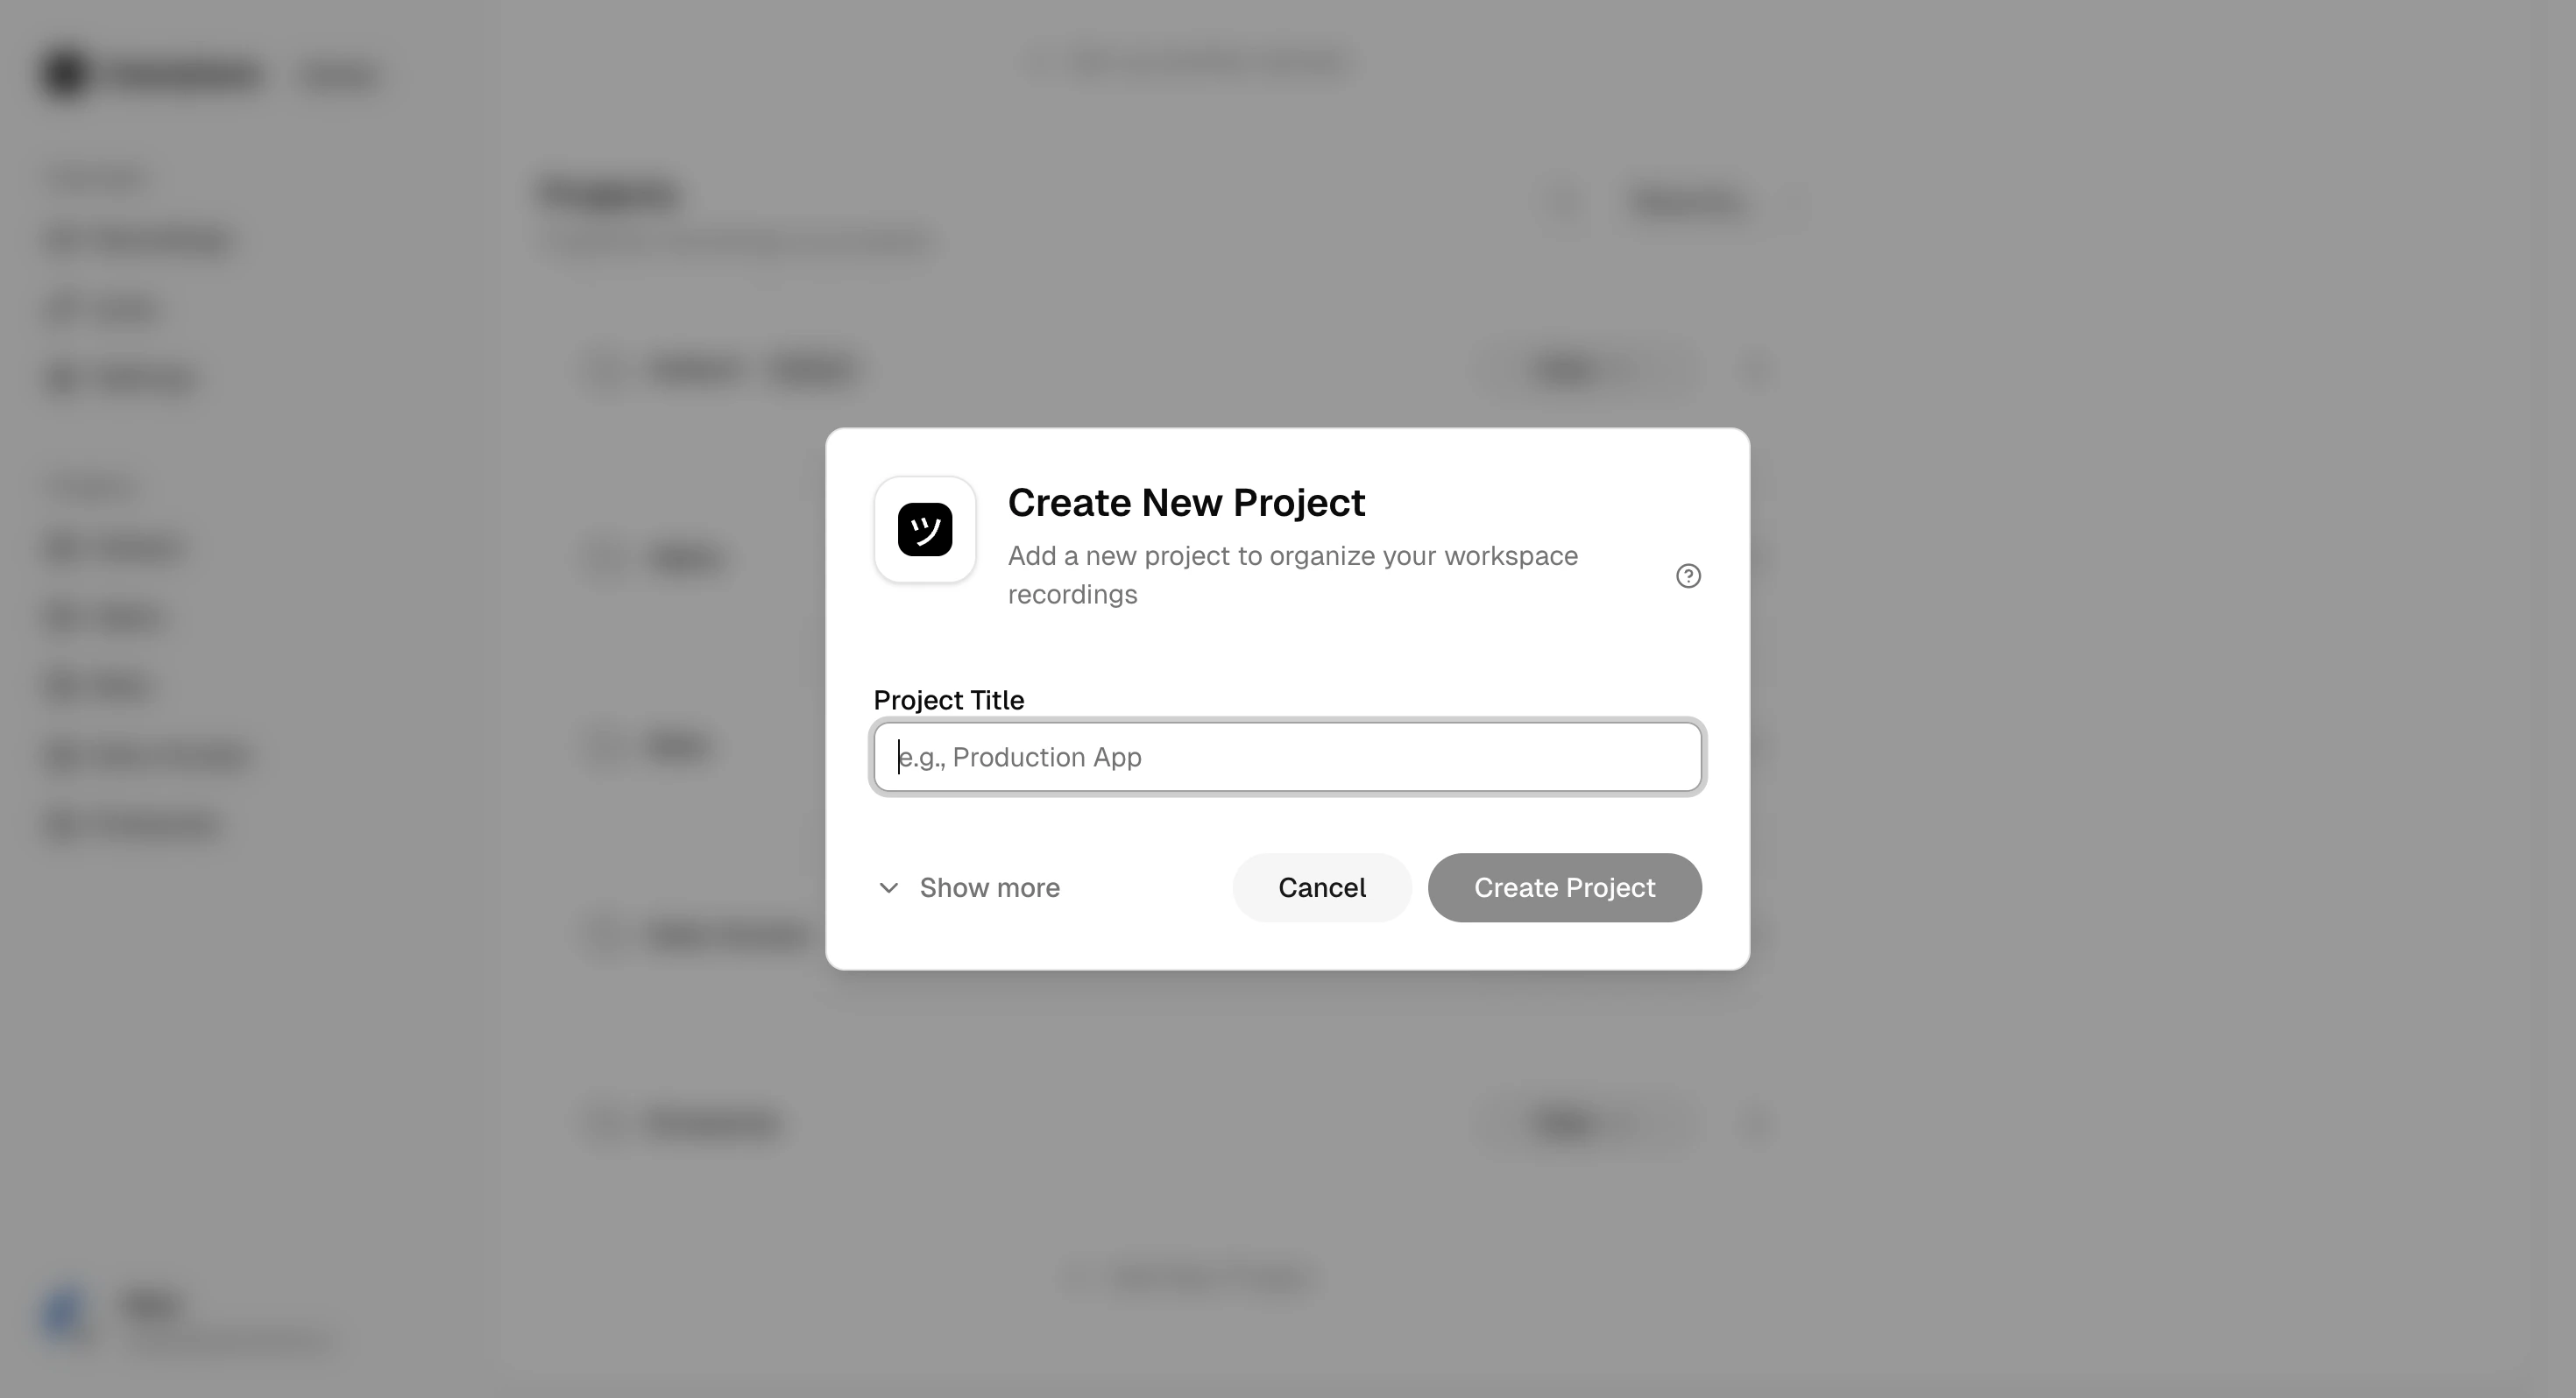
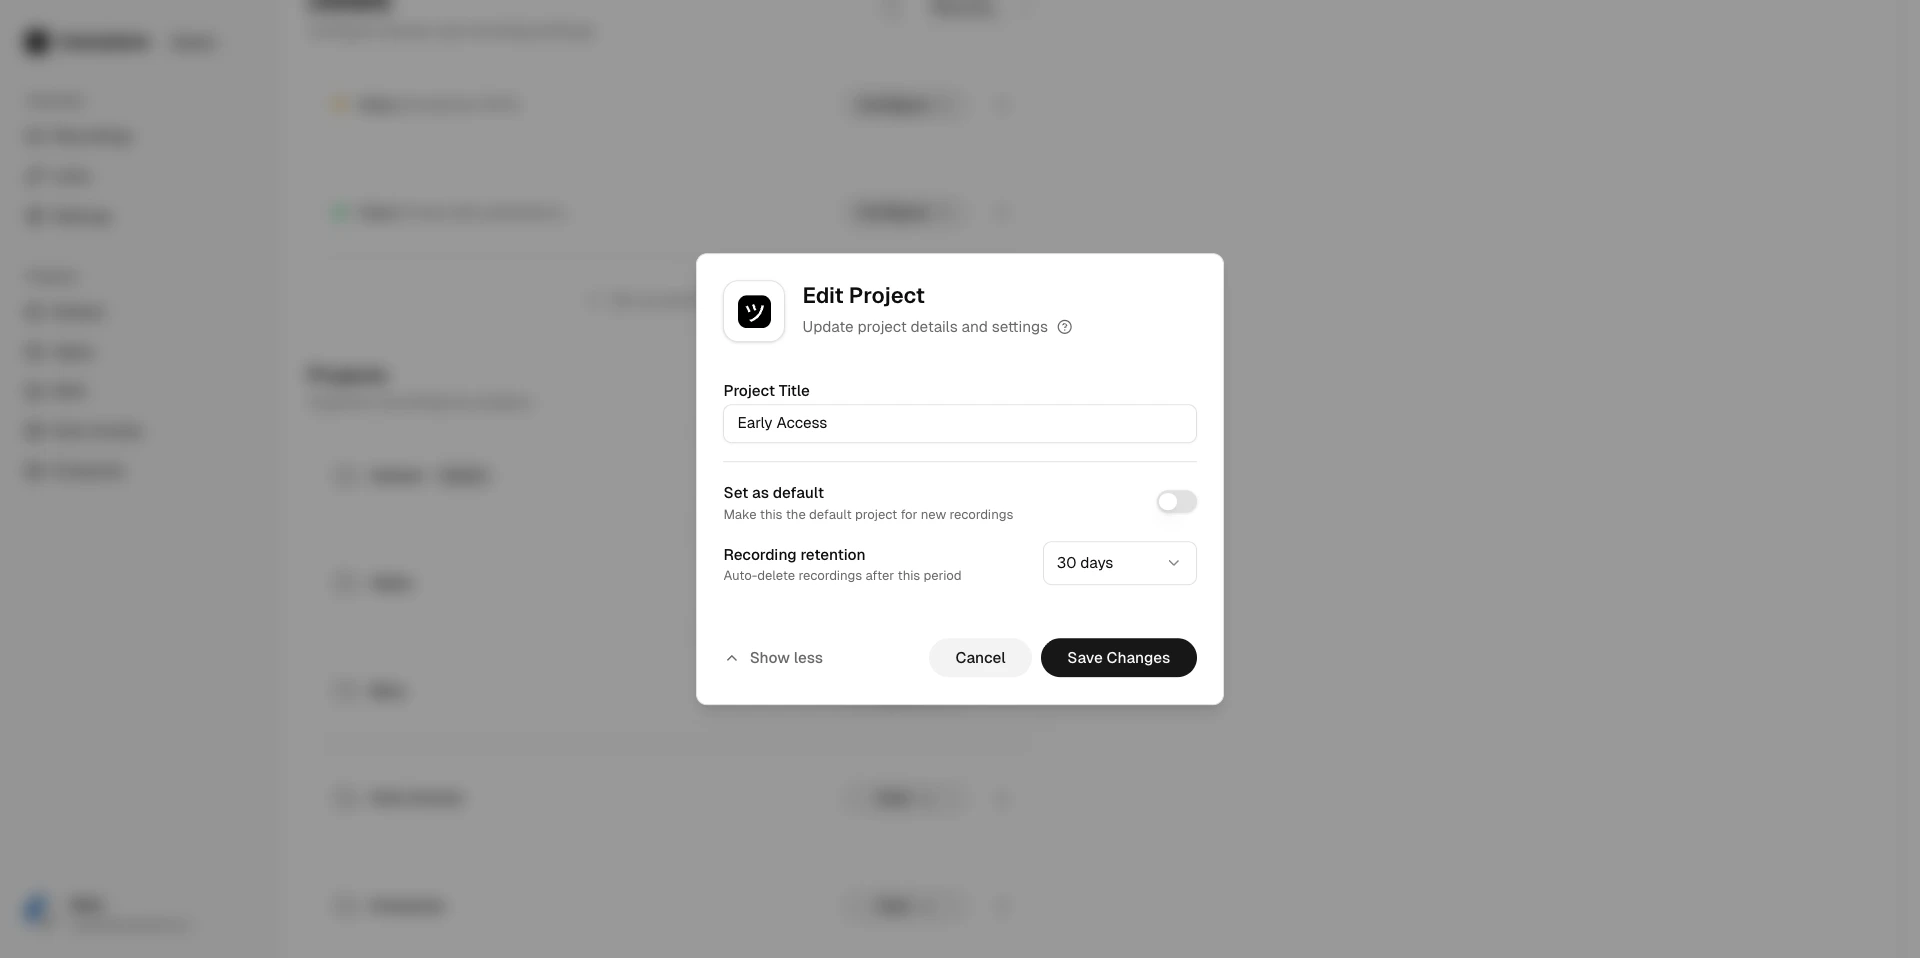
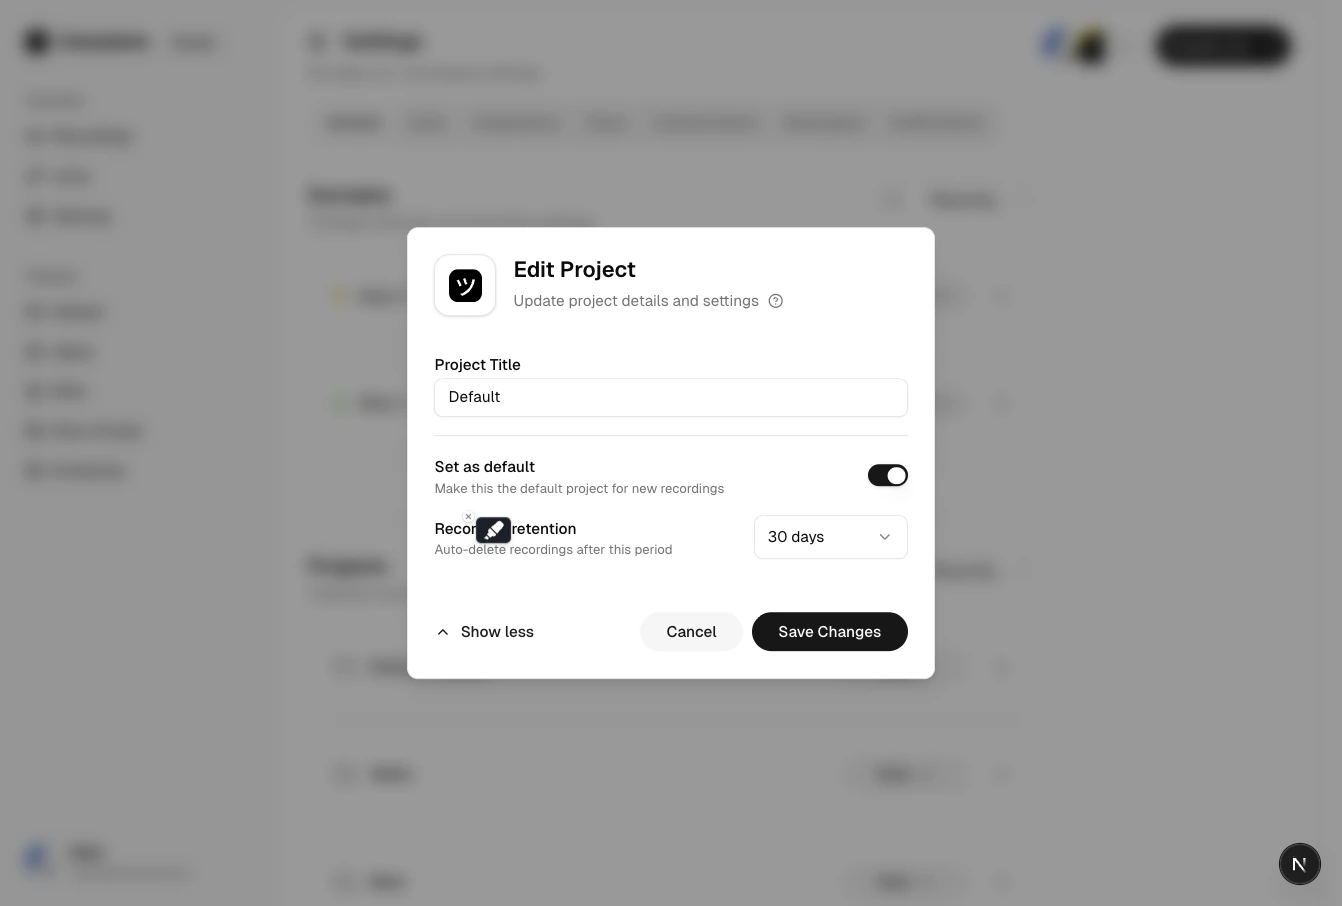
Select a project
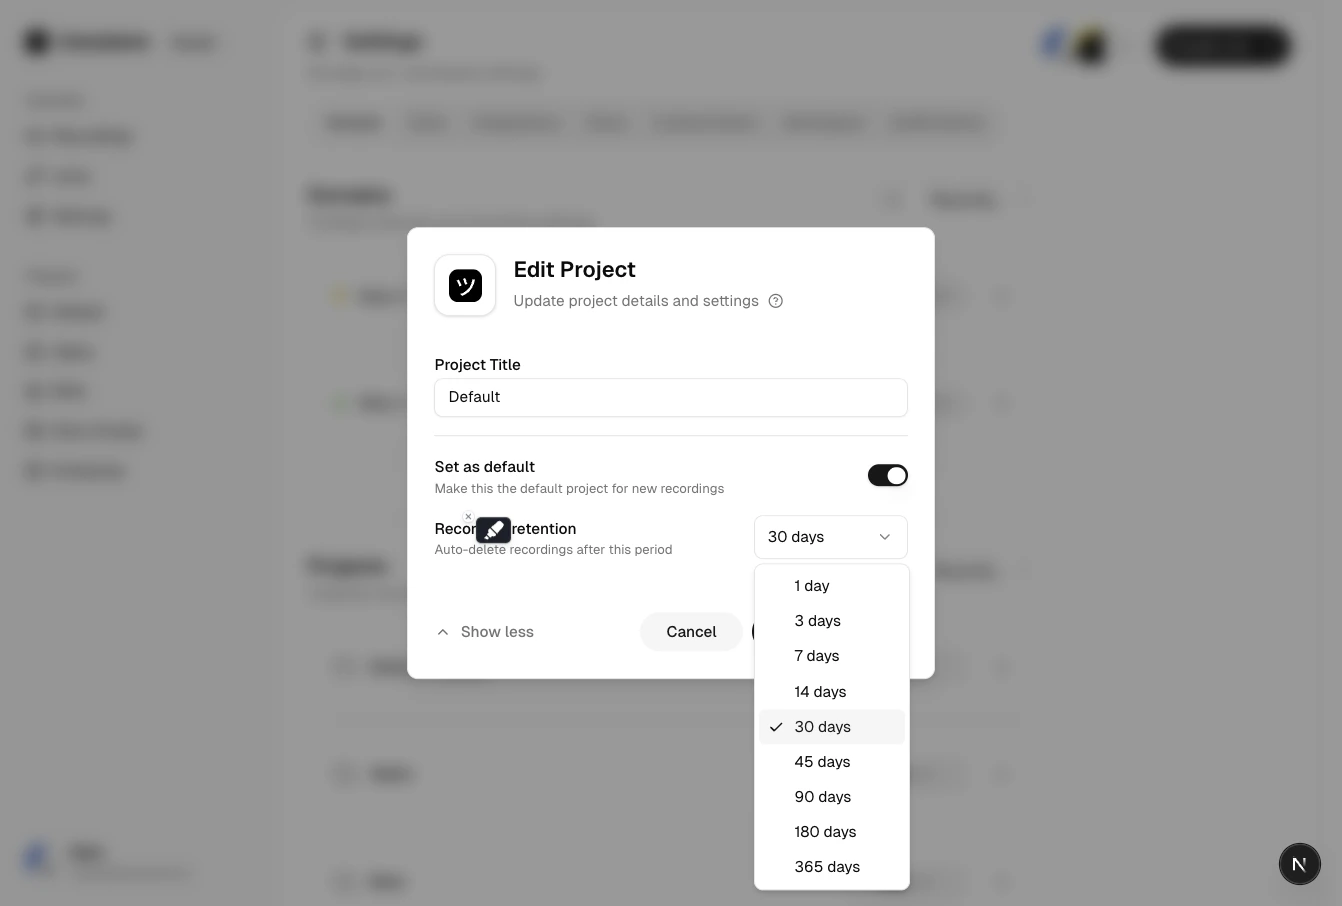
Choose which project this recording belongs to from the Project dropdown.
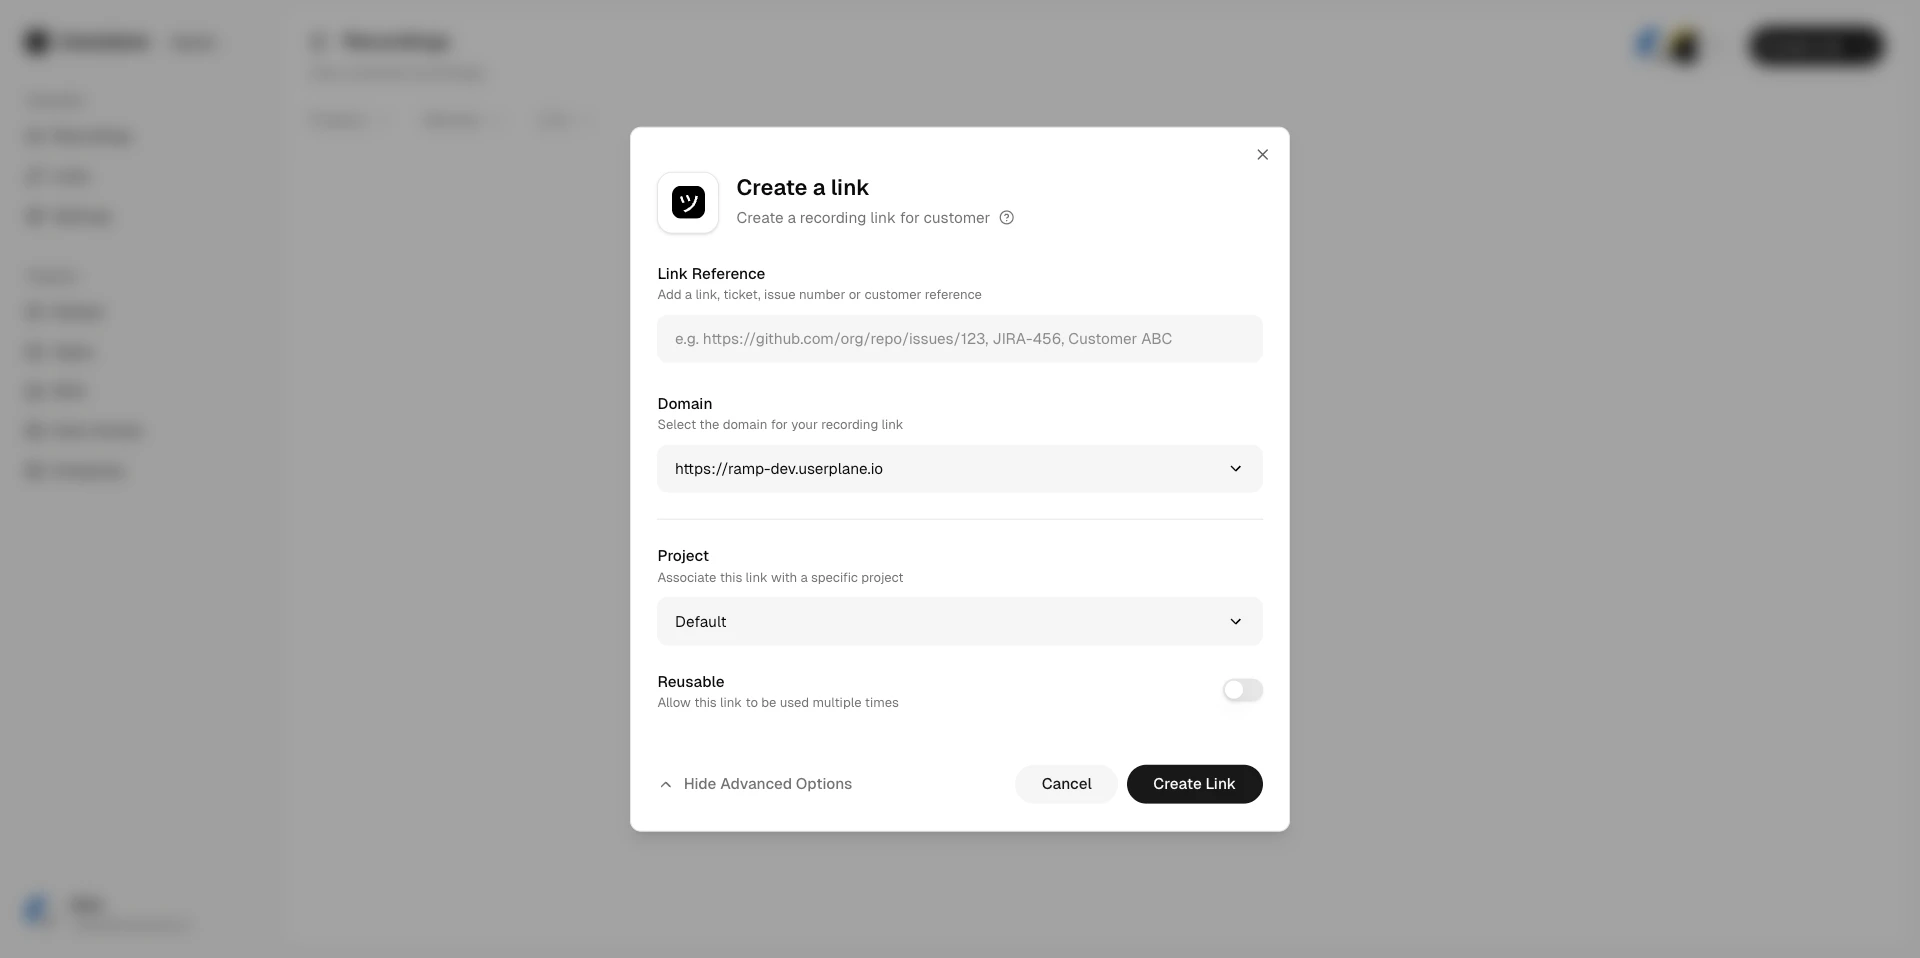
Click show advanced options
Pick a project from the dropdown
3
Create the link
Fill in the remaining details and click Create. The recording link inherits the selected project.