Create a recording link and share it with your customer to capture a screen recording
A recording starts with a link. You create a recording link in Userplane, share it with your customer, and they record their screen directly in the browser — no installs required.
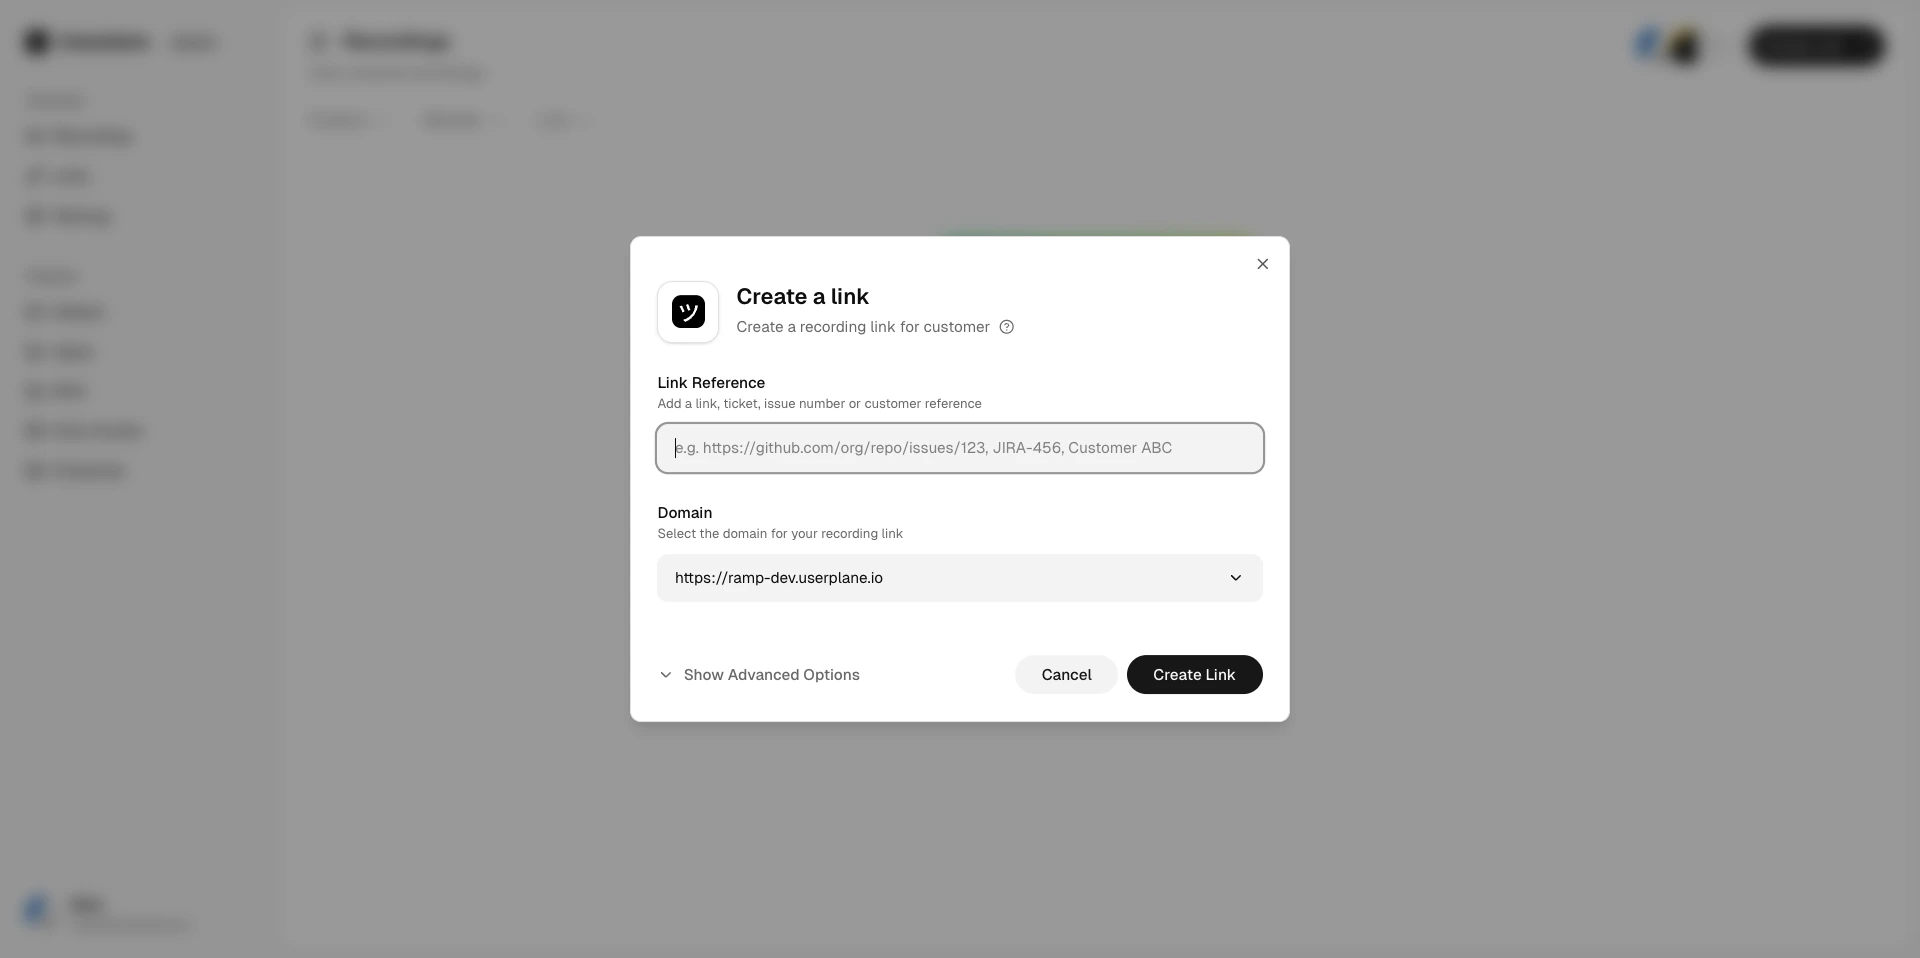
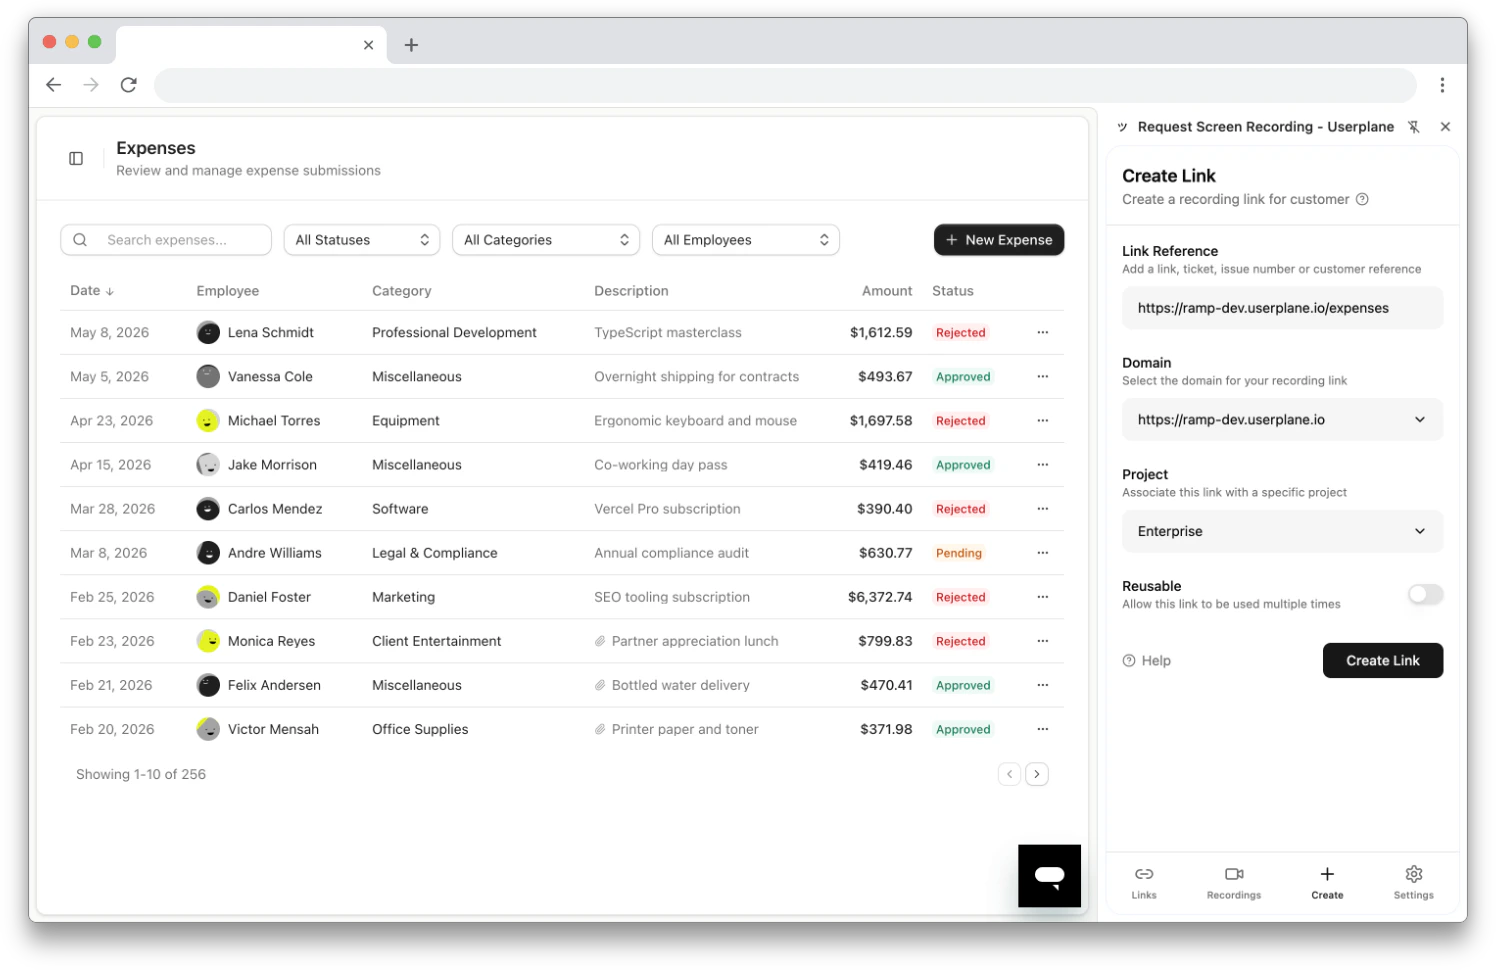
Click the Create Link button in the
top right corner.
Create Link button
2
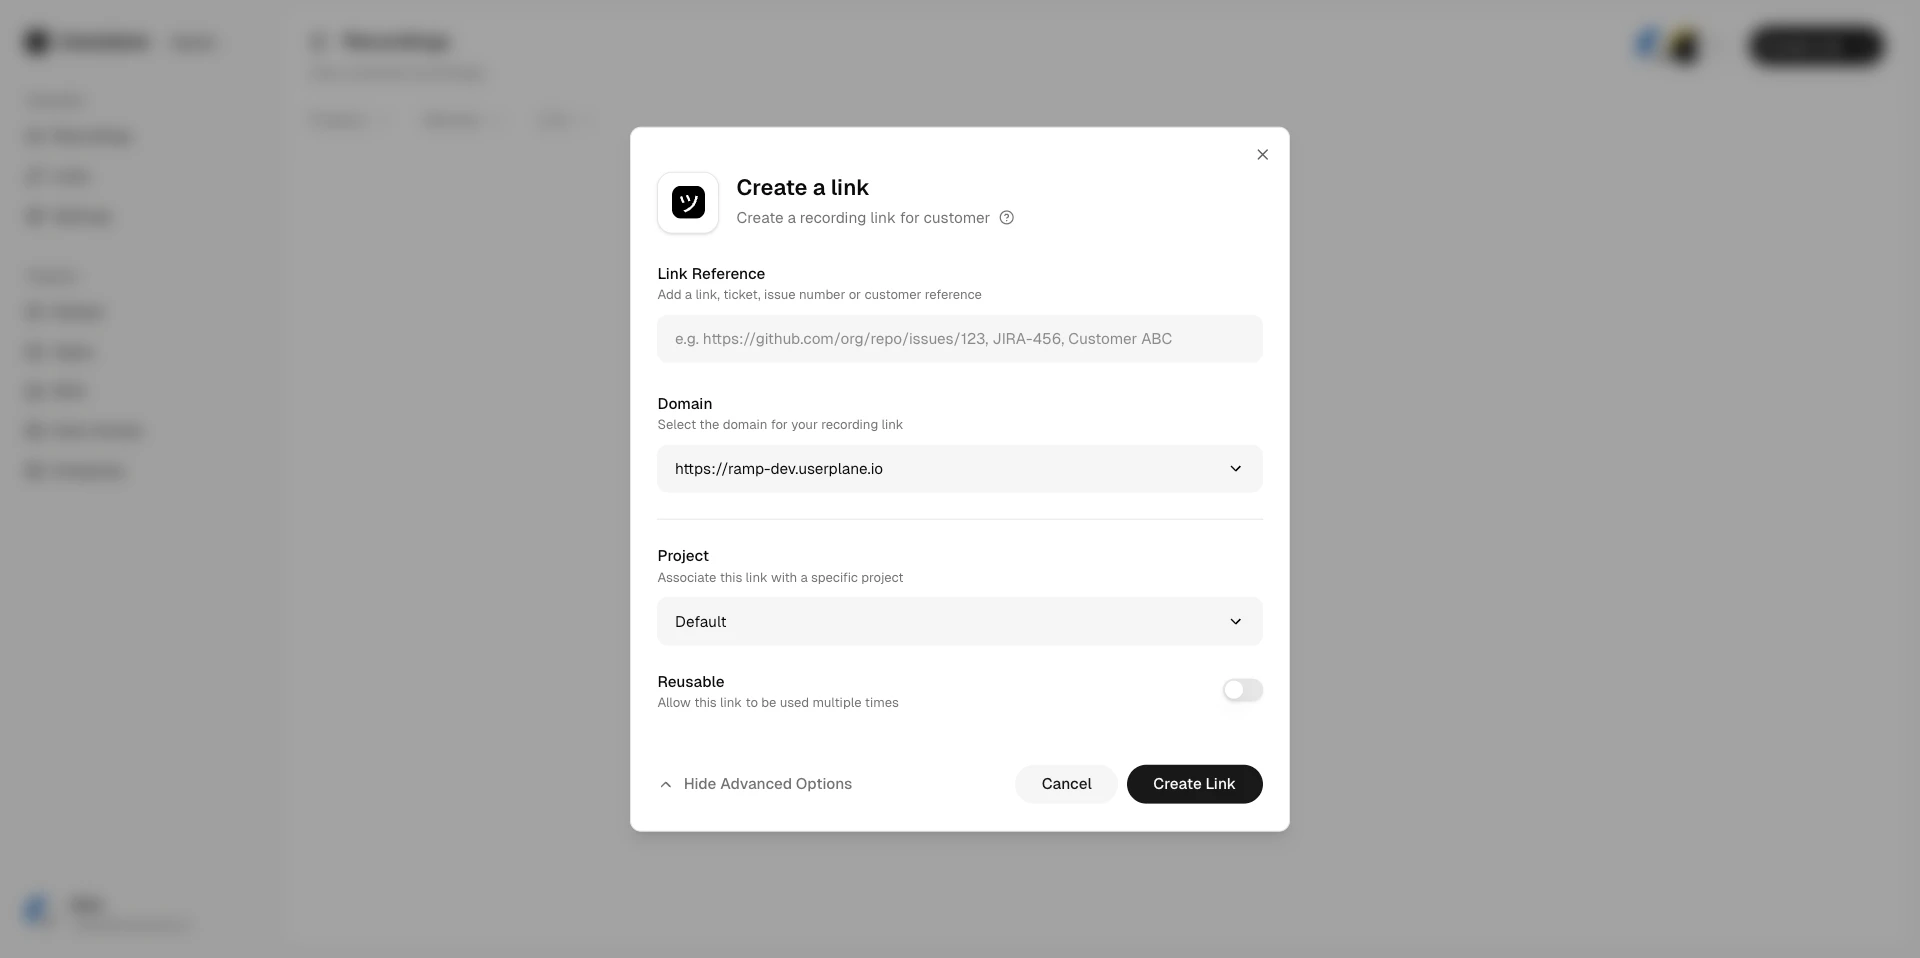
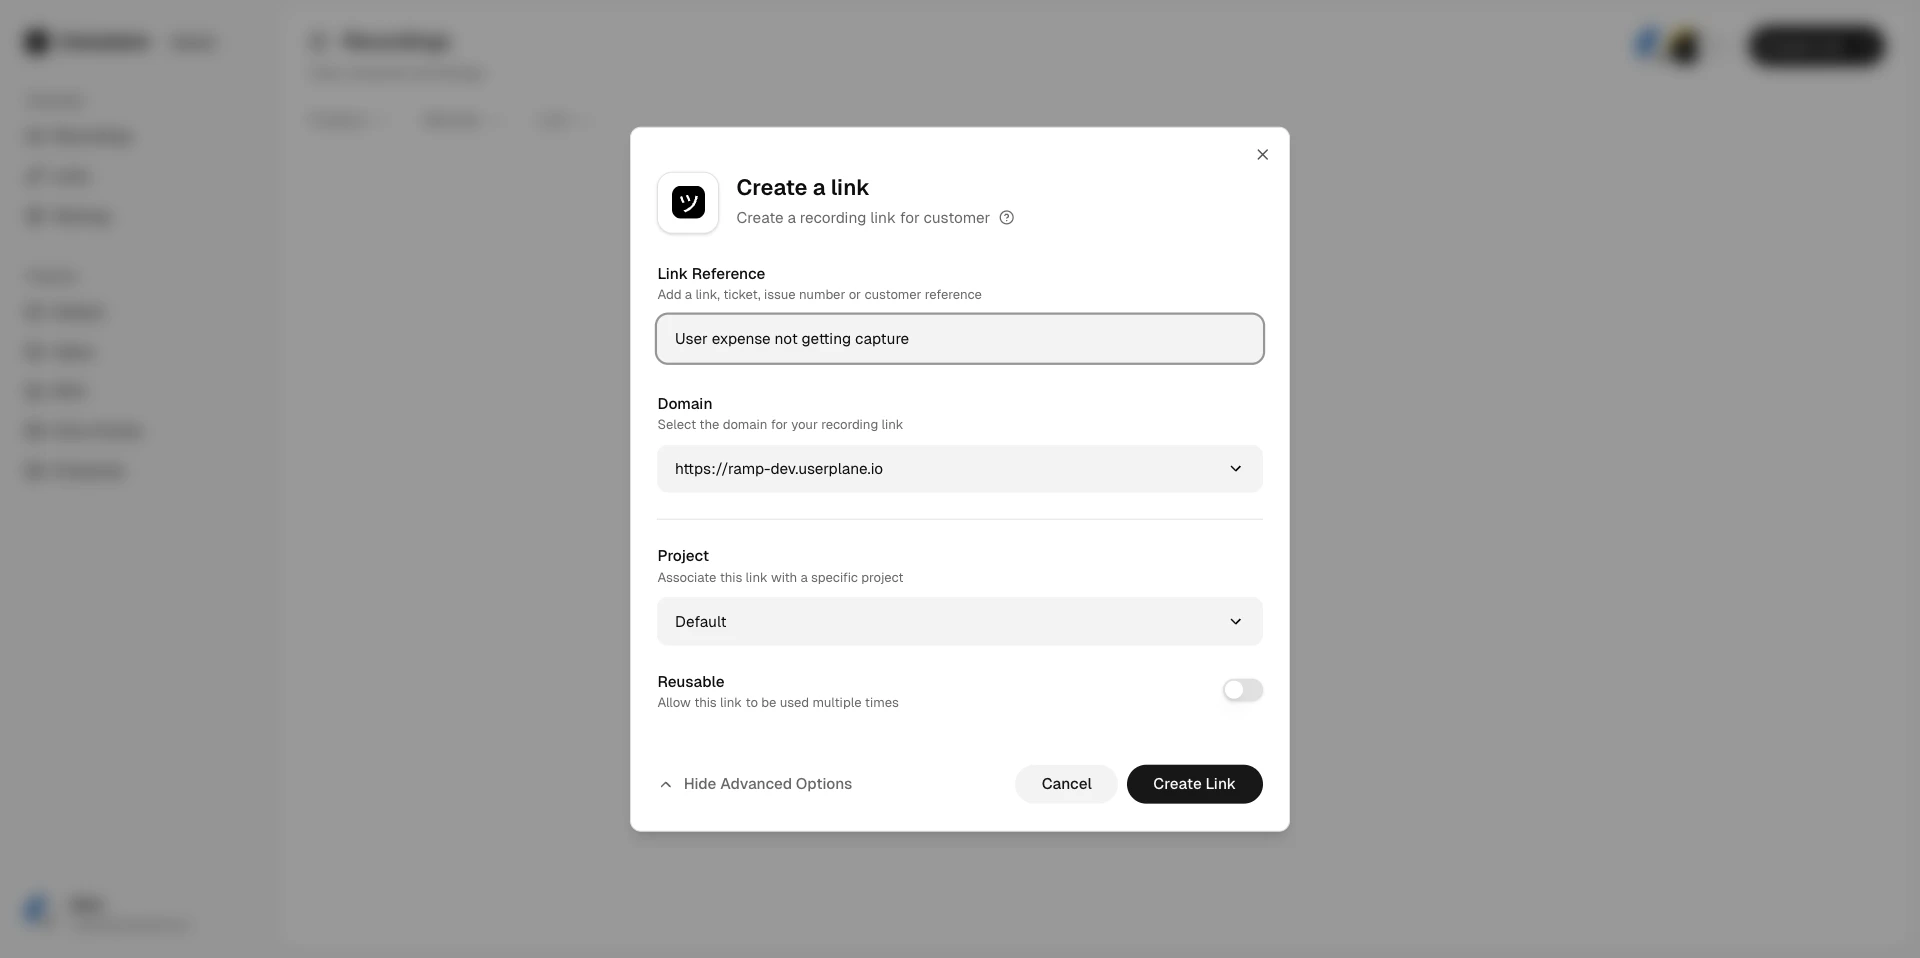
Fill in the link details
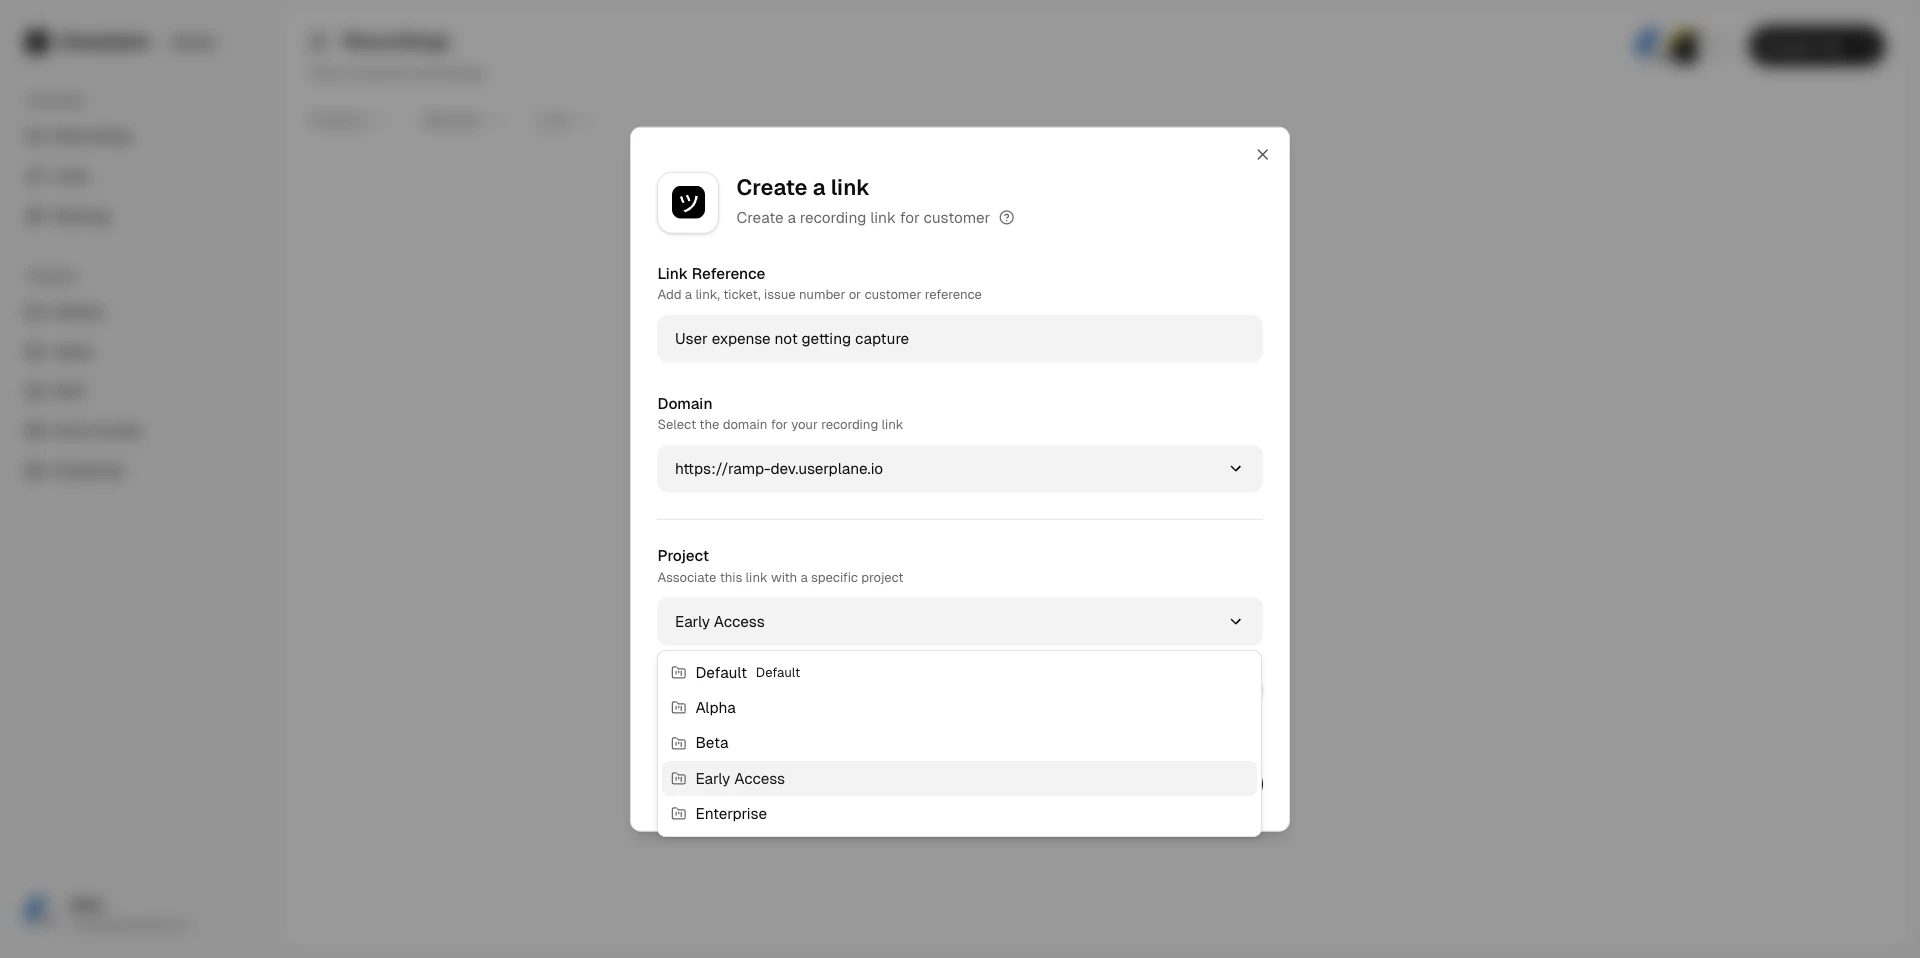
Project — choose which project this recording belongs to. This helps you organize and
filter recordings later.
Domain — select a verified domain to brand the recording link
with your site’s identity. Optional but recommended.
Reference — add an external reference
like a ticket number or URL (e.g. JIRA-456, a GitHub issue link). This makes it easy to find
the recording later.
Reusable — toggle whether the link can be used once or multiple
times.
Send the recording link to your customer through any channel — email, live chat, Intercom, Slack, or your help desk. When the customer opens the link, they see a branded recording page and can start recording immediately.
After the customer opens the link, they go through the following flow. The finished recording appears in your Recordings page.
1
Customer opens the link
The customer sees a branded recording page and can start recording immediately — no installs required.
Customer recording page
2
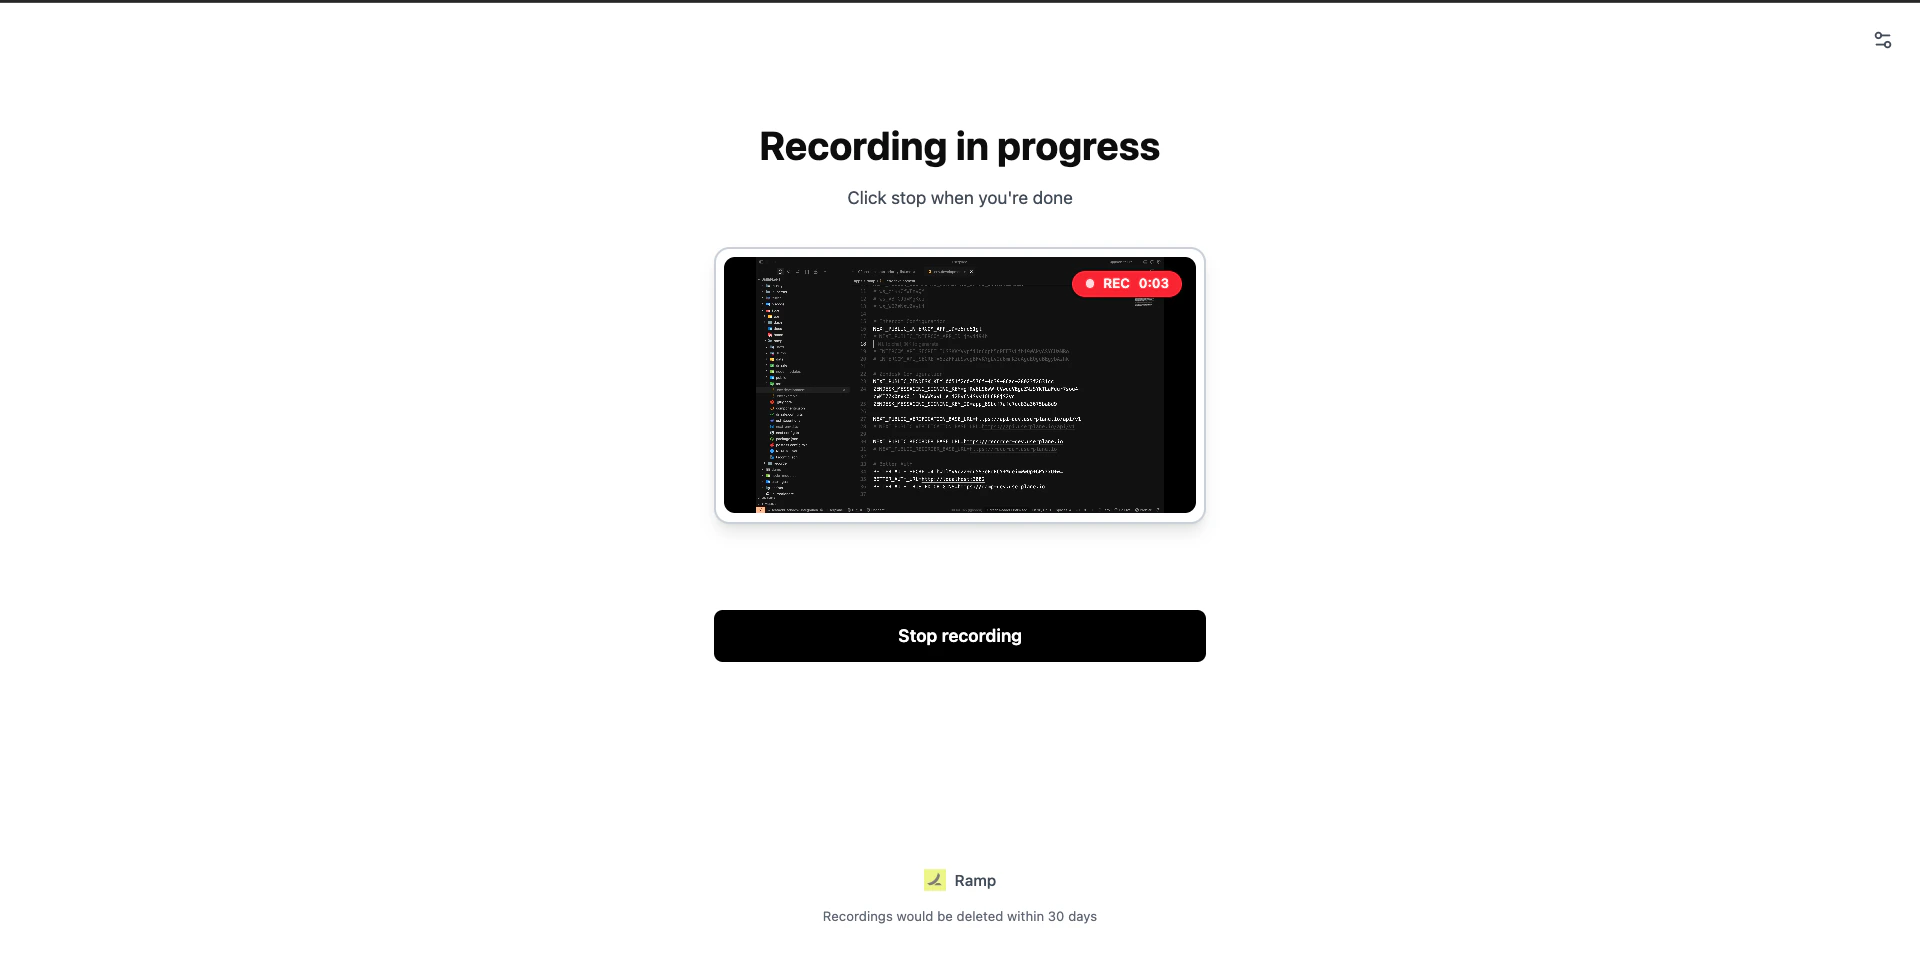
Recording in progress
The customer’s screen is captured in real time along with console logs, network activity, and user actions.
Recording in progress
3
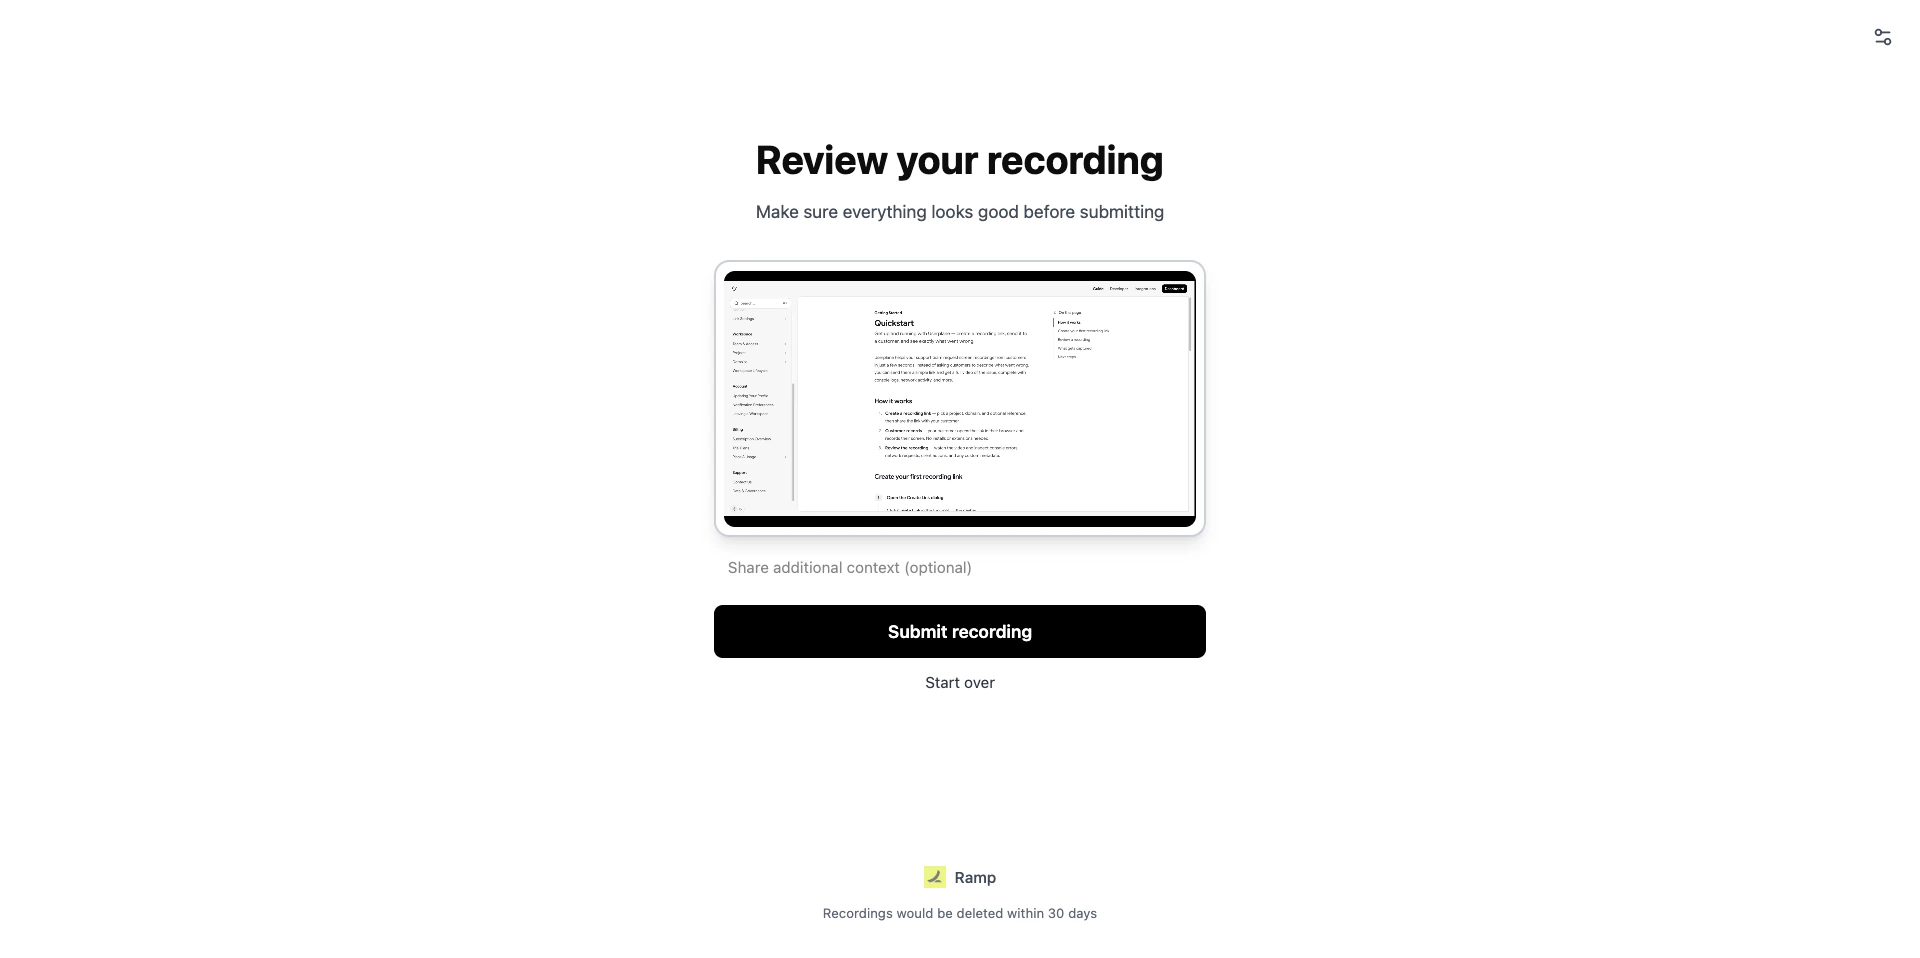
Review before uploading
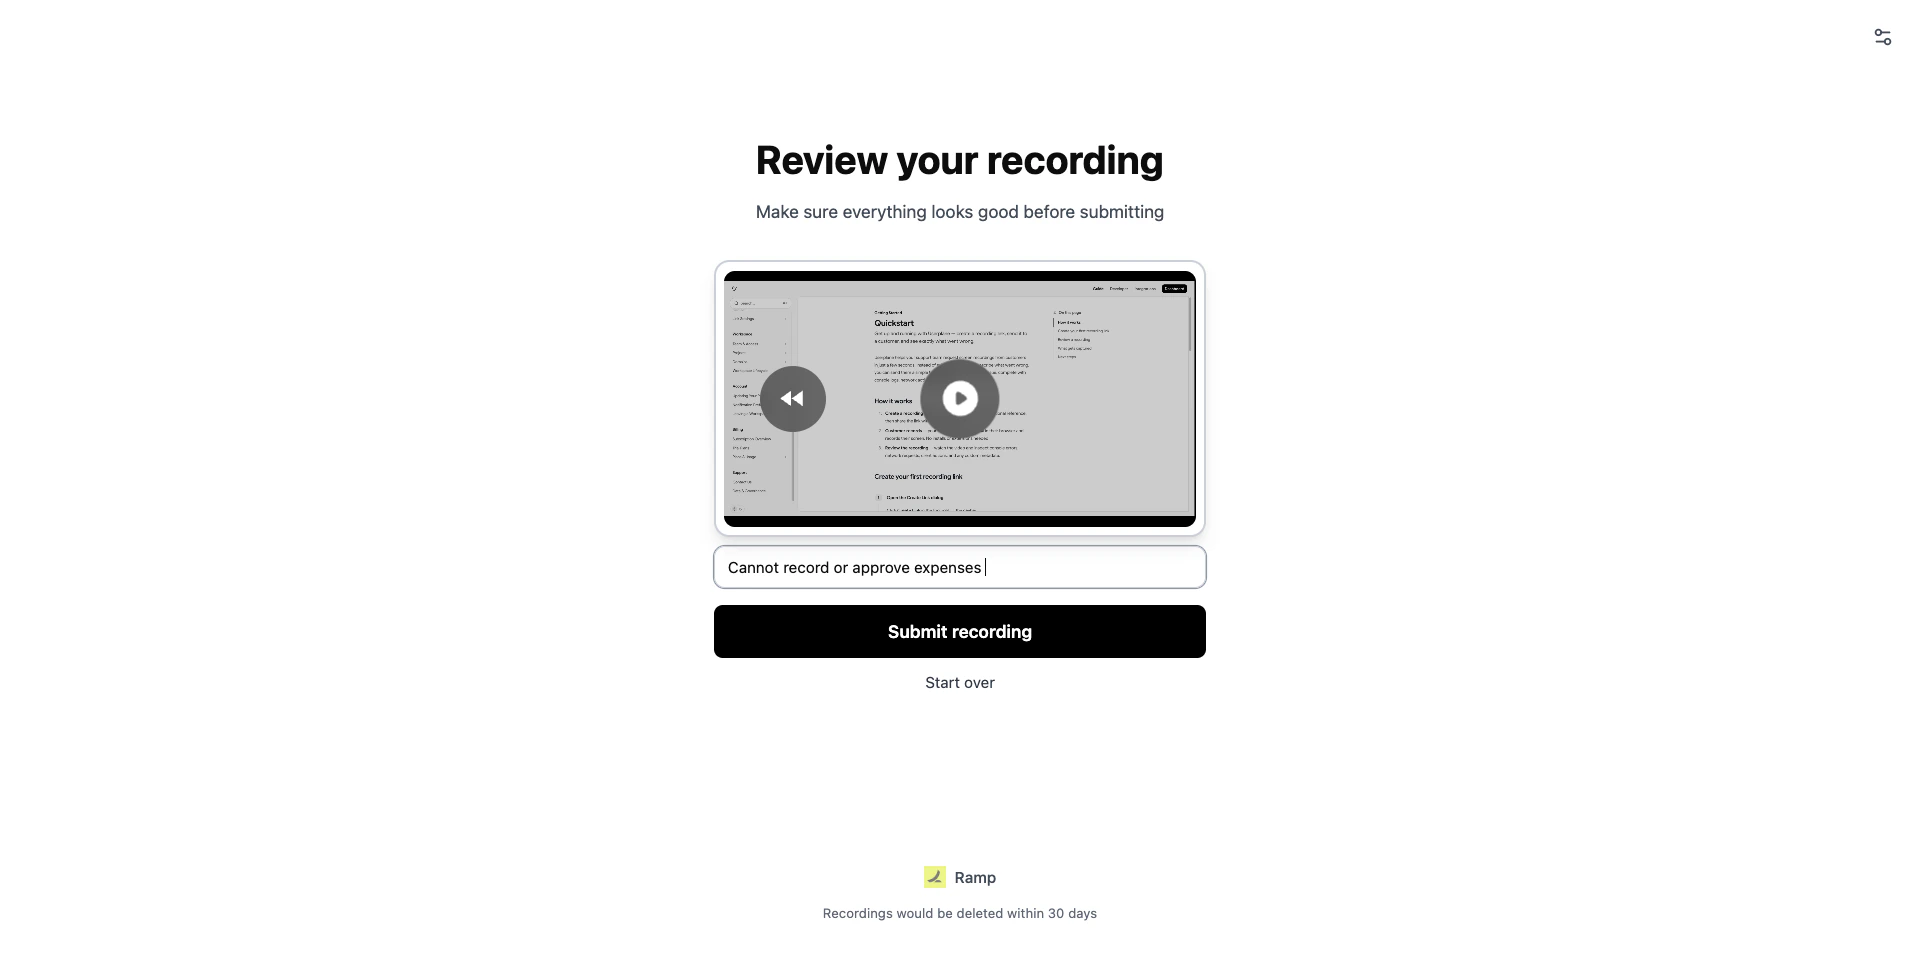
After stopping the recording, the customer can review the capture and add notes to describe the issue.
Review recording before upload
Adding notes before upload
4
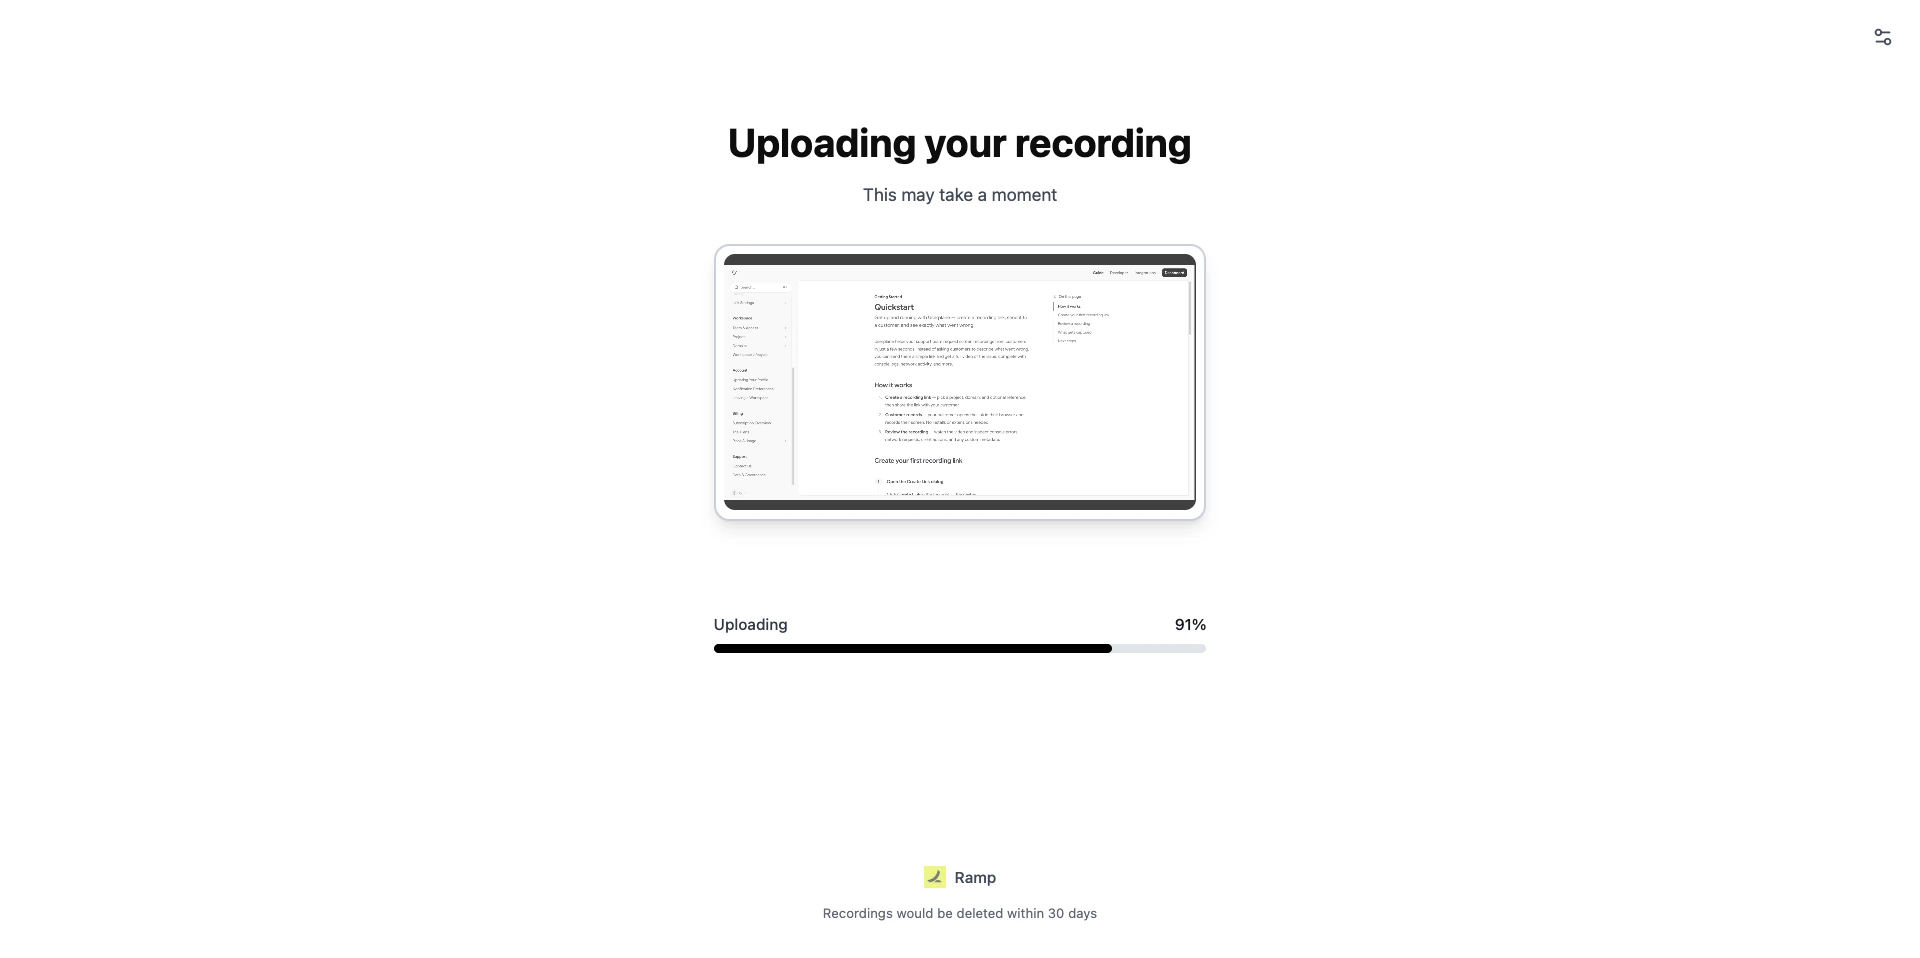
Upload completes
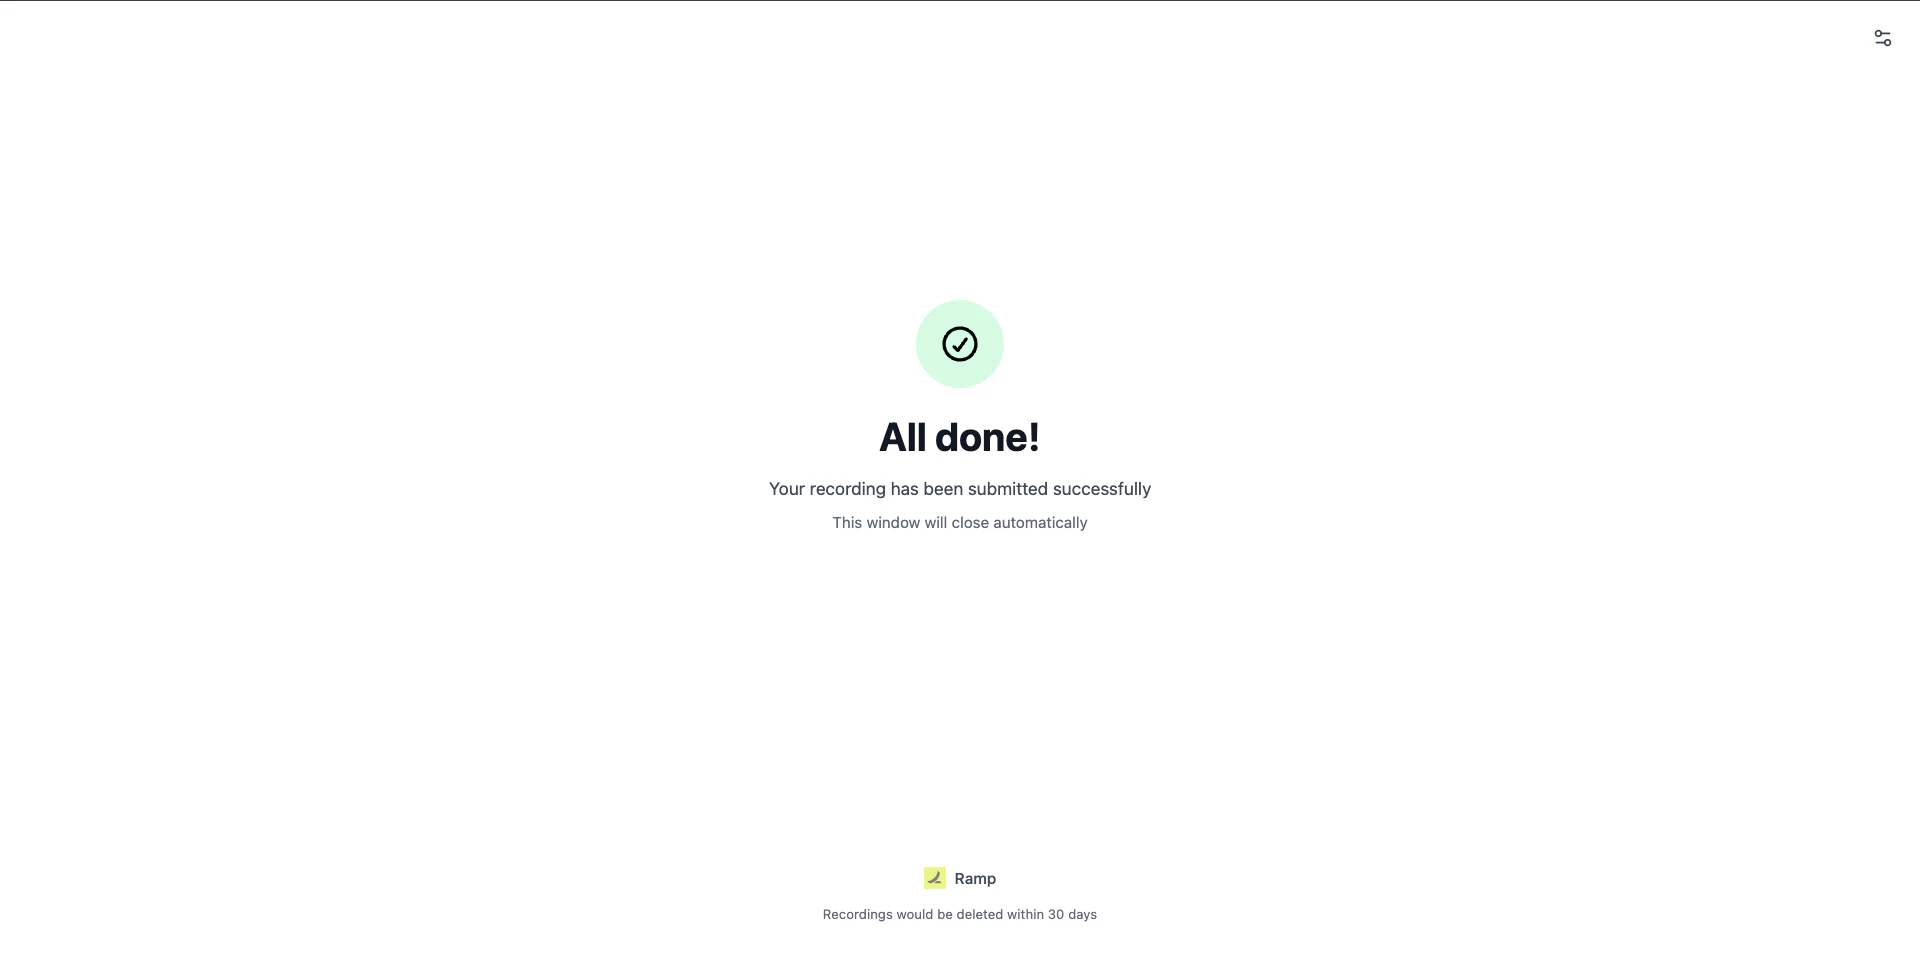
The recording is uploaded and immediately available in your workspace.
Upload in progress
Recording uploaded successfully
Incoming recording notifications are opt-in. To receive email alerts when recordings arrive,
enable “Incoming recordings” in your notification preferences.
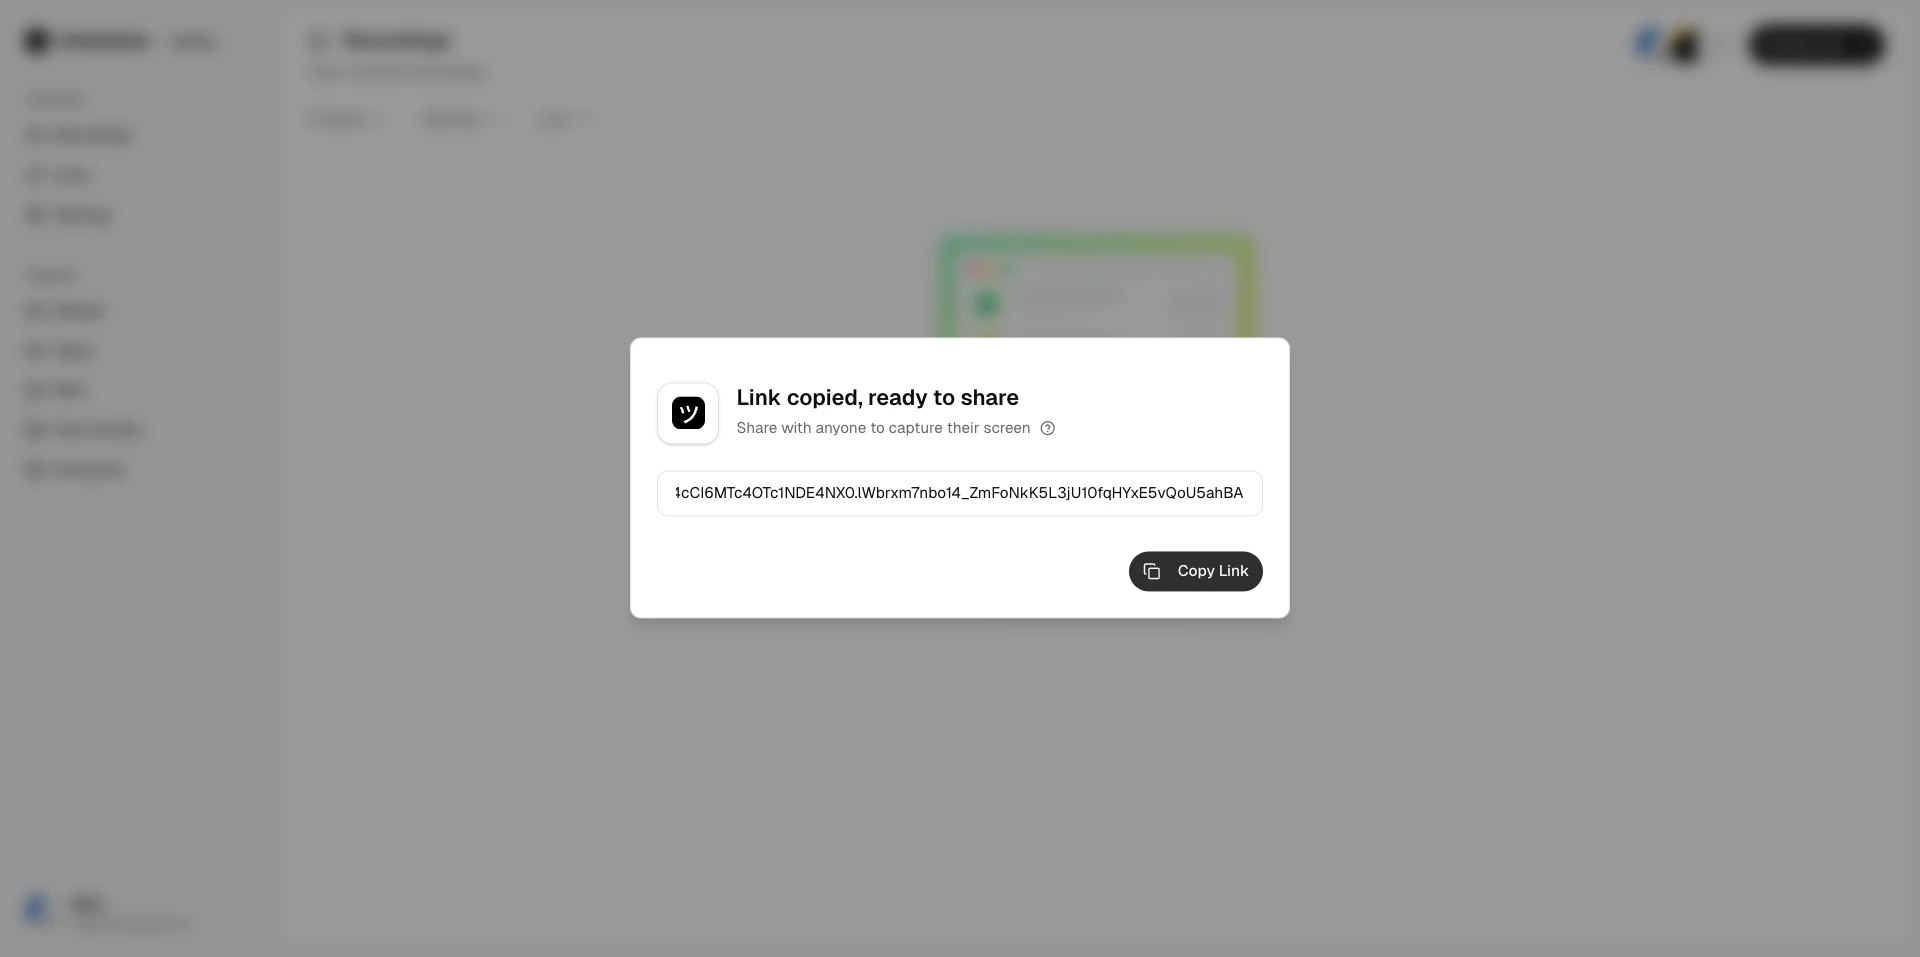
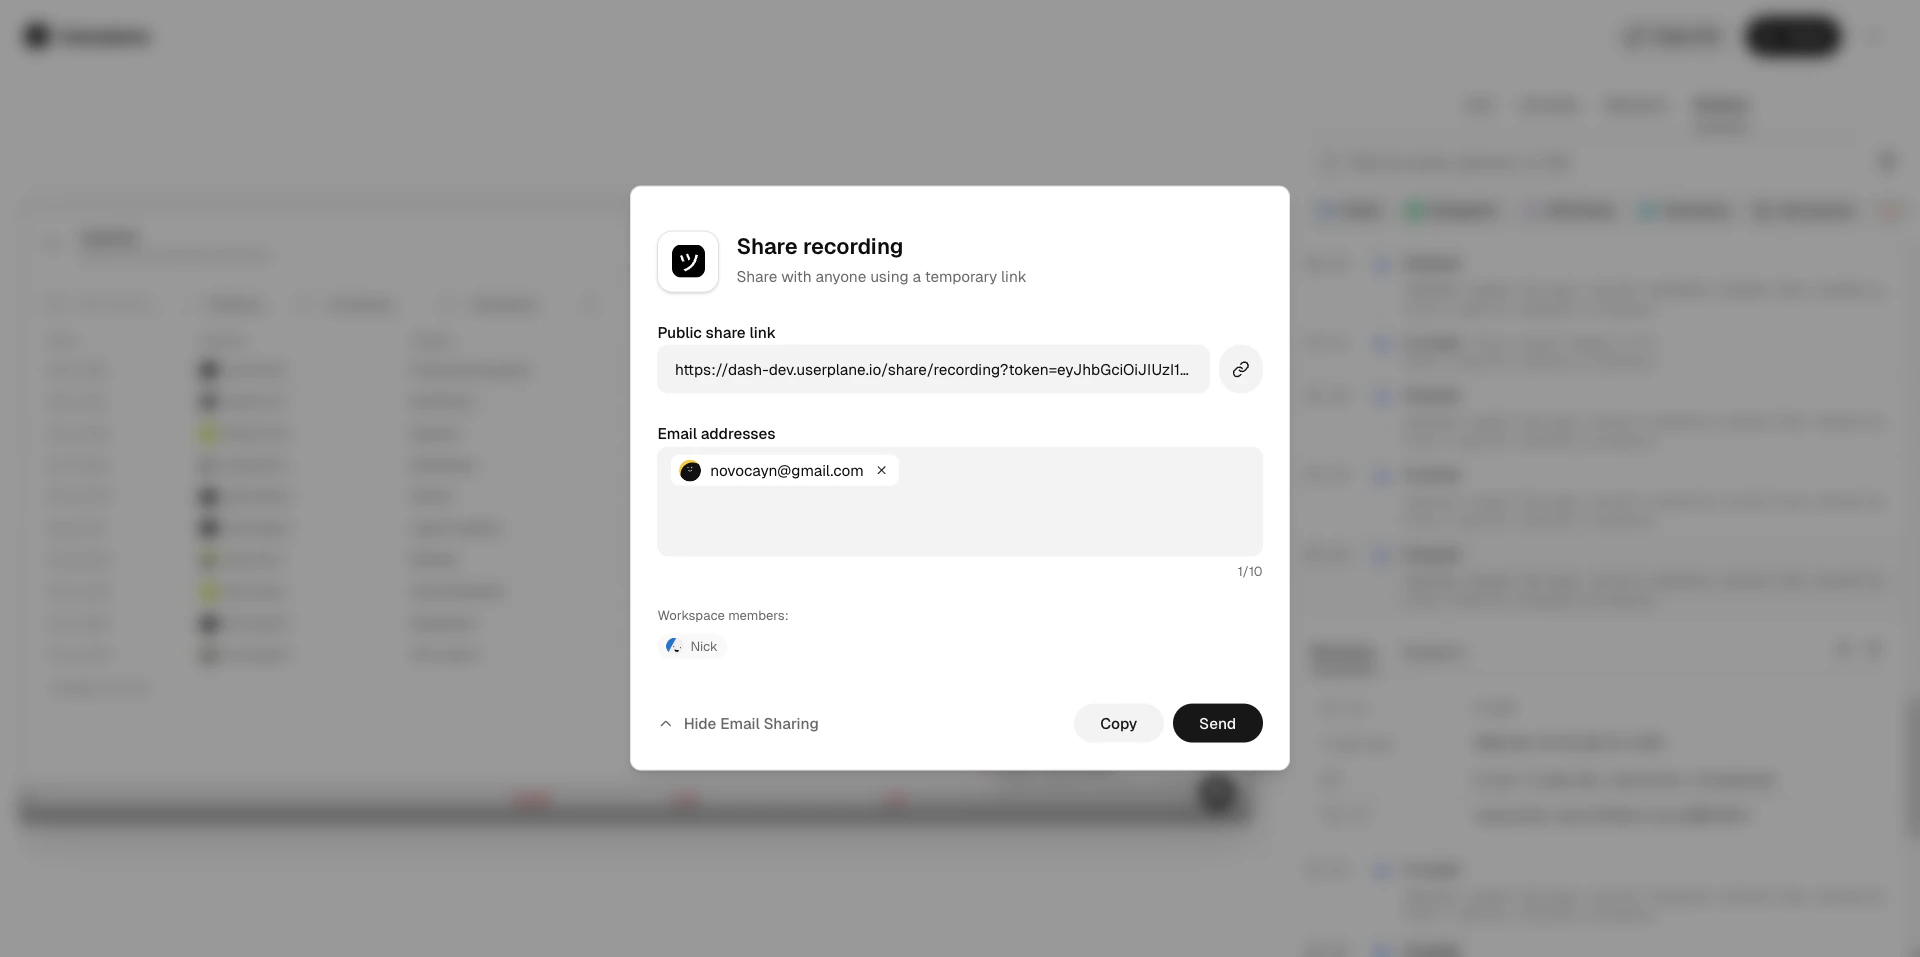
Once a recording lands in your workspace, you can share it with teammates or external collaborators. For the full sharing guide, see Sharing Recordings.
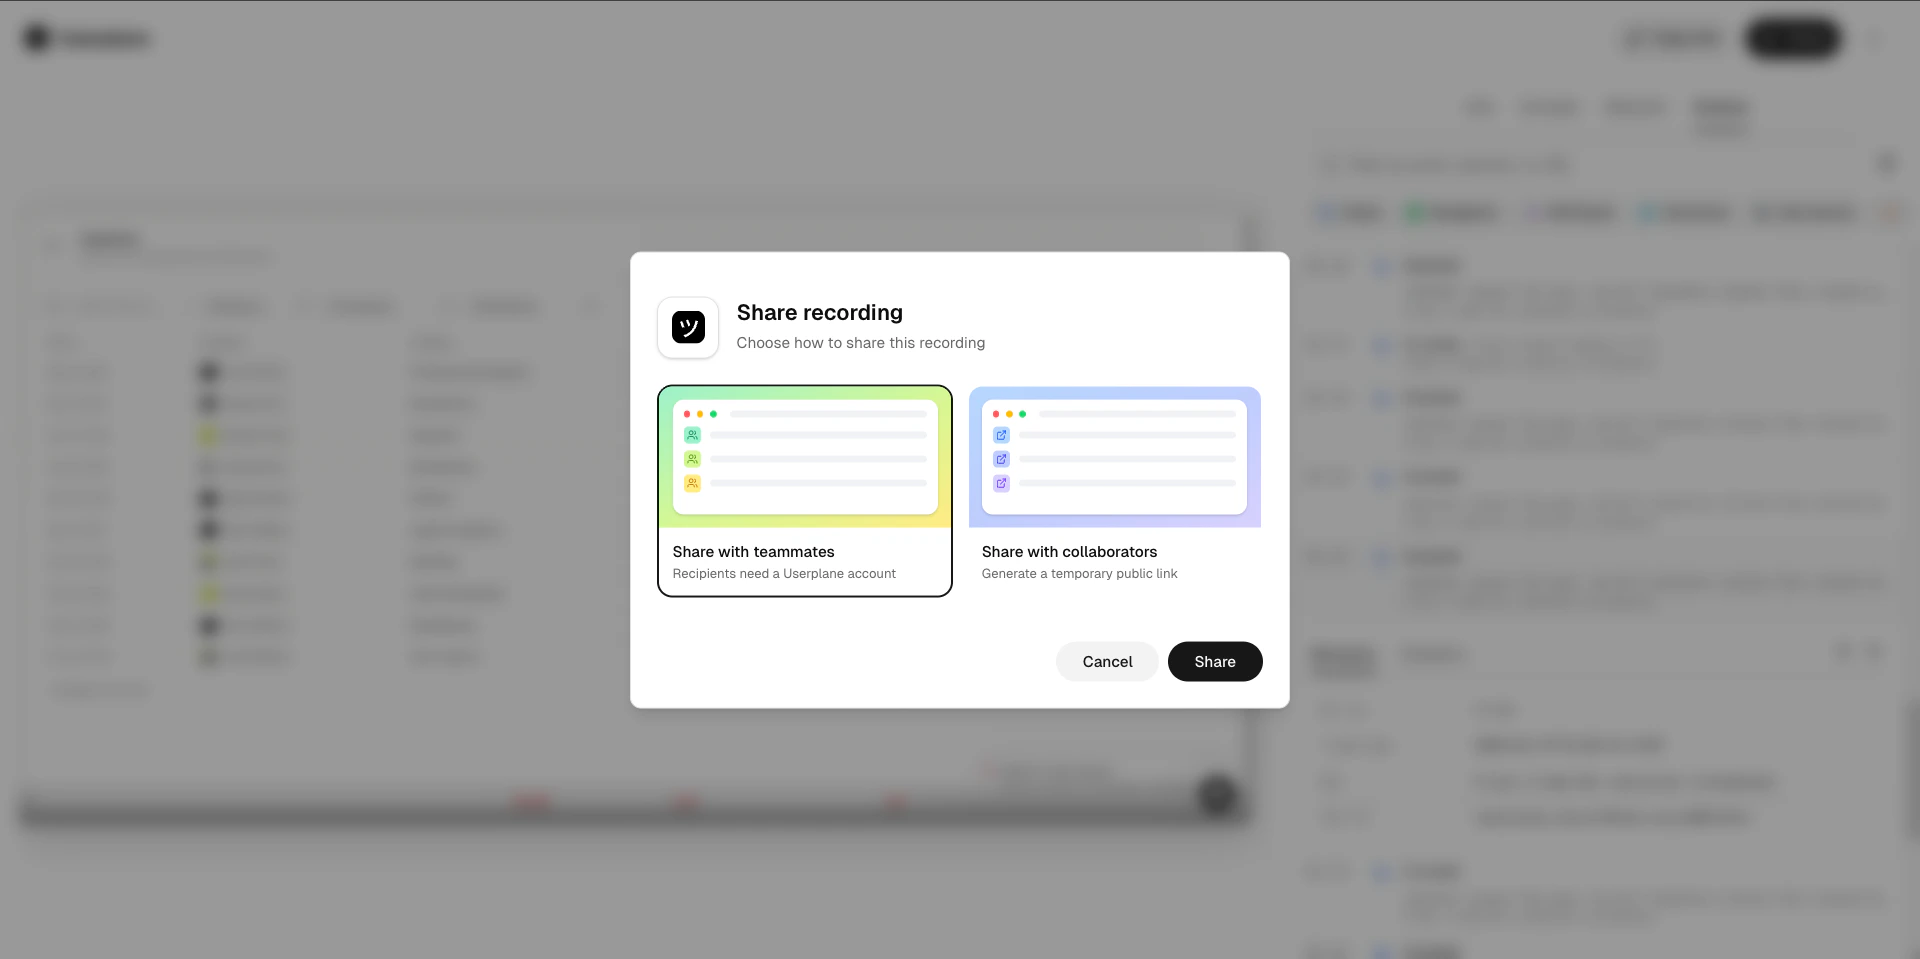
Sharing options
Share with teammates
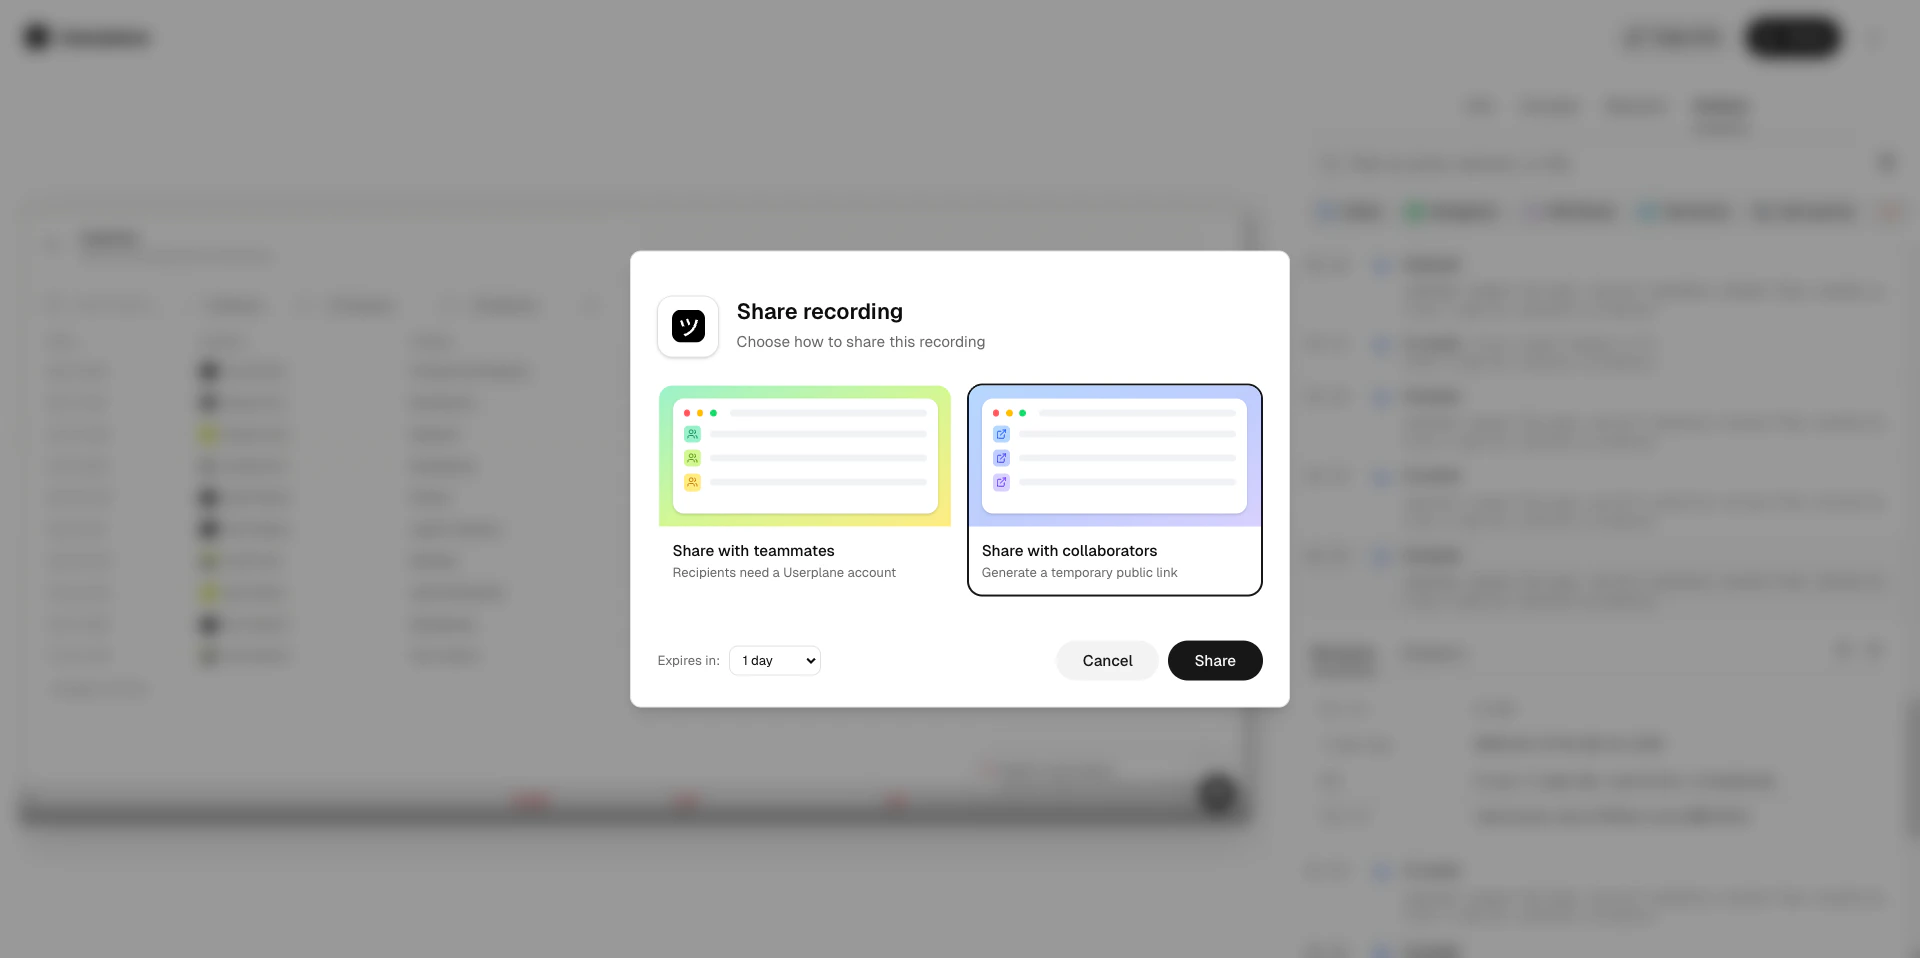
Share with collaborators
Share a recording link with workspace members. Recipients must have a Userplane account and belong to your workspace.
Share with teammates
Generate a temporary public link for anyone — no Userplane account required. The link expires automatically after the selected duration.
If you prefer to stay in the browser rather than switching to the dashboard, the Chrome extension lets you create recording links from a side panel alongside any tab. Press Cmd+Shift+Y (Mac) / Ctrl+Shift+Y (Windows/Linux) to open the Create Link form — the reference field auto-populates with the current page URL.This is especially useful when you’re already looking at a help desk ticket or customer page. See Chrome Extension Link Creation for the full walkthrough.
Create Link form in the Chrome extension with auto-populated reference