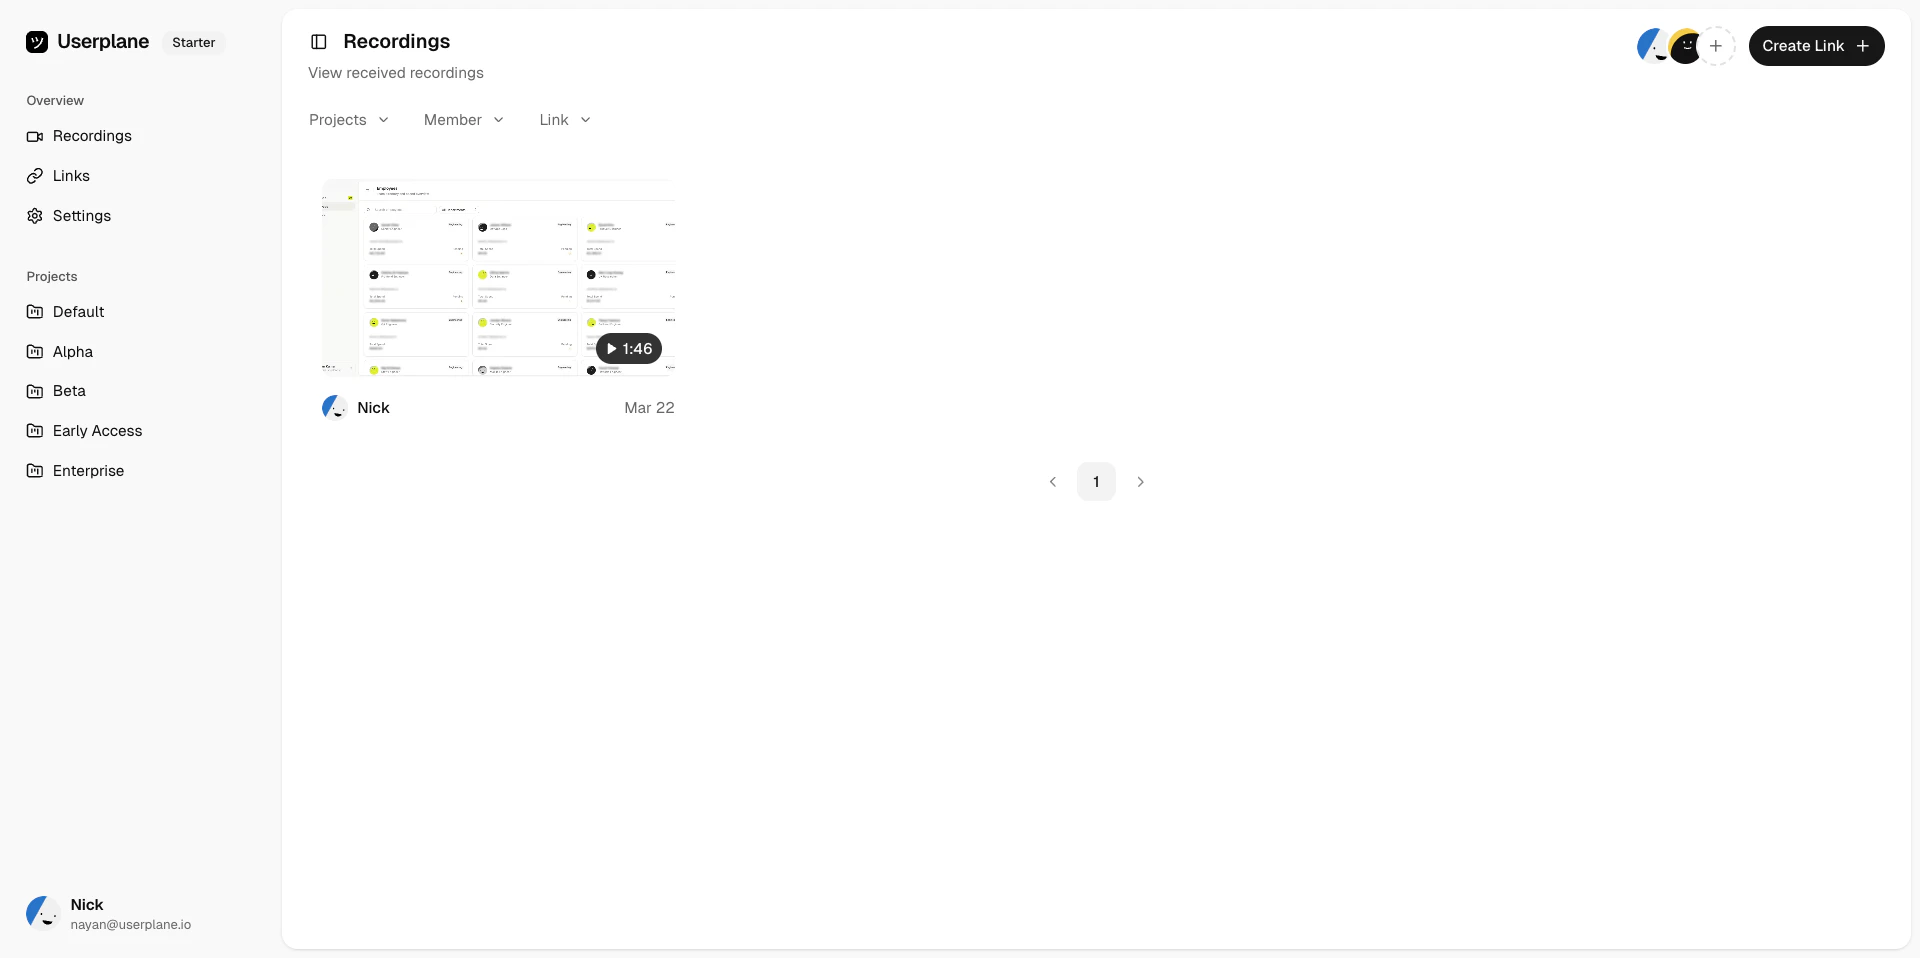
Automatically revoke access to recordings to stay compliant
Recording expiry automatically revokes access to customer-provided recordings the moment they expire — so sensitive data doesn’t linger longer than it should. This helps you meet SOC 2, GDPR, and internal data retention requirements without relying on manual cleanup.Use expiry when reviewing sensitive account details, troubleshooting short-lived issues, or handling recordings that contain personal data. Set it once, and access is removed exactly when your policies require.By default, recordings automatically inherit your project-level retention policies, so expiry rules are applied consistently without extra configuration.
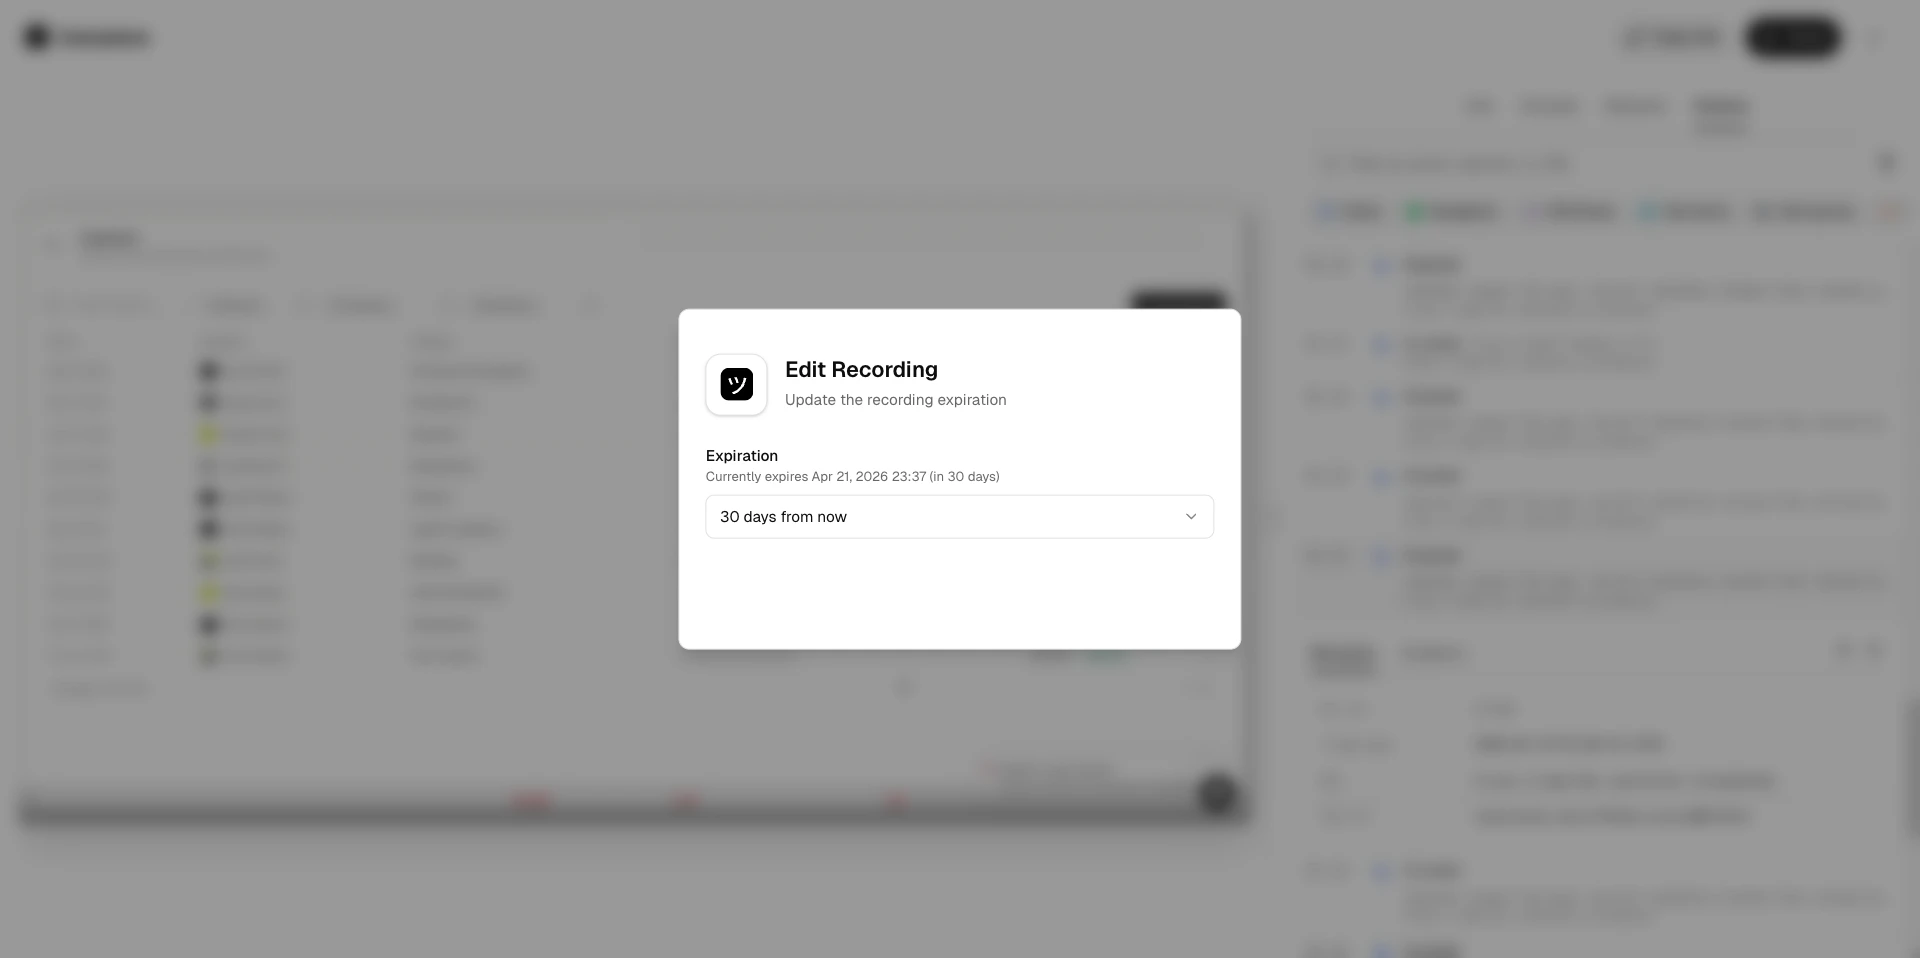
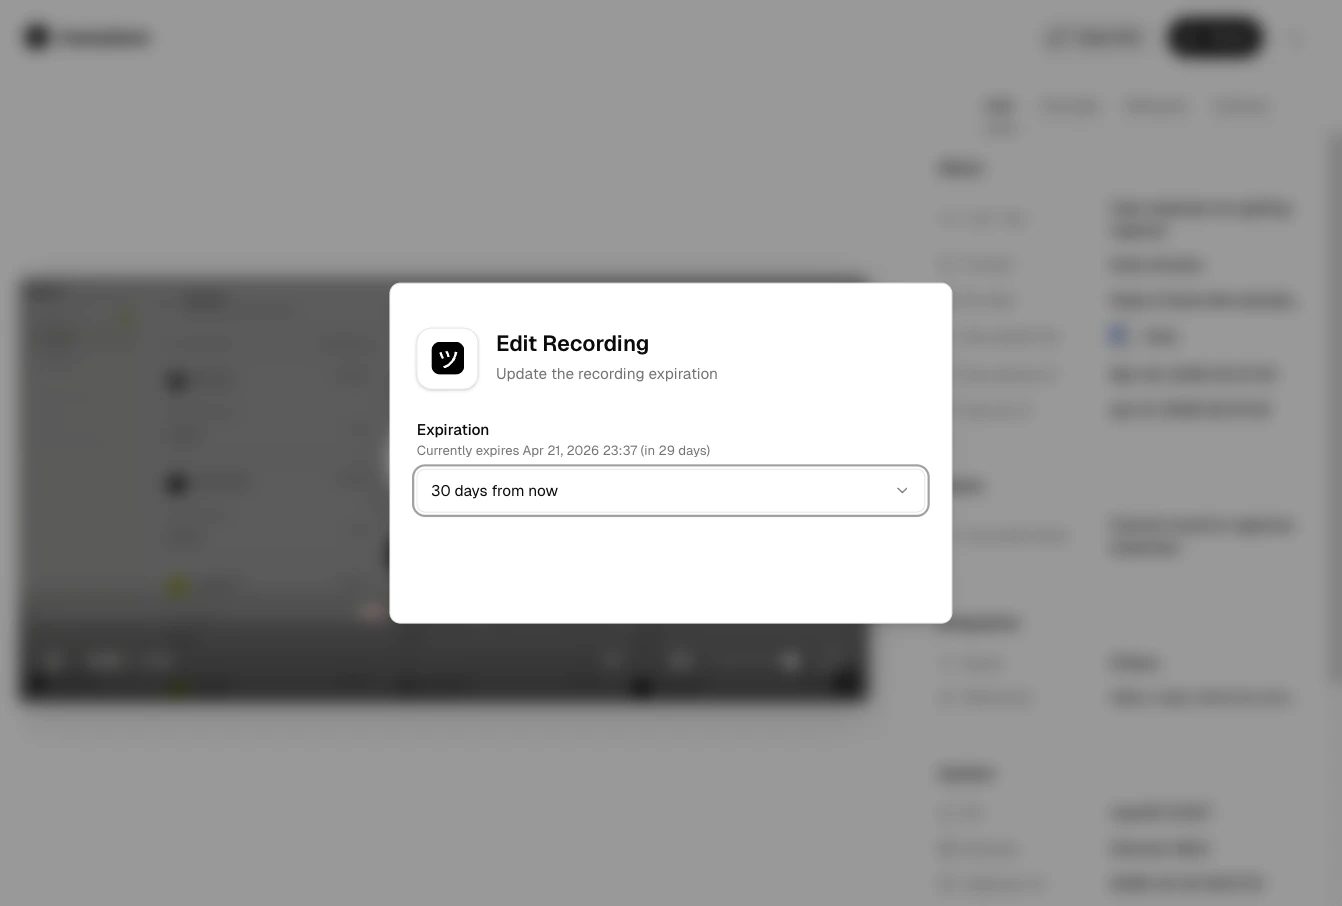
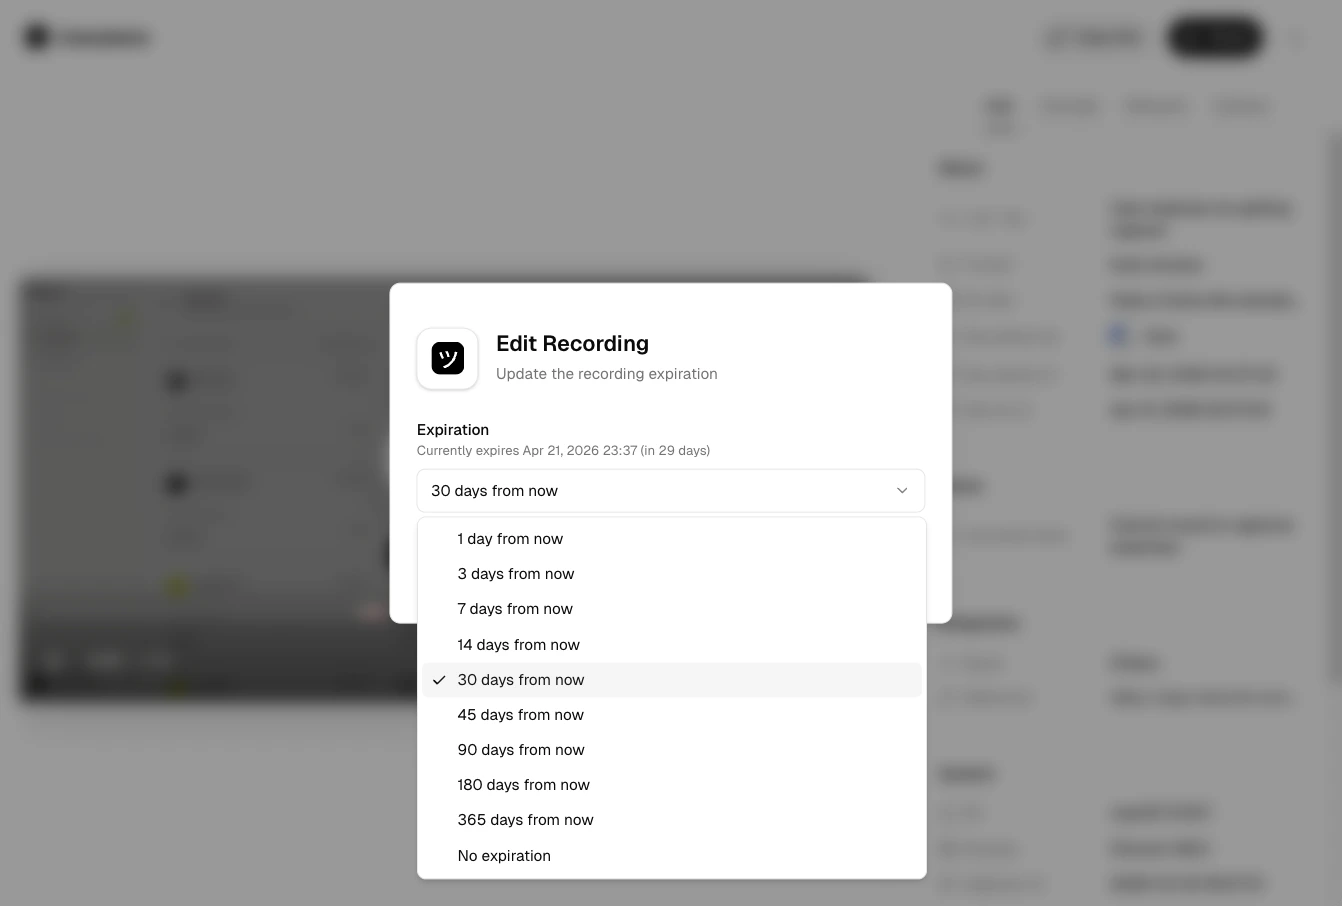
Find Expires at or Expiration and select a date and time.
Edit recording expiry
Once the expiration time is reached, access is revoked immediately.
Recordings inherit project-level retention policies by default. You can override the expiration
for individual recordings if needed. See Project Lifecycle for
details on configuring automatic retention policies.
If your policy allows continued access, you can update the expiration date (up to one year at a time). This is useful for handoffs or longer investigations.To remove expiry entirely, open the recording’s settings and select No expiration. Access is restored immediately.