

Adding the script
The fastest way to add Userplane is the CDN embed. Add these two tags to the<head> of your index.html:
npm SDK
Use the npm SDK when you need programmatic control — triggering recordings from a button, attaching user metadata, or reading recording state.Installation
Initialization
Create aUserplaneProvider component and wrap your app with it in main.tsx.
Because Vite React apps are pure client-side rendered, you can use a static import at the top of
the file — no dynamic
import() or SSR guards are needed. useEffect ensures initialize() runs
once after mount.URL parameters
When a customer opens a recording link, Userplane appendsuserplane-token and userplane-action to the URL. If your app uses a router that strips unknown search parameters (e.g. a protected route redirect), carry the userplane- prefixed params through:
Sensitive data
Adddata-userplane-blur to any element you want blurred in recordings. See Sensitive Data Redaction for the full reference.
Metadata
Callset() after initialize() to attach user context to recordings:
Example app
A complete React example is available at github.com/userplanehq/userplane-sdk-examples/tree/main/examples/react.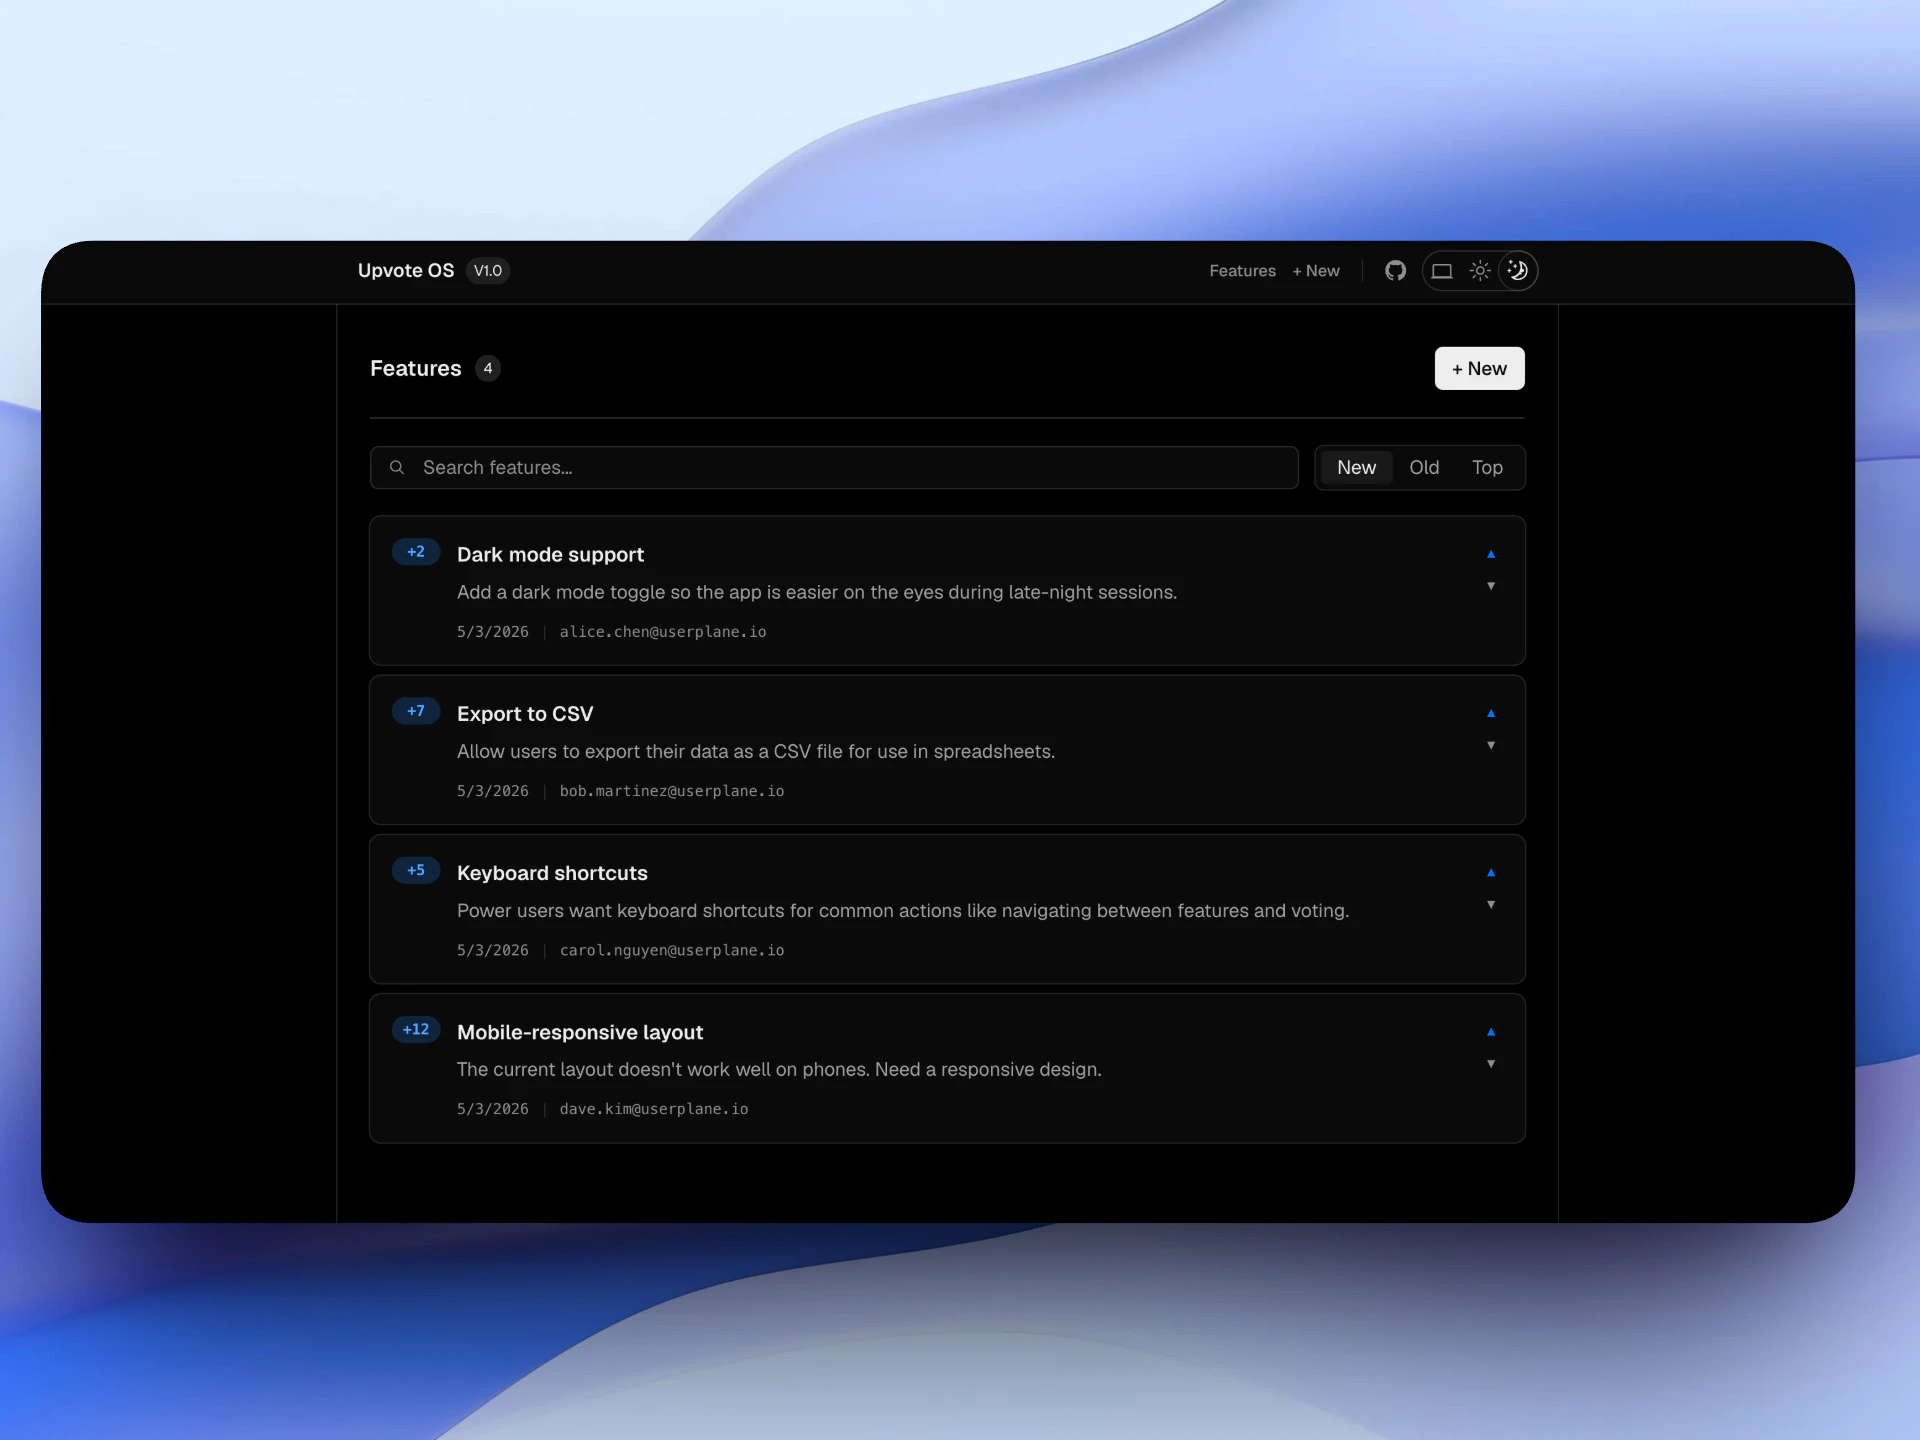
Example app
Related articles
- Installation — CDN script placement, CSP, and redirect handling.
- Web SDK — full SDK API reference.
- Metadata SDK — attach user context to recordings.
- Sensitive Data Redaction — blur sensitive content in recordings.