

Prerequisites
The Userplane SDK or embed script must be on the page. See the Installation guide for setup.Quick start
Add thedata-userplane-blur attribute to any element you want blurred in recordings:
Blur methods
There are three ways to mark elements for blur: data attributes, CSS classes, and meta tags. You can mix and match these across your application.Data attribute
Adddata-userplane-blur to any HTML element. Accepted truthy values are true, 1, yes, or just the bare attribute with no value.
CSS class
Add theuserplane-mask class to any element:
Meta tags
Define blur targets using CSS selectors in a<meta> tag in the document <head>. This lets you blur elements by class, ID, or any valid CSS selector without modifying the elements themselves.
- You want to centralize blur rules in one place rather than scattering attributes across components.
- You need to blur third-party embedded content you don’t control.
- You want non-developers (or a CMS) to manage blur targets without touching component code.
Choosing a method
All three methods can be used together. An element that matches any of them will be blurred.
Excluding elements from blur
To explicitly exclude an element from blur — even if a parent or broader selector would otherwise blur it — set the attribute to a falsy value:false, 0, and no. Unmask always takes precedence over mask when both match an element.
Automatic blur
When the Hide sensitive fields domain preference is enabled, the SDK automatically detects and blurs common sensitive elements without any code changes:- Password inputs (
type="password") - Credit card fields (inputs with
autocompletevalues likecc-number,cc-exp,cc-csc) - Other browser-identified sensitive input types
Third-party tool compatibility
If your application already uses privacy attributes from another session replay or analytics tool, the SDK recognizes and respects those attributes automatically. You do not need to re-tag elements.Supported providers and their selectors
Generic privacy attributes are also recognized:
[data-private], .private, [data-sensitive], .sensitive.
Third-party unmask selectors
Some providers define unmask selectors, which the SDK also respects:Dynamic content
Blur automatically handles content that is added to the page after initial load. This includes elements rendered by client-side frameworks (React, Vue, Angular, etc.), lazy-loaded content, and dynamically injected HTML. If a new element matches any active blur selector — whether from a data attribute, CSS class, meta tag, or third-party attribute — it is blurred as soon as it appears in the DOM. No additional setup is needed.Common patterns
Blur a form section
Blur with exceptions
Centralized blur via meta tags
Blur in a React component
Verifying blur
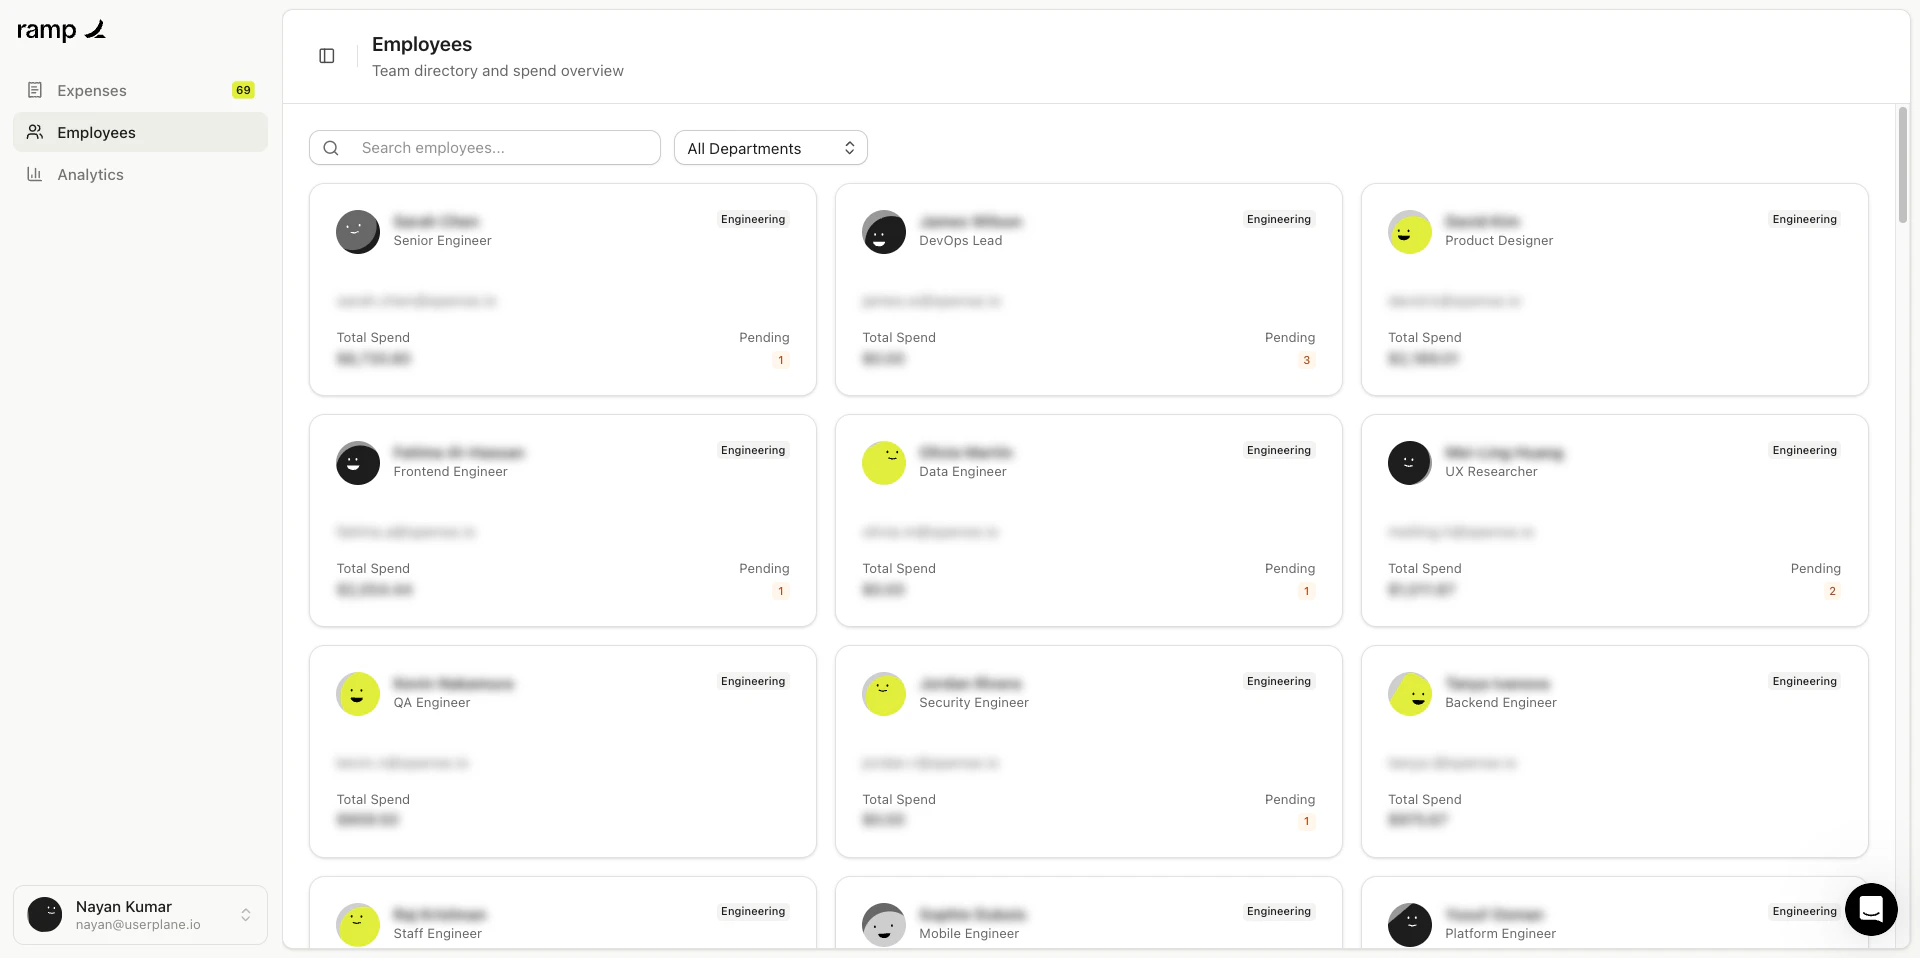
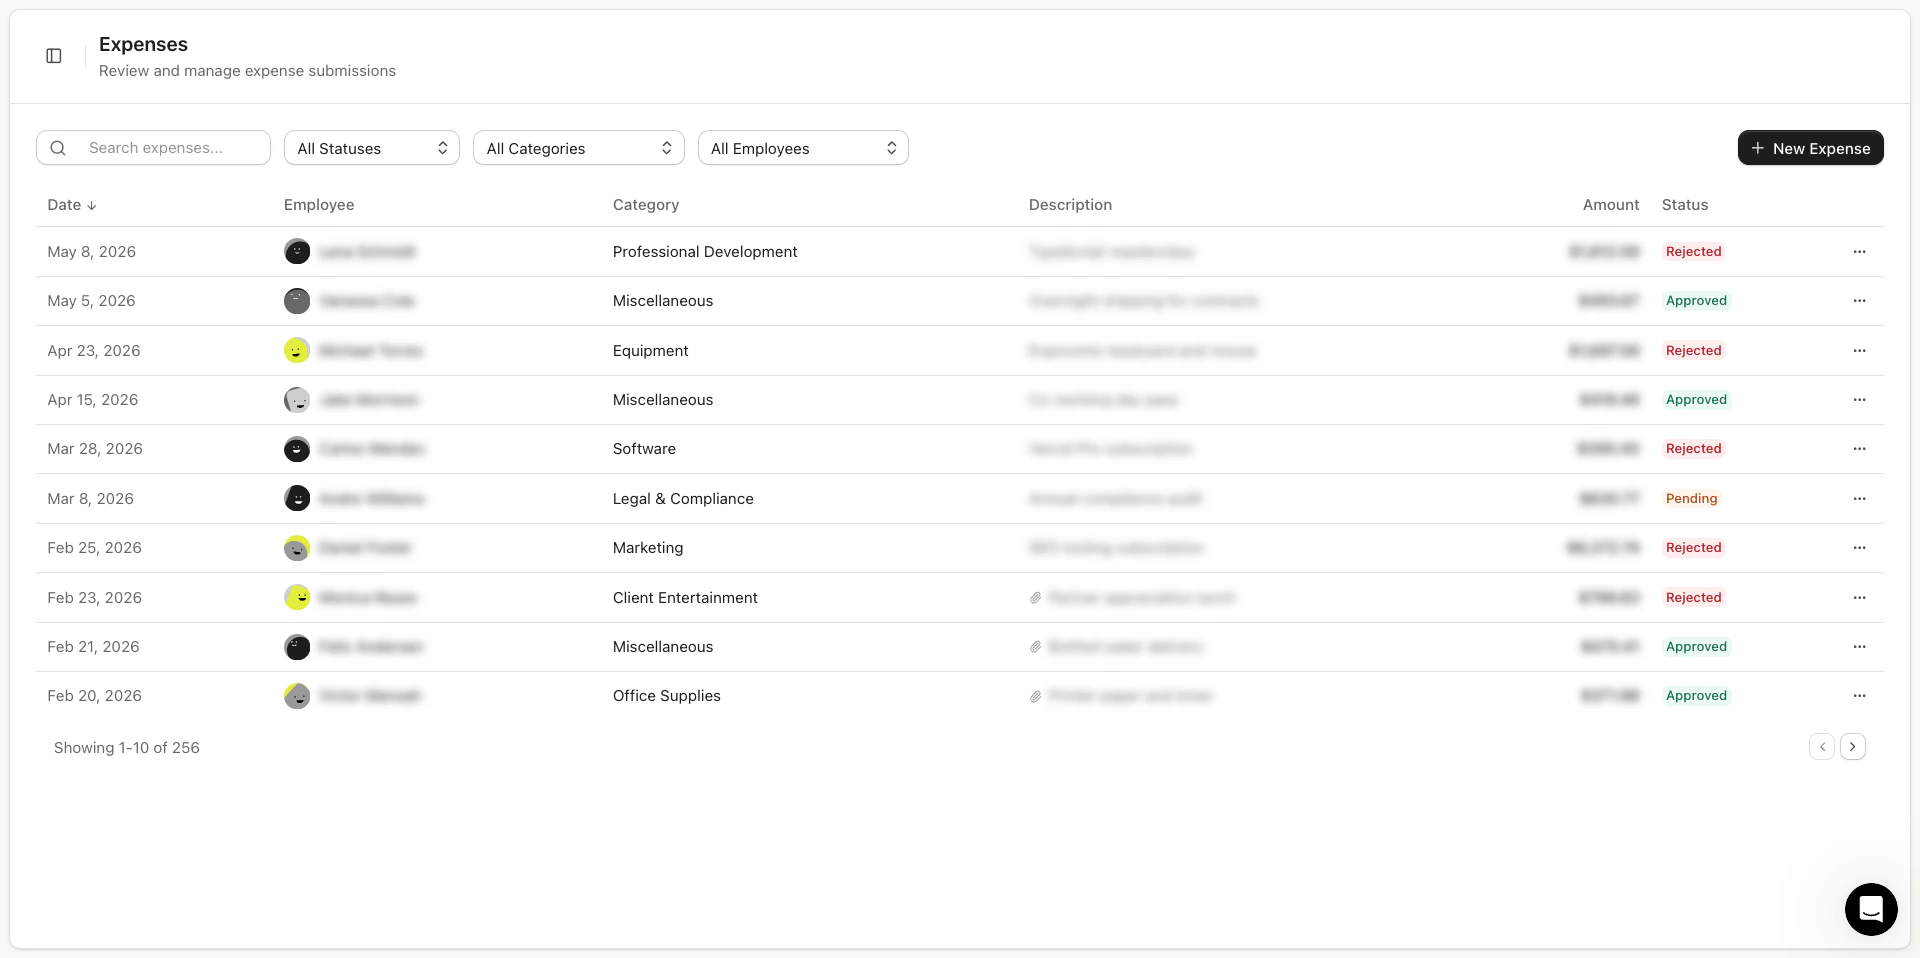
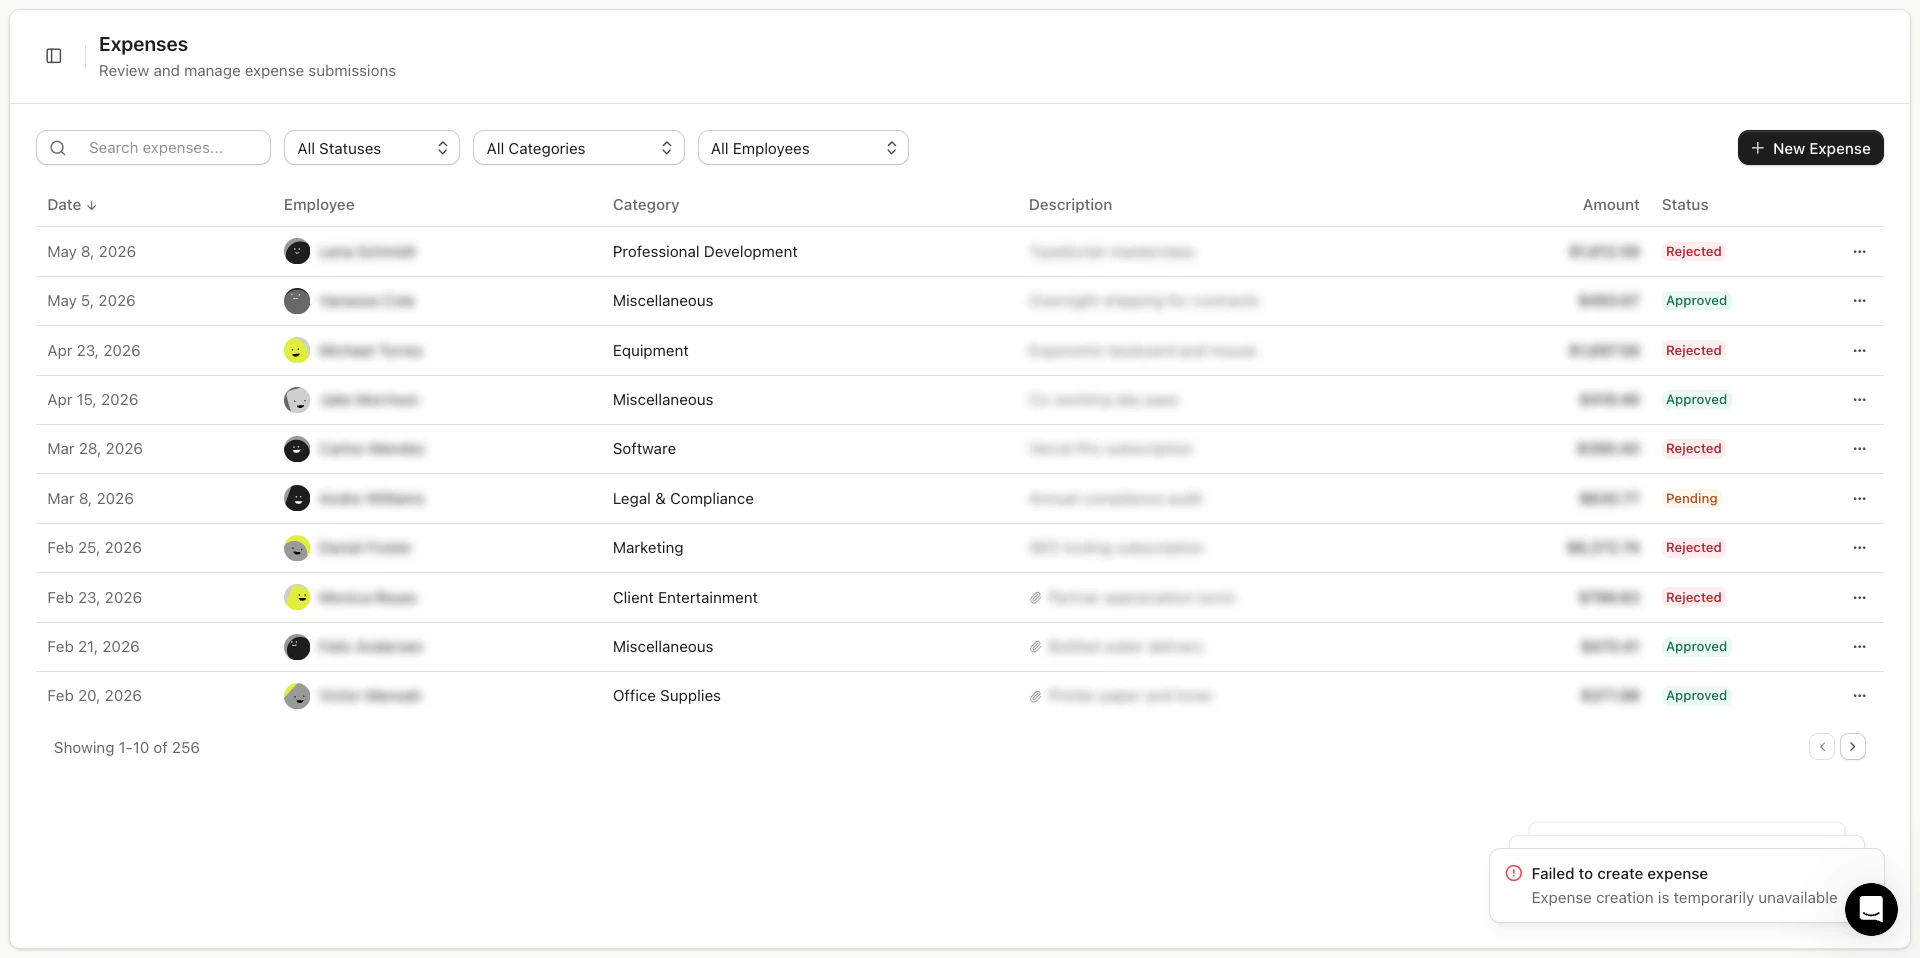
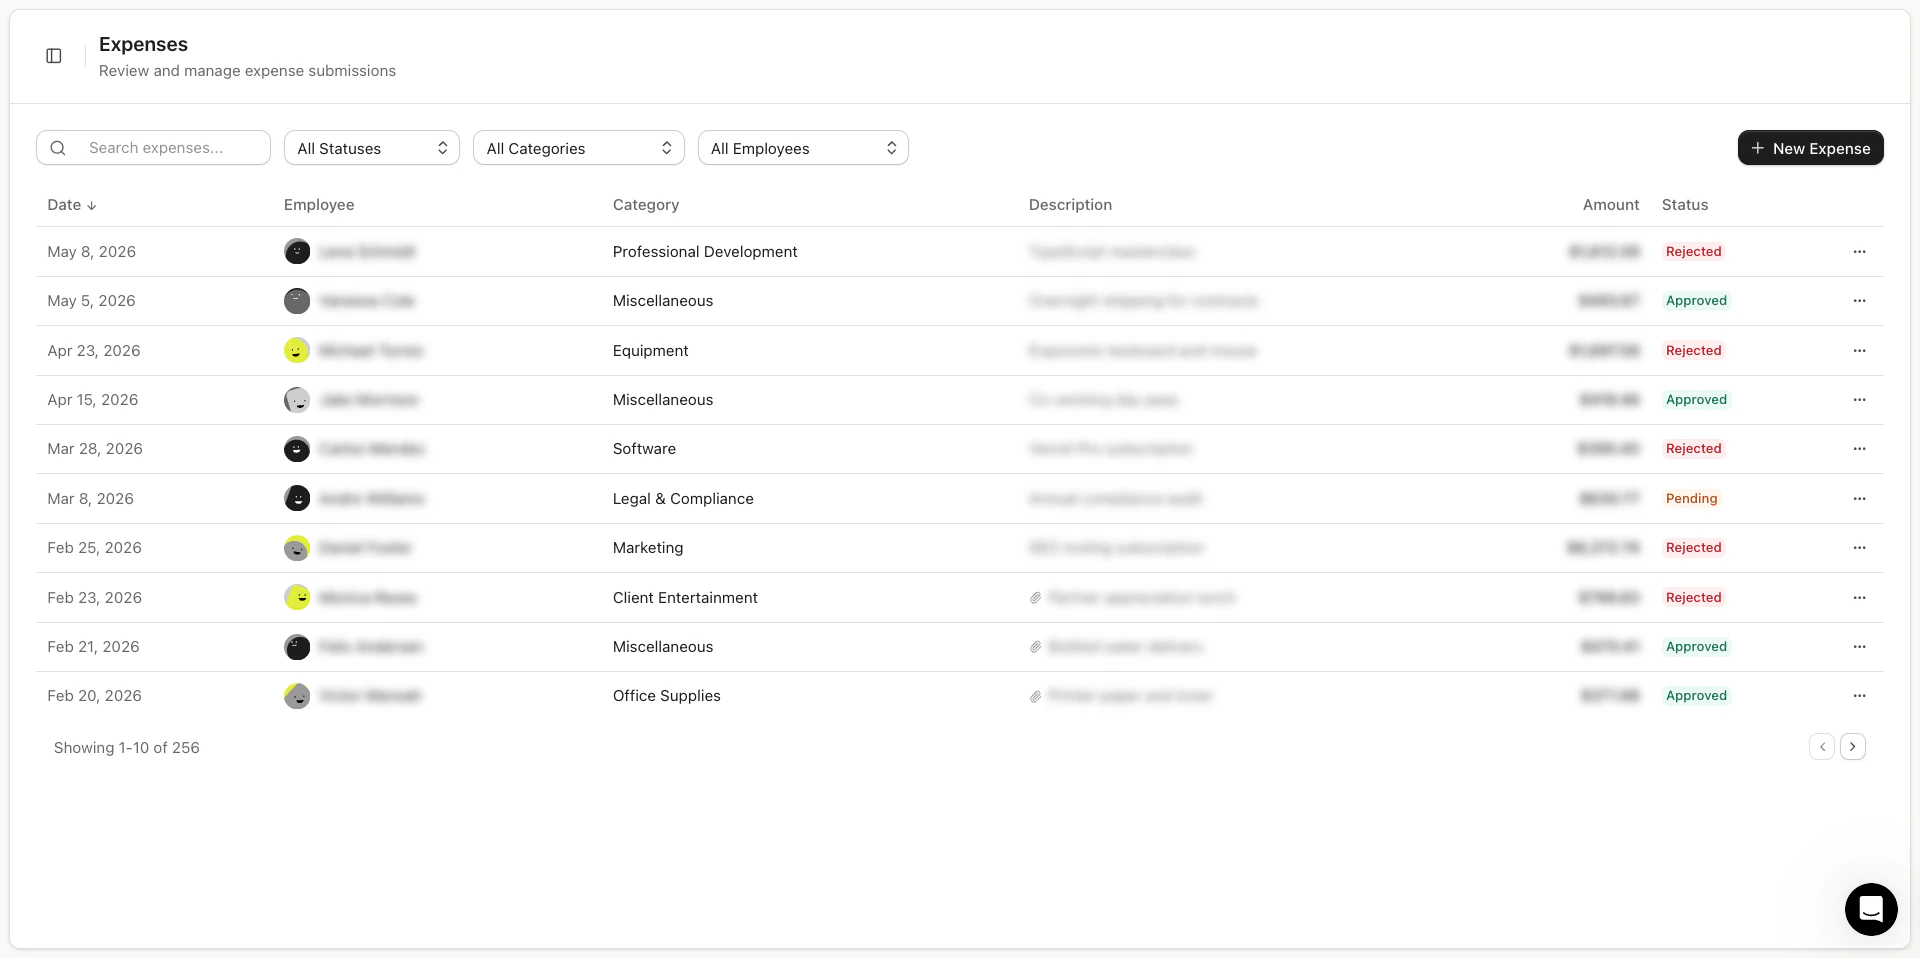
To confirm blur is working correctly:- Add a
data-userplane-blurattribute to a test element. - Create a recording using a recording link on the same domain.
- Play back the recording and verify the element is obscured.
Data blur in action — step 1
Data blur in action — step 2
Data blur in action — step 3
Data blur in action — step 4
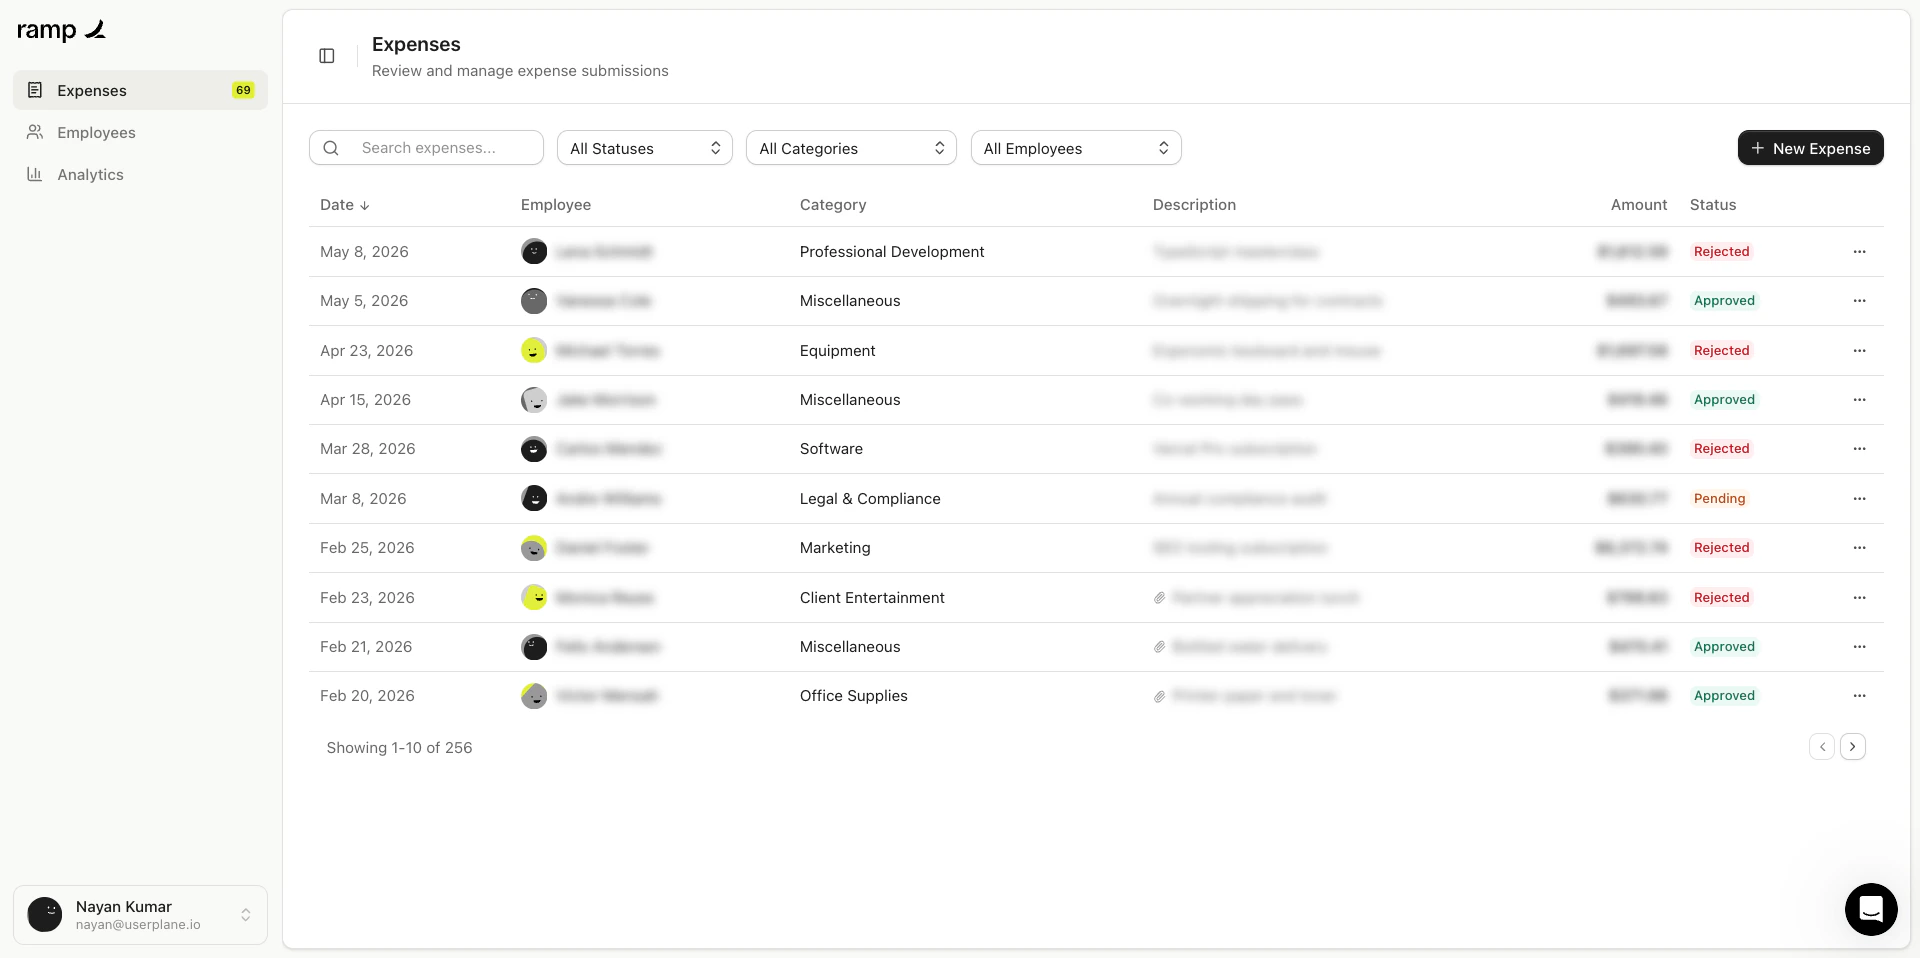
Data blur in action — step 5
Related articles
- Sensitive Data Redaction — overview of blur and privacy for support teams.
- Web SDK — SDK integration and setup.
- Domain Recording Preferences — configure blur and capture settings per domain.